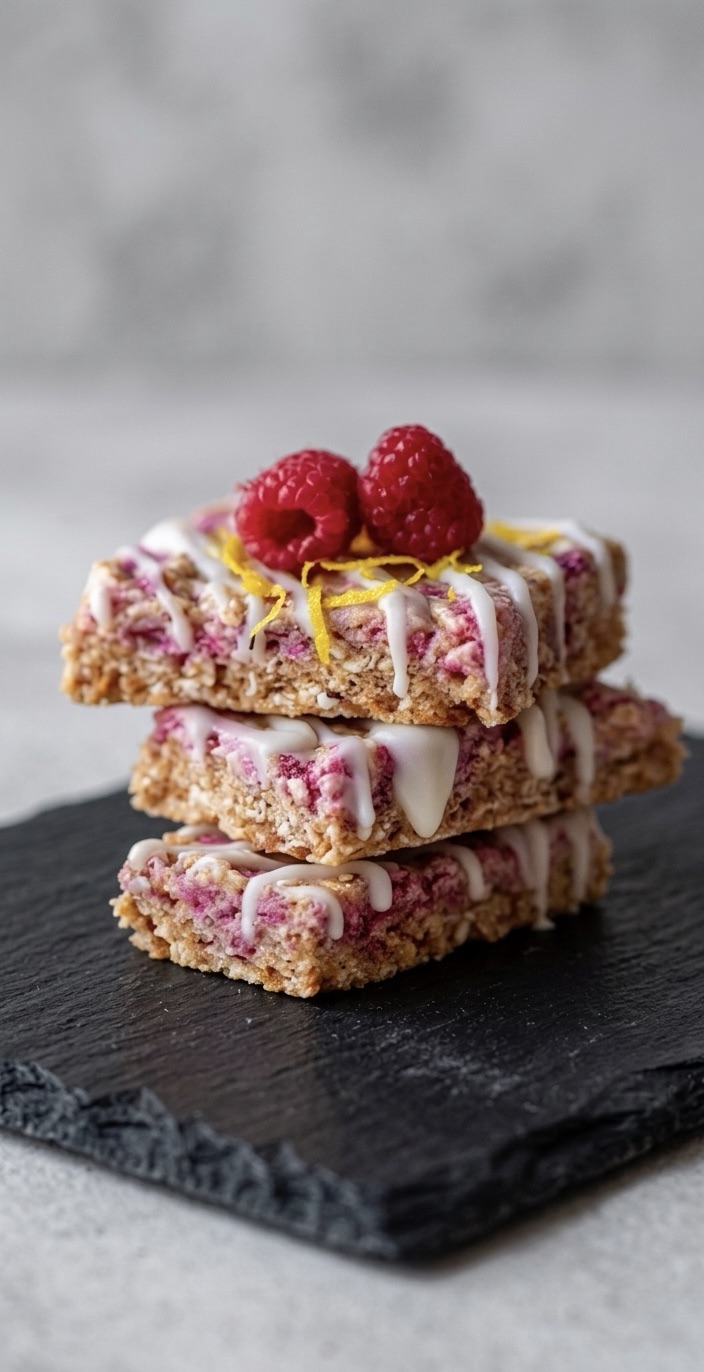
Let’s be real for a second—how many times have you skipped breakfast because you were in a rush, only to find yourself reaching for a sugary biscuit by 10 AM? We’ve all been there!
I’ve been on a mission lately to find a grab-and-go breakfast that actually keeps me full, doesn’t cost a fortune, and—most importantly—doesn’t require me to stand over a hot oven at 6 AM.
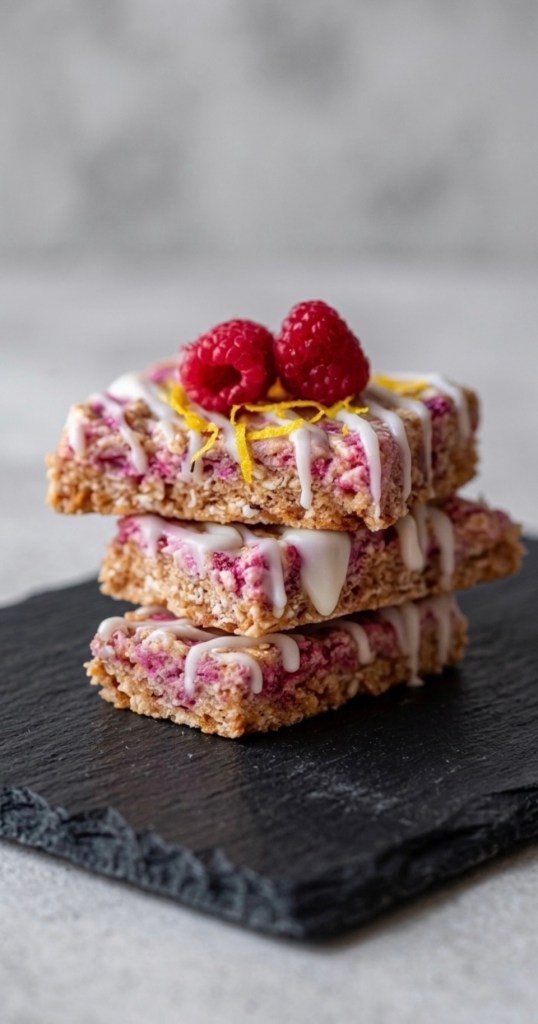
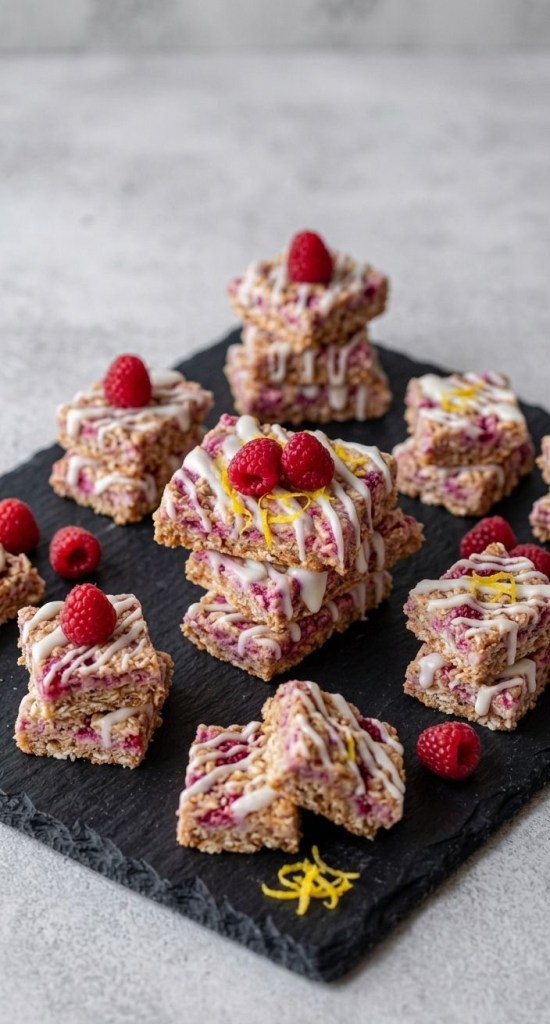
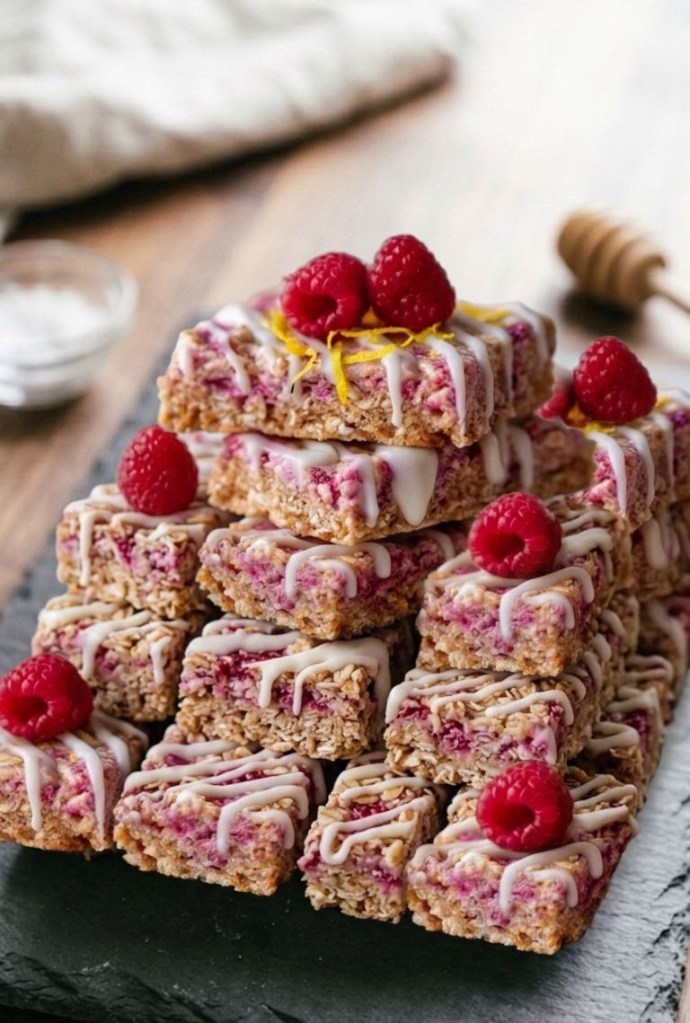
Well, my friends, I think I’ve found the holy grail: No-Bake Raspberry & Lemon Oat Bars. These beauties are chewy, zingy, naturally sweetened, and completely no-bake. They are honestly a game-changer for your weekly meal prep!
Why You’ll Love Them:
Zero Baking: No preheating the oven. Just mix, press, and chill.
Packed with Goodness: We’re talking oats for slow-release energy, seeds for fiber, and nuts for that satisfying crunch.
Customisable: Want to add a little something extra? Go for it!
What You’ll Need:
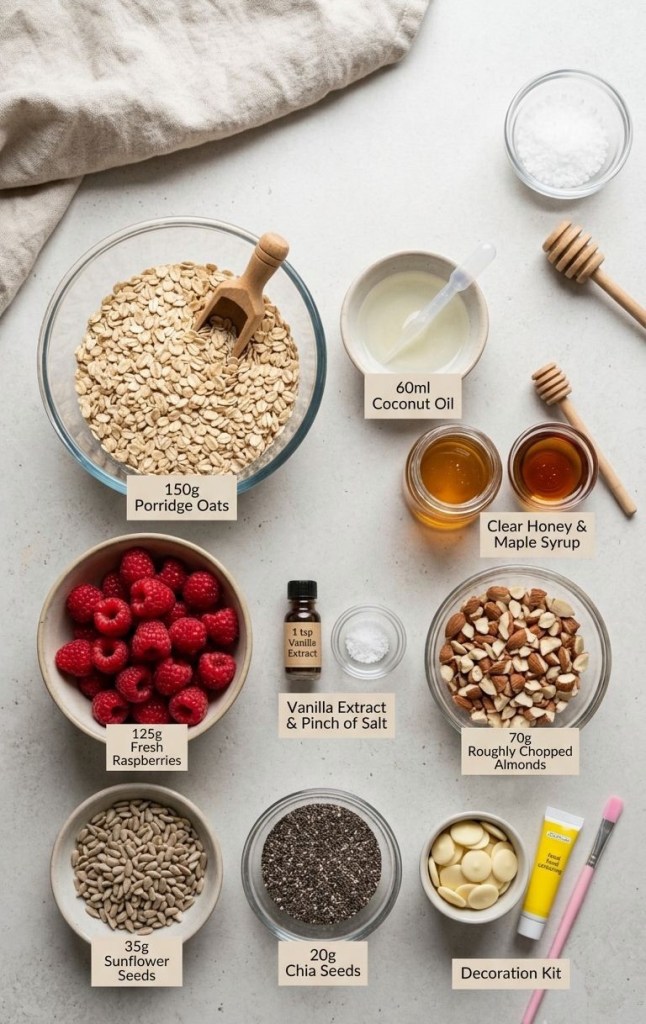
150g Porridge oats (Use jumbo oats if you like a bit more texture)
125g Raspberries (Fresh or frozen both work perfectly)
60ml Coconut oil, melted
85g Clear honey
20g Maple syrup
1 tsp Vanilla extract
Pinch of sea salt
70g Almonds, roughly chopped
35g Sunflower seeds
20g Chia seeds
For the decoration:
White chocolate, melted (essential for that signature drizzle!)
Extra white chocolate mixed with a tiny drop of food colouring (I love using pink or yellow to match the raspberry-lemon vibe!)
How to Make Them:
1. Prep your tin: Line a 20cm (8-inch) square tin with baking parchment. Leaving a bit of an overhang makes it so much easier to lift them out later.
2. The Mix: In a large mixing bowl, combine your melted coconut oil, honey, maple syrup, and vanilla. Give it a good whisk until it’s smooth.
3. Combine: Add in your oats, chopped almonds, sunflower seeds, and chia seeds. Stir until everything is nicely coated in that sticky, sweet mixture.
4. The Fruit: Gently fold in your raspberries. If you’re using frozen, don’t thaw them! Just toss them in straight from the freezer to keep them from breaking up too much.
5. Press & Chill: Tip the mixture into your tin and press it down really firmly with the back of a spoon. This is the secret to getting them to stay together! Pop the tin into the freezer for at least an hour to set.
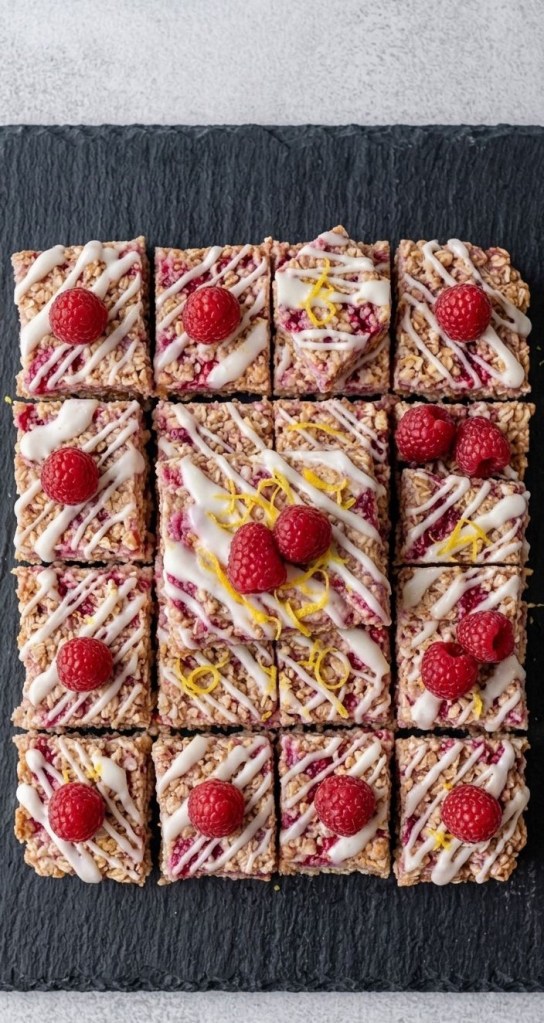
6. Decorate: Once firm, lift them out and slice into bars. Melt your white chocolate, drizzle away, and feel free to add that pop of colour with your tinted chocolate for a professional bakery look
A Quick Pro-Tip:
These bars keep perfectly in the fridge for about a week, or you can wrap them individually and keep them in the freezer for up to three months. They’re basically the ultimate morning life-saver.
Give these a try this weekend and let me know how you get on! Don’t forget to tag me in your photos—I love seeing your creations!
Are you a “prep your breakfast the night before” person or a “grab whatever is in the cupboard” person? Let me know in the comments below!


Leave a Reply