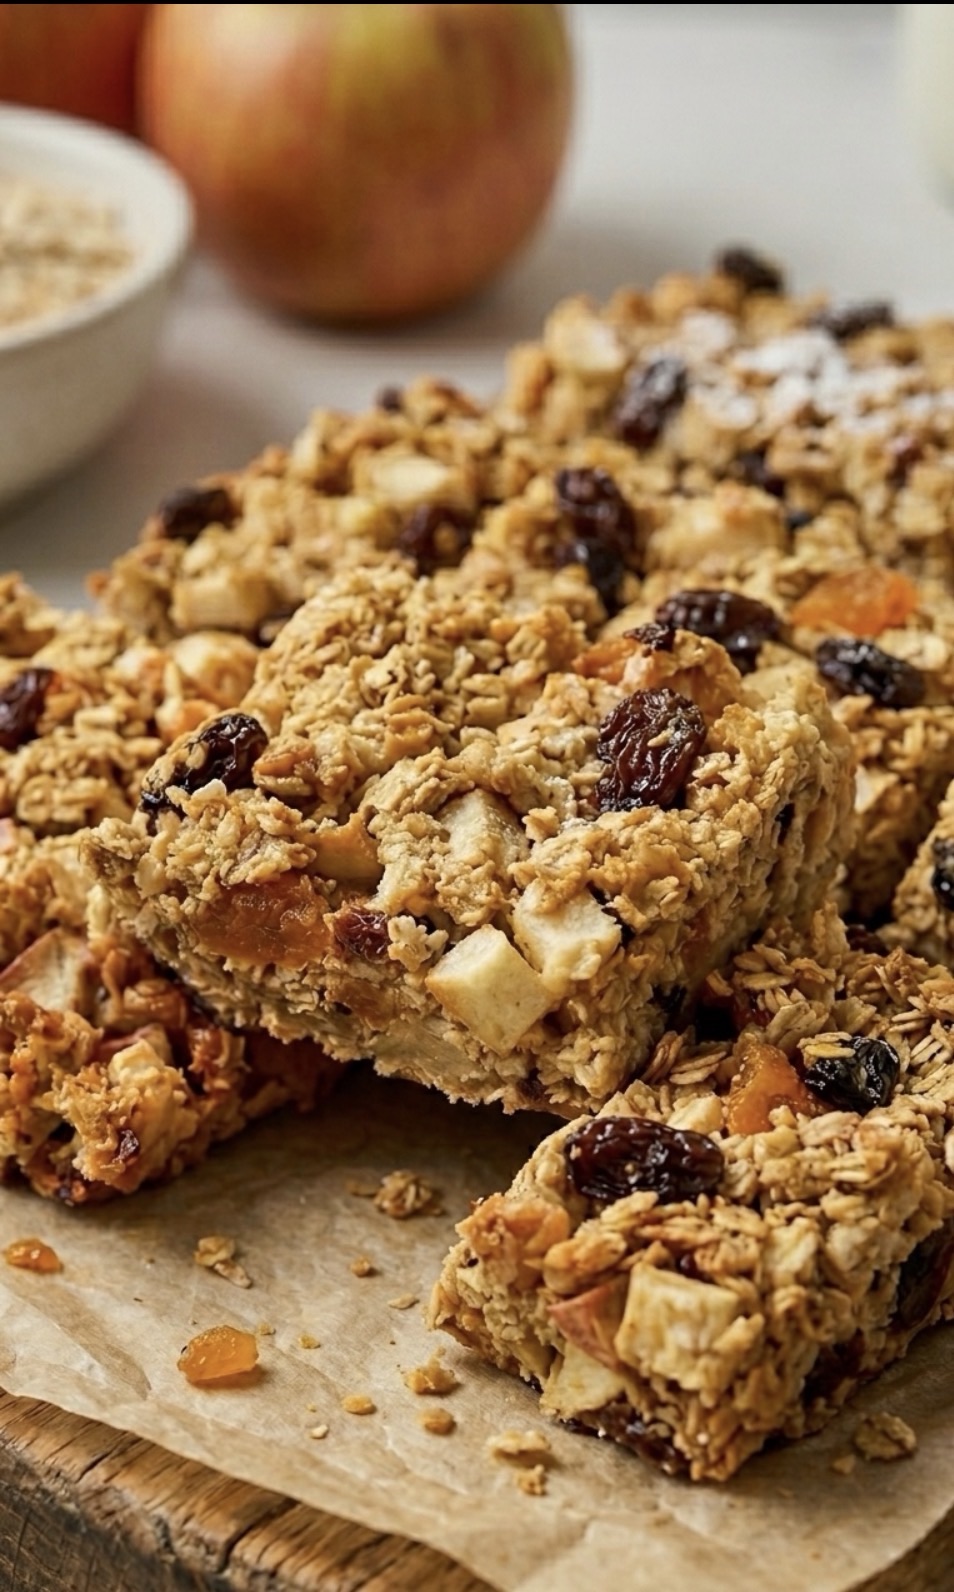
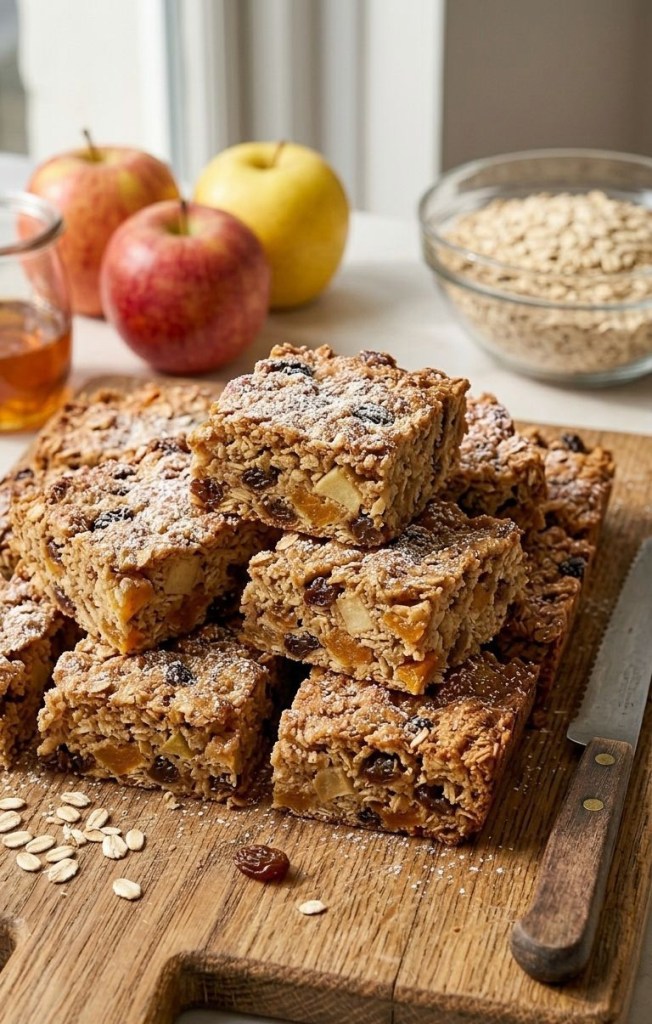
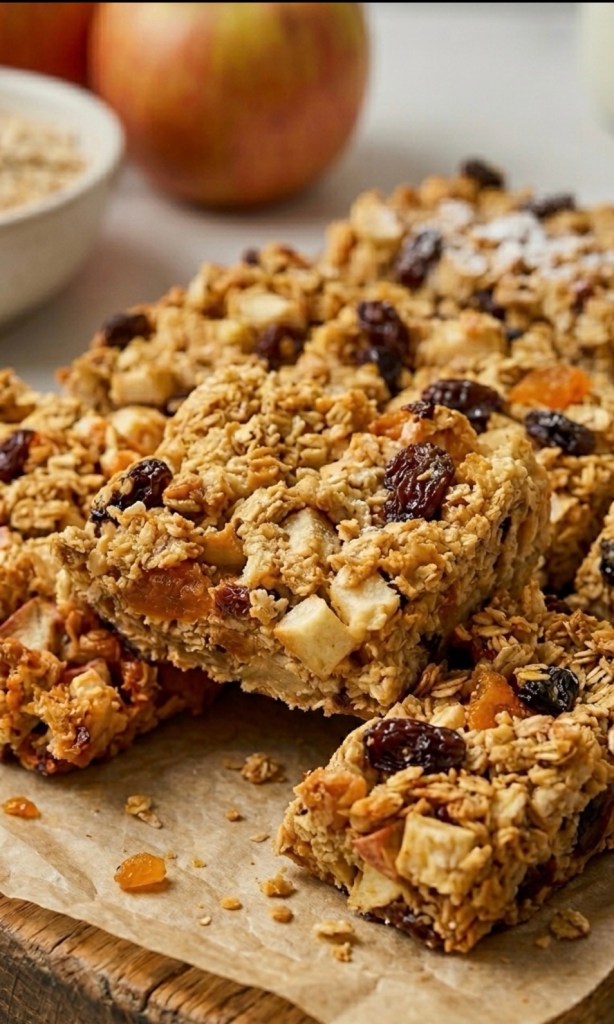
Okay, I’m officially obsessed. If you’ve been looking for a snack that actually feels like a treat but won’t leave you feeling like you need a nap afterward, this is it! These Apple & Apricot Oat Bars are chewy, golden, perfectly spiced, and honestly, they’re just so good.
The best part? They are incredibly easy to pull together. Whether you need something for your mid-morning slump or a quick grab-and-go breakfast for busy school runs, these have saved my life. Plus, they make the whole kitchen smell like autumn heaven!
What You’ll Need
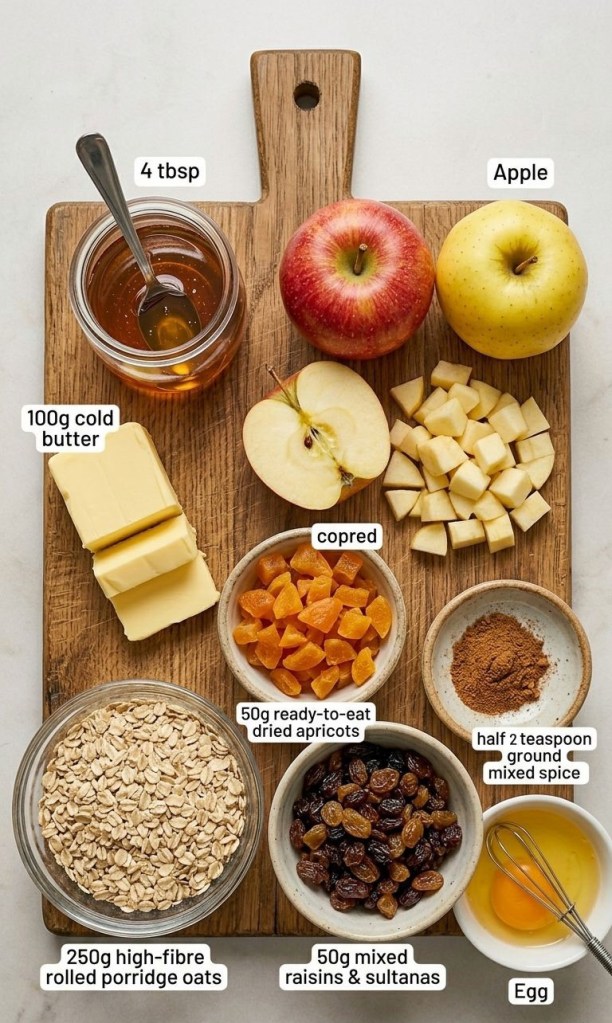
100g butter (or your favorite reduced-fat spread)
4 tbsp of liquid gold (aka golden syrup!)
250g high-fibre porridge oats (these keep you full for ages)
1 lovely apple, cored and chopped into little chunks
50g ready-to-eat apricots, chopped up small
50g of sultanas or raisins (or go half-and-half!)
½ tsp ground mixed spice (trust me, this makes the flavor pop)
1 beaten egg (the secret glue that holds them together)
How To Make Them
1 Get Ready: Preheat your oven to 180°C (160°C fan/gas mark 4). Grab a 23cm (9-inch) square tin, give it a good grease, and line the base with parchment paper.
2 Melt It: Pop your butter and golden syrup into a large saucepan and let them melt together gently over low heat. Just keep an eye on it—no need to get it too hot!
3 Mix It Up: Take the pan off the heat and throw in your oats, apple, apricots, sultanas, and that lovely mixed spice. Give it a really good stir so everything is coated.
4 The Secret Step: Pour in your beaten egg and stir it through. This is what keeps them from falling apart!
5 Bake: Tip the mixture into your tin, press it down firmly, and pop it in the oven. Bake until it looks beautifully golden.
6 The Hard Part: Let them cool in the tin before you try to slice them. I know, it’s impossible to wait, but it’s worth it!
Quick Tip: These keep great in an airtight container for a few days—if you have the willpower to keep them that long!
I’m curious—what’s your favorite “mix-in” for oat bars? Dried cranberries? A handful of nuts? Let me know in the comments below!
Let’s be real—we’ve all had those mid-afternoon slumps where the vending machine starts whispering our names. You want something sweet, you want something satisfying, but you also don’t want to crash an hour later.
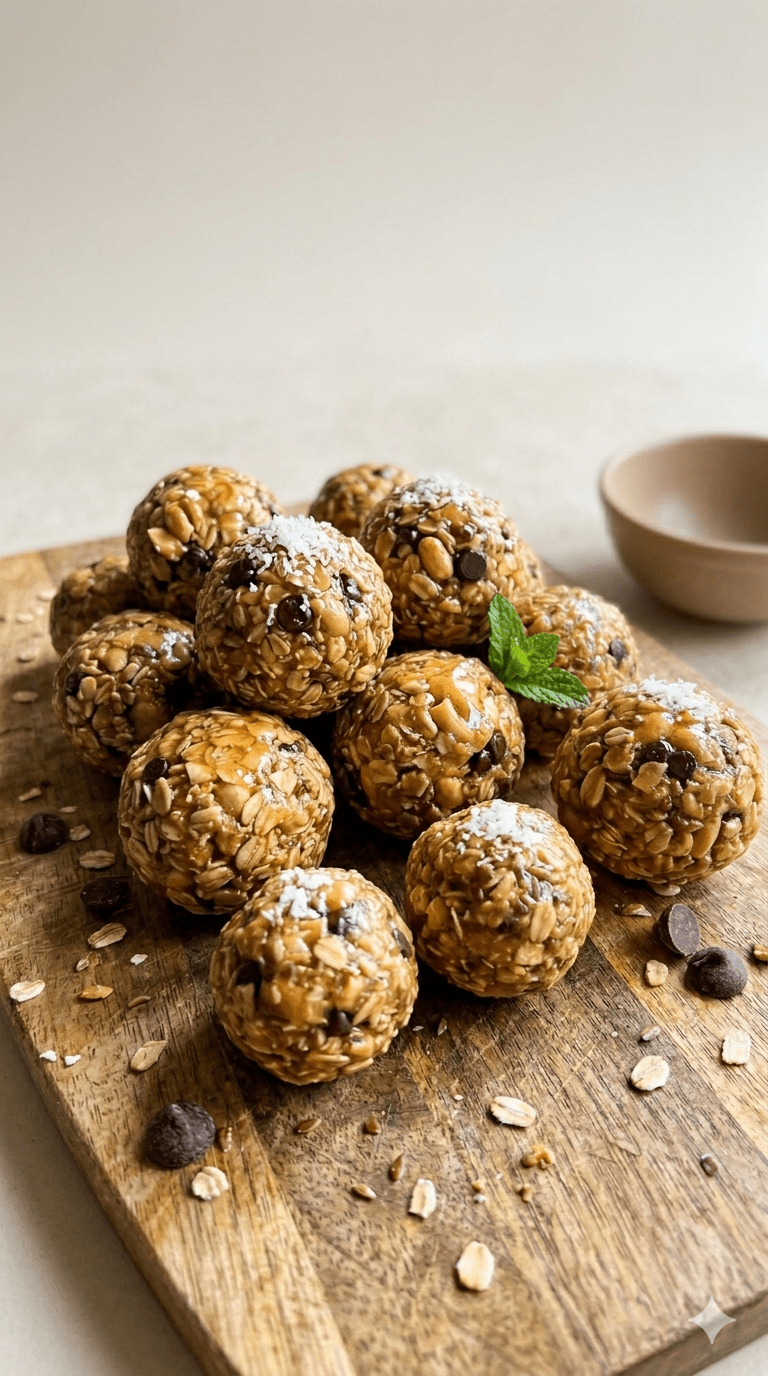
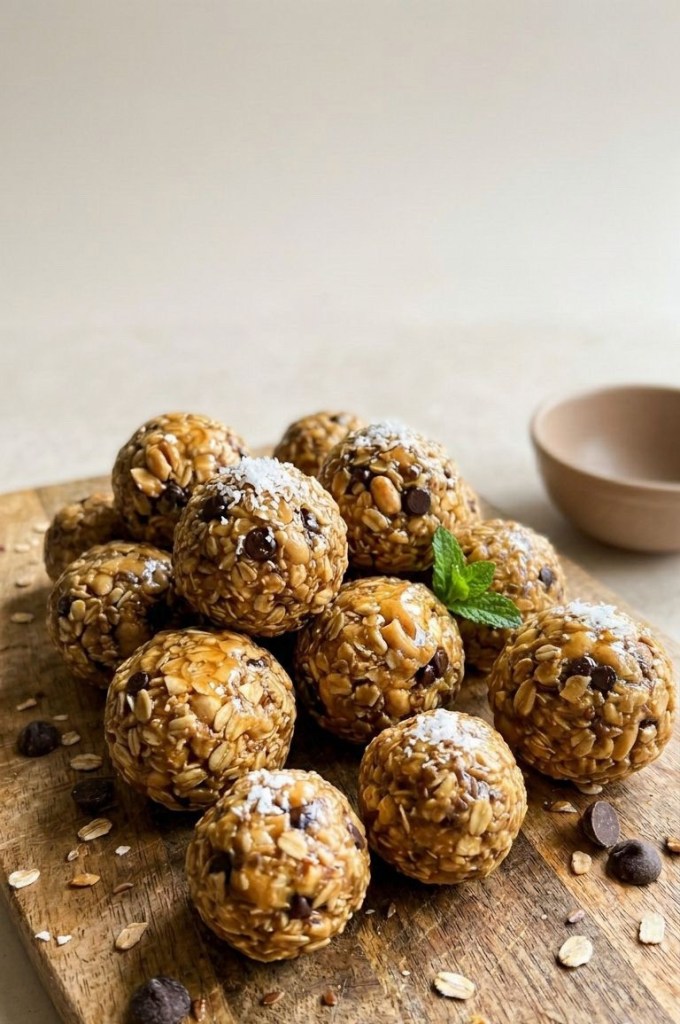
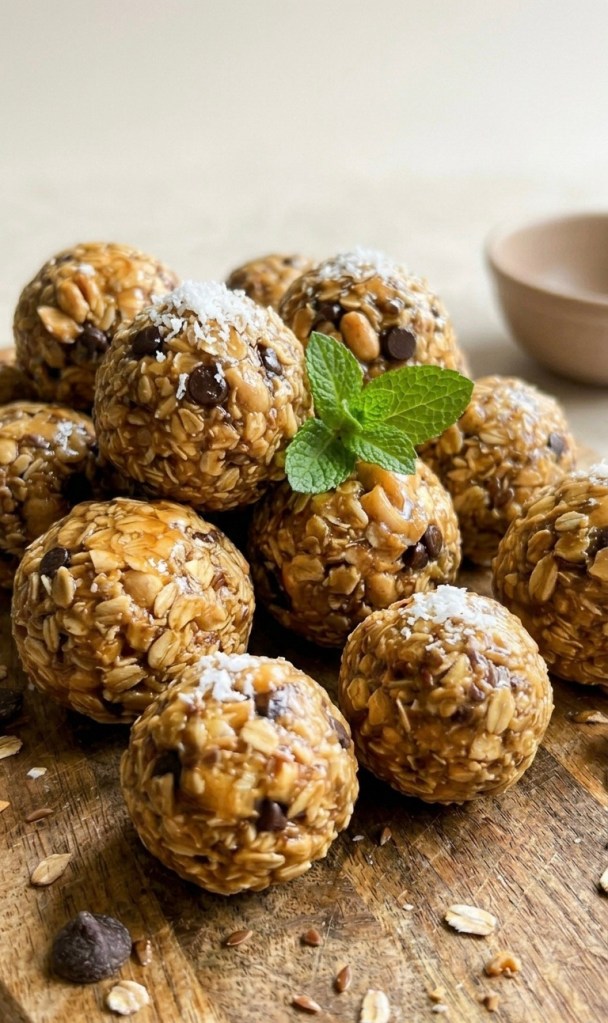
That is exactly why I’ve become slightly obsessed with these No-Bake Peanut Butter Energy Balls. They are a total game-changer for healthy snacking.
Why Your Body Will Love Them
Beyond just being delicious (and let’s face it, that peanut butter and chocolate combo is a winner), these little bites are actually packed with goodness. Here’s why they deserve a spot in your fridge:
A Powerhouse of Protein: With about 4.7g of protein per ball, they provide a great little boost to keep you feeling fuller for longer.
Heart-Healthy Fats: Using creamy natural peanut butter provides healthy monounsaturated fats that support heart health and satiety.
Fibre-Rich Oats: Porridge oats are a fantastic source of complex carbohydrates, giving you steady, slow-release energy rather than a sugar spike.
Essential Omega-3s: By adding ground linseed (flaxseed), you’re sneaking in a wonderful plant-based source of Omega-3 fatty acids, which are brilliant for brain and heart health.
The Best Part? It’s So Easy
Because there’s no baking involved, these are the ultimate “pantry-raid” snack. You just mix it all together, roll them up, and pop them in the fridge. They’re perfect for busy weeks, pre-gym fuel, or just a quick treat when you need a little pick-me-up.
Here is the quick-and-easy recipe:
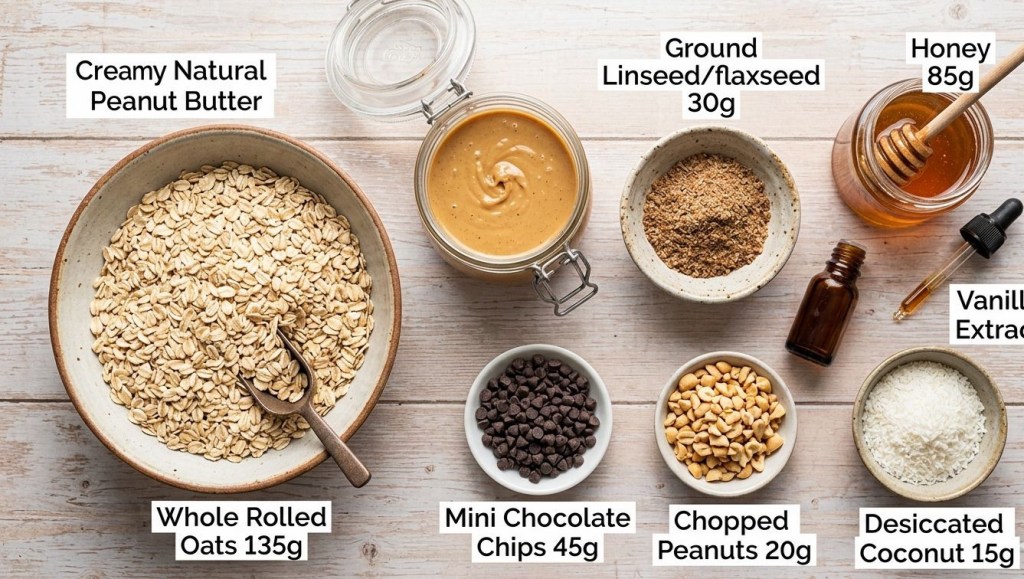
135g porridge oats
250g creamy natural peanut butter
30g ground linseed
85g honey
1 tsp vanilla extract
45g mini chocolate chips
20g chopped peanuts
15g unsweetened desiccated coconut
Pinch of sea salt (optional)
Just stir everything in a large bowl, roll into 20 balls, and chill for an hour or two. That’s it!
I love keeping a batch on hand—they last for a week in the fridge, or you can even freeze them for those days when you need a healthy snack in a pinch. Have you tried making energy bites before, or do you have a favourite flavour combo? Let me know in the comments!
Do you want to see how these look when they’re all finished and ready to eat?
If you are anything like me, you are constantly on the lookout for a snack that hits that sweet spot without the mid-afternoon sugar slump. We all have those moments during the day where we need a little boost—something that feels indulgent but doesn’t leave us feeling sluggish. Well, I have finally found the holy grail of homemade treats that ticks every single box.
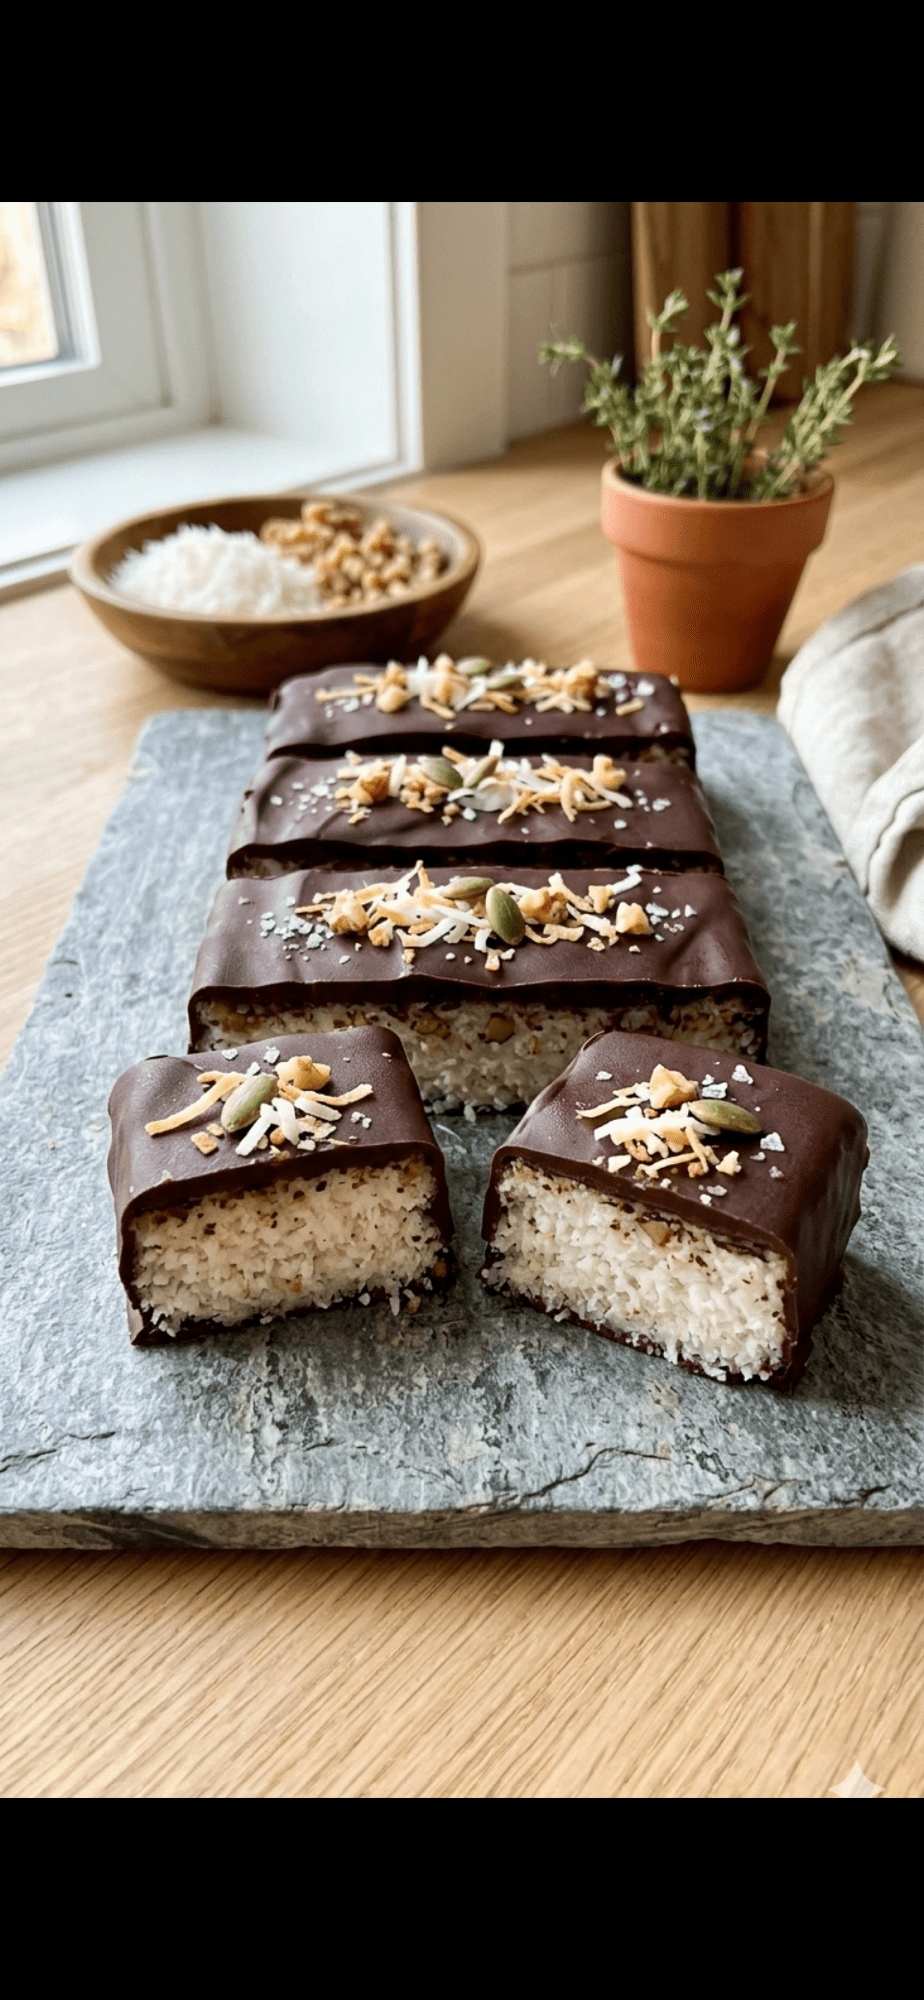
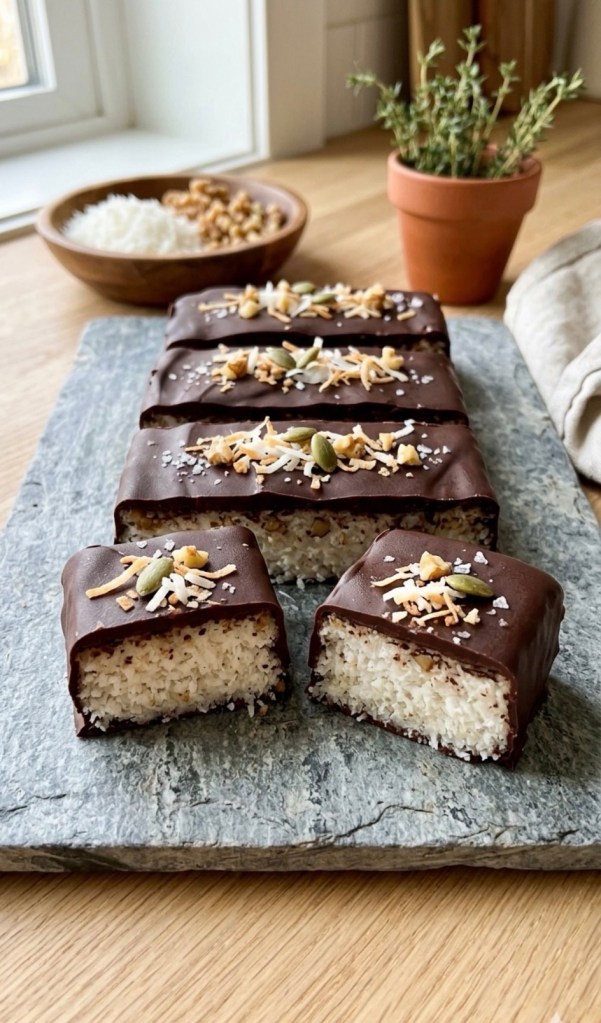
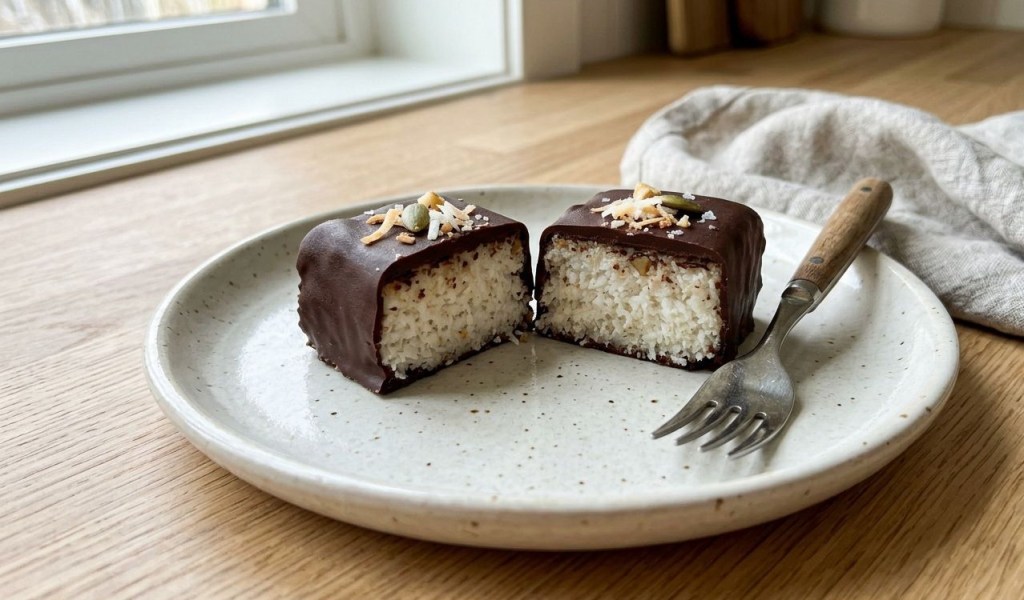
These Coconut Cream Bars are rich, velvety, and satisfy that craving for something decadent, all while being completely no-bake and surprisingly simple to put together. Plus, they look so professional and aesthetic that your friends and family won’t believe you made them in your own kitchen!
Why You’ll Love These Bars
There are countless reasons why this recipe has become a staple in my kitchen, but here are the highlights:
The Texture: The real “wow” factor here is the contrast between the dense, creamy coconut middle and the sharp “snap” of the dark chocolate shell, which is pure magic for your taste buds.
The Simplicity: You only need five core ingredients to pull this off, and best of all, there is absolutely no oven work required.
The Versatility: These are the perfect little pick-me-up to enjoy with a mid-morning cup of tea, or as a sophisticated post-dinner treat when you want something small and sweet.
The Aesthetic: Because they look so clean and uniform, they are incredibly satisfying to plate up for guests.
The Ingredients
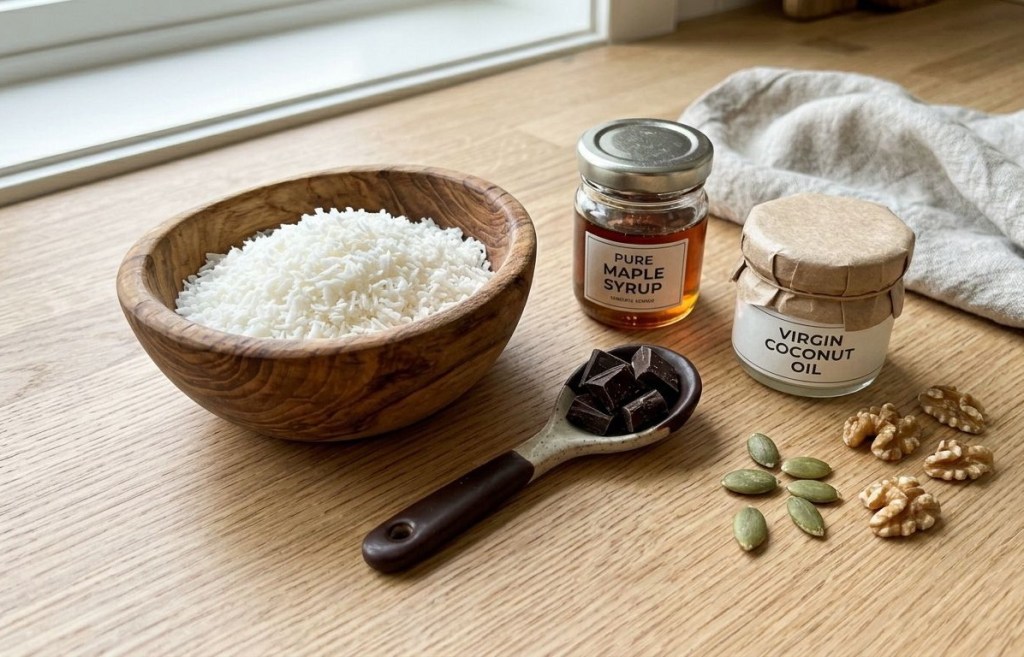
You can find these in any local supermarket, and they are pantry essentials you likely already have on hand:
150g shredded coconut: Use the fine desiccated kind for a much creamier interior texture.
80ml full-fat tinned coconut milk: Make sure to scoop out the thick, solid cream from the top of the tin, as this is what gives the bars their luscious mouthfeel.
45ml maple syrup: This provides that lovely, natural sweetness that balances the bitterness of the dark chocolate.
1 tsp vanilla extract: For that warm, aromatic finish.
175g high-quality dark chocolate: Aim for at least 70% cocoa for the best flavour profile.
1 tbsp coconut oil: This is the secret to getting the chocolate to melt into a silky consistency and set with that signature, professional-looking shine.
Step-by-Step Method
1. Prepare the Coconut Centre
In a medium mixing bowl, combine your shredded coconut, the thick coconut cream, maple syrup, and vanilla extract. Use a spatula to stir the ingredients until the mixture is well combined and holds together firmly when you press it against the side of the bowl.
2. Set the Base
Line a small container or a standard loaf tin with parchment paper. Transfer your coconut mixture into the tin and press it down very firmly using the back of a spoon or your hands. You want it to be about 2–3cm thick to get that perfect bar-like bite. Pop this in the freezer for at least 60 minutes until it is completely firm.
3. Slice into Bars
Once the base is set, carefully remove the block from the tin using the parchment paper edges. Place it on a cutting board and use a warm knife to slice it into neat, uniform rectangles. A clean, warm knife is key to getting those smooth, sharp edges.
4. The Chocolate Dip
Melt your dark chocolate and coconut oil together in a heatproof bowl set over a pan of simmering water, or use short, 30-second bursts in the microwave. Using a fork, submerge each coconut rectangle into the chocolate until it is fully coated. Lift it out, let the excess drip off, and place them on a wire rack to set.
5. Final Flourish
While the chocolate is still wet, sprinkle a tiny pinch of sea salt, some toasted coconut flakes, or even a few chopped nuts on top for visual contrast. Let them set in the fridge for a few minutes, and you are ready to serve!
Pro-Tips for Success
The Temperature Matters: When dipping your bars, ensure the coconut centre is still very cold from the freezer. This prevents the bar from softening while you are working with the warm chocolate.
Make it Your Own: If you fancy a bit of crunch, feel free to fold in some chopped walnuts or pepitas into the coconut mixture before setting.
Storage: Keep any leftovers in an airtight container in the fridge for up to a week, or freeze them for up to a month. They taste incredible when served chilled—almost like a homemade, luxury ice cream bar!
Have you tried making your own chocolate bars at home? Let me know in the comments below what fillings you’d try next!
If you are tired of spending £3+ on individual store-bought energy bars that are secretly loaded with artificial sweeteners and preservatives, you are in the right place.
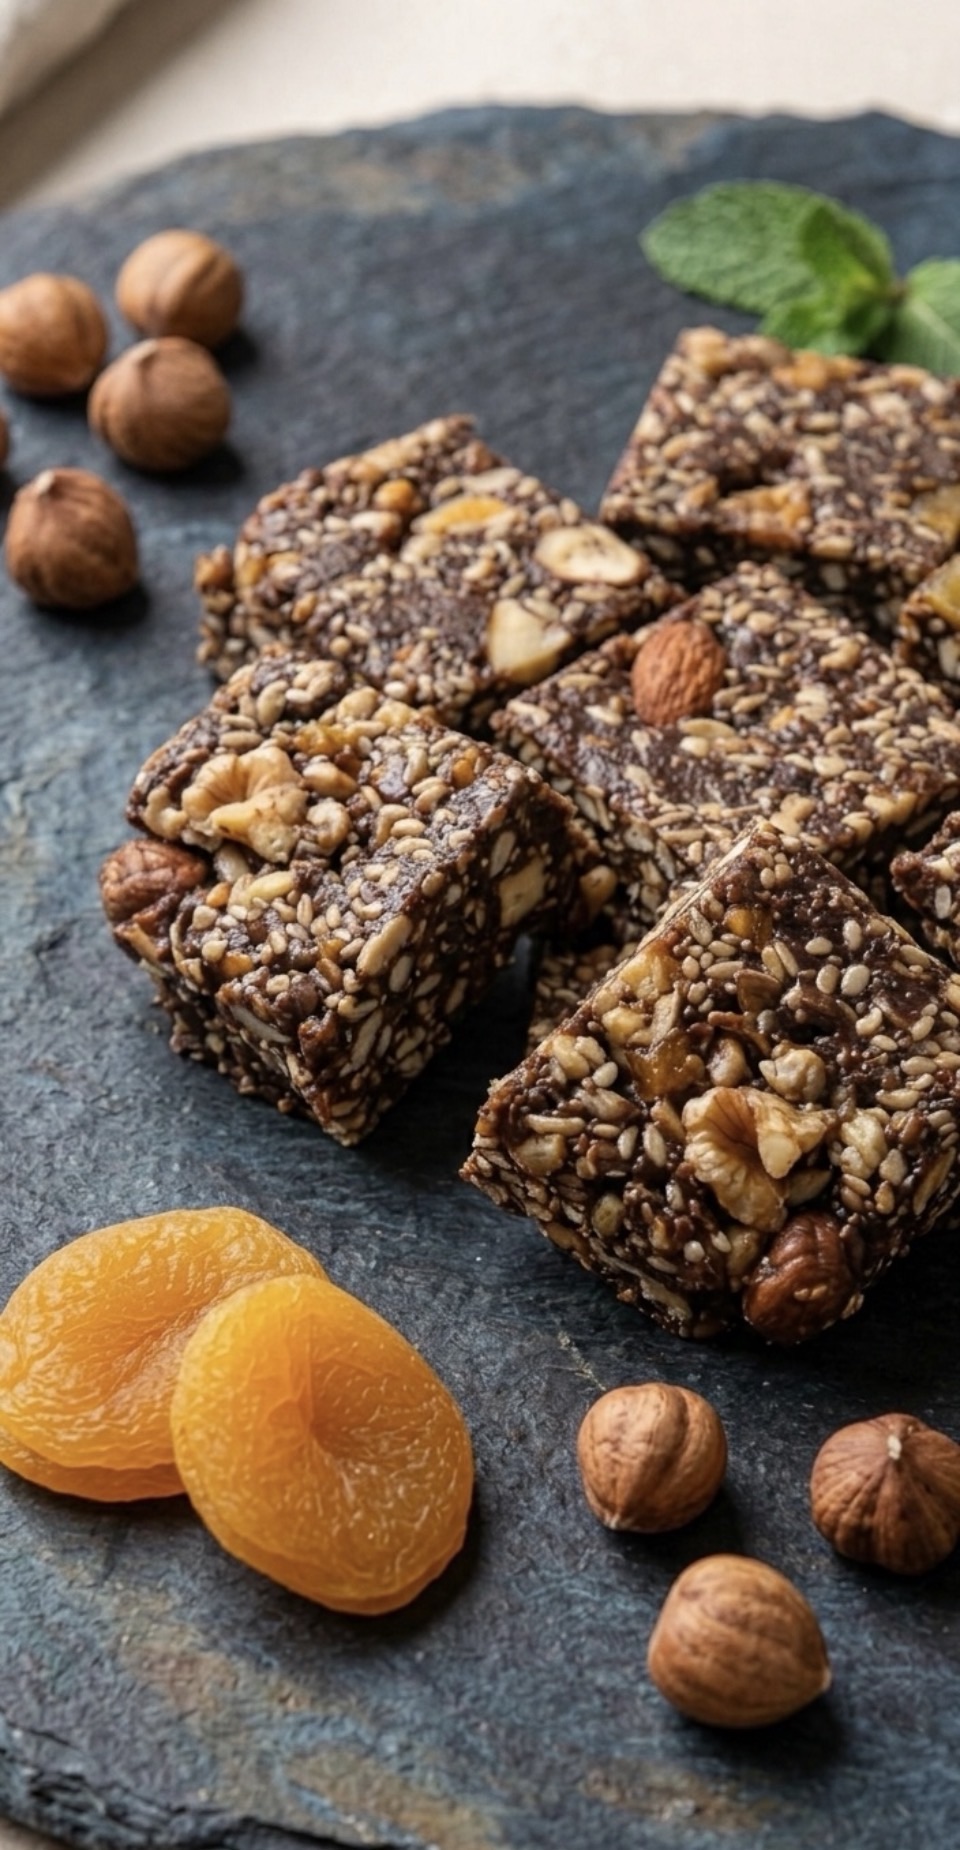
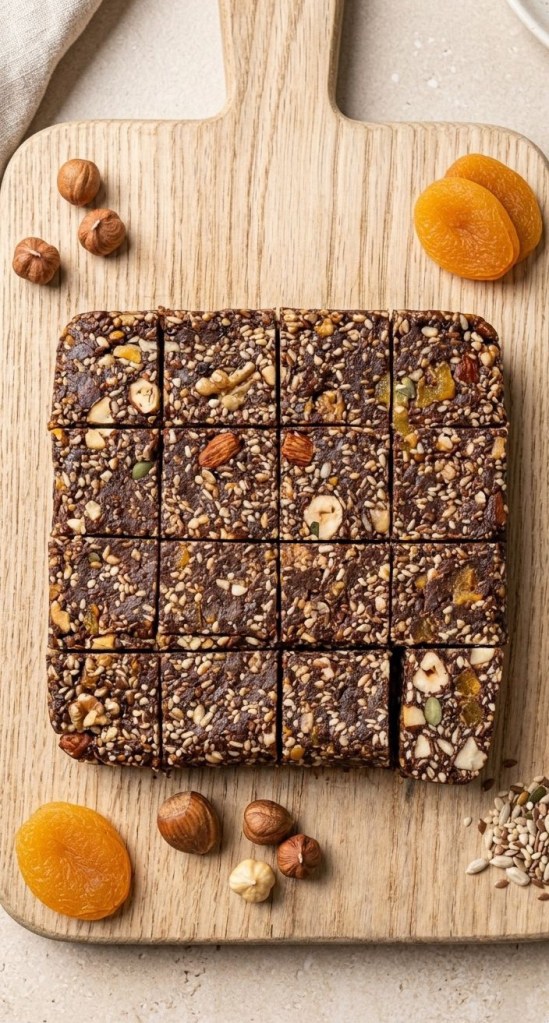
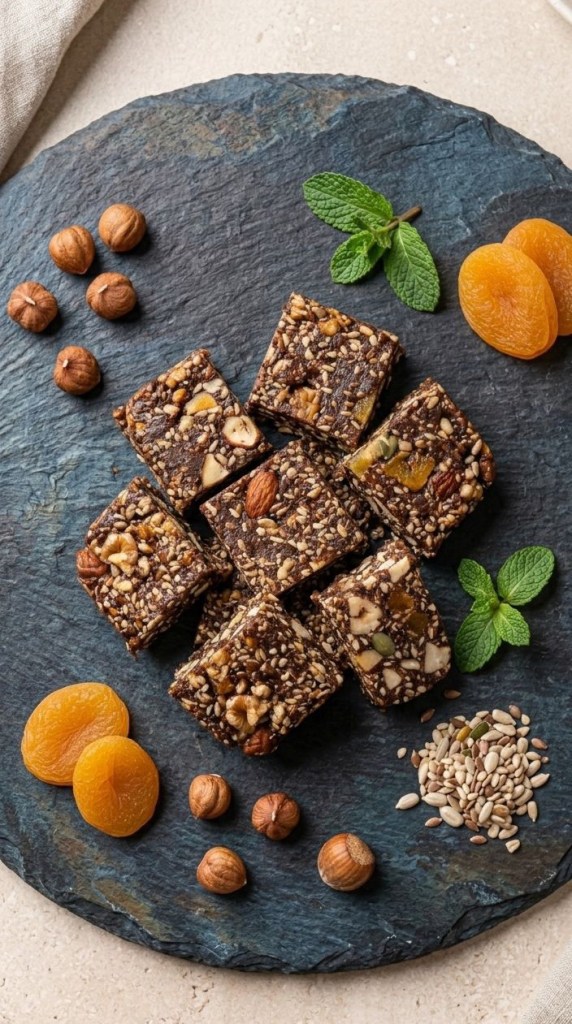
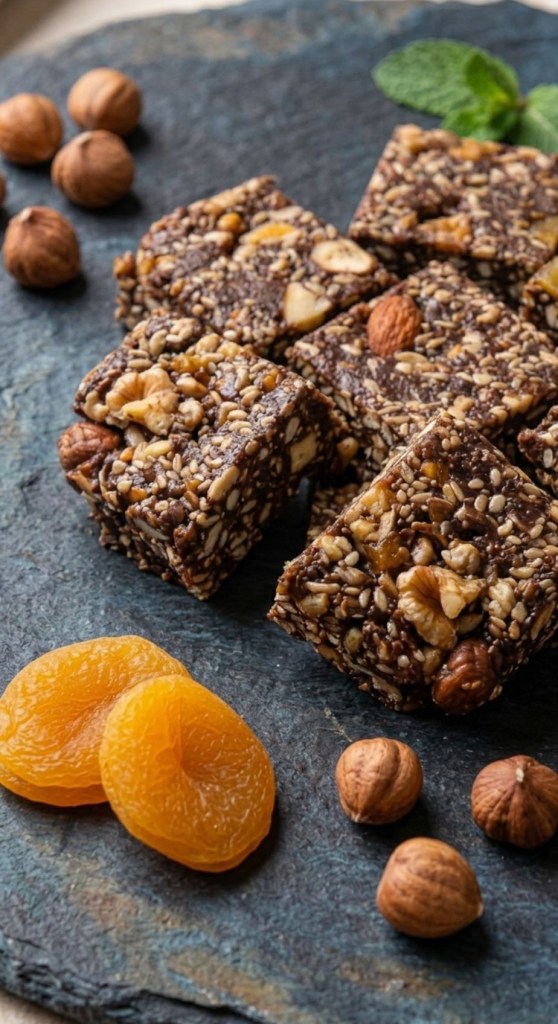
These homemade Apricot and Chocolate Bars are the ultimate healthy snack solution. They are rich, fudgy, and packed with satisfying crunch, tasting remarkably like chocolate fudge—but made entirely from wholesome, unrefined ingredients.
The best part? There is absolutely no baking required. You just need a food processor, 5 minutes of prep time, and a little bit of patience while they set in the freezer.
Let’s dive into why these will become your new weekly meal prep staple!
Why You’ll Love This Recipe
100% No-Bake: No need to turn on the oven. Perfect for quick prep.
Budget-Friendly: Makes 16 bars for a fraction of the price of store-bought alternatives.
Packed with Whole Foods: Healthy fats from the nuts, natural sweetness from the fruits, and antioxidants from the pure cocoa.
Family Friendly: A brilliant, nut-heavy lunchbox snack or midnight sweet-tooth fix.
Equipment Needed
Food processor
20cm (8in) square cake tin
Cling film
Sharp knife
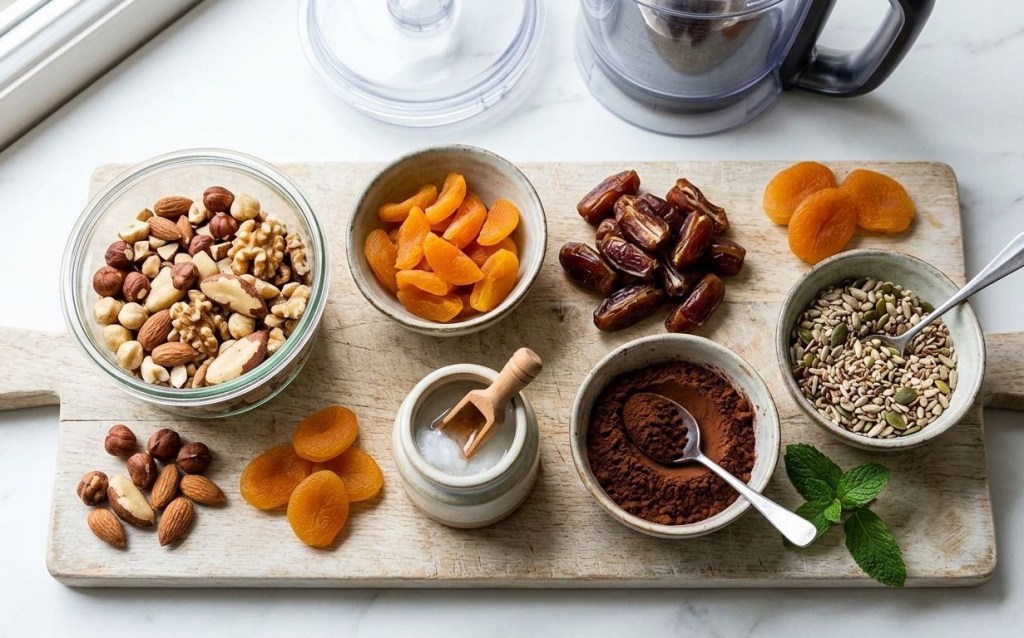
Ingredients
Here is everything you need to grab from the cupboard:
150g mixed nuts (such as almonds, hazelnuts, Brazil nuts, and walnuts), roughly chopped
150g ready-to-eat dried apricots, quartered
200g soft pitted dates, quartered
50g coconut oil
3 tbsp pure cocoa powder
3 tbsp mixed seeds (such as sunflower, pumpkin, sesame, and flax)
Step-by-Step Method
Step 1: Prep the Tin
Line your 20cm square cake tin with cling film, ensuring you leave plenty of excess overhanging the sides. This makes it incredibly easy to lift the bars out later.
Step 2: Blitz the Nuts
Put your mixed nuts into the food processor. Blitz until they are finely chopped, but do not grind them into a powder. You want to keep those distinct pieces to give the bars a lovely, satisfying crunch. Tip the chopped nuts into a separate bowl and set aside.
Step 3: Create the Fruit Paste
Add the quartered apricots and dates into the food processor. Blend them together until they form a thick, sticky paste. Again, don’t let it get completely smooth—a little texture is a good thing here!
Step 4: Bring It All Together
Return the chopped nuts to the food processor along with the coconut oil, cocoa powder, and mixed seeds. Blend until the mixture clumps together into a unified paste. (Tip: You may need to stop the processor once or twice to push the mixture down from the sides with a spatula).
Step 5: Press and Freeze
Spread the chocolate paste evenly over the base of your lined tin, smoothing the surface with the back of a spoon or your spatula. Fold the overhanging cling film over the top to cover it completely. Pop the tin into the freezer for 30 to 60 minutes, or until it feels completely solid.
Step 6: Slice and Store
Take the tray out of the freezer, unwrap it, and place the block onto a chopping board. Using a sharp knife, cut into 16 equal squares.
How to Store Your Bars
No To keep your Apricot and Chocolate bars fresh and fudgy, transfer them to a lidded airtight container.
Top Tip: Interleave the layers with sheets of baking paper (parchment paper). Because these bars are unrefined and contain coconut oil, they will stick together if they touch. Store the container in the fridge to keep them perfectly firm!
Variations & Swaps
Nut-Free Option: Swap the mixed nuts for oats or extra pumpkin and sunflower seeds if making them for a nut-free school run.
Fruit Swaps: If you aren’t a fan of apricots, dried figs or sultanas work beautifully as a direct substitute.
Did you make this recipe? Let me know how they turned out in the comments below, or tag me in your recipe photos on Instagram!