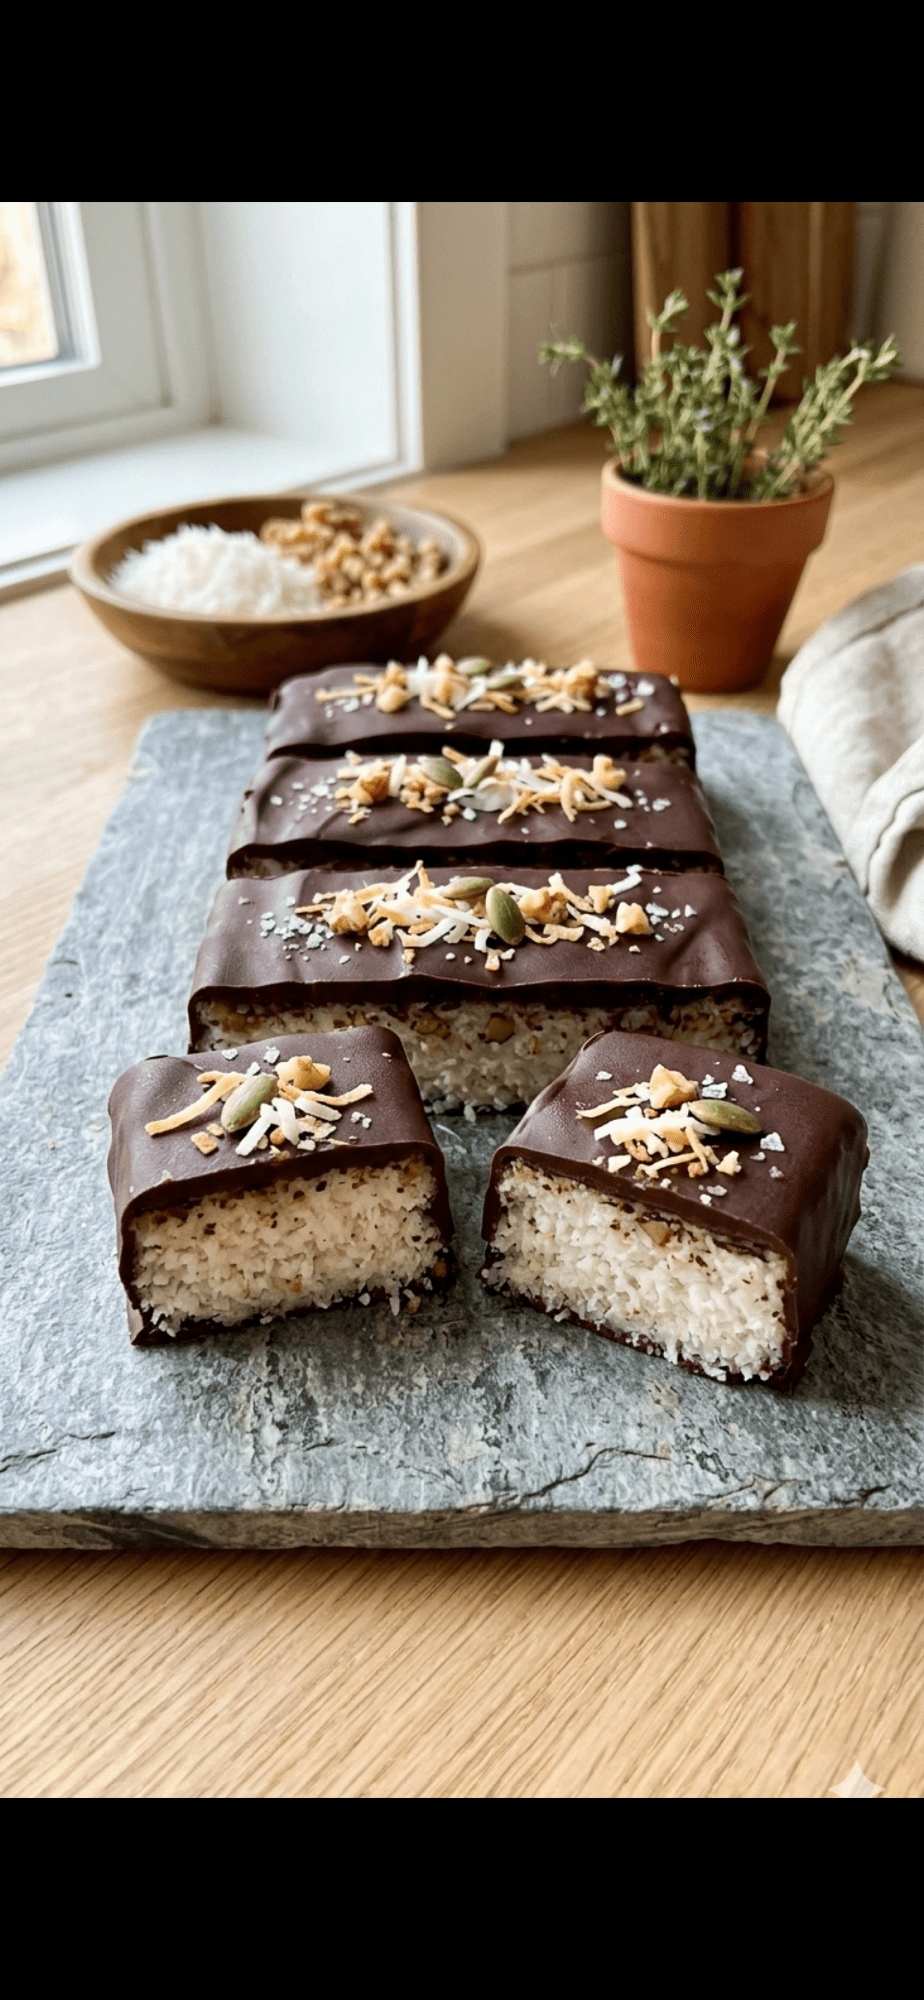
If you are anything like me, you are constantly on the lookout for a snack that hits that sweet spot without the mid-afternoon sugar slump. We all have those moments during the day where we need a little boost—something that feels indulgent but doesn’t leave us feeling sluggish. Well, I have finally found the holy grail of homemade treats that ticks every single box.
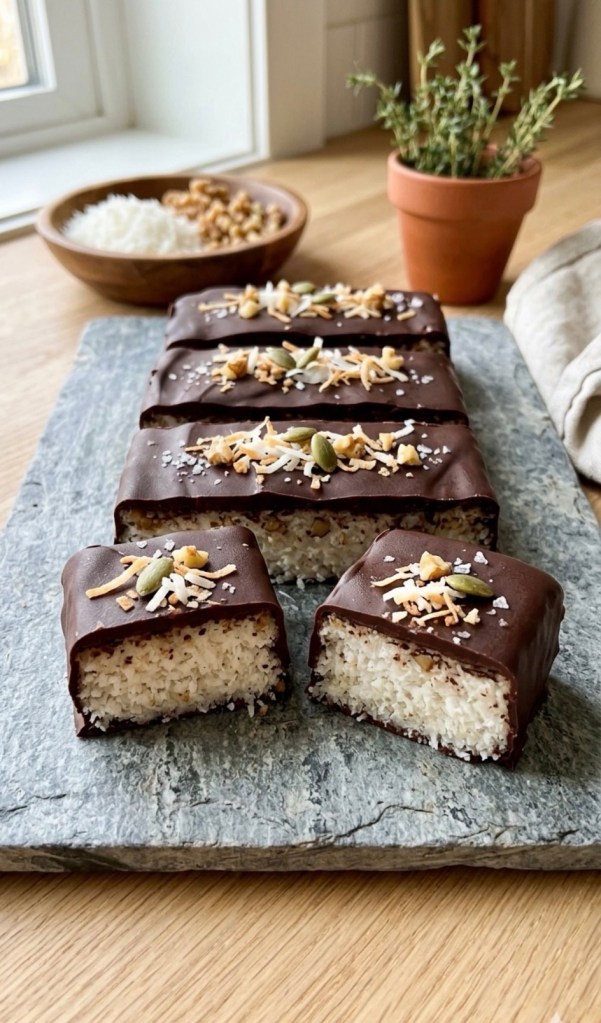
These Coconut Cream Bars are rich, velvety, and satisfy that craving for something decadent, all while being completely no-bake and surprisingly simple to put together. Plus, they look so professional and aesthetic that your friends and family won’t believe you made them in your own kitchen!
Why You’ll Love These Bars
There are countless reasons why this recipe has become a staple in my kitchen, but here are the highlights:
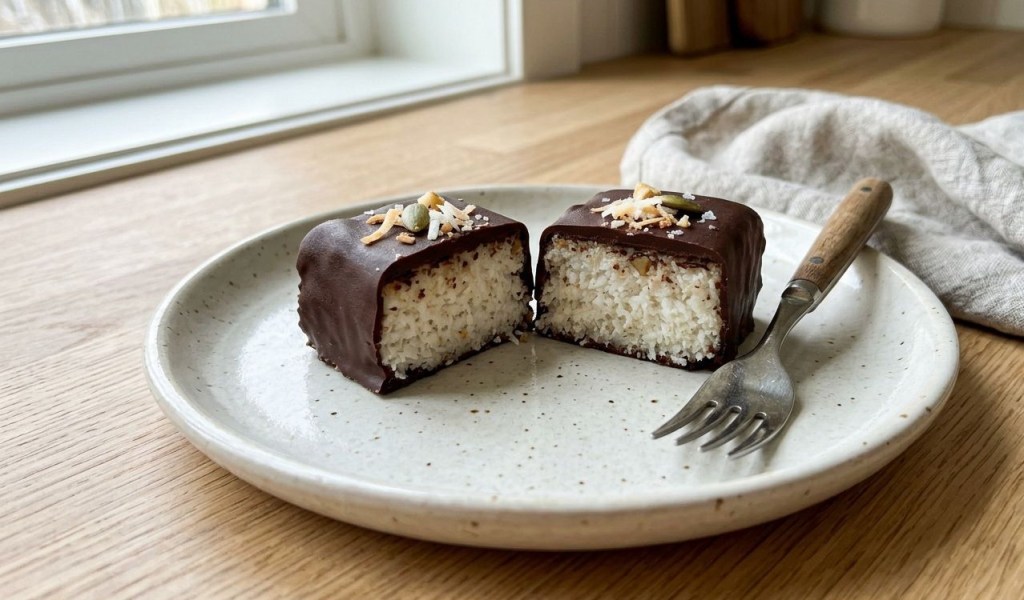
The Texture: The real “wow” factor here is the contrast between the dense, creamy coconut middle and the sharp “snap” of the dark chocolate shell, which is pure magic for your taste buds.
The Simplicity: You only need five core ingredients to pull this off, and best of all, there is absolutely no oven work required.
The Versatility: These are the perfect little pick-me-up to enjoy with a mid-morning cup of tea, or as a sophisticated post-dinner treat when you want something small and sweet.
The Aesthetic: Because they look so clean and uniform, they are incredibly satisfying to plate up for guests.
The Ingredients
You can find these in any local supermarket, and they are pantry essentials you likely already have on hand:
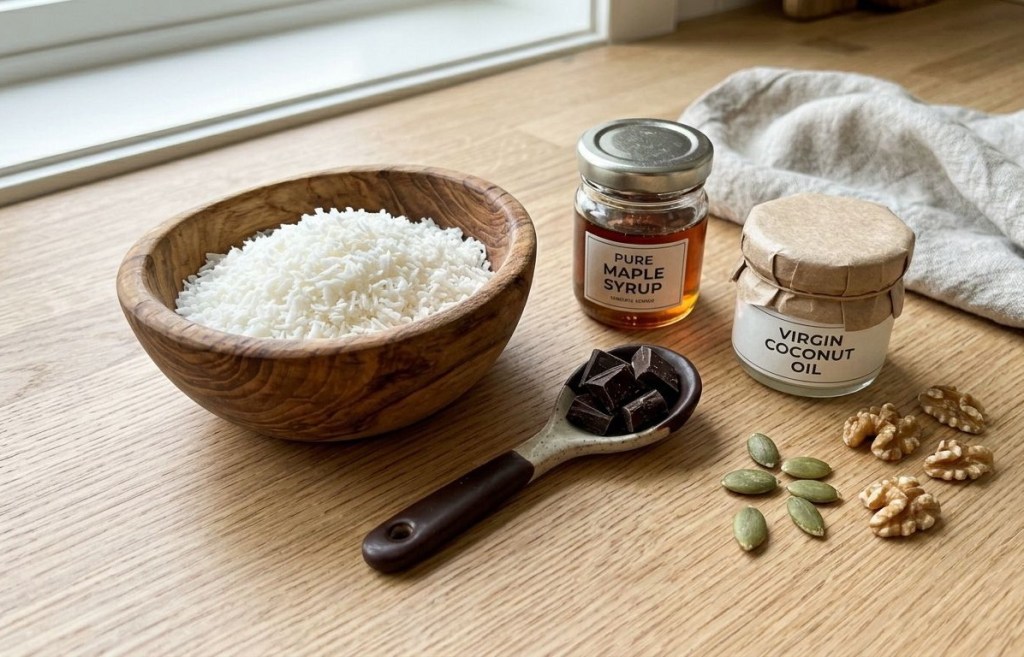
150g shredded coconut: Use the fine desiccated kind for a much creamier interior texture.
80ml full-fat tinned coconut milk: Make sure to scoop out the thick, solid cream from the top of the tin, as this is what gives the bars their luscious mouthfeel.
45ml maple syrup: This provides that lovely, natural sweetness that balances the bitterness of the dark chocolate.
1 tsp vanilla extract: For that warm, aromatic finish.
175g high-quality dark chocolate: Aim for at least 70% cocoa for the best flavour profile.
1 tbsp coconut oil: This is the secret to getting the chocolate to melt into a silky consistency and set with that signature, professional-looking shine.
Step-by-Step Method
1. Prepare the Coconut Centre
In a medium mixing bowl, combine your shredded coconut, the thick coconut cream, maple syrup, and vanilla extract. Use a spatula to stir the ingredients until the mixture is well combined and holds together firmly when you press it against the side of the bowl.
2. Set the Base
Line a small container or a standard loaf tin with parchment paper. Transfer your coconut mixture into the tin and press it down very firmly using the back of a spoon or your hands. You want it to be about 2–3cm thick to get that perfect bar-like bite. Pop this in the freezer for at least 60 minutes until it is completely firm.
3. Slice into Bars
Once the base is set, carefully remove the block from the tin using the parchment paper edges. Place it on a cutting board and use a warm knife to slice it into neat, uniform rectangles. A clean, warm knife is key to getting those smooth, sharp edges.
4. The Chocolate Dip
Melt your dark chocolate and coconut oil together in a heatproof bowl set over a pan of simmering water, or use short, 30-second bursts in the microwave. Using a fork, submerge each coconut rectangle into the chocolate until it is fully coated. Lift it out, let the excess drip off, and place them on a wire rack to set.
5. Final Flourish
While the chocolate is still wet, sprinkle a tiny pinch of sea salt, some toasted coconut flakes, or even a few chopped nuts on top for visual contrast. Let them set in the fridge for a few minutes, and you are ready to serve!
Pro-Tips for Success
The Temperature Matters: When dipping your bars, ensure the coconut centre is still very cold from the freezer. This prevents the bar from softening while you are working with the warm chocolate.
Make it Your Own: If you fancy a bit of crunch, feel free to fold in some chopped walnuts or pepitas into the coconut mixture before setting.
Storage: Keep any leftovers in an airtight container in the fridge for up to a week, or freeze them for up to a month. They taste incredible when served chilled—almost like a homemade, luxury ice cream bar!
Have you tried making your own chocolate bars at home? Let me know in the comments below what fillings you’d try next!


Leave a Reply