Tag: meal prep ideas

  • Warm Butternut Squash & Sweet Potato Salad (High-Protein, Cosy & Easy)

    Warm Butternut Squash & Sweet Potato Salad (High-Protein, Cosy & Easy)


    If you love a cosy bowl of food that still feels light and nourishing, this warm butternut squash and sweet potato salad is for you. It’s packed with colour, fibre and healthy fats, with a good hit of protein from the feta and walnuts.

    I’ve been making a version of this salad for years, and it’s one of those recipes that feels just as at home on a busy weeknight as it does on a relaxed Sunday lunch. Serve it as a main for two, or as a side dish for three to four people.

    Why you’ll love this recipe
    • Warm and satisfying – roasted squash and sweet potato make this much more filling than a “normal” salad.
    • High in protein and healthy fats – feta and walnuts keep you fuller for longer.
    • Simple ingredients – everything is easy to find in UK supermarkets.

    • Flexible – works as a main, side dish, or meal-prep bowl.

    Ingredients


    Serves 2 as a main, 3–4 as a side:
    • 1/2 butternut squash (or pumpkin), cut into small cubes
    • 1 large sweet potato, peeled and cubed
    • 2 handfuls walnuts
    • 140 g sun-dried tomatoes in oil, chopped
    • 100 g feta cheese, crumbled
    • 1 handful baby spinach leaves
    • Salt and pepper, to taste

    • A drizzle of oil from the sun-dried tomatoes (or 1 tablespoon olive oil)

    Method

    1. Preheat the oven
      Preheat your oven to 200–225°C (about 392°F). Line a baking tray with non-stick roasting paper or a silicone mat.
    2. Prep the vegetables
      Peel and slice the sweet potato, then cut into small cubes or quartered slices. Slice the butternut squash and cut into cubes. You can leave the skin on the squash if you like – it softens beautifully when roasted.
    3. Roast the squash and sweet potato
      Spread the squash and sweet potato in a single layer on the prepared tray. Season lightly with salt and pepper.
      Roast in the middle of the oven for around 15 minutes, or until starting to soften and turn lightly golden at the edges.
    4. Toast the walnuts
      After 15 minutes, sprinkle the walnuts over the tray. Return to the oven and roast for a further 10–15 minutes, until the vegetables are soft inside and caramelised on the edges and the walnuts are toasted and fragrant.
    5. Prep the remaining ingredients
      While the veg is roasting, chop the sun-dried tomatoes into small pieces. Crumble the feta and rinse/dry the baby spinach leaves if needed.
    6. Assemble the salad
      Once the veg and walnuts are done, transfer them to a large bowl while still warm. Add the chopped sun-dried tomatoes, baby spinach and crumbled feta.
      Season with a little extra salt and pepper if needed. Drizzle over a spoonful of the oil from the sun-dried tomatoes (or olive oil) and gently toss everything together so the warm veg just starts to wilt the spinach.
    7. Serve

    Serve immediately as a warm salad bowl, or let it cool slightly and enjoy at room temperature. It’s delicious on its own, or alongside grilled chicken, fish or a piece of crusty bread.

    Approximate macros per serving
    (For 2 servings from this recipe – these are estimates.)
    • Calories: around 550–600 kcal
    • Protein: around 15–18 g
    • Carbohydrates: around 45–55 g

    • Fat: around 30–35 g

    Tips, swaps and serving ideas
    • Make it vegan: Swap the feta for a dairy-free alternative or add extra toasted nuts and seeds.
    • Add grains: Stir through cooked quinoa, couscous or brown rice to turn this into a bigger meal prep bowl.
    • Change the greens: Baby kale or rocket (arugula) also work if you don’t have spinach.

    • Add a dressing: Finish with a squeeze of lemon juice or a splash of balsamic vinegar if you like a sharper finish.

  • Healthy Hazelnut & Chocolate Bites: The Perfect Guilt-Free Snack

    Healthy Hazelnut & Chocolate Bites: The Perfect Guilt-Free Snack

    Looking for a way to satisfy those mid-afternoon chocolate cravings without reaching for the processed stuff? You are not alone. Many of us want a sweet treat that feels indulgent but keeps our health goals on track.

    These homemade, date-based hazelnut bites are the answer. They pack all the rich, nutty flavour of a classic luxury chocolate into a wholesome, plant-based package. Best of all? They are incredibly easy to make and require zero baking.

    Why You Will Love These Bites

     Wholesome Ingredients: They rely on natural sweetness from Medjool dates and heart-healthy fats from hazelnuts.

     Quick & Easy: No oven required—just a food processor and 30 minutes of chill time.

     Versatile: They are vegan, refined-sugar-free, and make the perfect meal-prep snack for a busy week.

    The Ingredients

     1 cup whole hazelnuts (roasted, skins removed)

     1 ½ cups Medjool dates (pitted and packed)

     3 tbsp high-quality unsweetened cocoa powder (or raw cacao)

     1 tsp pure vanilla extract

     1 pinch sea salt

     Optional: 1 tbsp hazelnut butter for extra decadence

     For the coating: ½ cup finely chopped roasted hazelnuts

    Simple Method

    1. Prep the Nuts: Place your roasted hazelnuts into a food processor and pulse until they are coarsely chopped. Scoop out about 2–3 tablespoons and set them aside; you will use these for the final coating.

    2. Combine: Add the pitted dates, cocoa powder, vanilla extract, sea salt, and optional hazelnut butter to the processor with the remaining nuts.

    3. Blend: Blitz on high until the mixture forms a thick, sticky dough. If your dates are on the firmer side and it isn’t sticking, add a teaspoon of hot water or melted coconut oil to get it moving.

    4. Shape: Take about a tablespoon of the mixture and roll it firmly between your palms to create a ball.

    5. Coat: Roll each ball into the reserved chopped hazelnuts, pressing gently so the nut pieces stick to the outside.

    6. Chill: Place them on a tray lined with parchment paper and pop them in the fridge for at least 30 minutes to firm up.

    Storage Tips

    Keep these bites in an airtight container in your fridge for up to two weeks, or stash them in the freezer for up to two months when you need a quick energy boost.

    Who says you can’t have your chocolate and eat it too? These are made with simple, wholesome ingredients—no refined sugars, just pure hazelnut and cocoa goodness! Perfect for that 3pm slump.

  • The Best 3-Ingredient Chocolate Hazelnut Oat Bars

    The Best 3-Ingredient Chocolate Hazelnut Oat Bars

    Forget the expensive, processed cereal bars from the supermarket. If you want a snack that is deeply satisfying, perfectly chewy, and actually good for you, you have come to the right place.

    These chocolate hazelnut oat bars are my go-to for snack prep. They take minutes to pull together, they use simple pantry staples, and—best of all—they taste like a proper treat.

    Why You’ll Love These:

     Minimal Ingredients: Just three core ingredients for the base.

     No-Bake/Quick Prep: Perfect for busy weeks.

     Customisable: Add seeds, extra nuts, or sea salt to suit your taste.

     Healthier Energy: Packed with oats for sustained energy and healthy fats from the peanut butter.

    The Recipe (UK Measurements)

    Ingredients for the Base:

     200g Rolled Oats (use GF-certified if required)

     125g Peanut Butter (smooth or crunchy)

     110g Maple Syrup (or agave nectar/honey)

    For the Topping:

     150g Dark Chocolate (melted)

     50g Blanched Hazelnuts (roughly chopped)

    Method

    1. Prep: Line a 20cm x 20cm square baking tin with parchment paper.

    2. Mix the Binder: In a medium bowl, combine your peanut butter and maple syrup. If it’s a bit stiff, pop it in the microwave for 30 seconds until it’s nice and soft and easy to stir.

    3. Combine: Place your rolled oats into a large mixing bowl. Pour the peanut butter and syrup mixture over the oats and mix well until every oat is evenly coated.

    4. Press: Transfer the mixture into your lined tin. Use the back of a spoon or your hands to press the mixture very firmly into the tin. This is the secret to getting them to stay together!

    5. Set: Place the tin into the freezer for 30 minutes to firm up.

    6. Top: Once firm, pour your melted chocolate over the top and spread it evenly. Sprinkle the chopped hazelnuts over the wet chocolate.

    7. Chill & Slice: Place the tin back in the fridge or freezer until the chocolate has fully set. Once set, lift out of the tin using the parchment paper and slice into oblong bars.

    Tips for Success

     Storage: Keep these in the fridge to ensure they stay perfectly chewy and don’t get too soft. They will last for up to a week in an airtight container.

     Additions: Feel free to stir in chia seeds, sunflower seeds, or a pinch of sea salt to the oat mixture before pressing it into the tin.

    Did you give these a try? Let me know in the comments below how they turned out!

  • No-Bake Raspberry & Lemon Oat Bars (Healthy Breakfast Hack!)

    No-Bake Raspberry & Lemon Oat Bars (Healthy Breakfast Hack!)

    Let’s be real for a second—how many times have you skipped breakfast because you were in a rush, only to find yourself reaching for a sugary biscuit by 10 AM? We’ve all been there!

    I’ve been on a mission lately to find a grab-and-go breakfast that actually keeps me full, doesn’t cost a fortune, and—most importantly—doesn’t require me to stand over a hot oven at 6 AM.

    Well, my friends, I think I’ve found the holy grail: No-Bake Raspberry & Lemon Oat Bars. These beauties are chewy, zingy, naturally sweetened, and completely no-bake. They are honestly a game-changer for your weekly meal prep!

    Why You’ll Love Them:

     Zero Baking: No preheating the oven. Just mix, press, and chill.

     Packed with Goodness: We’re talking oats for slow-release energy, seeds for fiber, and nuts for that satisfying crunch.

     Customisable: Want to add a little something extra? Go for it!

    What You’ll Need:

     150g Porridge oats (Use jumbo oats if you like a bit more texture)

     125g Raspberries (Fresh or frozen both work perfectly)

     60ml Coconut oil, melted

     85g Clear honey

     20g Maple syrup

     1 tsp Vanilla extract

     Pinch of sea salt

     70g Almonds, roughly chopped

     35g Sunflower seeds

     20g Chia seeds

    For the decoration:

     White chocolate, melted (essential for that signature drizzle!)

     Extra white chocolate mixed with a tiny drop of food colouring (I love using pink or yellow to match the raspberry-lemon vibe!)

    How to Make Them:

    1. Prep your tin: Line a 20cm (8-inch) square tin with baking parchment. Leaving a bit of an overhang makes it so much easier to lift them out later.

    2. The Mix: In a large mixing bowl, combine your melted coconut oil, honey, maple syrup, and vanilla. Give it a good whisk until it’s smooth.

    3. Combine: Add in your oats, chopped almonds, sunflower seeds, and chia seeds. Stir until everything is nicely coated in that sticky, sweet mixture.

    4. The Fruit: Gently fold in your raspberries. If you’re using frozen, don’t thaw them! Just toss them in straight from the freezer to keep them from breaking up too much.

    5. Press & Chill: Tip the mixture into your tin and press it down really firmly with the back of a spoon. This is the secret to getting them to stay together! Pop the tin into the freezer for at least an hour to set.

    6. Decorate: Once firm, lift them out and slice into bars. Melt your white chocolate, drizzle away, and feel free to add that pop of colour with your tinted chocolate for a professional bakery look

    A Quick Pro-Tip:

    These bars keep perfectly in the fridge for about a week, or you can wrap them individually and keep them in the freezer for up to three months. They’re basically the ultimate morning life-saver.

    Give these a try this weekend and let me know how you get on! Don’t forget to tag me in your photos—I love seeing your creations!

    Are you a “prep your breakfast the night before” person or a “grab whatever is in the cupboard” person? Let me know in the comments below! 

  • Easy No-Bake Peanut Butter & Oat Bars

    Easy No-Bake Peanut Butter & Oat Bars

    Ever have one of those days where you need a snack now, but everything in the cupboard is a bit boring?

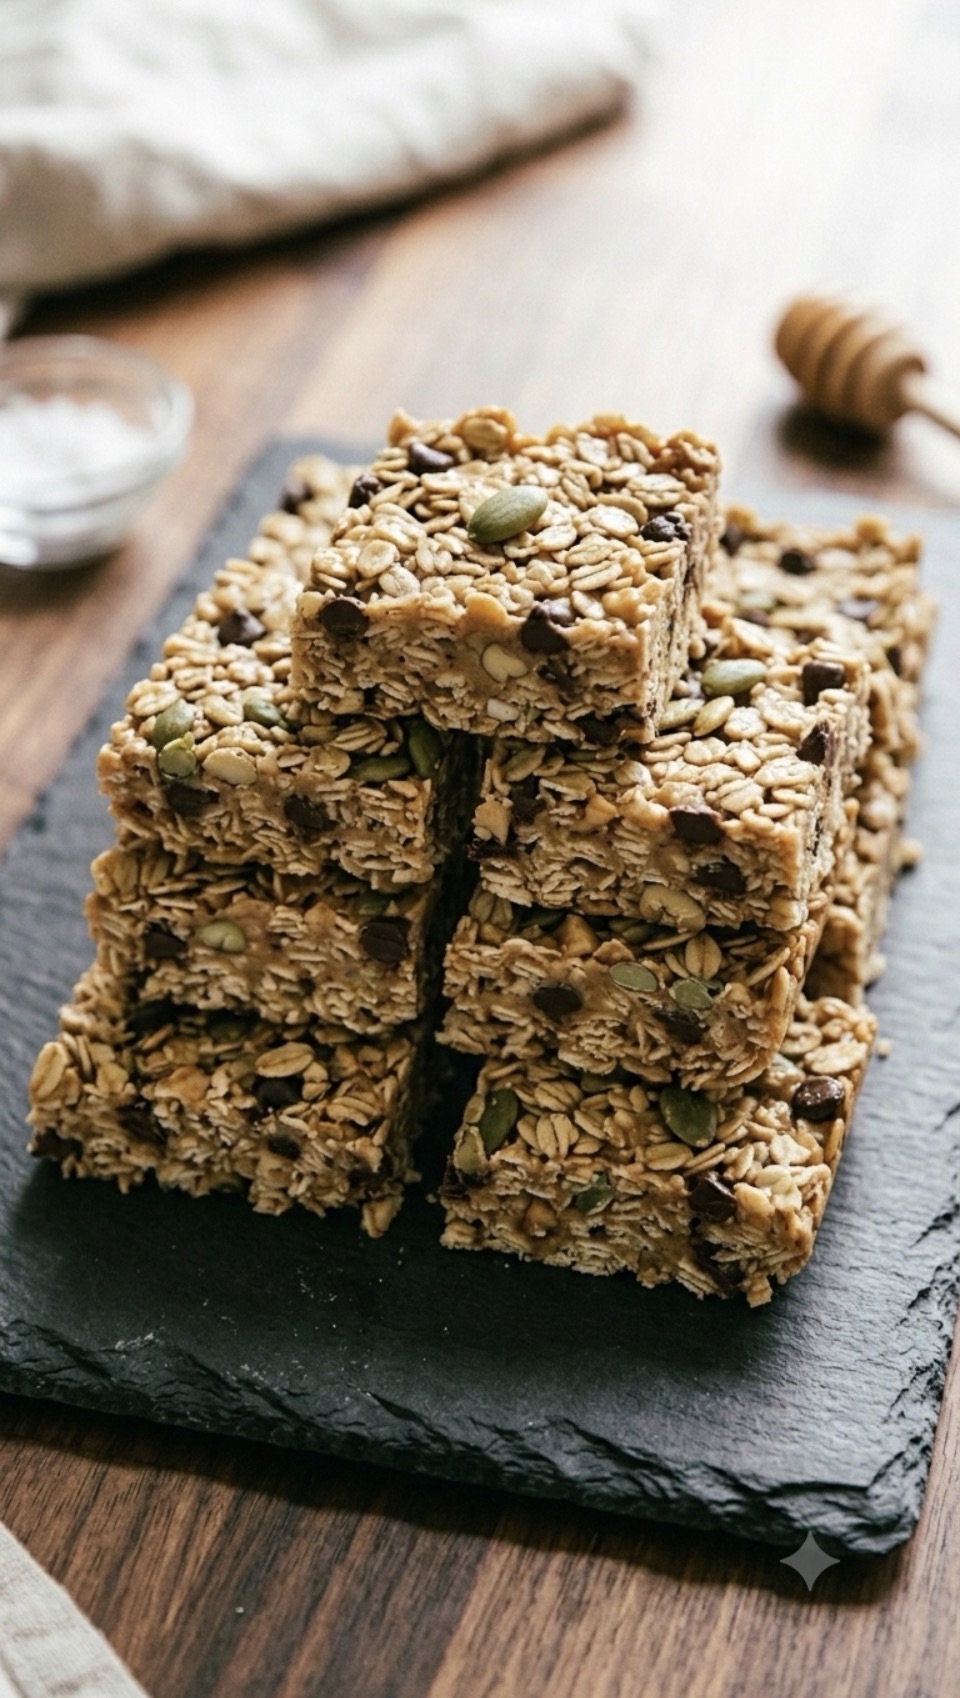
    I have been there so many times. That’s exactly why these No-Bake Peanut Butter and Oat Bars have become a permanent fixture in my kitchen. They are the perfect balance of chewy, salty, and sweet, and honestly? They take almost zero effort to put together.
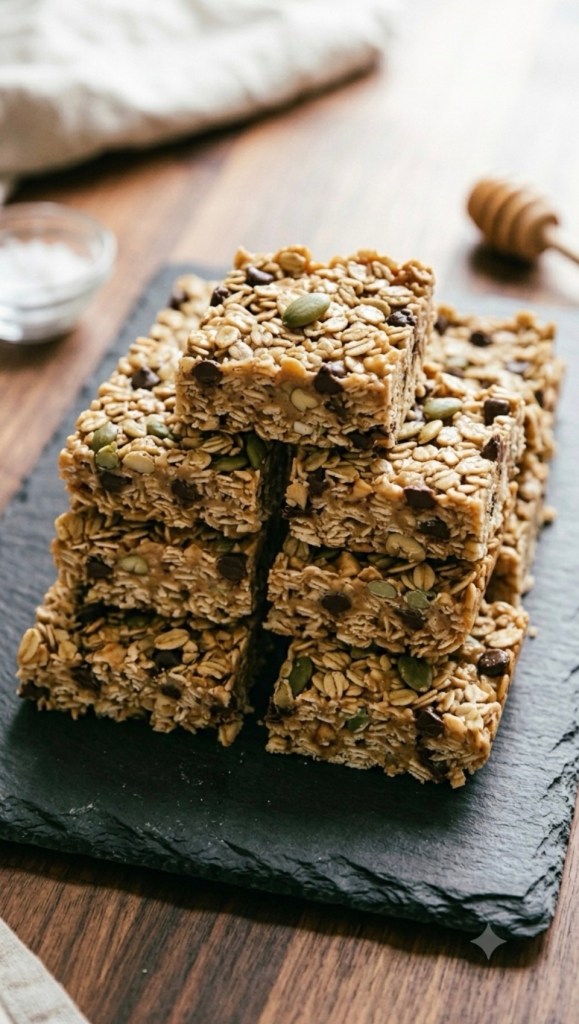
    Whether you need a quick pre-workout bite, a school lunchbox filler, or just a little something to go with your afternoon tea, these are going to be your new go-to.

    Why You’ll Love These Bars

     No Oven Needed: They come together in one bowl and set in the fridge.

     Customisable: Don’t have peanut butter? Cashew butter works wonders. Want more crunch? Throw in extra pumpkin seeds.

     Better Than Store-Bought: You know exactly what’s in them—simple, wholesome ingredients.

    What You’ll Need
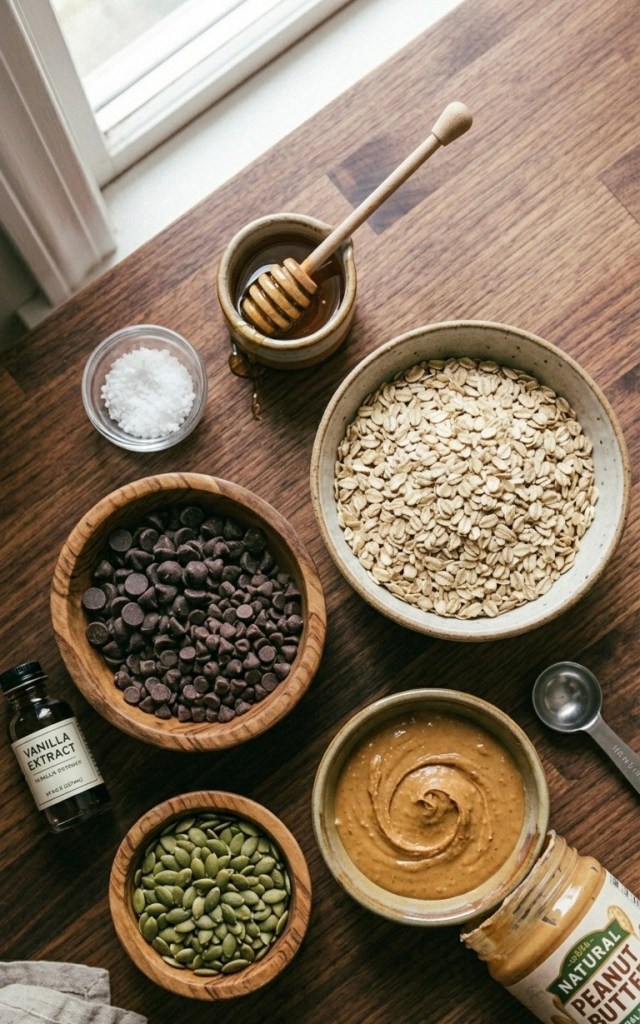
     250g very smooth, creamy natural peanut butter (or cashew butter)

     220g honey

     1 tsp vanilla extract

     Heaping ½ tsp sea salt

     250g whole rolled oats

     60g mini chocolate chips (or chopped chocolate—this is the secret to getting them to hold together!)

     3 tbsp pumpkin seeds

    Method

    1 Prep your tin: Line an 8×8 inch square baking tin with parchment paper. This makes getting the bars out once they’re set much easier.

    2 Mix the base: In a large bowl, stir your peanut butter, honey, vanilla, and sea salt together. Keep stirring until it’s lovely and smooth.

    3 Add the goodness: Tip in your oats, chocolate chips, and pumpkin seeds. It might look a little dry when you first start, but just keep mixing! The oats will absorb that lovely peanut butter mixture and everything will come together.

    4 Press and chill: Tip the mixture into your prepared tin. To get them perfectly flat and compact, place a second piece of parchment paper on top and use the back of a measuring cup to press down firmly. The more you pack it down, the better they stay together.

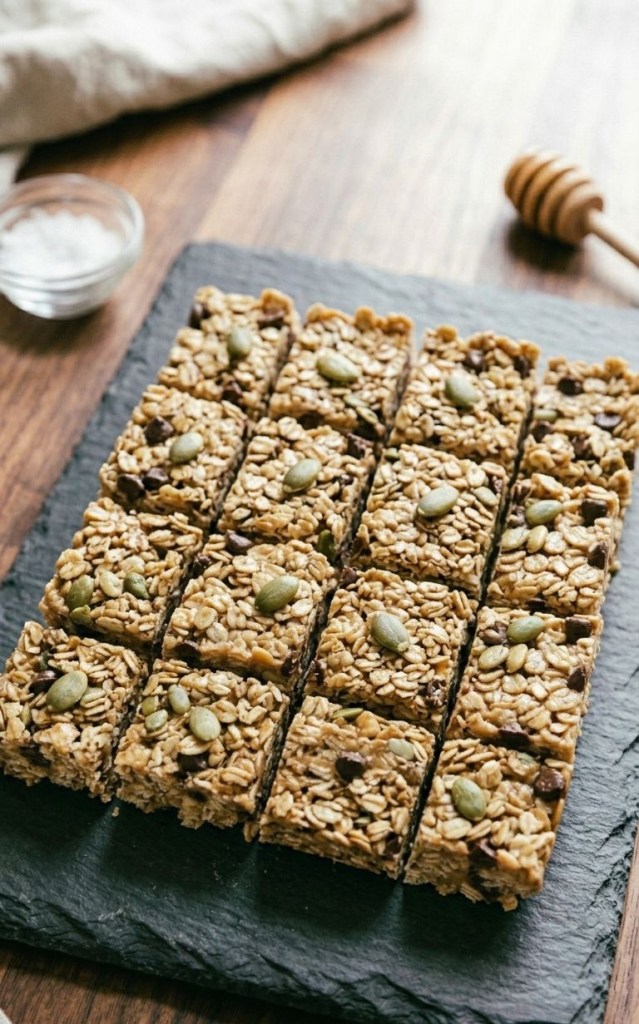
    5 Set: Pop the tin in the fridge for at least 1 hour. Once set, slice them into bars and store them in the fridge to keep them firm.

    Pro-tip: If you can’t find mini chocolate chips, grab a bar of your favourite dark chocolate and chop it into tiny pieces. Small pieces help the bars hold their shape much better than big, chunky chips!
    Let me know in the comments if you give these a try! Are you a peanut butter purist, or are you going to try the cashew version?