Tag: oat bars

  • The Best 3-Ingredient Chocolate Hazelnut Oat Bars

    The Best 3-Ingredient Chocolate Hazelnut Oat Bars

    Forget the expensive, processed cereal bars from the supermarket. If you want a snack that is deeply satisfying, perfectly chewy, and actually good for you, you have come to the right place.

    These chocolate hazelnut oat bars are my go-to for snack prep. They take minutes to pull together, they use simple pantry staples, and—best of all—they taste like a proper treat.

    Why You’ll Love These:

     Minimal Ingredients: Just three core ingredients for the base.

     No-Bake/Quick Prep: Perfect for busy weeks.

     Customisable: Add seeds, extra nuts, or sea salt to suit your taste.

     Healthier Energy: Packed with oats for sustained energy and healthy fats from the peanut butter.

    The Recipe (UK Measurements)

    Ingredients for the Base:

     200g Rolled Oats (use GF-certified if required)

     125g Peanut Butter (smooth or crunchy)

     110g Maple Syrup (or agave nectar/honey)

    For the Topping:

     150g Dark Chocolate (melted)

     50g Blanched Hazelnuts (roughly chopped)

    Method

    1. Prep: Line a 20cm x 20cm square baking tin with parchment paper.

    2. Mix the Binder: In a medium bowl, combine your peanut butter and maple syrup. If it’s a bit stiff, pop it in the microwave for 30 seconds until it’s nice and soft and easy to stir.

    3. Combine: Place your rolled oats into a large mixing bowl. Pour the peanut butter and syrup mixture over the oats and mix well until every oat is evenly coated.

    4. Press: Transfer the mixture into your lined tin. Use the back of a spoon or your hands to press the mixture very firmly into the tin. This is the secret to getting them to stay together!

    5. Set: Place the tin into the freezer for 30 minutes to firm up.

    6. Top: Once firm, pour your melted chocolate over the top and spread it evenly. Sprinkle the chopped hazelnuts over the wet chocolate.

    7. Chill & Slice: Place the tin back in the fridge or freezer until the chocolate has fully set. Once set, lift out of the tin using the parchment paper and slice into oblong bars.

    Tips for Success

     Storage: Keep these in the fridge to ensure they stay perfectly chewy and don’t get too soft. They will last for up to a week in an airtight container.

     Additions: Feel free to stir in chia seeds, sunflower seeds, or a pinch of sea salt to the oat mixture before pressing it into the tin.

    Did you give these a try? Let me know in the comments below how they turned out!

  • No-Bake Raspberry & Lemon Oat Bars (Healthy Breakfast Hack!)

    No-Bake Raspberry & Lemon Oat Bars (Healthy Breakfast Hack!)

    Let’s be real for a second—how many times have you skipped breakfast because you were in a rush, only to find yourself reaching for a sugary biscuit by 10 AM? We’ve all been there!

    I’ve been on a mission lately to find a grab-and-go breakfast that actually keeps me full, doesn’t cost a fortune, and—most importantly—doesn’t require me to stand over a hot oven at 6 AM.

    Well, my friends, I think I’ve found the holy grail: No-Bake Raspberry & Lemon Oat Bars. These beauties are chewy, zingy, naturally sweetened, and completely no-bake. They are honestly a game-changer for your weekly meal prep!

    Why You’ll Love Them:

     Zero Baking: No preheating the oven. Just mix, press, and chill.

     Packed with Goodness: We’re talking oats for slow-release energy, seeds for fiber, and nuts for that satisfying crunch.

     Customisable: Want to add a little something extra? Go for it!

    What You’ll Need:

     150g Porridge oats (Use jumbo oats if you like a bit more texture)

     125g Raspberries (Fresh or frozen both work perfectly)

     60ml Coconut oil, melted

     85g Clear honey

     20g Maple syrup

     1 tsp Vanilla extract

     Pinch of sea salt

     70g Almonds, roughly chopped

     35g Sunflower seeds

     20g Chia seeds

    For the decoration:

     White chocolate, melted (essential for that signature drizzle!)

     Extra white chocolate mixed with a tiny drop of food colouring (I love using pink or yellow to match the raspberry-lemon vibe!)

    How to Make Them:

    1. Prep your tin: Line a 20cm (8-inch) square tin with baking parchment. Leaving a bit of an overhang makes it so much easier to lift them out later.

    2. The Mix: In a large mixing bowl, combine your melted coconut oil, honey, maple syrup, and vanilla. Give it a good whisk until it’s smooth.

    3. Combine: Add in your oats, chopped almonds, sunflower seeds, and chia seeds. Stir until everything is nicely coated in that sticky, sweet mixture.

    4. The Fruit: Gently fold in your raspberries. If you’re using frozen, don’t thaw them! Just toss them in straight from the freezer to keep them from breaking up too much.

    5. Press & Chill: Tip the mixture into your tin and press it down really firmly with the back of a spoon. This is the secret to getting them to stay together! Pop the tin into the freezer for at least an hour to set.

    6. Decorate: Once firm, lift them out and slice into bars. Melt your white chocolate, drizzle away, and feel free to add that pop of colour with your tinted chocolate for a professional bakery look

    A Quick Pro-Tip:

    These bars keep perfectly in the fridge for about a week, or you can wrap them individually and keep them in the freezer for up to three months. They’re basically the ultimate morning life-saver.

    Give these a try this weekend and let me know how you get on! Don’t forget to tag me in your photos—I love seeing your creations!

    Are you a “prep your breakfast the night before” person or a “grab whatever is in the cupboard” person? Let me know in the comments below! 

  • Easy No-Bake Peanut Butter & Oat Bars

    Easy No-Bake Peanut Butter & Oat Bars

    Ever have one of those days where you need a snack now, but everything in the cupboard is a bit boring?

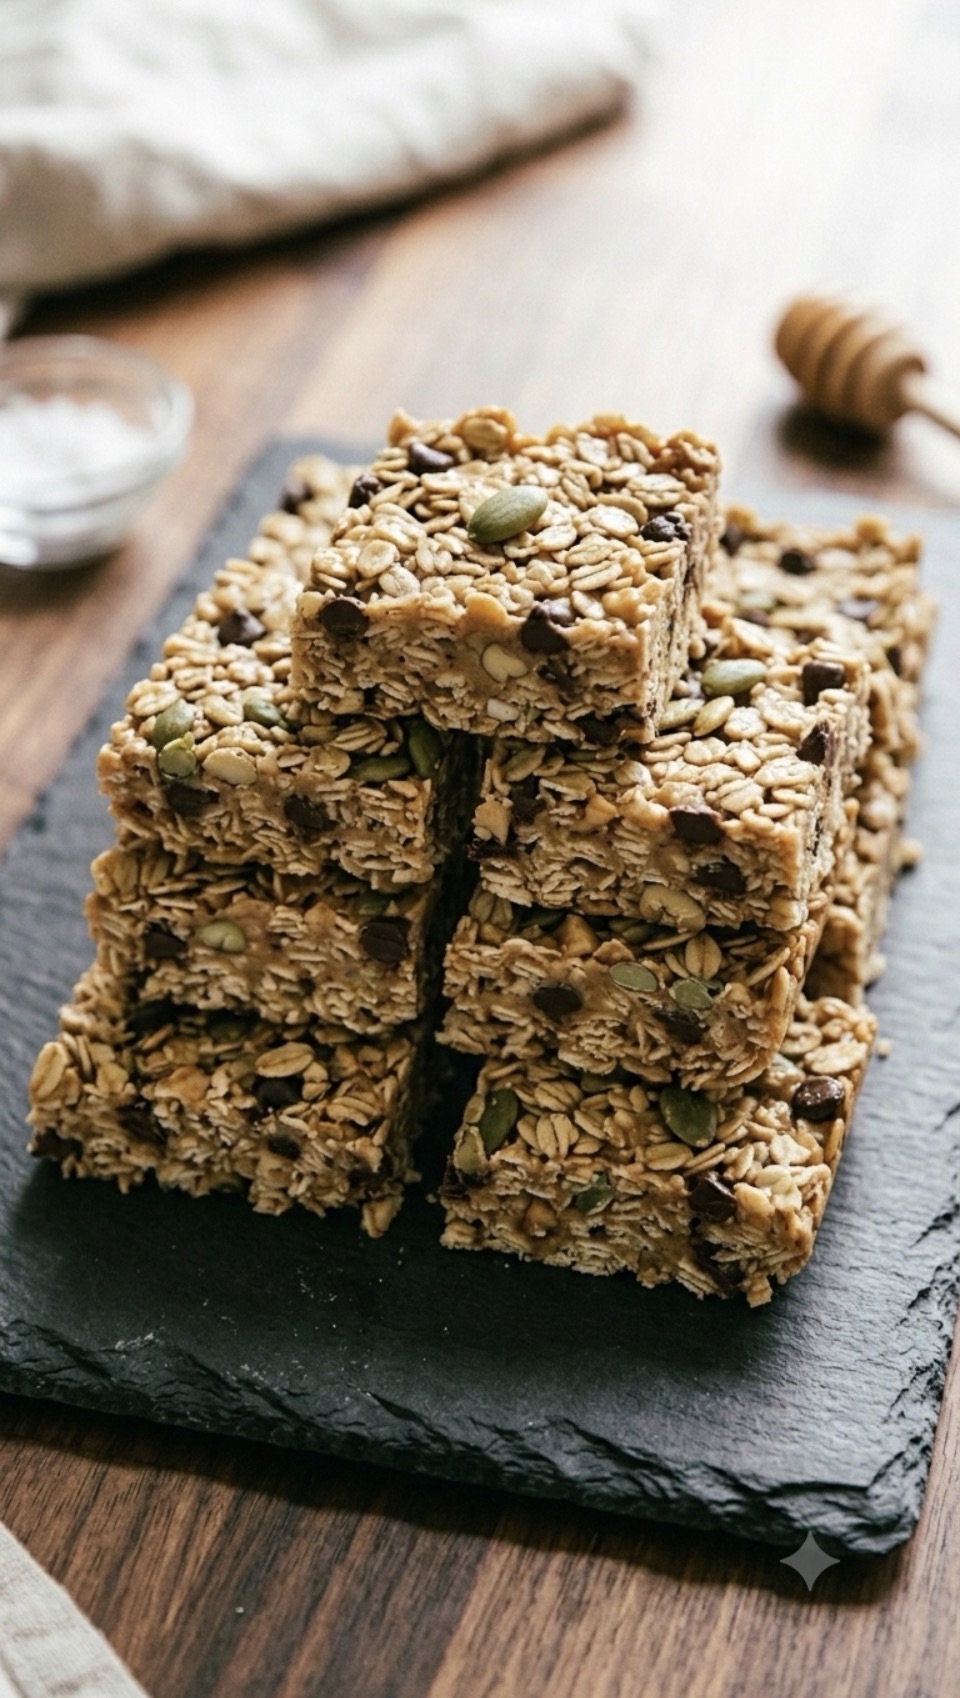
    I have been there so many times. That’s exactly why these No-Bake Peanut Butter and Oat Bars have become a permanent fixture in my kitchen. They are the perfect balance of chewy, salty, and sweet, and honestly? They take almost zero effort to put together.
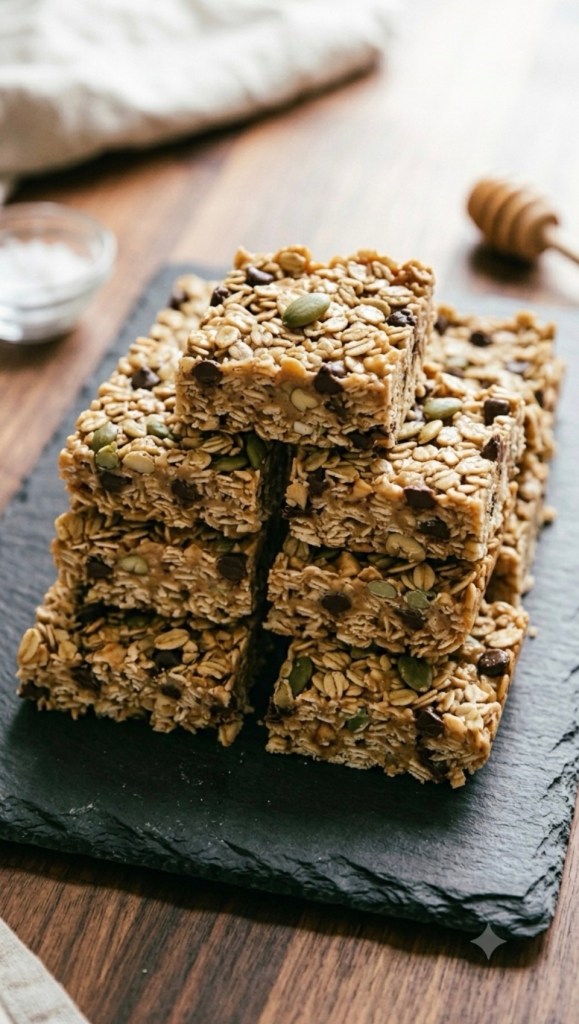
    Whether you need a quick pre-workout bite, a school lunchbox filler, or just a little something to go with your afternoon tea, these are going to be your new go-to.

    Why You’ll Love These Bars

     No Oven Needed: They come together in one bowl and set in the fridge.

     Customisable: Don’t have peanut butter? Cashew butter works wonders. Want more crunch? Throw in extra pumpkin seeds.

     Better Than Store-Bought: You know exactly what’s in them—simple, wholesome ingredients.

    What You’ll Need
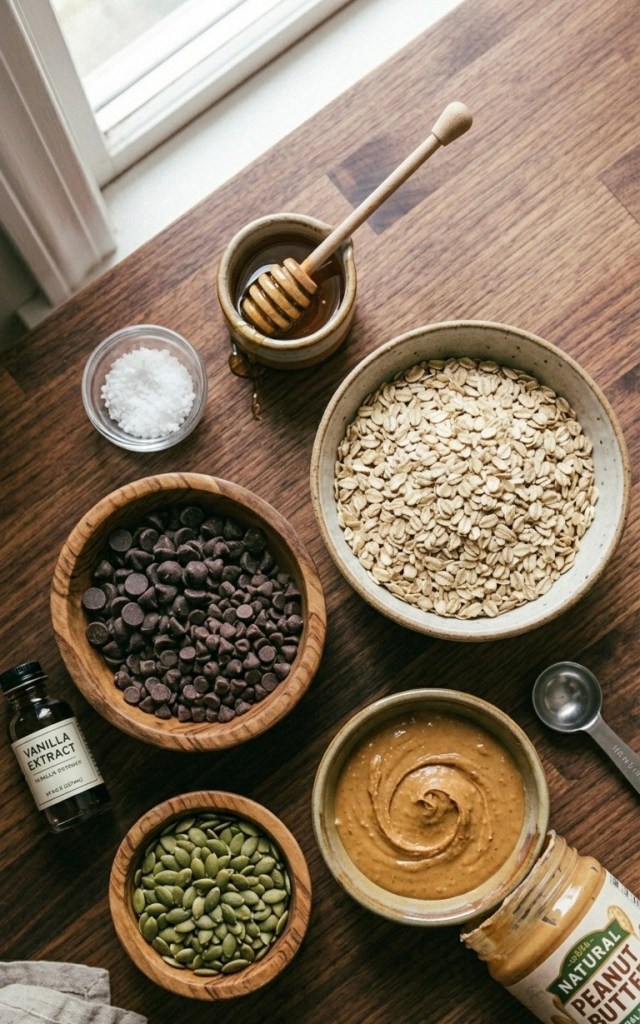
     250g very smooth, creamy natural peanut butter (or cashew butter)

     220g honey

     1 tsp vanilla extract

     Heaping ½ tsp sea salt

     250g whole rolled oats

     60g mini chocolate chips (or chopped chocolate—this is the secret to getting them to hold together!)

     3 tbsp pumpkin seeds

    Method

    1 Prep your tin: Line an 8×8 inch square baking tin with parchment paper. This makes getting the bars out once they’re set much easier.

    2 Mix the base: In a large bowl, stir your peanut butter, honey, vanilla, and sea salt together. Keep stirring until it’s lovely and smooth.

    3 Add the goodness: Tip in your oats, chocolate chips, and pumpkin seeds. It might look a little dry when you first start, but just keep mixing! The oats will absorb that lovely peanut butter mixture and everything will come together.

    4 Press and chill: Tip the mixture into your prepared tin. To get them perfectly flat and compact, place a second piece of parchment paper on top and use the back of a measuring cup to press down firmly. The more you pack it down, the better they stay together.

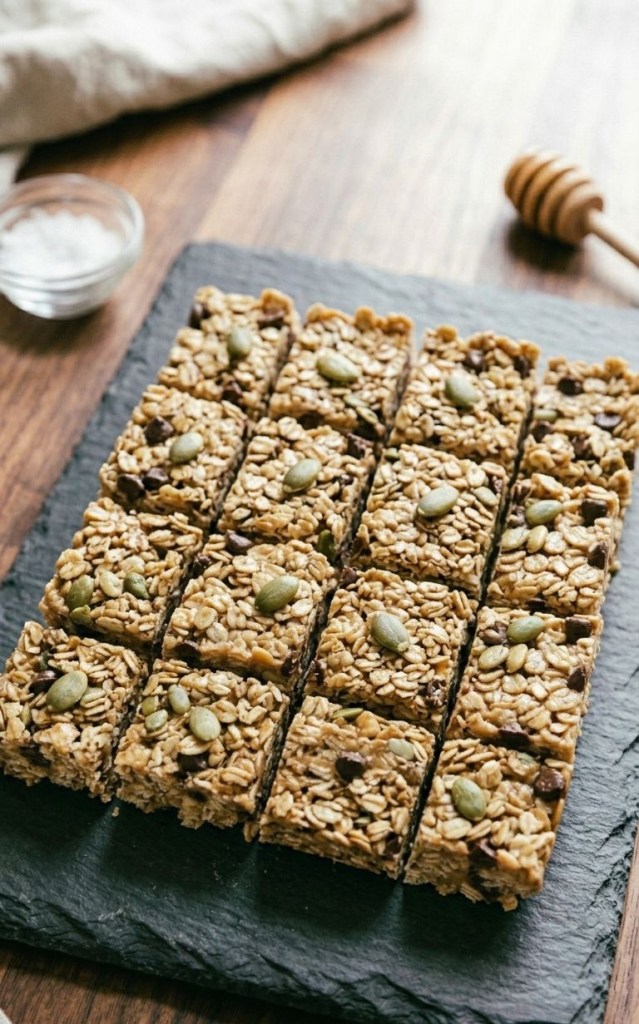
    5 Set: Pop the tin in the fridge for at least 1 hour. Once set, slice them into bars and store them in the fridge to keep them firm.

    Pro-tip: If you can’t find mini chocolate chips, grab a bar of your favourite dark chocolate and chop it into tiny pieces. Small pieces help the bars hold their shape much better than big, chunky chips!
    Let me know in the comments if you give these a try! Are you a peanut butter purist, or are you going to try the cashew version?