Author: LCchaosandhome

  • Hot Honey Halloumi Chicken Linguine (High Protein, Serves 2)

    Hot Honey Halloumi Chicken Linguine (High Protein, Serves 2)


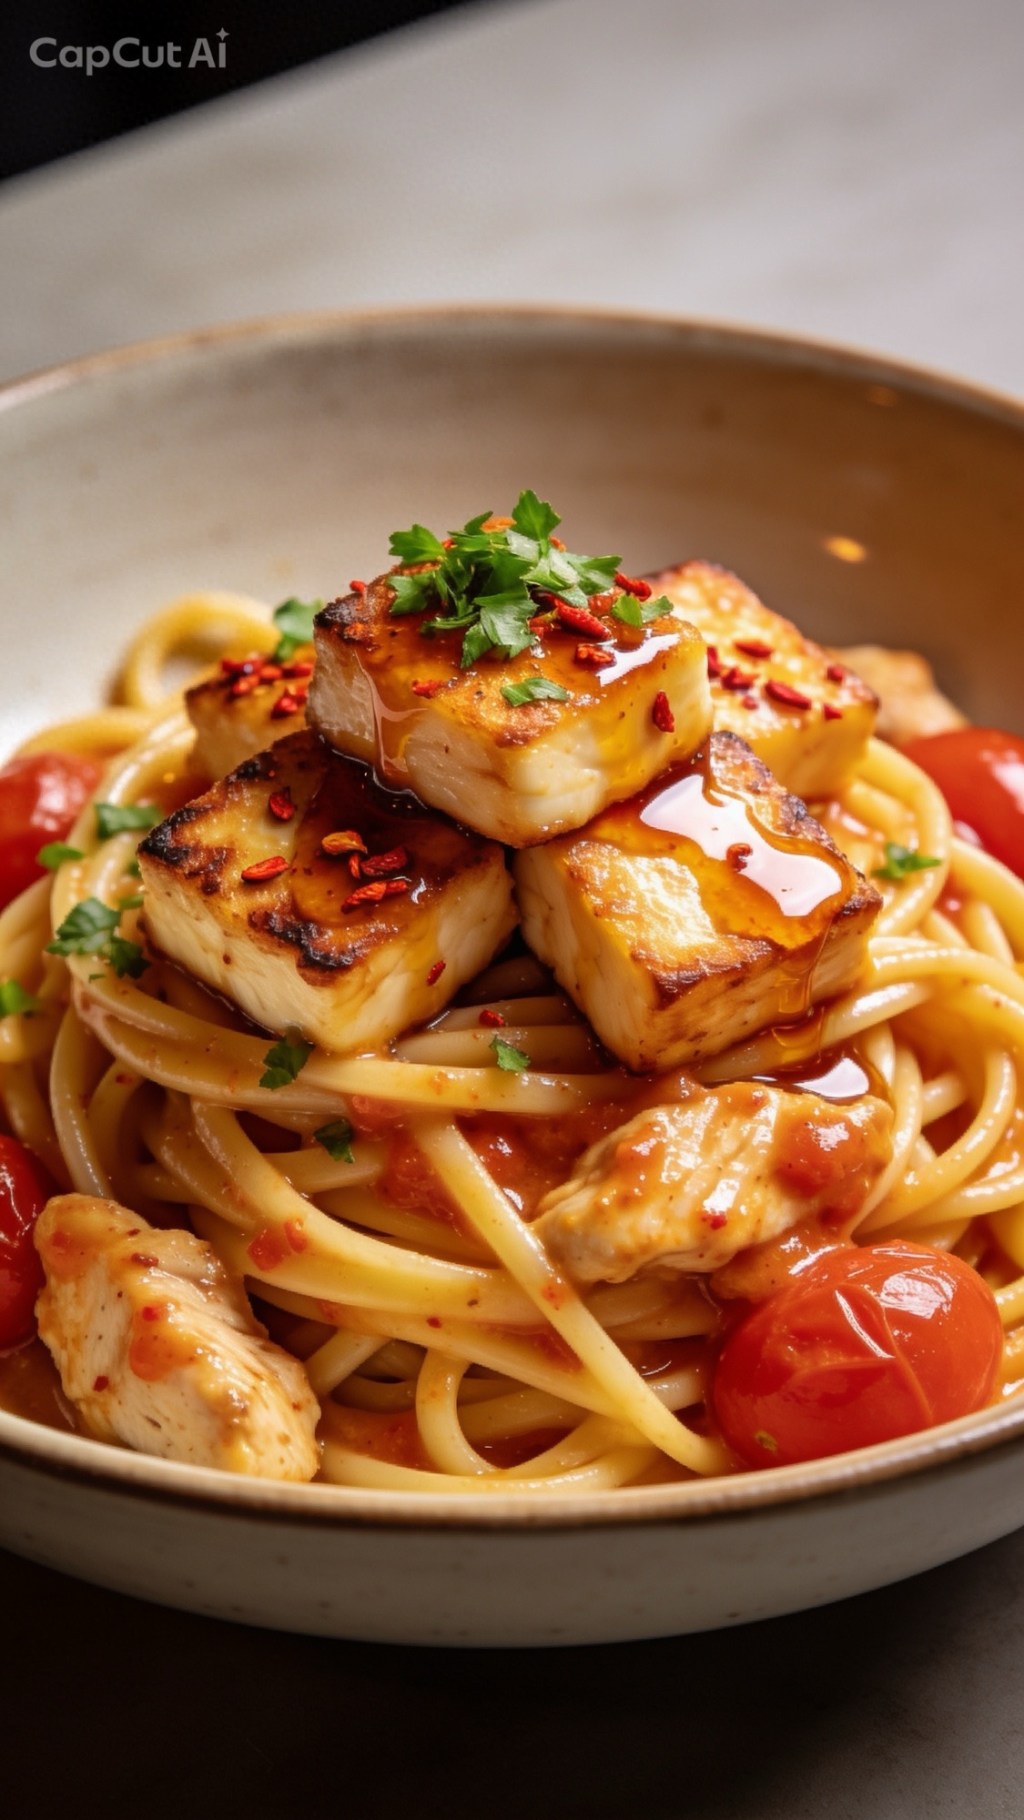
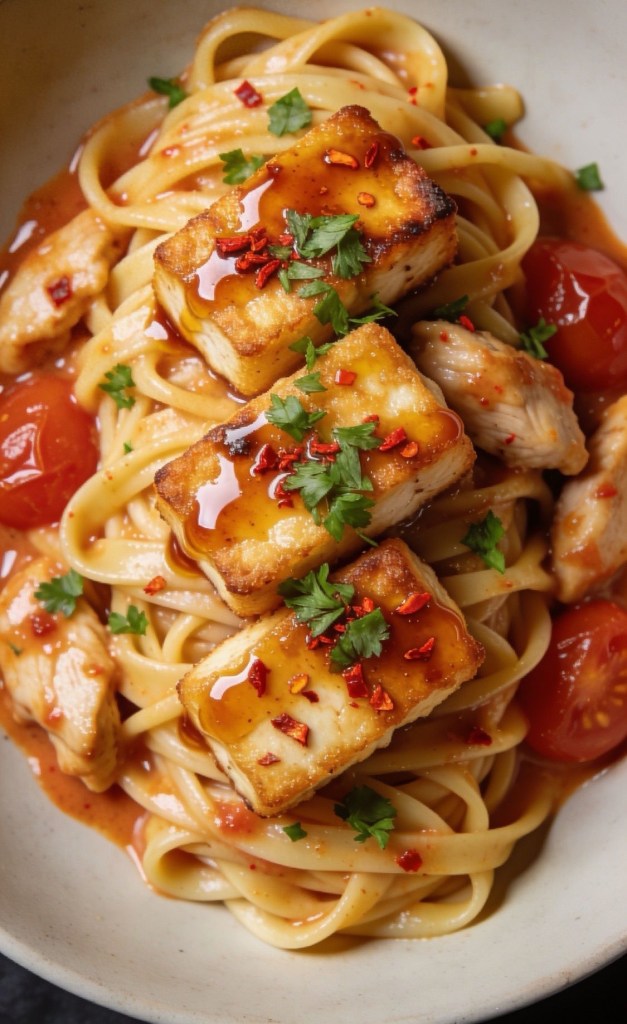
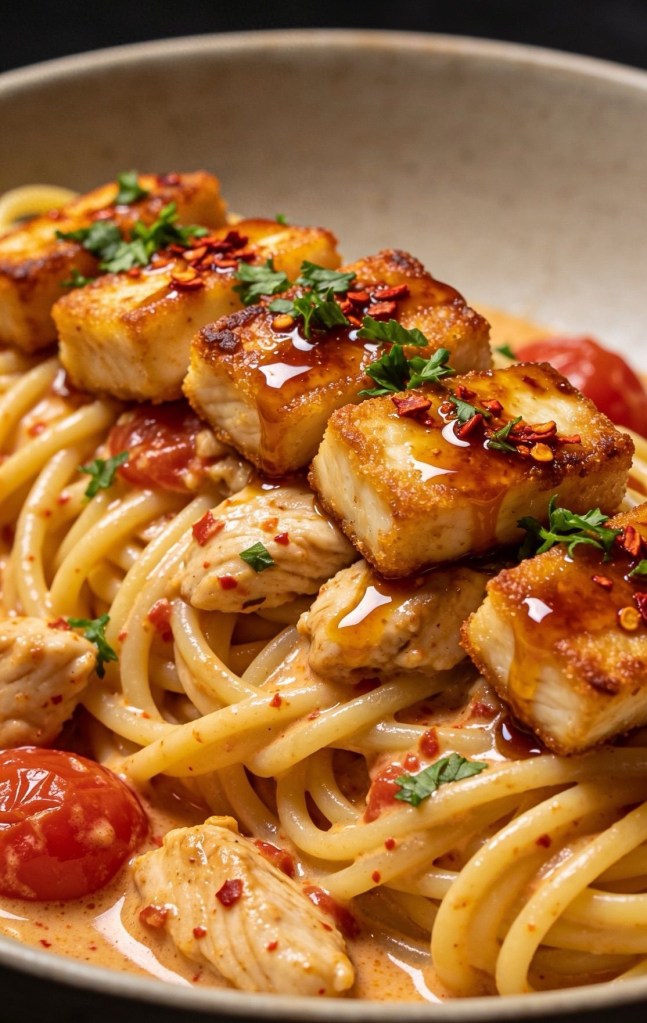
    If you love a creamy pasta but still want to keep your meals high in protein, this Hot Honey Halloumi Chicken Linguine needs to be on your menu. It’s the perfect balance of sweet, spicy and savoury: tender spiced chicken, silky garlic cream sauce, and golden crispy halloumi drizzled in hot honey on top.
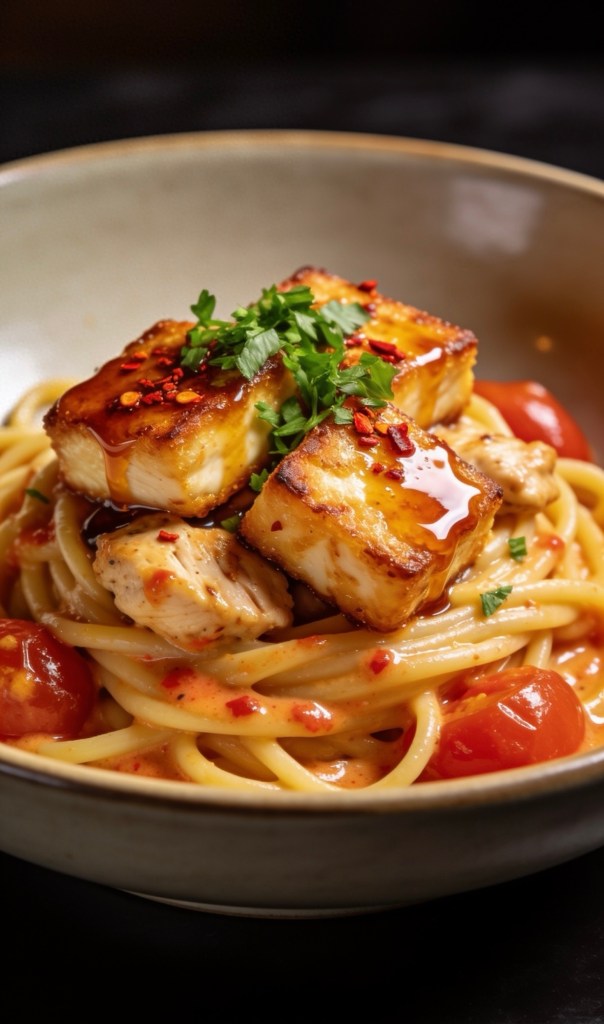
    It feels like proper comfort food, but each portion still packs a solid hit of protein, making it ideal for a satisfying lunch or easy weeknight dinner.

    Why You’ll Love This Recipe
    • High protein and satisfying – thanks to the chicken, halloumi and light cream cheese, you’re getting a really decent protein boost while still enjoying creamy pasta.
    • Sweet–spicy flavour combo – the hot honey halloumi is the star: crispy, salty cheese with that sticky honey, chilli and lemon hit on top.
    • Simple ingredients – everything is supermarket‑friendly and you probably have most of the spices in your cupboard already.

    • Perfect for two – this recipe is written for 2 portions, ideal for a cosy dinner or for cooking once and saving a portion for later.

    Ingredients (Serves 2)


    For the chicken pasta
    • 200 g uncooked chicken breast, diced (about 7 oz)
    • 2 tsp paprika
    • 2 tsp garlic salt
    • 1 tsp onion powder
    • Low‑cal cooking spray or 1–2 tsp olive oil
    • 120 g dry linguine (about 4 oz)
    • 80 g light cream cheese (about 1/3 cup)
    • 1 chicken stock cube (or 1 tsp chicken bouillon powder)
    • 8–10 cherry tomatoes, halved
    • 2 cloves garlic, crushed or minced
    • 150–200 ml reserved pasta water (2/3–3/4 cup), to loosen the sauce as needed
    For the hot honey halloumi
    • 80 g halloumi, cut into small chunks (about 3 oz)
    • 2 tbsp honey
    • Juice of 1/2 lemon (about 1–2 tbsp)
    • 1/2–1 tsp chilli flakes / red pepper flakes, to taste
    To finish
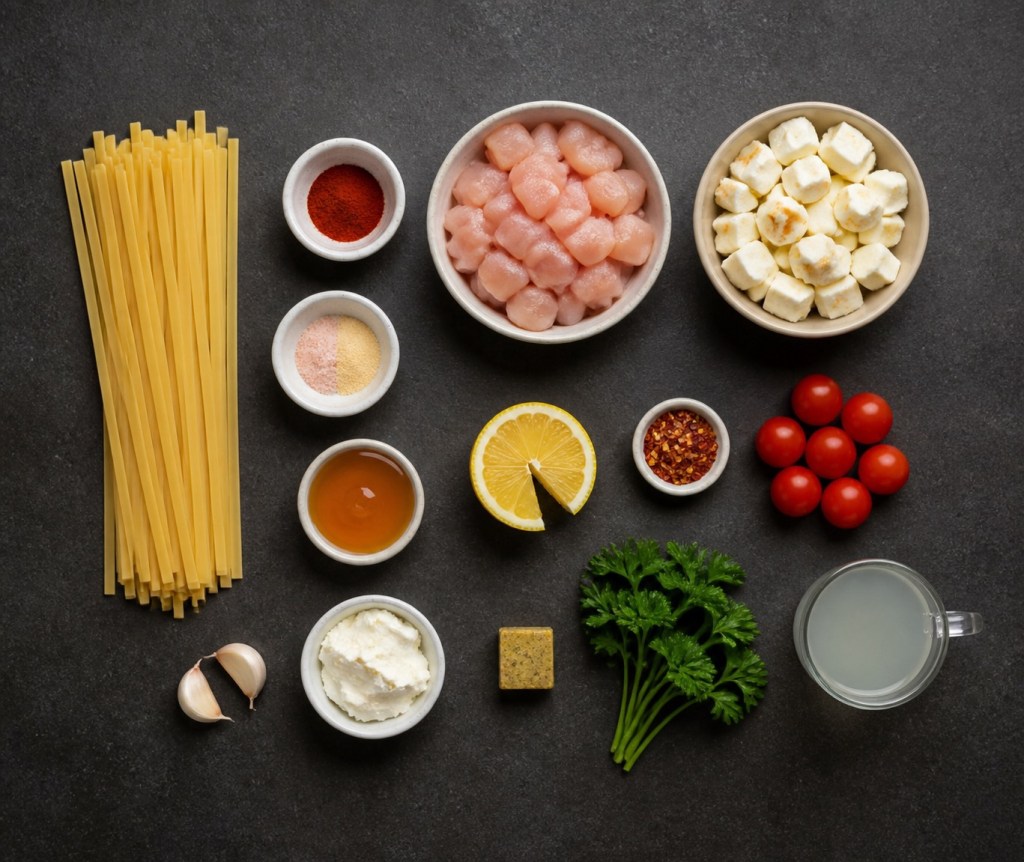
    • Fresh parsley, chopped, for garnish

    Step‑by‑Step Method

    1. Season the chicken
      Add your diced chicken breast to a bowl. Sprinkle over the paprika, garlic salt and onion powder. Give it a good mix so every piece is coated, then spray with a little oil (or drizzle with a small amount of olive oil) and toss again.
      This simple dry rub gives the chicken loads of flavour without needing a long marinade.
    2. Cook the linguine
      Bring a large pan of salted water to the boil and cook the linguine according to the packet instructions until al dente.
      Before you drain the pasta, scoop out 150–200 ml (2/3–3/4 cup) of the starchy pasta water and set it aside – this is liquid gold for loosening and emulsifying your sauce later.
    3. Fry the chicken
      Heat a large non‑stick frying pan over medium heat and give it a spray of oil. Add the seasoned chicken in an even layer and cook for around 5–10 minutes, stirring occasionally, until the pieces are browned on the outside and cooked through in the middle.
      You want a bit of colour on the chicken here – it adds flavour and makes the sauce more savoury and rich.
    4. Add garlic and tomatoes
      Once the chicken is cooked, add the crushed garlic and the halved cherry tomatoes straight into the pan. Pour in a small splash of water to help everything move.
      Let the tomatoes cook until they start to blister and soften, then gently press them down with the back of a spatula. They’ll break down into a fresh, slightly sweet tomato base for your sauce.
    5. Build the creamy sauce
      Turn the heat down slightly and add the light cream cheese and chicken stock cube to the pan. Start with about 150 ml of the reserved pasta water and stir well until the cream cheese melts and the stock cube dissolves.
      You’re aiming for a smooth, glossy sauce that lightly coats the chicken. If it looks too thick, add a splash more pasta water; if it’s too thin, let it bubble gently for a minute or two to reduce.
    6. Toss through the linguine
      Tip the drained linguine straight into the pan with the sauce. Use tongs or a couple of forks to toss the pasta through until every strand is coated.
      Keep the pan on low heat while you do this so the sauce stays warm and creamy without drying out.
    7. Crisp up the halloumi
      In a separate pan, add a little cooking spray and place it over medium heat. Add the halloumi chunks in a single layer and fry for a few minutes on each side until they are golden and crispy with some deeper, caramelised edges.
      Halloumi can go from perfect to overdone fairly quickly, so keep an eye on it and turn as needed.
    8. Make the hot honey
      While the halloumi is still in the pan, turn the heat to low. In a small bowl, mix together the honey, lemon juice and chilli flakes. Pour this mixture over the hot halloumi and gently toss to coat.
      The honey will loosen slightly with the heat, creating a glossy, sweet–spicy glaze that clings to the cheese.
    9. Plate up
      Divide the creamy chicken linguine between two warm bowls. Spoon the hot honey halloumi over the top of each portion, making sure you get some of that sticky glaze too.

    Finish with a sprinkling of freshly chopped parsley for colour and freshness.
    Macros per Portion (Approximate)
    These values will vary slightly depending on the exact brands you use, but as a guide, per serving you’re looking at roughly:
    • Calories: 535 kcal
    • Protein: 50 g
    • Carbohydrates: 65 g
    • Fat: 14 g

    This makes it a great option if you’re trying to hit a higher protein target while still enjoying a proper, restaurant‑style bowl of pasta.

    Tips and Variations
    • Make it spicier: Add extra chilli flakes to the hot honey, or a pinch of cayenne to the chicken seasoning.
    • Swap the pasta: Linguine works beautifully, but spaghetti, tagliatelle or a short pasta like rigatoni will also pick up the sauce nicely.
    • Lighter option: Use reduced‑fat halloumi and go a little lighter on the honey to shave off a few calories if you prefer.

    • Vegetarian twist: Swap the chicken for extra halloumi or a can of chickpeas (drained and dried before frying) and keep everything else the same.
    How to Serve and Store
    This dish is best served immediately so you get the full effect of that crispy, hot honey halloumi on top of the silky pasta.
    If you do have leftovers:
    • Cool them quickly and store in an airtight container in the fridge for up to 2 days.
    • Reheat gently in a pan with a splash of water or milk to loosen the sauce.
    • The halloumi won’t be as crisp once reheated, but the flavours will still be delicious.

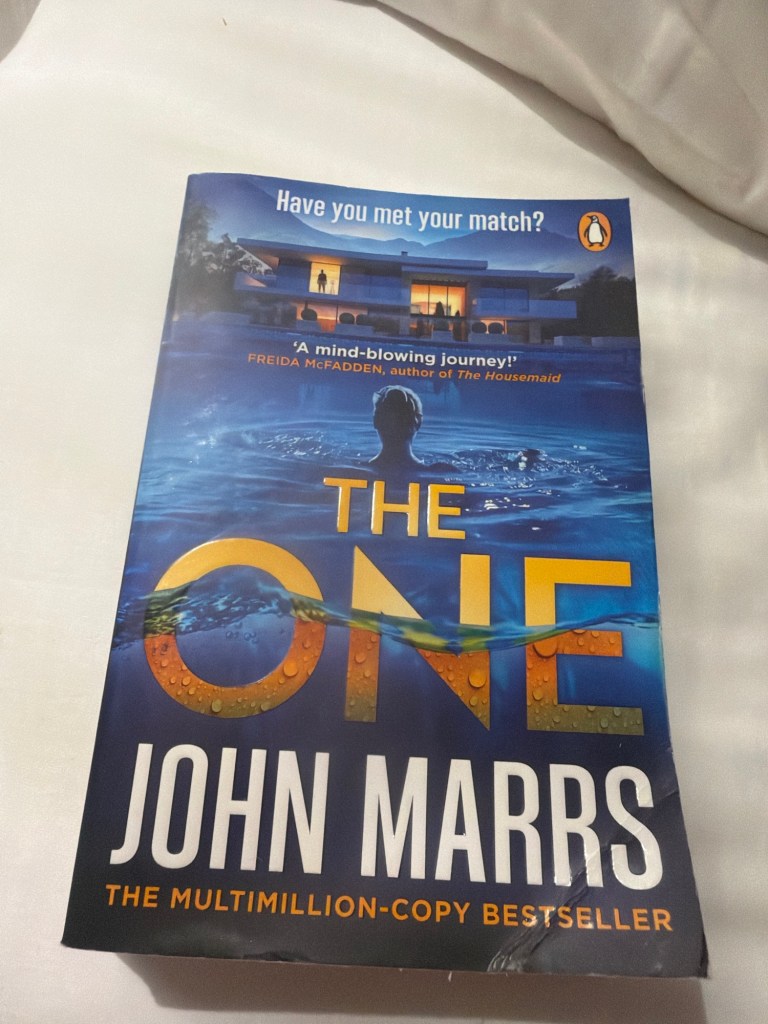
  • Book review: The One by John Marrs

    Book review: The One by John Marrs


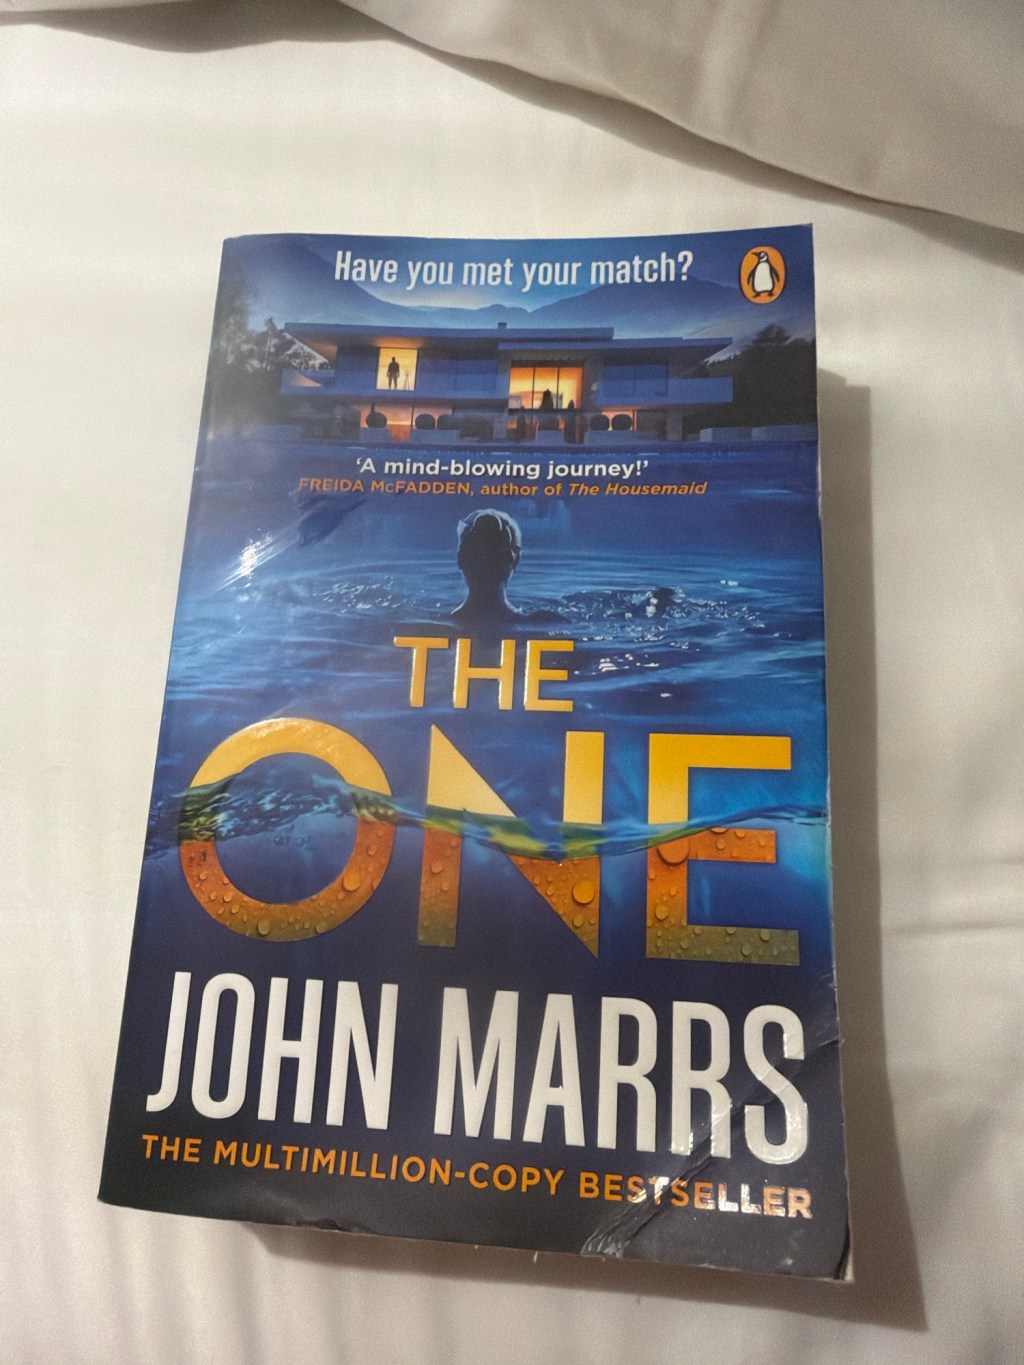
    I absolutely loved The One by John Marrs. It felt so different from the usual thriller and had me completely hooked from the very beginning. The idea behind it is clever, unsettling and one of those concepts that makes you stop and think, “What would I do if this really existed?”
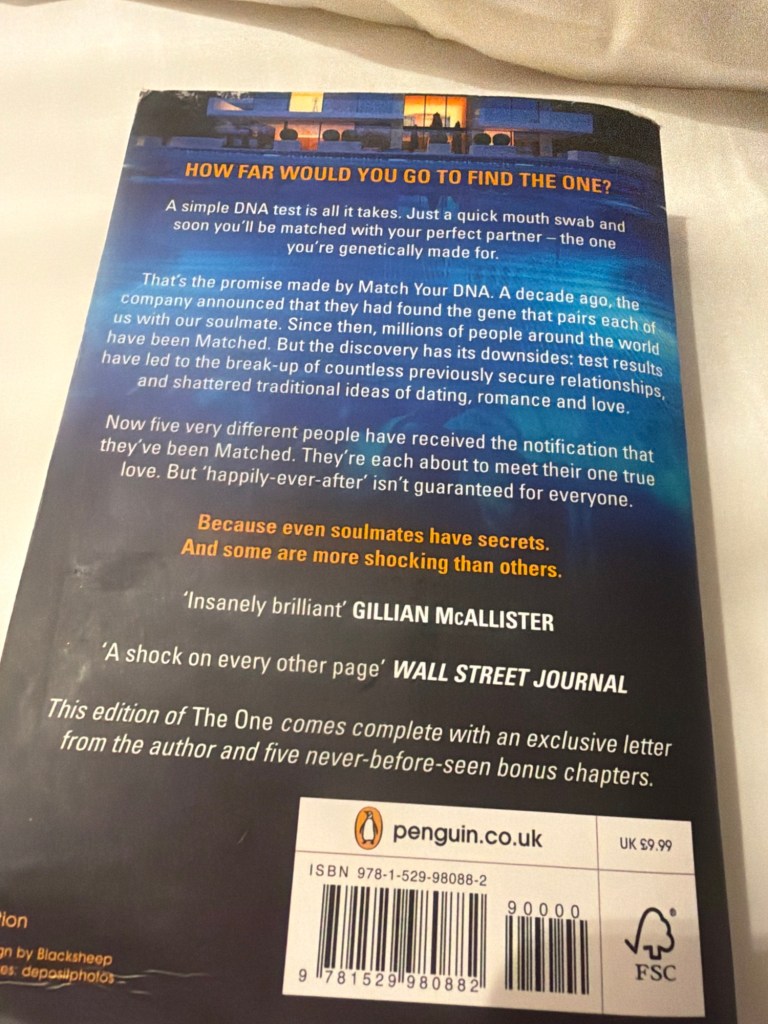
    The book is set in a world where a DNA test can identify your perfect romantic match — the one person you are genetically destined to fall in love with. It sounds like the ultimate dream, but John Marrs brilliantly explores the messier side of that idea.

    What if you are already happily married when you find your match? What if your “one” lives on the other side of the world? Or worse, what if the person you are matched with is not at all who you hoped they would be?
    The story follows several different characters, each dealing with the consequences of discovering their match. I really liked the multiple points of view because every storyline brought something new, and I kept wanting to read “just one more chapter” to find out what would happen next. There are secrets, betrayals, twists and some genuinely shocking moments throughout.
    John Marrs is known for writing high-concept psychological thrillers that take everyday ideas and push them into dark, thought-provoking territory. His writing is so easy to get into, but he is brilliant at slowly building tension and making you question every character. The chapters are short and fast-paced, which made this such an addictive read.
    I loved how original The One was. It is part romance, part psychological thriller and part cautionary tale about technology, fate and whether finding your perfect match would actually make life better. The ending and twists were brilliantly done, and it definitely stayed with me after I finished it.


    A really different, cleverly written and completely gripping book — I would highly recommend it to anyone who loves a twisty thriller with an unusual premise.

    5/5 ⭐️⭐️⭐️⭐️⭐️

    You can buy the book of Amazon

    https://link.amazon/B072Lqn9V

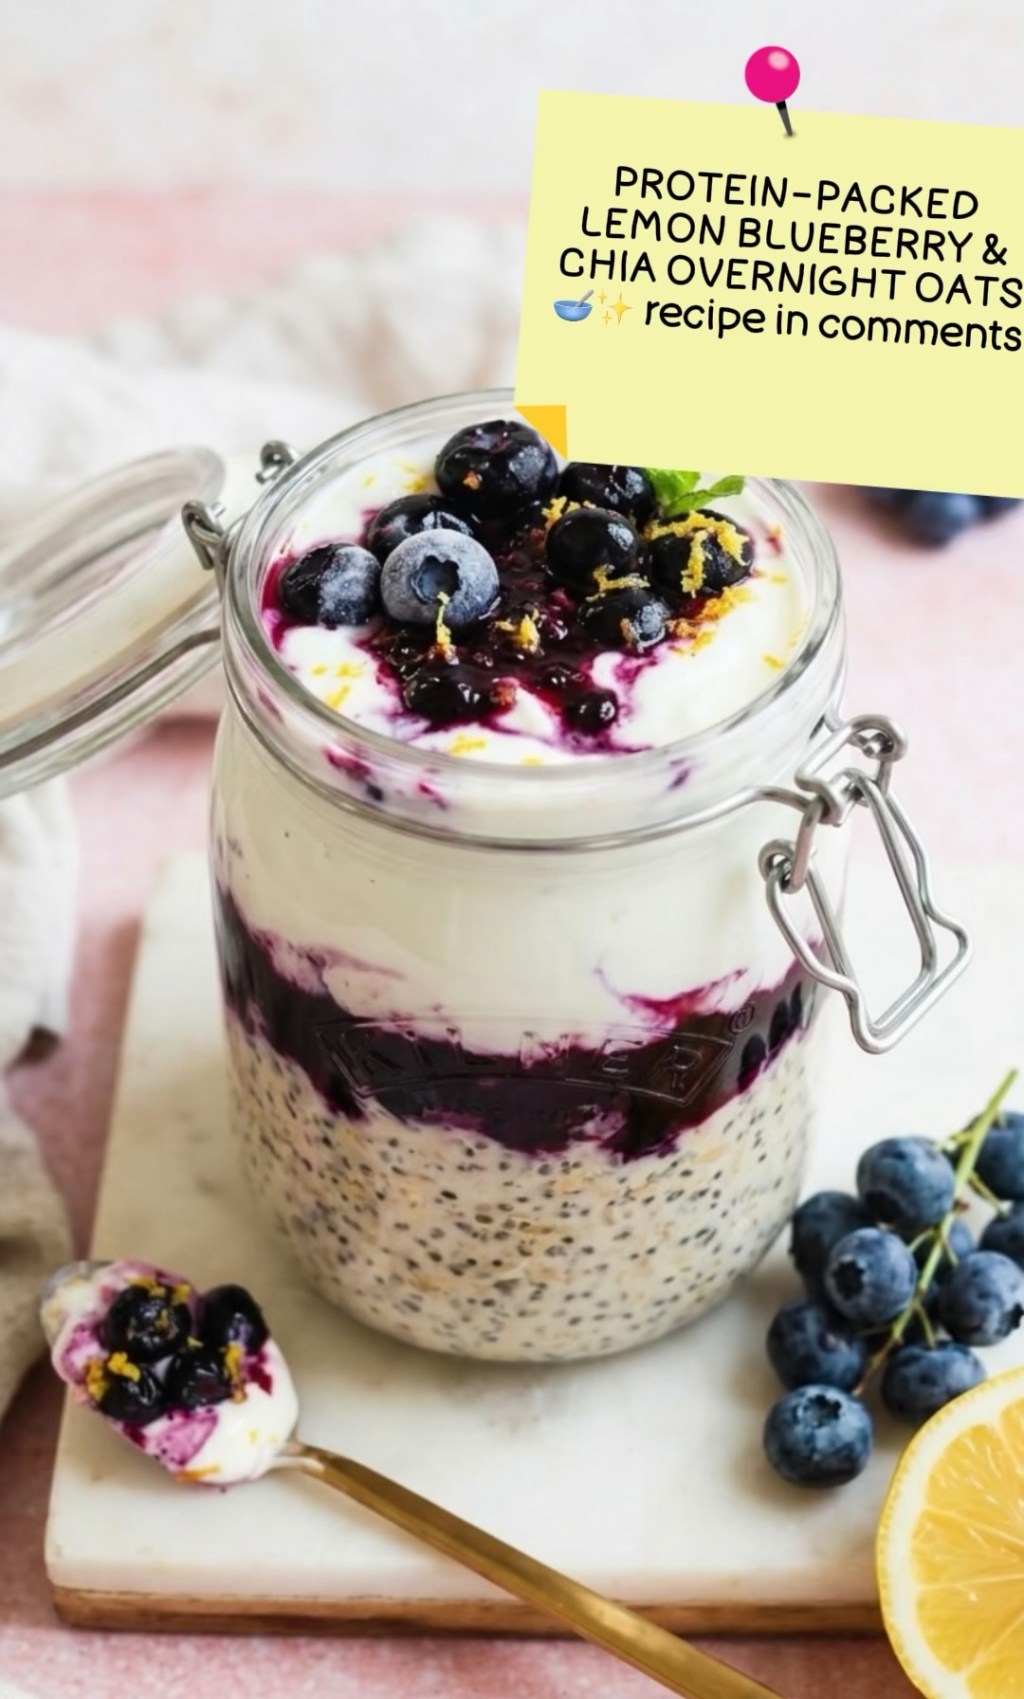
  • The Only Overnight Oats You’ll Ever Need: Protein-Packed Lemon & Blueberry

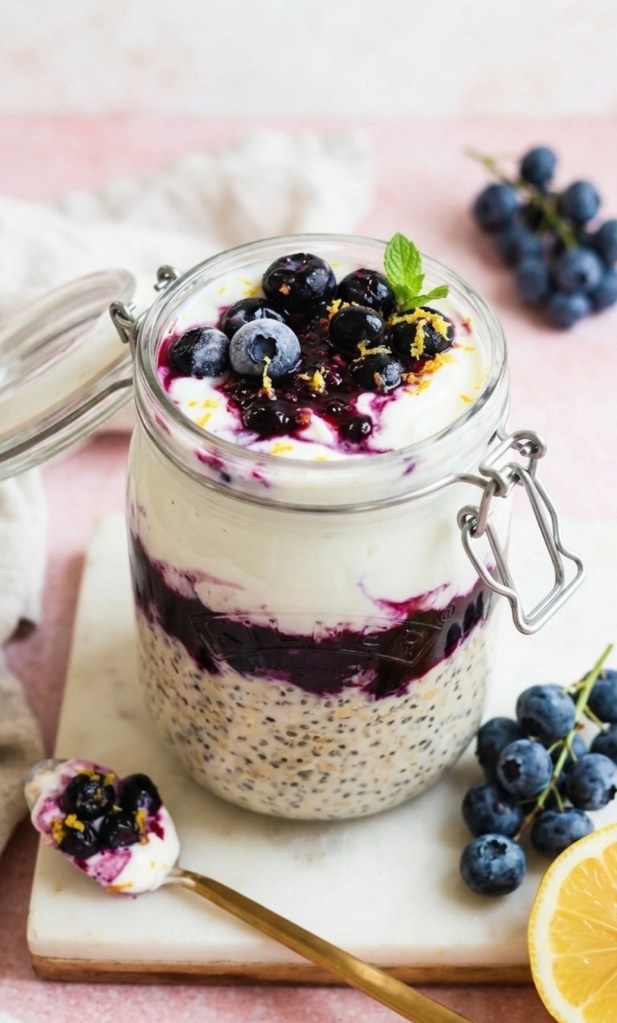
    The Only Overnight Oats You’ll Ever Need: Protein-Packed Lemon & Blueberry

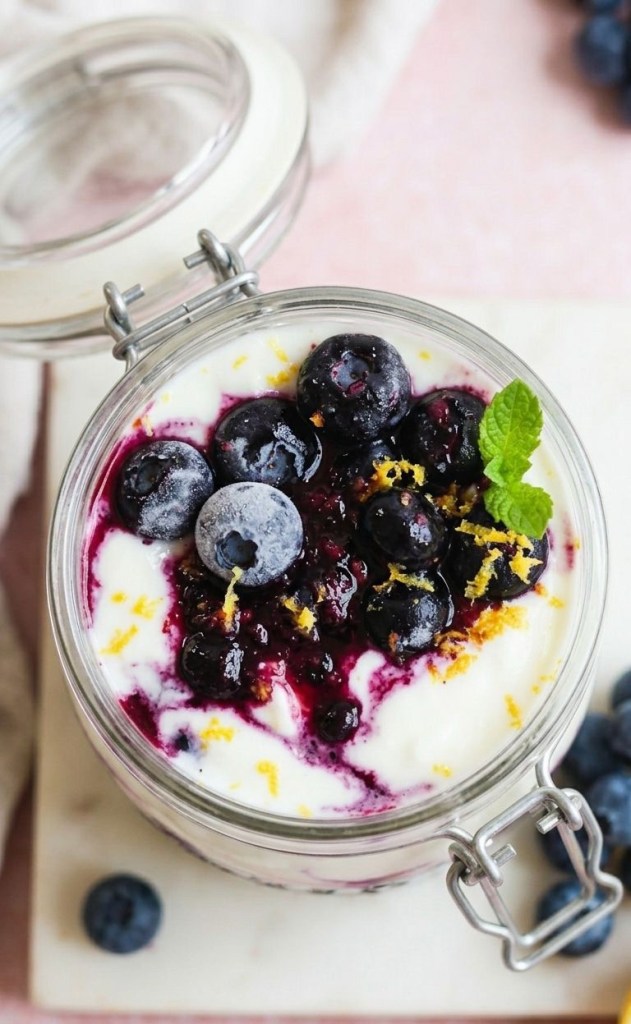
    Stop settling for boring breakfasts! If you want a protein-packed, creamy, and zesty meal prep hack that actually tastes like dessert, you have to try these Lemon Blueberry Overnight Oats. 🥣🍋

    Why You’ll Love This Recipe

    We all know that mornings can be a whirlwind. Whether you are rushing to get to the office or trying to get the family out the door, breakfast is often the first thing to be sacrificed. These overnight oats are the ultimate solution.

    Not only are they prep-ahead friendly, but they are also incredibly satisfying thanks to the high protein content from Greek yogurt and hemp hearts. The combination of bright lemon zest and sweet blueberries creates a refreshing flavour profile that feels like a treat, even on a Monday morning.

    The Power of Ingredients

    This recipe isn’t just delicious; it’s nutrient-dense.

     Oats provide the fiber necessary to keep you full until lunch.

     Greek Yogurt is packed with protein, which helps stabilize your energy levels throughout the morning.

     Chia Seeds and Hemp Hearts offer a wonderful boost of healthy fats and texture, ensuring you aren’t just eating empty carbs.

    Ingredients

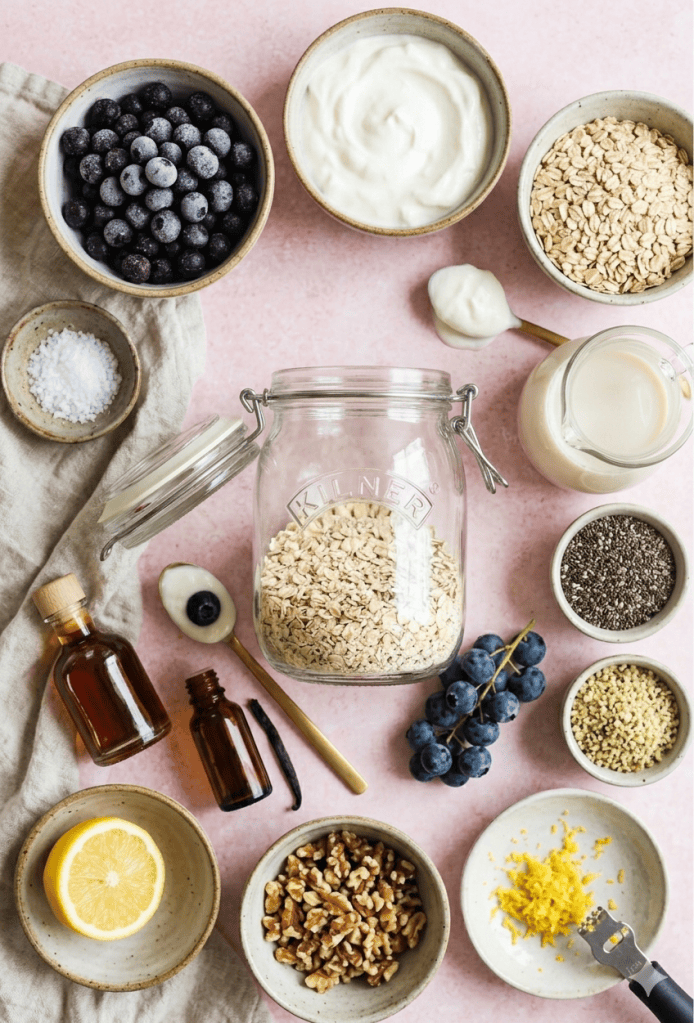
     180g quick oats

     450g plain or vanilla Greek yogurt

     600ml milk of choice

     40g chia seeds

     50g hemp hearts

     300g frozen blueberries

     2 Tbsp maple syrup

     1 tsp vanilla extract

     ½ tsp salt

     50g walnuts, roughly chopped

     Juice and zest of ½ lemon

    Method

    1 Combine: In a large bowl or directly into your serving jars (like a classic Kilner jar), add the oats, milk, yogurt, chia seeds, hemp hearts, maple syrup, vanilla extract, salt, lemon juice, and zest.

    2 Mix: Stir everything together thoroughly until the mixture is uniform and the chia seeds are well distributed.

    3 Layer: Carefully fold in the frozen blueberries and chopped walnuts. If you are using individual jars, you can layer these for a beautiful aesthetic look.

    4 Soak: Seal your jars tightly and place them in the fridge overnight. This allows the chia seeds and oats to soak up the liquid, resulting in a perfect, creamy, and pudding-like texture by morning.

    Which fruit combo should I try next? Let me know in the comments below!

  • Oh My Goodness—You Have To Try These Apple & Apricot Oat Bars! 🍎🍯

    Oh My Goodness—You Have To Try These Apple & Apricot Oat Bars! 🍎🍯

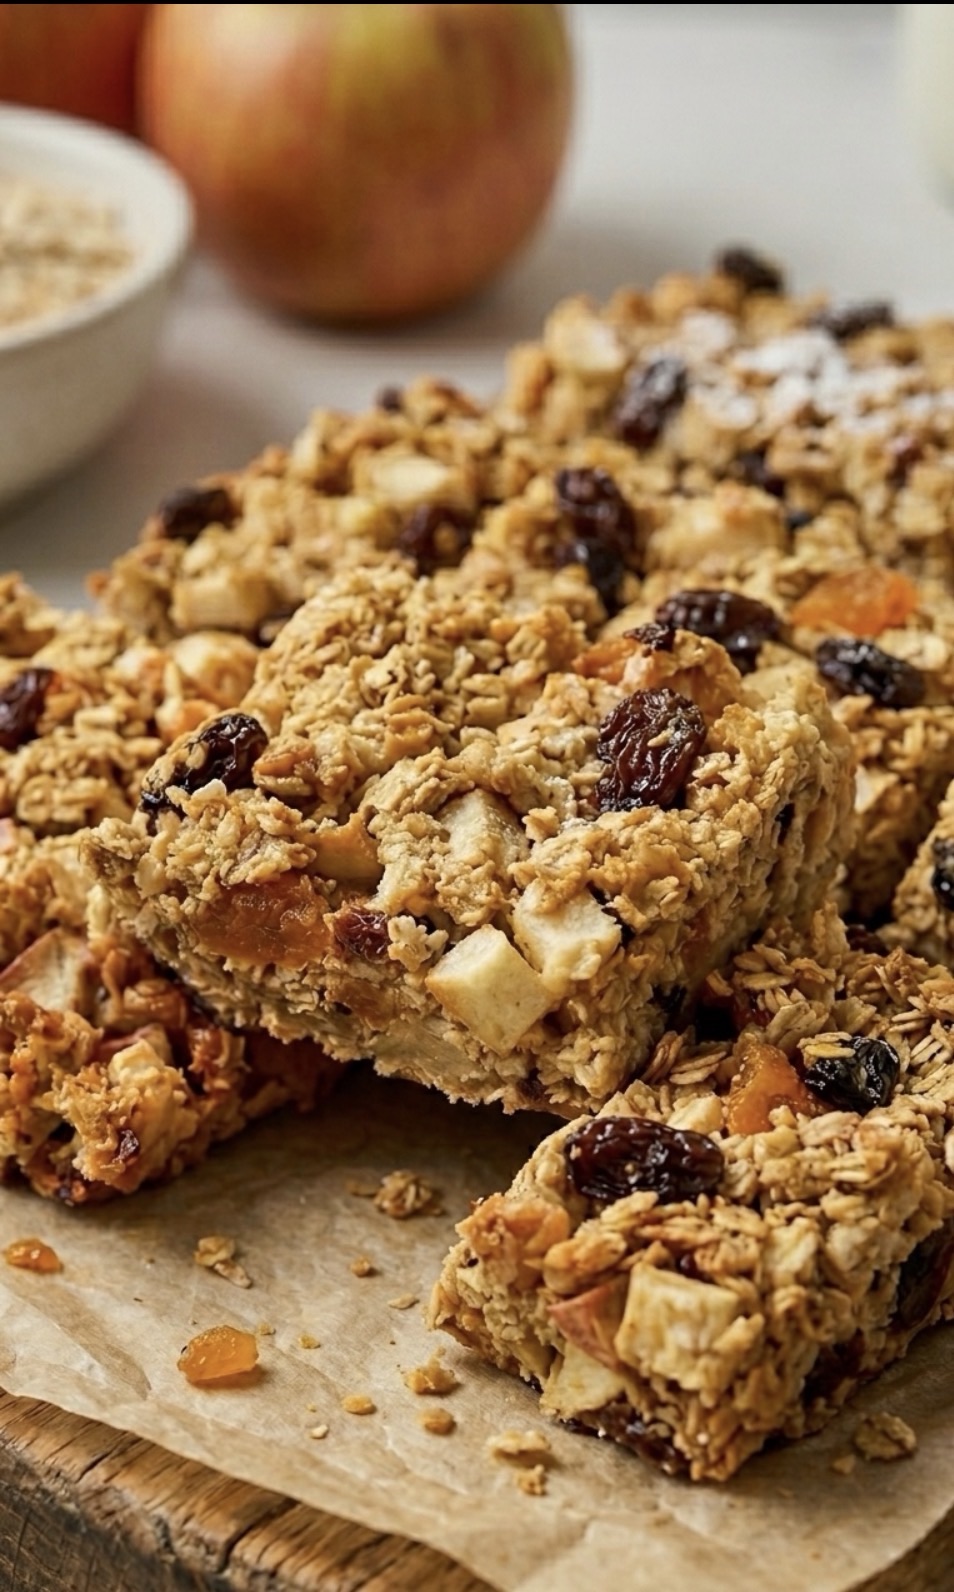
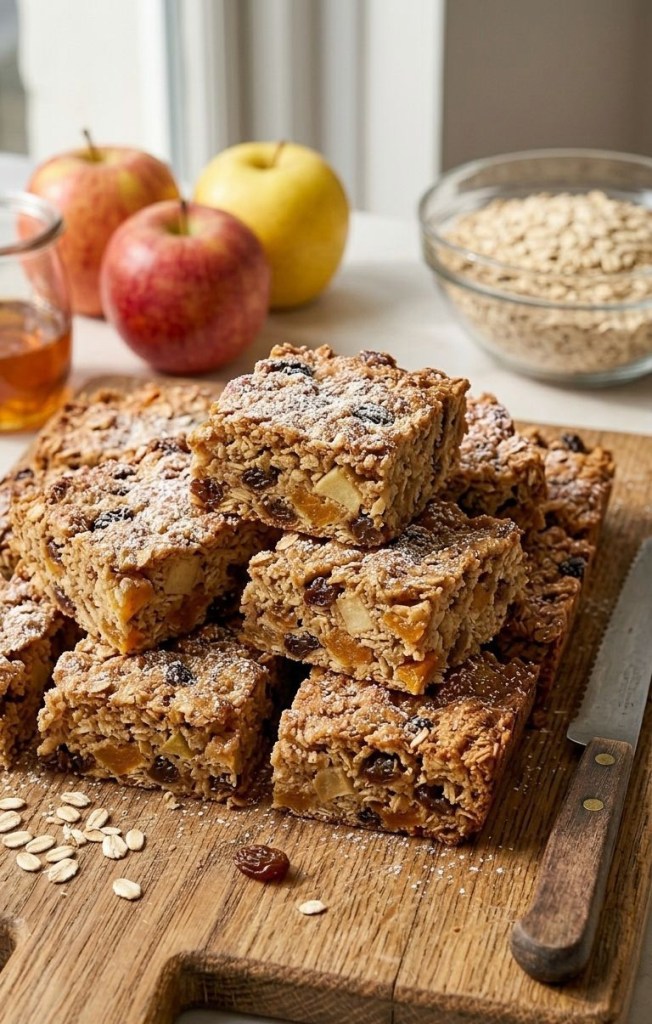
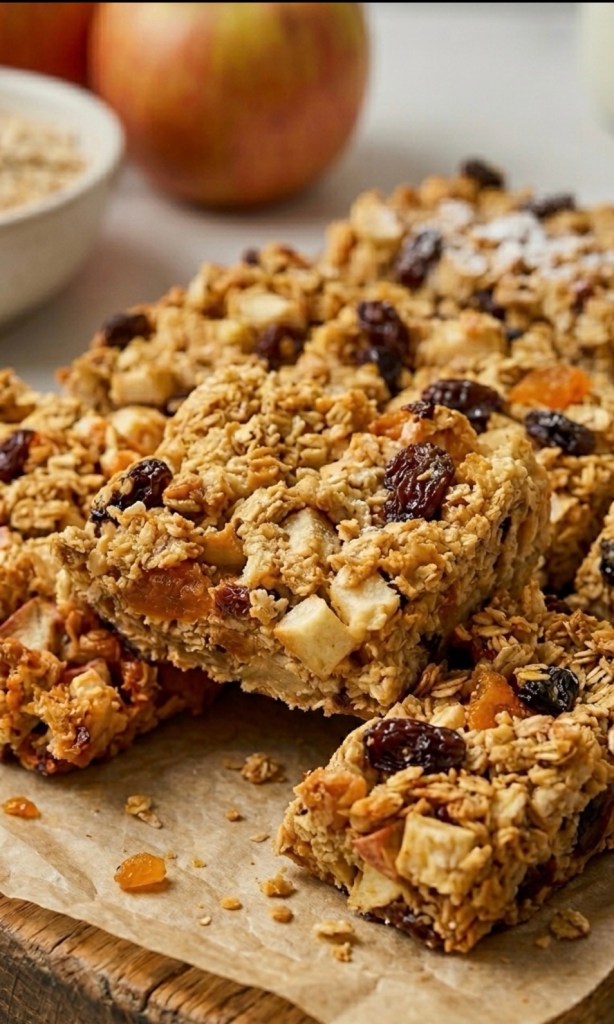
    Okay, I’m officially obsessed. If you’ve been looking for a snack that actually feels like a treat but won’t leave you feeling like you need a nap afterward, this is it! These Apple & Apricot Oat Bars are chewy, golden, perfectly spiced, and honestly, they’re just so good.

    The best part? They are incredibly easy to pull together. Whether you need something for your mid-morning slump or a quick grab-and-go breakfast for busy school runs, these have saved my life. Plus, they make the whole kitchen smell like autumn heaven!

    What You’ll Need

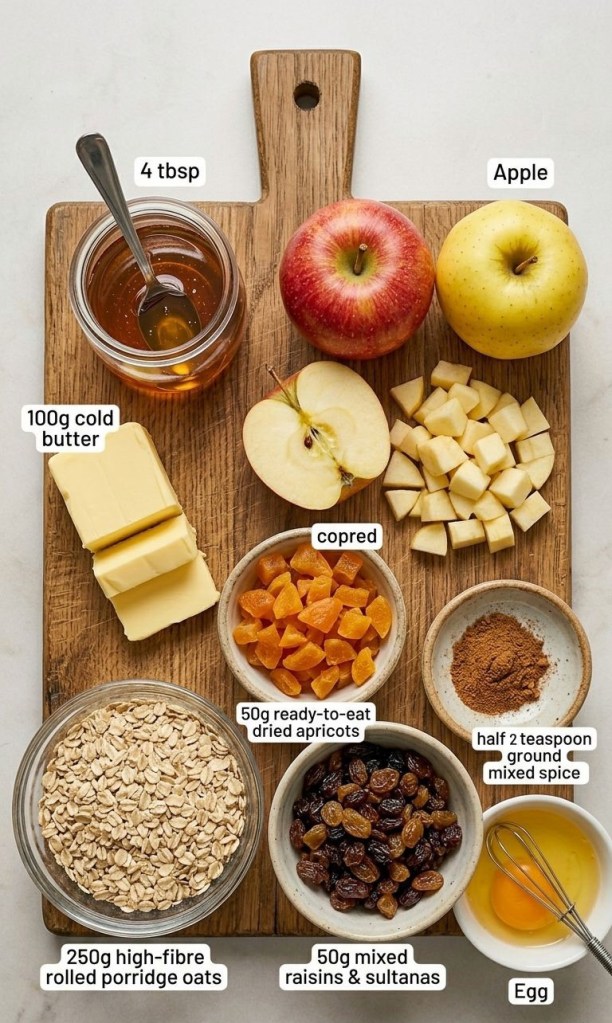
     100g butter (or your favorite reduced-fat spread)

     4 tbsp of liquid gold (aka golden syrup!)

     250g high-fibre porridge oats (these keep you full for ages)

     1 lovely apple, cored and chopped into little chunks

     50g ready-to-eat apricots, chopped up small

     50g of sultanas or raisins (or go half-and-half!)

     ½ tsp ground mixed spice (trust me, this makes the flavor pop)

     1 beaten egg (the secret glue that holds them together)

    How To Make Them

    1 Get Ready: Preheat your oven to 180°C (160°C fan/gas mark 4). Grab a 23cm (9-inch) square tin, give it a good grease, and line the base with parchment paper.

    2 Melt It: Pop your butter and golden syrup into a large saucepan and let them melt together gently over low heat. Just keep an eye on it—no need to get it too hot!

    3 Mix It Up: Take the pan off the heat and throw in your oats, apple, apricots, sultanas, and that lovely mixed spice. Give it a really good stir so everything is coated.

    4 The Secret Step: Pour in your beaten egg and stir it through. This is what keeps them from falling apart!

    5 Bake: Tip the mixture into your tin, press it down firmly, and pop it in the oven. Bake until it looks beautifully golden.

    6 The Hard Part: Let them cool in the tin before you try to slice them. I know, it’s impossible to wait, but it’s worth it!

    Quick Tip: These keep great in an airtight container for a few days—if you have the willpower to keep them that long!

    I’m curious—what’s your favorite “mix-in” for oat bars? Dried cranberries? A handful of nuts? Let me know in the comments below!

  • The Easiest 3-Ingredient Peanut Butter Date Bark You’ll Ever Make

    The Easiest 3-Ingredient Peanut Butter Date Bark You’ll Ever Make

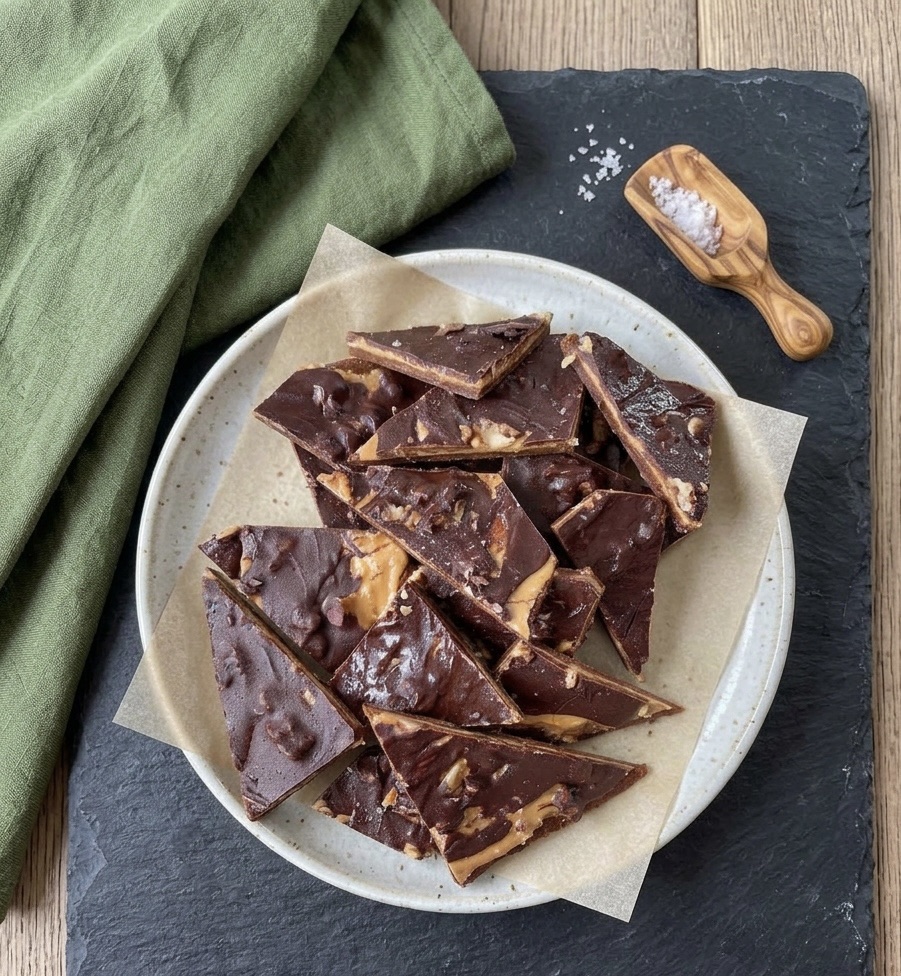
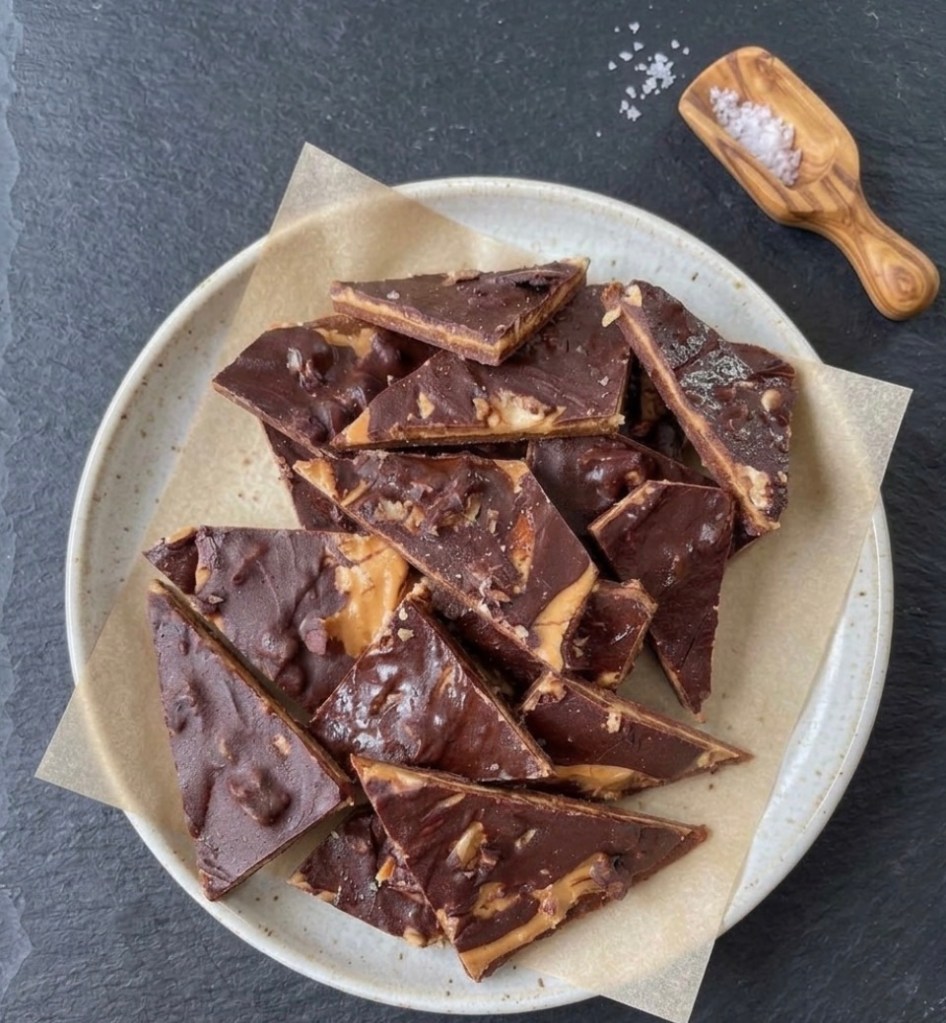
    Looking for a healthy, satisfying treat that perfectly balances sweet and salty notes? This peanut butter date bark has quickly become a favorite for good reason. It offers a decadent candy-bar experience using simple, wholesome ingredients, and the best part is that it requires absolutely no baking. It’s the perfect freezer-friendly snack for those moments when you need a quick, delicious pick-me-up.

    Why You’ll Love This Treat

     Simple Ingredients: You likely already have these staples in your pantry.

     No-Bake Ease: The freezer does all the heavy lifting, making this a fuss-free project.

     Customizable: It’s easy to adapt this recipe; you can add extra seeds for crunch or drizzle more peanut butter if you want a richer flavor profile.

    Ingredients

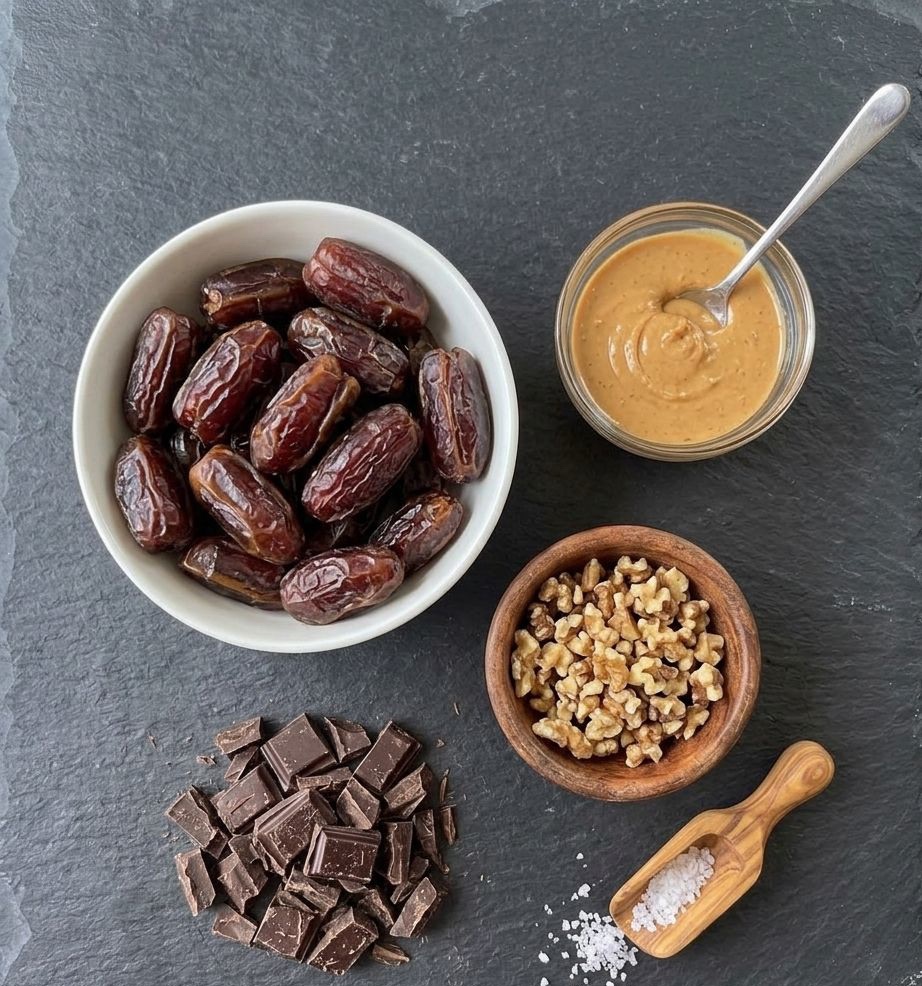
     300g Dates: Ensure they are pitted and soft to achieve the best consistency.

     ⅓ cup (approx. 85g) Peanut Butter: Creamy peanut butter is recommended for a smooth, even spread.

     ¼ cup (approx. 30g) Chopped Walnuts: These provide that essential nutty texture that pairs beautifully with the dates and chocolate.

     100g Dark Chocolate: Chopped into small, uniform pieces for even melting.

     Optional: A pinch of flaky sea salt, which acts as the perfect finishing touch to enhance the sweet-salty contrast.

    Instructions

    1. Prep the Base: Start by lining a flat baking tray with baking paper. This is a crucial step that ensures you can easily remove the bark once it has frozen.

    2. Blitz the Dates: Place your 300g of pitted dates into a food processor. Pulse and blitz them until they are completely smooth and begin to form a solid, cohesive ball of paste.

    3. Roll it Out: Tip the date paste onto your prepared baking tray. To make the process clean and easy, place a second piece of baking paper on top, then use a rolling pin to flatten the dates until they are approximately 5mm thick.

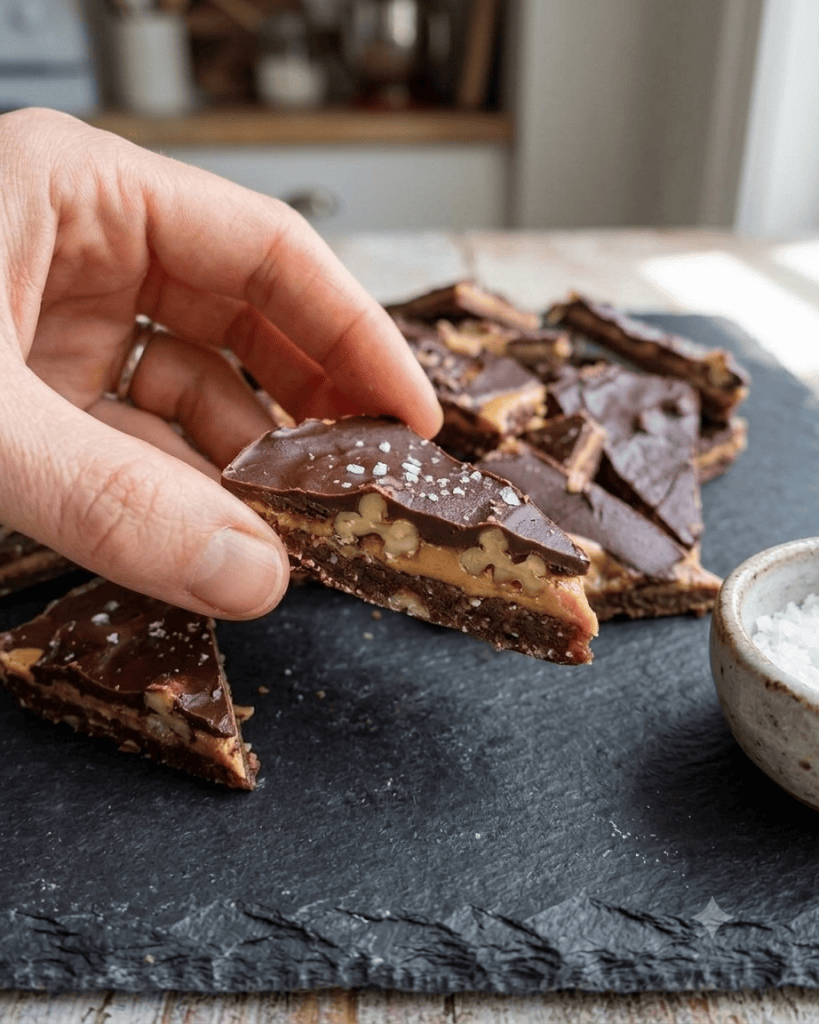
    4. Add the Fillings: Carefully remove the top sheet of paper. Spread your ⅓ cup of peanut butter evenly over the surface of the date layer, then sprinkle it generously with the ¼ cup of chopped walnuts.

    5. Create the Chocolate Layer: Place your 100g of chopped dark chocolate into a glass bowl. Heat it in the microwave in 30-second intervals, making sure to stir between each burst until the chocolate is completely melted and silky smooth. Pour the chocolate over the peanut butter layer and use a spatula or the back of a spoon to spread it all the way to the edges.

    6. The Finishing Touch: If you enjoy the contrast of salty and sweet, lightly sprinkle flaky sea salt over the top of the chocolate before it sets.

    7. Set and Serve: Place the tray in the freezer until the chocolate layer is fully set and firm. Once it is frozen, break or cut the bark into your desired slice shapes.

    Storage Tip

    To keep your bark fresh and crisp, store the pieces in an airtight container within the freezer. This treat is designed to be enjoyed straight out of the freezer for that signature, satisfying crunch.

    Are you going to give this delicious recipe a try? Let me know in the comments below what other toppings you would add to make it your own!

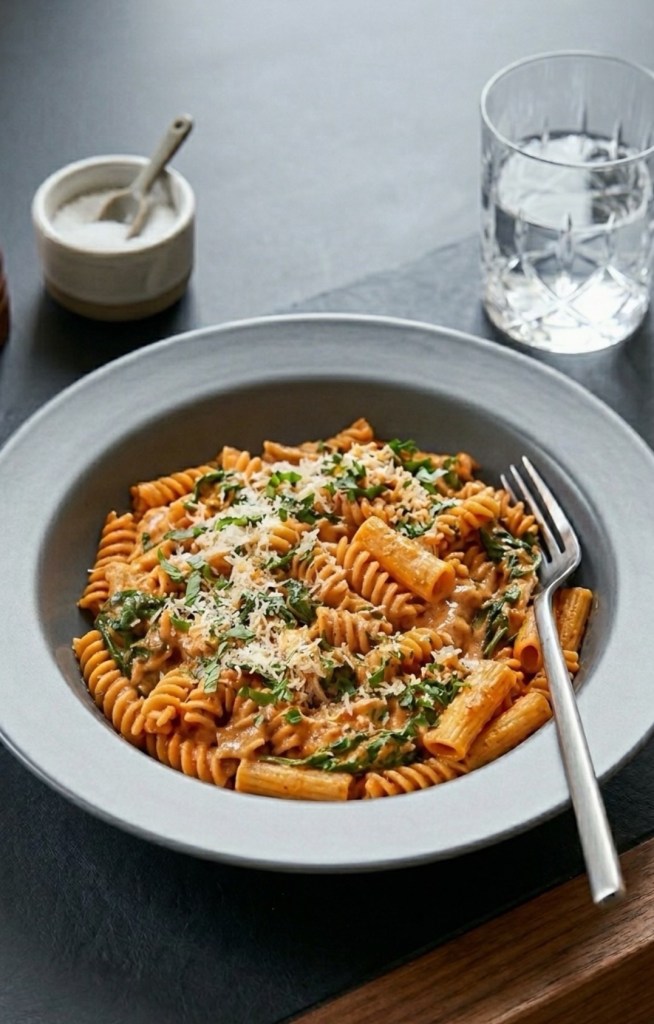
  • Creamy spinach & tomato One-Pot Pasta (Made from Scratch)

    Creamy spinach & tomato One-Pot Pasta (Made from Scratch)

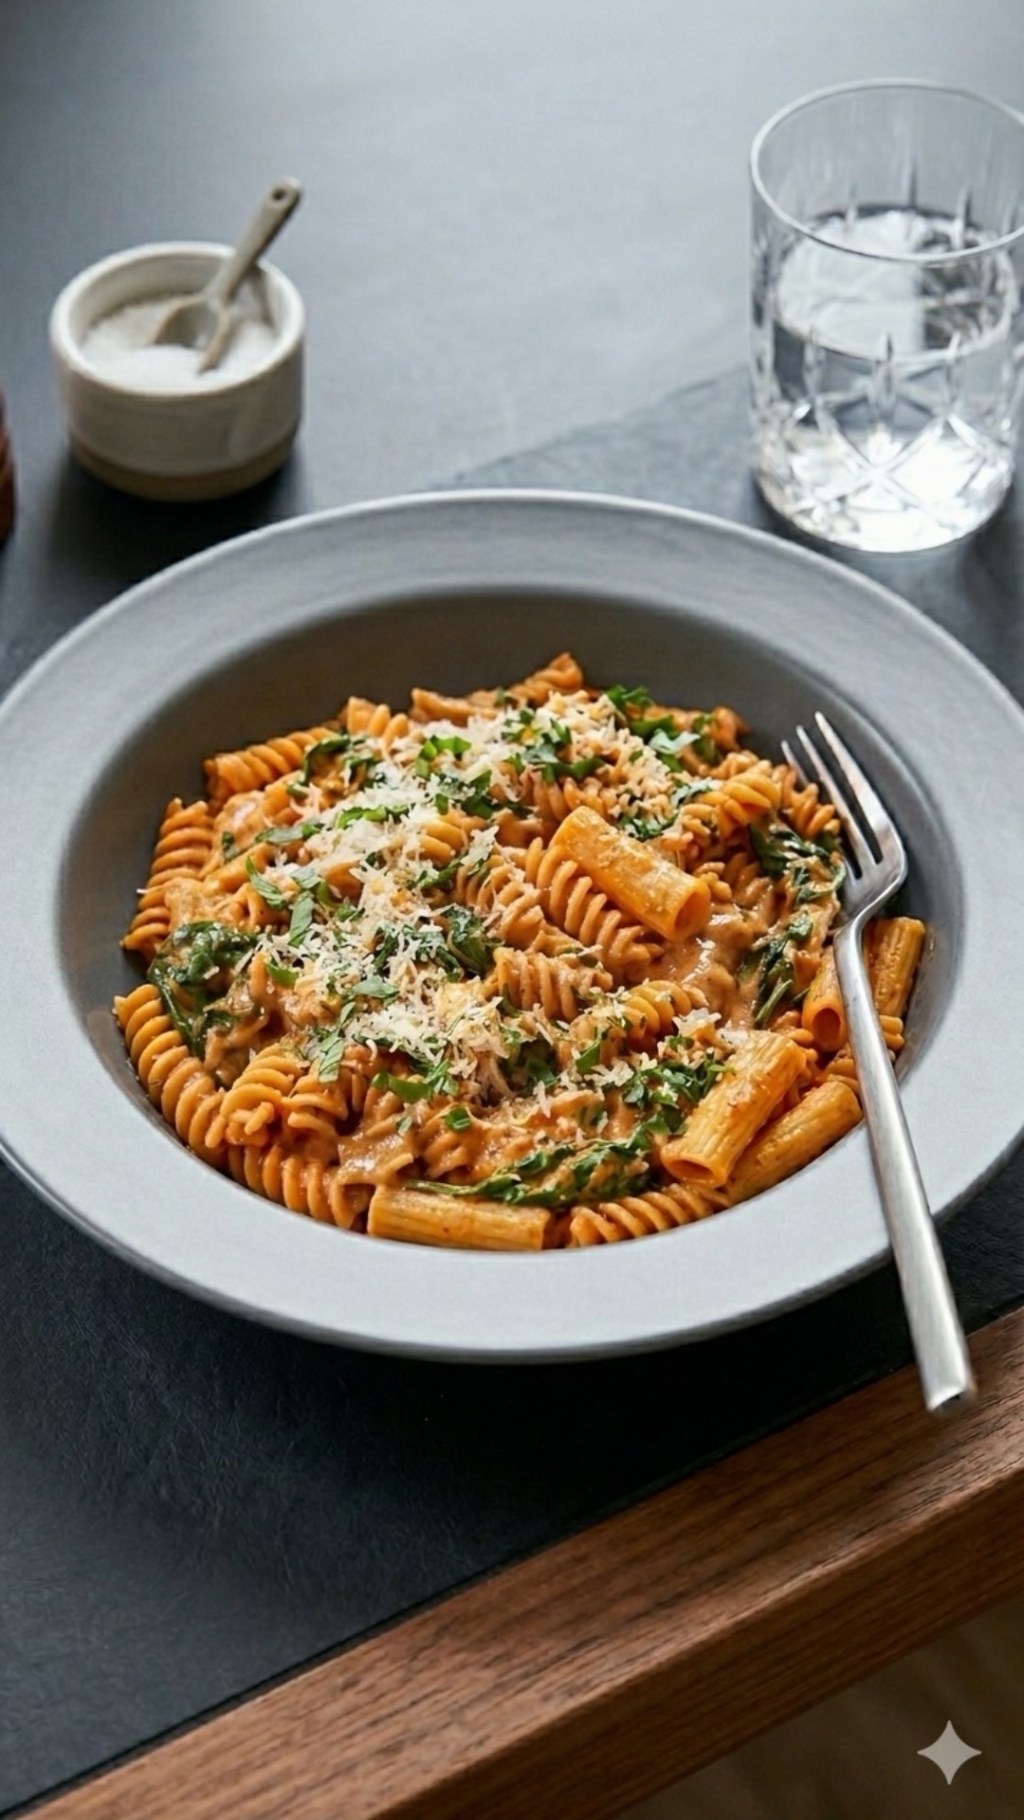
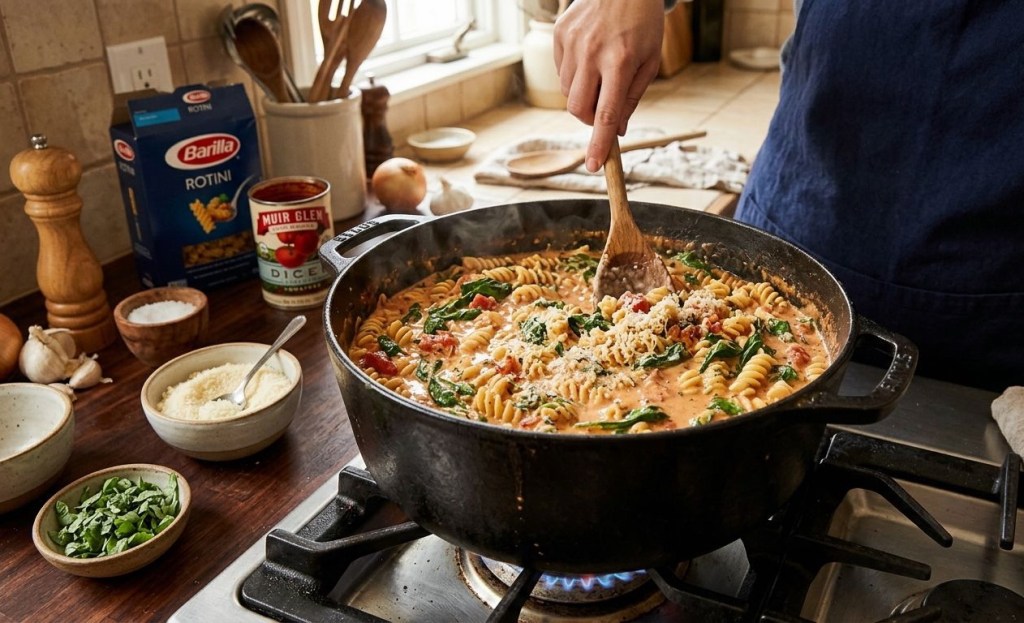
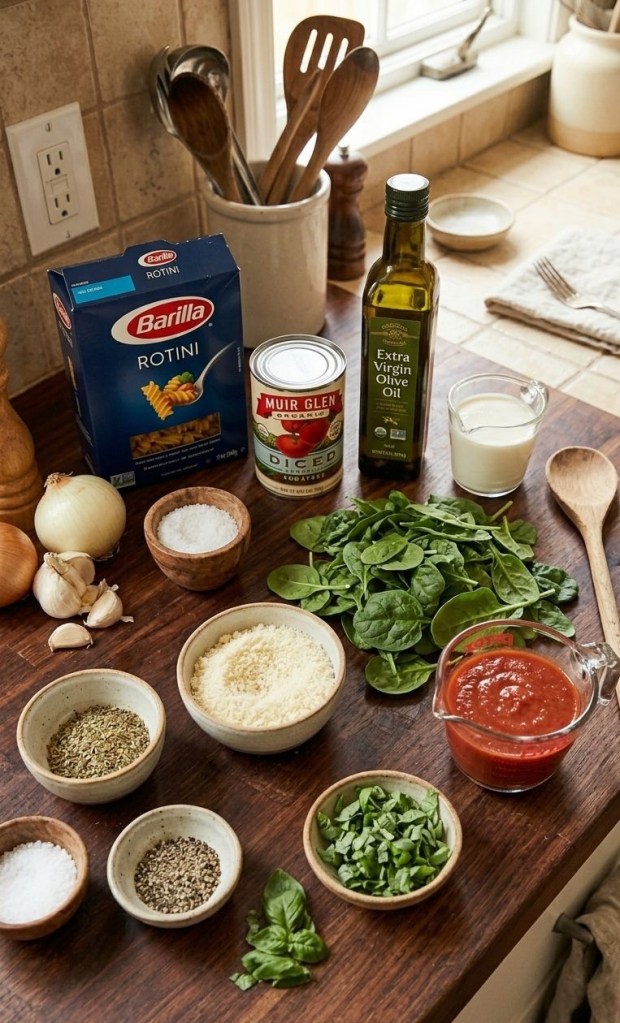
    If you are looking for the perfect quick, comforting dinner, this one-pot pasta is a total game-changer. By making the sauce from scratch, you get a much deeper, fresher flavour than any jarred sauce, and the best part? It all cooks in one single pot

    Ingredients (Serves 3)

     340g Rotini pasta

     2 tins (approx. 400g each) chopped tomatoes

     1 pot (approx. 400g) Smooth tomato passata

     1 pack Fresh baby spinach

     1 bulb Garlic (approx. 4–6 cloves, minced)

     1 small White onion, finely diced

     2–3 tsp Italian seasoning

     700ml Chicken or vegetable stock

     120ml Double cream

     50g Fresh parmesan, grated

     1 handful Fresh basil, chopped

     To taste: Black pepper and sea salt

    Instructions

    1 Prepare the Sauce Base: Blend your tinned tomatoes until they reach a perfectly smooth consistency.

    2 Sauté the Aromatics: Heat a splash of olive oil in a large pot over medium heat. Sauté the onion and garlic until soft and fragrant.

    3 Combine: Add the blended tomatoes, passata, Italian seasoning, and stock to the pot. Stir well to combine.

    4 Cook the Pasta: Add the dry Rotini to the liquid. Bring to a gentle boil, then turn the heat down and simmer for 13–15 minutes, or until the pasta is al dente.

    5 The Creamy Finish: Lower the heat. Stir in the double cream and parmesan until the sauce is velvety and glossy.

    6 Wilt & Serve: Fold in the fresh baby spinach until wilted. Remove from the heat, stir in the fresh basil, and serve immediately with an extra sprinkle of parmesan.

    This dish is truly the ultimate comfort food, bringing together the vibrant freshness of tomatoes and the silky luxury of double cream in a meal that feels both wholesome and indulgent. Whether you are whipping it up for a quick weeknight dinner or sharing a cozy bowl with friends, this one-pot wonder is sure to become a staple in your kitchen. So, grab your favourite pot, pour yourself a glass of something nice, and enjoy the perfect balance of garlic, basil, and creamy parmesan in every delicious, satisfying bite!

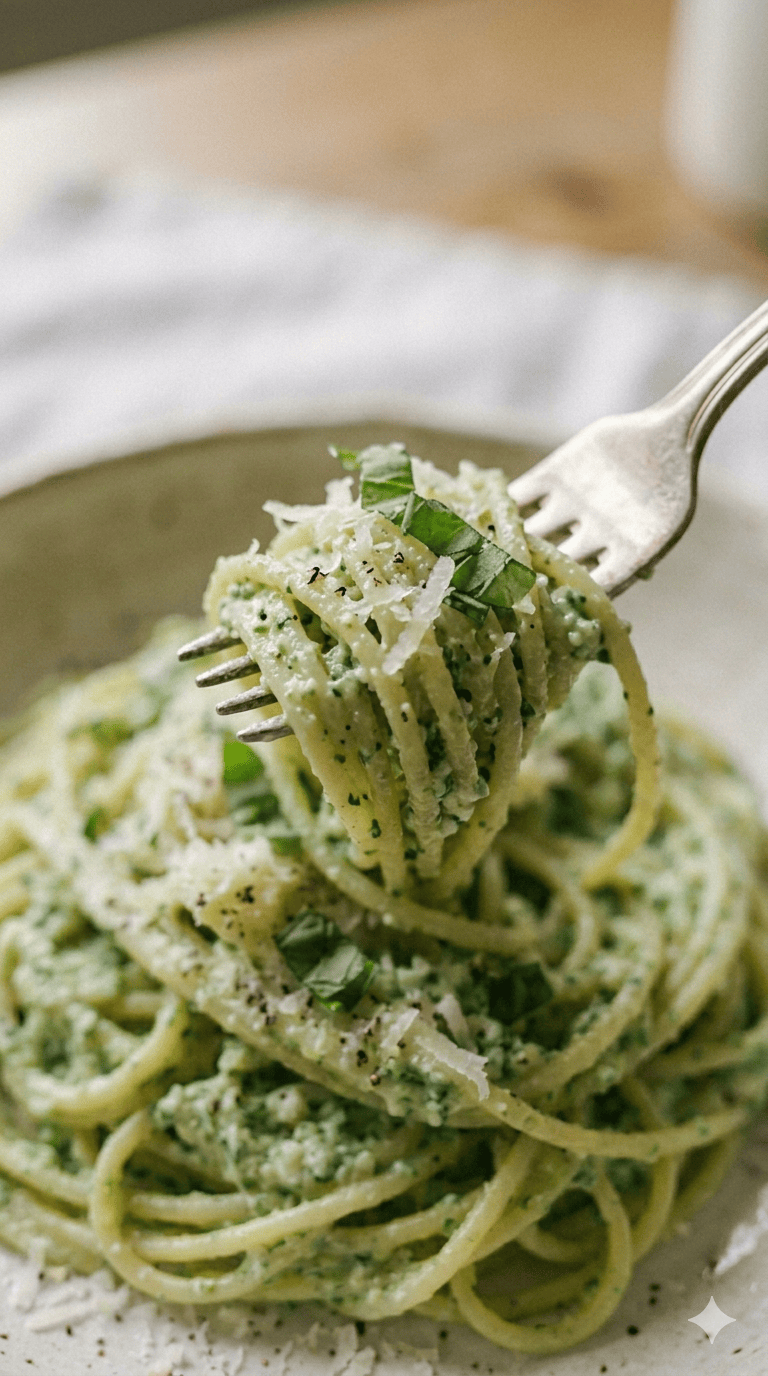
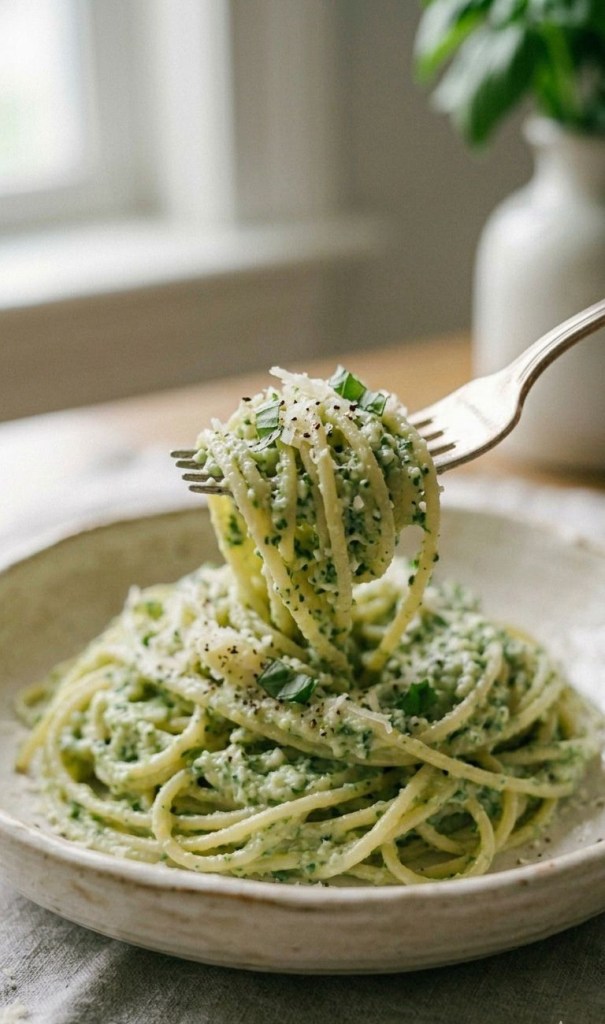
  • High-Protein Creamy Basil Spaghetti

    High-Protein Creamy Basil Spaghetti

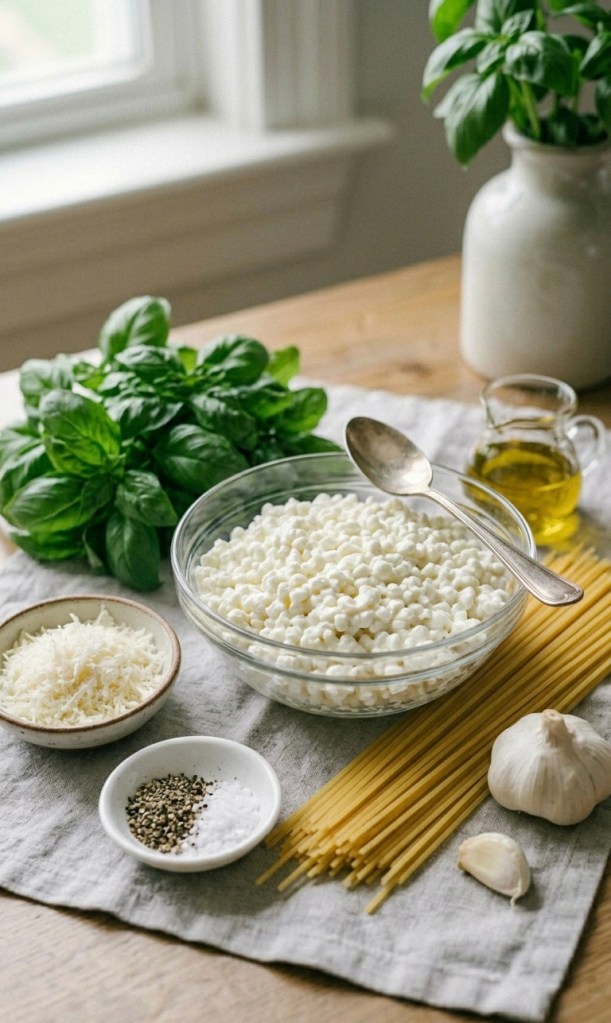
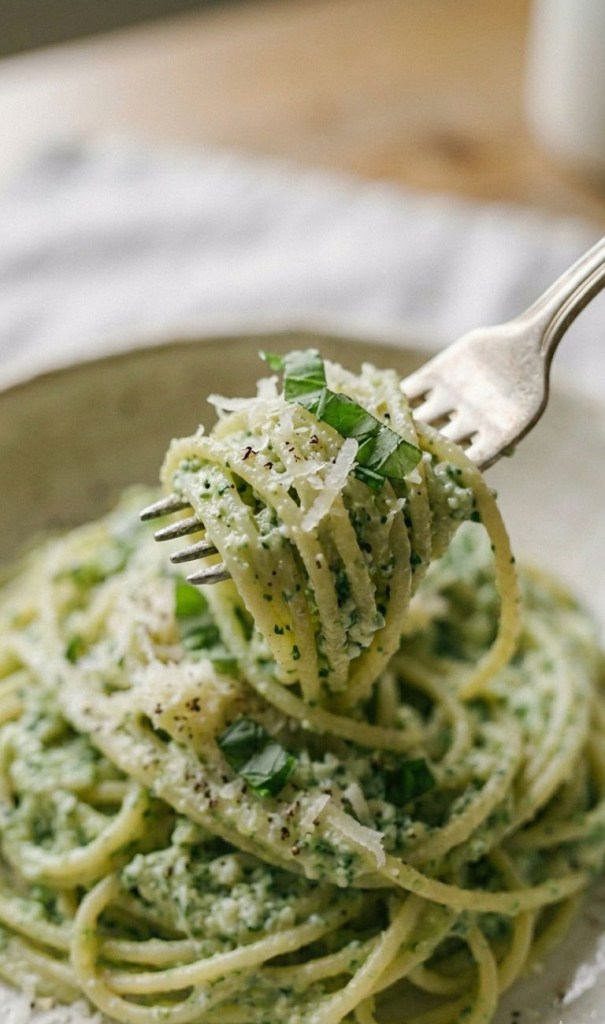
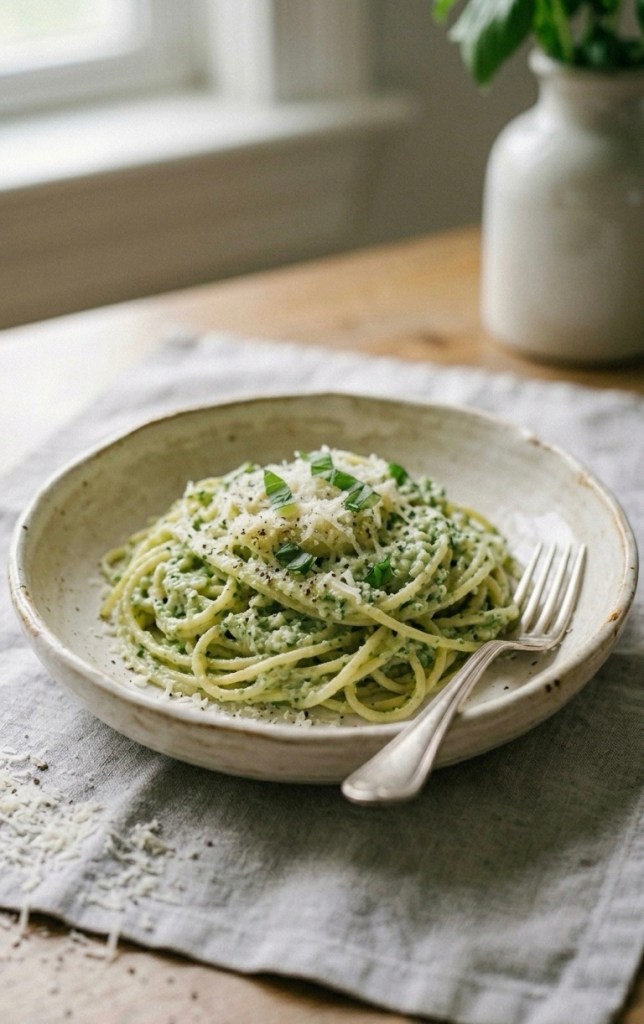
    Looking for a healthier way to satisfy those pasta cravings? This creamy basil cottage cheese pasta is a total game-changer. By blending cottage cheese, you get a velvety, protein-packed sauce without the need for heavy cream or complex ingredients.

    It’s quick, delicious, and perfect for a simple weeknight dinner.

    Ingredients

     225g spaghetti

     250g cottage cheese (full-fat or 2% works best for creaminess)

     1 cup fresh basil, packed

     1 clove garlic

     30g parmesan cheese, freshly grated

     1 tbsp olive oil

     Salt, pepper, and chilli flakes (to taste)

     Pasta water (reserved from boiling)

    Method

    1 Boil the Pasta: Bring a large pan of salted water to the boil. Cook your spaghetti until al dente. Crucially, reserve 120ml of the starchy pasta water before draining.

    2 Blend the Sauce: While the pasta cooks, add the cottage cheese, fresh basil, garlic, parmesan, and olive oil to a blender or food processor. Blend until the mixture is completely smooth.

    3 Combine: Drain the pasta and return it to the pan (ensure the heat is turned off). Pour your blended sauce over the hot spaghetti.

    4 Emulsify: Add a splash (about 2–3 tbsp) of the reserved hot pasta water to the pan. Toss the spaghetti vigorously. The heat and starch from the water will transform the mixture into a silky, glossy coating. Add more pasta water a tablespoon at a time until you reach your preferred consistency.

    5 Serve: Season with salt, pepper, and a pinch of chilli flakes. Serve immediately, topped with a few fresh basil leaves and an extra sprinkling of parmesan.

    Pro-Tips for Success

     Mind the Heat: Cottage cheese can become grainy if overheated. Always blend the sauce cold and only add it to the pasta once the pan is off the heat.

     Room Temperature: If you have time, let the cottage cheese sit out for 10–15 minutes before blending; it achieves a much smoother consistency at room temperature.

     Customise It: Want more greens? Add a handful of spinach into the blender. For more depth, throw in some sun-dried tomatoes or browned sausage.

    Do you have a favourite high-protein pasta hack? Let me know in the comments below!

  • Classic Victoria Sponge: A Traditional British Afternoon Tea Cake

    Classic Victoria Sponge: A Traditional British Afternoon Tea Cake


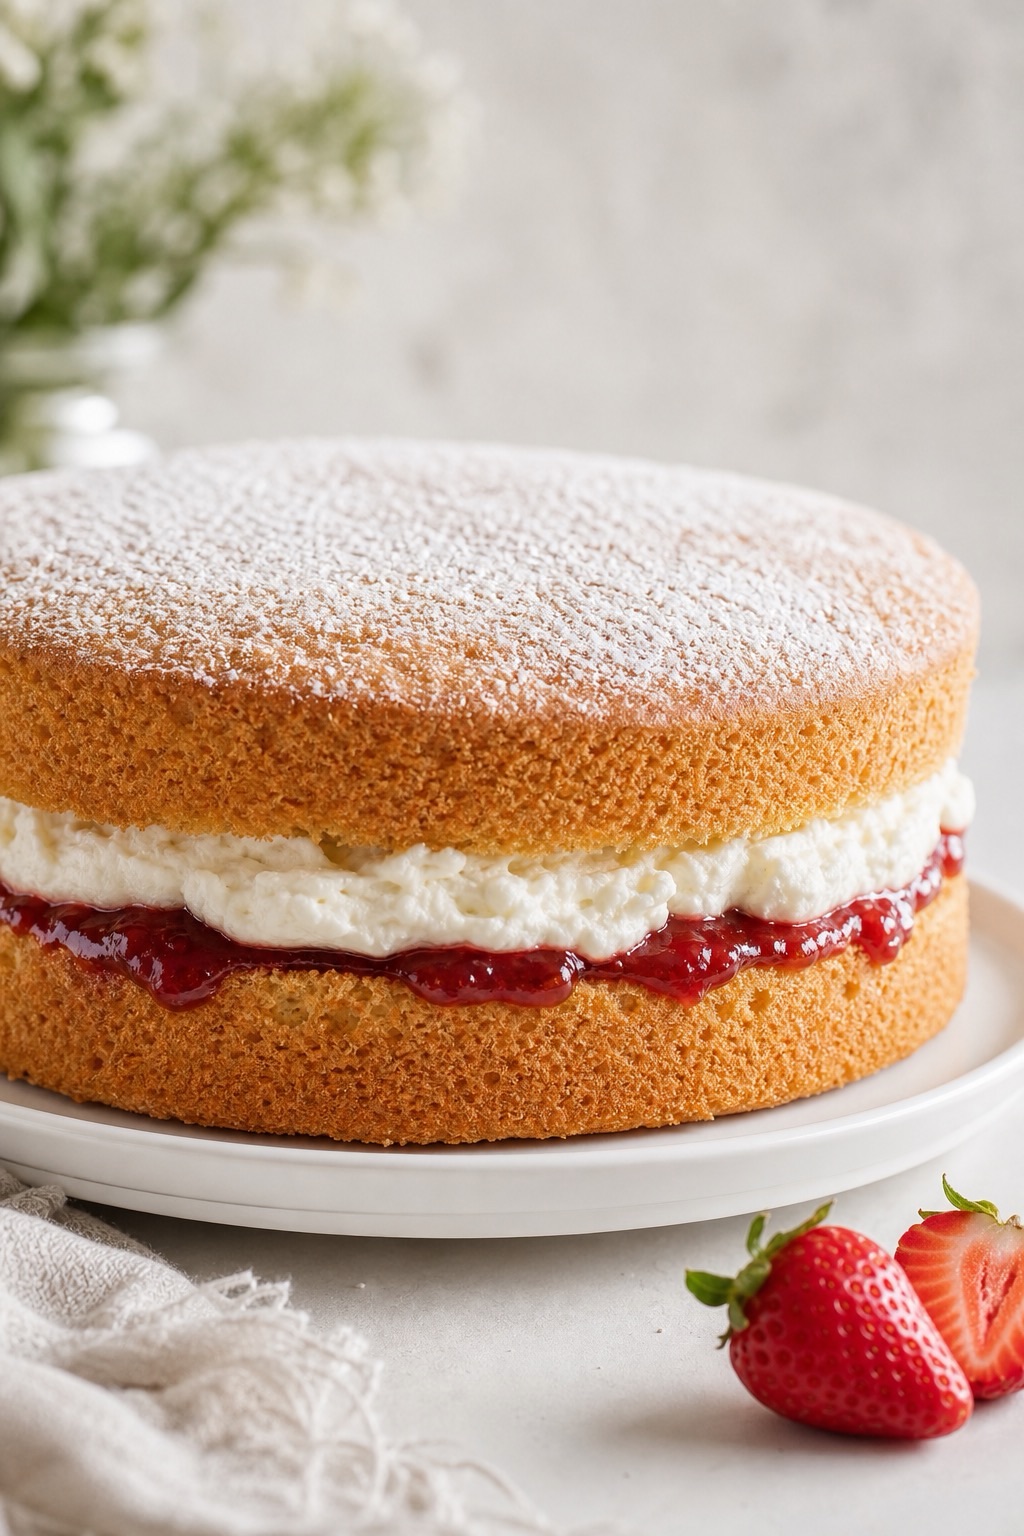
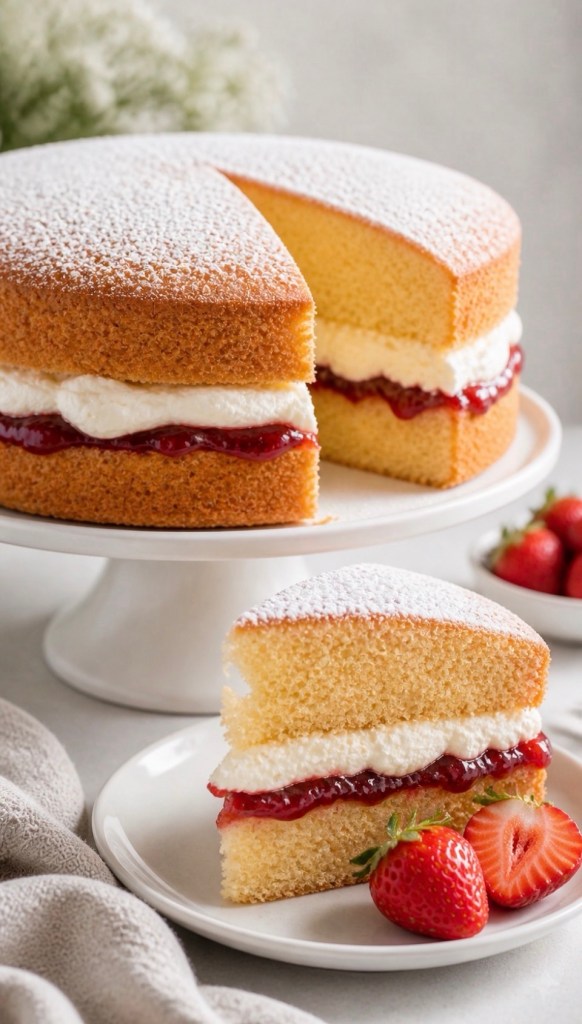
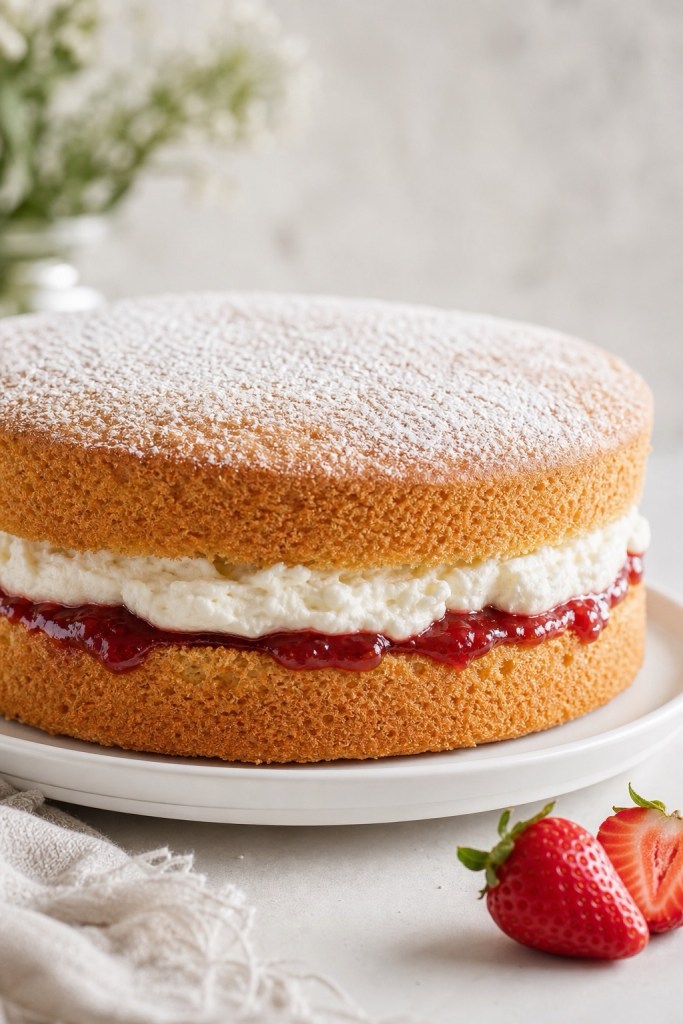
    There’s something wonderfully nostalgic about a classic Victoria sponge cake – light golden layers, a generous spread of strawberry jam, and soft clouds of cream, all finished with a delicate dusting of icing sugar.

    It’s simple, elegant, and feels like a warm invitation to sit down with a proper cup of tea.

    This version uses both UK and US measurements, so no matter where you’re baking from, you can follow along easily. It’s a brilliant go‑to recipe for afternoon tea, birthdays, or whenever you fancy a traditional British bake that never goes out of style.

    What Is a Victoria Sponge?
    A Victoria sponge (or Victoria sandwich) is a traditional British cake made from two layers of vanilla sponge, sandwiched together with jam and often whipped cream. It’s named after Queen Victoria, who was said to enjoy a slice with her afternoon tea.

    What makes it special is its simplicity. There’s no heavy frosting or elaborate decoration – just soft, buttery sponge, a bright layer of jam, and a creamy filling. When you cut into it and see those neat layers, it just feels like home on a plate.

    Ingredients (UK & US Measurements)
    This recipe makes one 20 cm / 8‑inch two‑layer cake.


    For the sponge
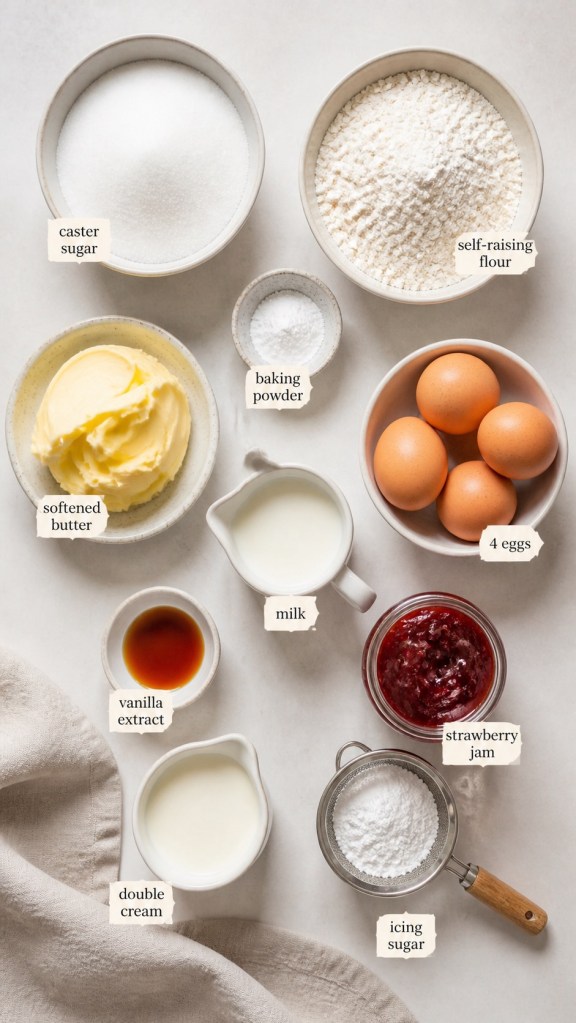
    • 200 g caster sugar (1 cup superfine sugar)
    • 200 g unsalted butter, softened (14 tbsp / 1 ¾ sticks)
    • 4 medium eggs (UK) or 4 large eggs (US)
    • 200 g self‑raising flour (1 ⅔ cups self‑rising flour)
    • 1 tsp baking powder
    • 2–3 tbsp milk (2–3 tbsp whole milk), as needed for consistency
    • 1 tsp vanilla extract
    For the filling
    • 200 g strawberry jam (about ¾ cup)
    • 150 ml double cream, whipped (⅔ cup heavy or whipping cream, whipped)
    • Icing sugar (powdered sugar) for dusting the top
    Equipment
    • Two 20 cm sandwich tins (two 8‑inch cake pans)
    • Baking paper (parchment) for lining

    • Mixing bowl, electric mixer, spatula, wire rack

    Step‑by‑Step Method

    1. Prepare your tins and oven
      Preheat your oven to 180°C (160°C fan) / 350°F.
      Grease the bases and sides of your two 20 cm / 8‑inch tins, then line the bases with baking paper.

    Taking a moment to line the tins properly really helps the sponges rise evenly and release cleanly, which is especially important if you want neat layers for photos or video.

    1. Cream the butter and sugar
      In a large mixing bowl, beat the softened butter and caster sugar together until very pale and fluffy. This usually takes around 3–4 minutes with an electric hand mixer or a stand mixer.

    This step is key: creaming properly incorporates air into the mixture and gives you that light, soft crumb that makes a Victoria sponge so lovely to eat.

    1. Add the eggs and vanilla
      Add the eggs one at a time, beating well after each addition so the mixture stays smooth. If it starts to look a little curdled, you can mix in a spoonful of the flour to bring it back together.

    Stir in the vanilla extract. It adds a gentle sweetness that lifts the flavour without overpowering the jam and cream.

    1. Fold in the dry ingredients
      Sift the self‑raising flour and baking powder together, then gently fold them into the bowl using a spatula or large metal spoon.

    Add the milk a tablespoon at a time until the batter reaches a soft “dropping” consistency – when you lift the spoon, the mixture should fall off slowly in dollops rather than running or sticking.

    1. Bake the sponges
      Divide the batter evenly between the two prepared tins and level the tops so they bake flat.

    Bake in the preheated oven for 20–25 minutes, or until the sponges are risen, lightly golden and a skewer inserted into the centre comes out clean. Try not to open the oven door too early, as that can cause the cakes to sink.

    1. Cool completely
      Leave the cakes in their tins for about 5 minutes, then carefully turn them out onto a wire rack. Peel away the baking paper and allow the sponges to cool completely.

    If the cakes are even slightly warm when you add the filling, the cream can melt and the top layer may slide, so cooling fully is worth the wait.

    1. Fill with jam and cream
      Once the sponges are fully cool, place one layer upside down on your serving plate or cake pedestal.
      • Spread an even layer of strawberry jam over the base.
      • Whip the double cream to soft peaks and spoon it over the jam, spreading gently towards the edges.

    Carefully place the second sponge on top, right‑side up, and try not to press down too firmly so you don’t squeeze out all the filling.

    1. Finish and serve
      Just before serving, sift a light dusting of icing sugar over the top of the cake.

    Slice with a sharp knife to reveal the layers of sponge, jam and cream. This is the perfect moment for a close‑up photo or video: one slice on a small plate in front, showing off the crumb and filling, with the rest of the cake proudly on its pedestal behind.

    Tips for the Perfect Victoria Sponge
    • Use room‑temperature ingredients: Butter and eggs blend more easily and help create a smoother, lighter batter.
    • Don’t overmix once the flour goes in: Gentle folding keeps the sponge tender and prevents it turning dense.
    • Measure accurately: For sponge cakes, weighing ingredients (especially flour and sugar) makes a big difference to the final texture.
    • Watch the bake time: Start checking from around 20 minutes; over‑baked sponge will feel dry rather than soft and springy.

    • Serve fresh: This cake is best on the day it’s filled, when the sponge is soft and the cream is fresh and light.

    Variations on This Traditional British Cake
    Once you’re comfortable with the classic, you can easily play with a few variations:
    • Swap strawberry jam for raspberry, cherry or mixed berry jam.
    • Add a handful of fresh sliced strawberries to the filling for extra colour and texture.
    • Use vanilla buttercream instead of whipped cream if the cake needs to sit out for a while or travel.

    • Add a little lemon zest to the sponge for a subtle citrus twist.

    Perfect for Afternoon Tea – And Social Media
    This classic Victoria sponge is ideal for afternoon tea, family celebrations or a simple weekend treat. It also happens to be incredibly photogenic, especially when you show off the crumb and layers in a close‑up slice.
    If you share your bake on social media, let people know whether you’re team “jam only” or “jam and cream” and invite them to vote in the comments – it’s a fun way to spark conversation around this traditional British favourite

  • Fearne Cotton–Inspired Sri Lankan Veggie Curry (UK & US Measurements)

    Fearne Cotton–Inspired Sri Lankan Veggie Curry (UK & US Measurements)


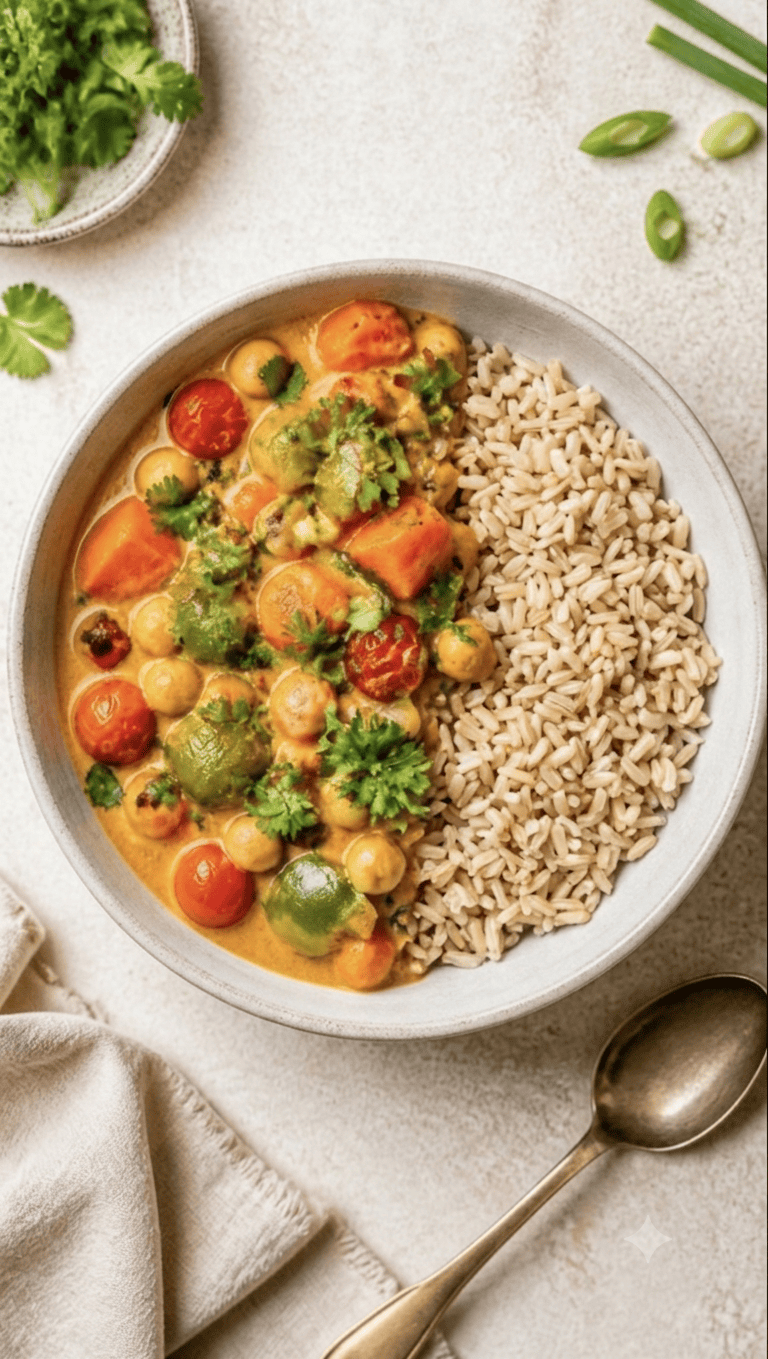
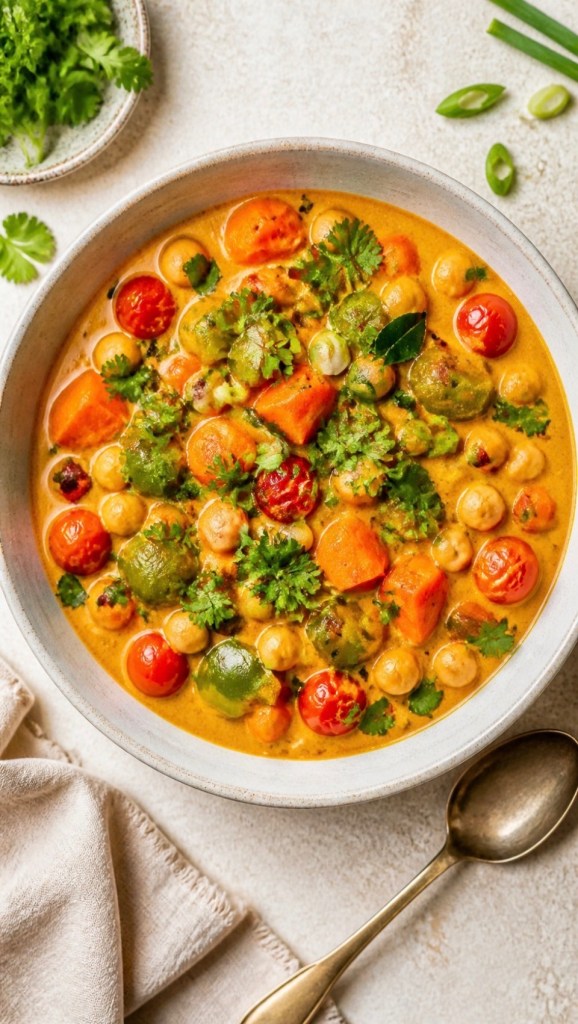
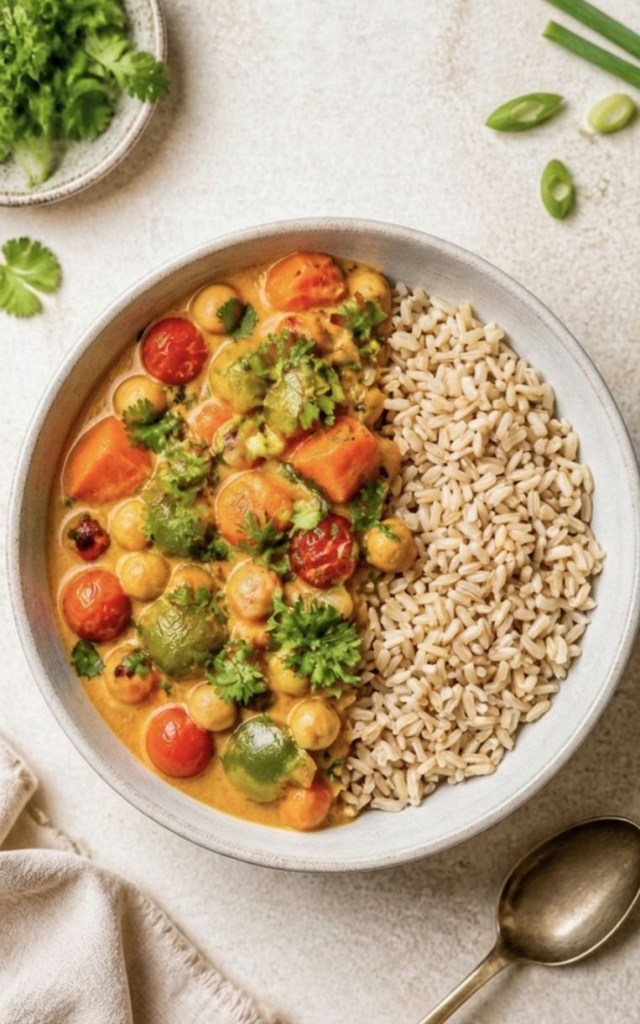
    If you love a cosy curry night but still want dishes that feel light, colourful and health‑conscious, this Fearne Cotton–inspired Sri Lankan vegetable curry is a gorgeous option. It’s rich with warming spices, mellowed with creamy coconut milk and packed with vibrant veg that make it look as good as it tastes.

    This is one of those recipes that works for busy weeknights, gentle batch cooking, or a relaxed Friday curry night at home. It’s naturally dairy‑free, easy to keep vegetarian, and you can add chunks of white fish like cod if you’d like the extra protein while still keeping things on the lighter side.

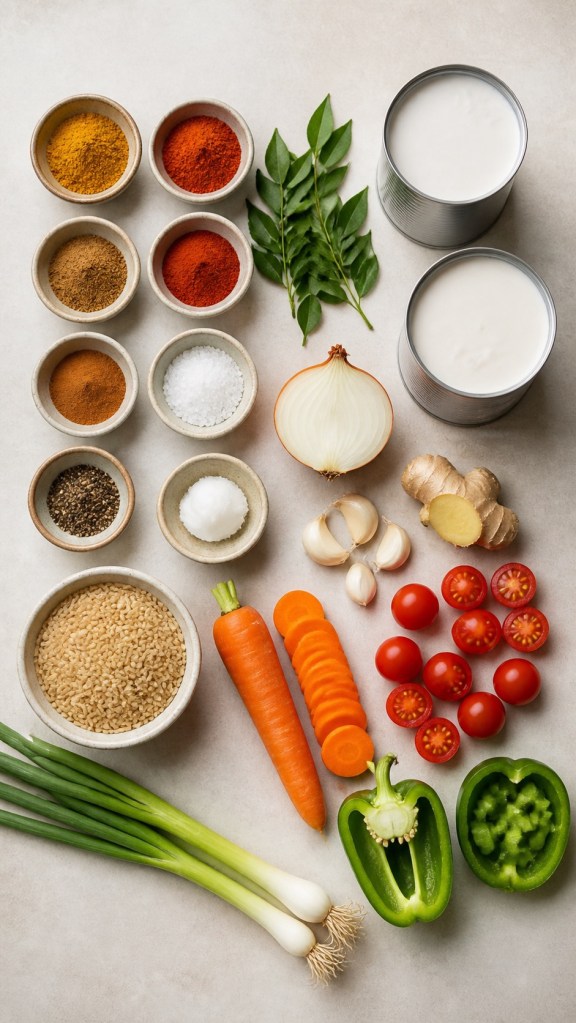
    Everything you need for a Fearne Cotton–inspired Sri Lankan vegetable curry.

    Ingredients (serves 3–4)

    1½ tbsp coconut oil or vegetable oil (about 20 ml / 1½ tbsp)
    10 fresh curry leaves (optional, but lovely if you can get them)
    1 medium onion, finely chopped (about 150 g / 1 cup)
    5 cm piece fresh ginger, finely grated (about 25 g / 2 tbsp)
    4–5 cloves garlic, crushed
    ½ tsp ground cinnamon
    1½ tbsp mild curry powder (about 15 g / 1½ tbsp)
    ½ tsp chilli powder (or to taste)
    1 tsp garam masala
    1 tsp sweet smoked paprika
    16 cherry tomatoes, halved (about 200 g / 1½ cups)
    2 × 400 ml tins full‑fat coconut milk (about 800 ml / 3⅓ cups)
    2 medium carrots, thinly sliced into rounds (about 160 g / 1½ cups)
    1 green pepper (capsicum), deseeded and chopped into bite‑size pieces (about 120 g / 1 cup)
    Sea salt and black pepper, to taste
    Cooked brown rice to serve (about 75–80 g dry / ⅓ cup dry per person)
    2 spring onions (scallions), finely sliced, to serve
    Optional protein add‑in:
    200 g cod or other firm white fish, cut into chunks (about 7 oz)
    Optional vegan protein swap:

    1 × 400 g tin chickpeas, drained and rinsed (about 1½ cups)

    Method
    Heat the oil in a large frying pan or wide saucepan over a medium heat. Add the curry leaves and let them fry for 2–3 minutes until fragrant.
    Stir in the chopped onion and grated ginger. Cook for about 5 minutes, stirring occasionally, until the onion softens and turns translucent.
    Add the crushed garlic and cook for 1 minute, just until fragrant.
    Sprinkle in the ground cinnamon, mild curry powder, chilli powder, garam masala and smoked paprika. Stir for 1–2 minutes so the spices lightly toast and release their aroma.
    Add the halved cherry tomatoes with a pinch of sea salt and black pepper. Cook for a couple of minutes until the tomatoes start to soften and release their juices.
    Pour in the coconut milk, then add the sliced carrots and chopped green pepper. Bring everything up to the boil, then reduce to a gentle simmer.
    Simmer for 20–25 minutes, stirring now and then, until the vegetables are tender and the sauce has thickened slightly.
    If you’re using cod, gently stir the chunks into the curry for the last 5 minutes of cooking, until just cooked through and flaky. For a vegan version, stir in the chickpeas for the last 5–10 minutes so they warm through in the sauce.
    Taste and adjust the seasoning with more salt, pepper or chilli if you like extra heat.

    Serve the curry over cooked brown rice and finish with a sprinkle of sliced spring onion on top.

    Tips, swaps and serving ideas
    Make it fully vegan by skipping the fish and using chickpeas or tofu instead for a plant‑based protein boost.
    Add a handful of spinach or shredded kale in the last few minutes for extra colour and nutrients.
    This curry keeps well in the fridge for 2–3 days and the flavours deepen by the next day, so it’s ideal for lunch prep.

    Keep the spice level gentle for family meals, or add extra chilli powder or fresh chilli at the end if you prefer more heat.

  • The Ultimate 2-Minute Berry Swirl Smoothie: Your New Breakfast Obsession

    The Ultimate 2-Minute Berry Swirl Smoothie: Your New Breakfast Obsession

    If you’re anything like me, your mornings are a frantic dash between finding your keys, answering emails, and trying to look presentable before your first meeting. Breakfast often ends up being an afterthought—or worse, a sad slice of toast on the go.

    But what if I told you that you could have a café-quality, nutrient-packed breakfast in exactly two minutes?

    Meet the Berry Swirl Smoothie. It’s creamy, vibrant, and looks so good you’ll want to post it on your story immediately. Plus, it uses simple ingredients you likely already have in your kitchen.

    Why You’ll Love It

     It’s Fast: It takes about 120 seconds to blend and pour.

     It’s Aesthetic: That layered look? It’s not just for professional food bloggers—it’s actually incredibly easy to achieve.

     It’s Good for You: It’s a perfect balance of fruit, protein, and natural sweetness to fuel your morning.

    What You’ll Need

    Head to your local supermarket and grab these bits:

    For the Berry Base:

     150g frozen mixed berries

     60ml semi-skimmed milk

     A small drizzle of honey

    For the Cream Layer:

     120g frozen banana chunks

     60ml semi-skimmed milk

     A drop of vanilla essence (optional, but highly recommended!)

    The Method

    1 Blend the Berries: Combine your frozen berries, milk, and honey in your blender. Blitz until smooth. Pour this mixture into your favourite tall glass—the ribbed ones look amazing on camera!

    2 Make the Cream: Give your blender a quick rinse (no need to be perfect!), then add the frozen banana, remaining milk, and vanilla essence. Blend until it’s thick, creamy, and mousse-like.

    3 The Swirl: Carefully pour the cream layer over the berry layer. Take a long spoon and gently drag it through the middle to create that beautiful “marble” effect.

    4 Top it Off: Garnish with a few fresh berries and a sprig of mint for that professional finish. Use a glass straw to keep the look clean and sustainable.

    Ready to elevate your breakfast?

    This smoothie is my go-to when I need to feel like I’ve got my life together, even on a Monday morning. It’s light, refreshing, and tastes like an absolute treat.

    Have you tried making a layered smoothie before? Or do you have a go-to secret ingredient that makes your morning shake extra special? Let me know in the comments below!

    Enjoyed this post? Don’t forget to share it with a friend who’s always rushing their breakfast!