My biggest fear always used to be caring about what people thought of me.
I am not the most confident of people and due to my upbringing and past relationships I always felt that I wasn’t clever enough , pretty enough , funny enough etc. I can’t take a compliment and yes you always find me in the kitchen at parties as the song goes … actually you wouldn’t as I wouldn’t be in the party in the first place !!
Since meeting my other half I’ve got better !! He tells me I’m funny, beautiful clever etc and even now I only half believe him and think that he is just being nice . What he has taught me is that it doesn’t really matter what other people think , it’s how you feel that matters . He makes me embrace my daft side and has given me the ability to laugh at myself and not take myself so seriously .. and that’s a gift ! I’m a work in progress but am getting there !
Describe one simple thing you do that brings joy to your life.
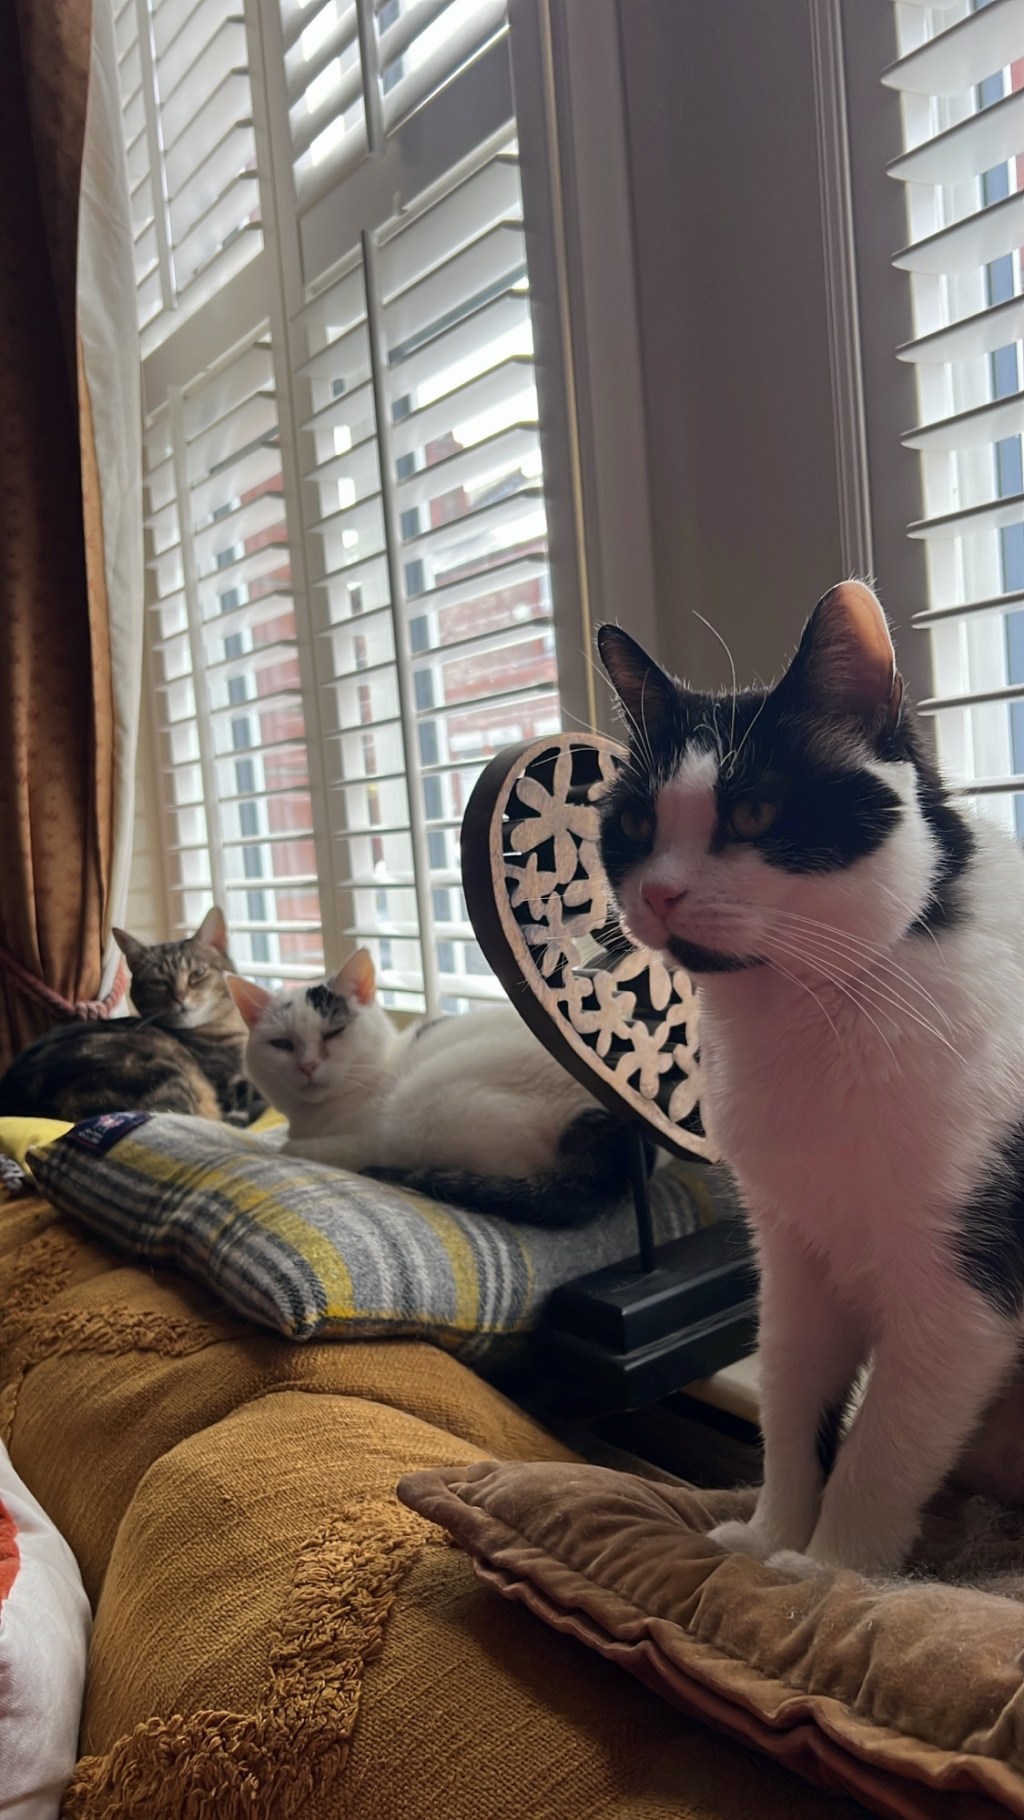
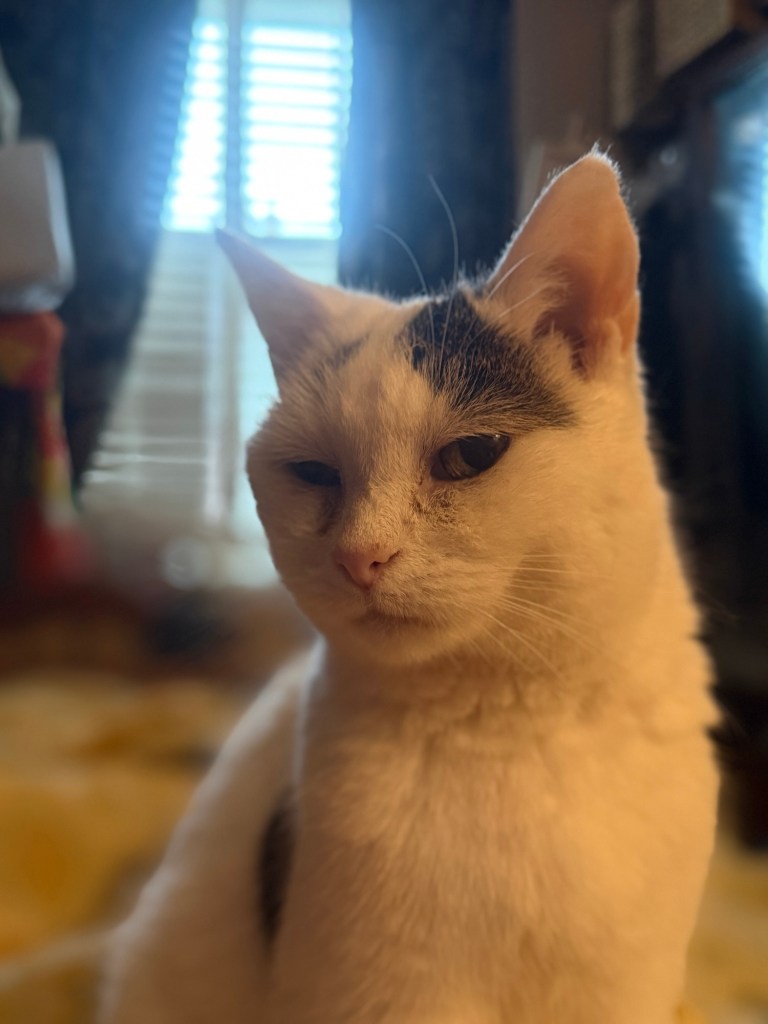
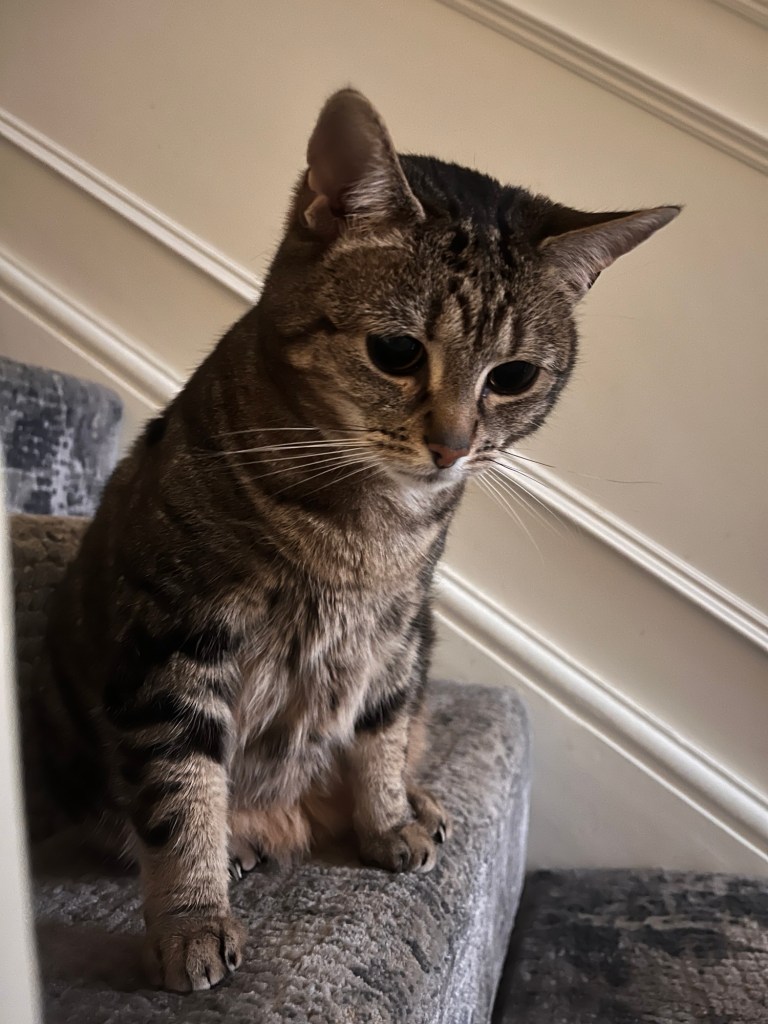
My cats .. without a doubt. In fact any cats 😂 I prefer cats to people .. you know where you stand with them
They are unashamedly them .. each with their own little characters . They bring so much joy, each has their own little personalities and way of communication/ they are adorable
Am I a crazy cat lady ? Totally and proud to be one !
The late Ruby . A king amongst cats .. an icon who I miss with all of my heart The beautiful moon with the gentlest heart The adorable Millie .. sassy and classy
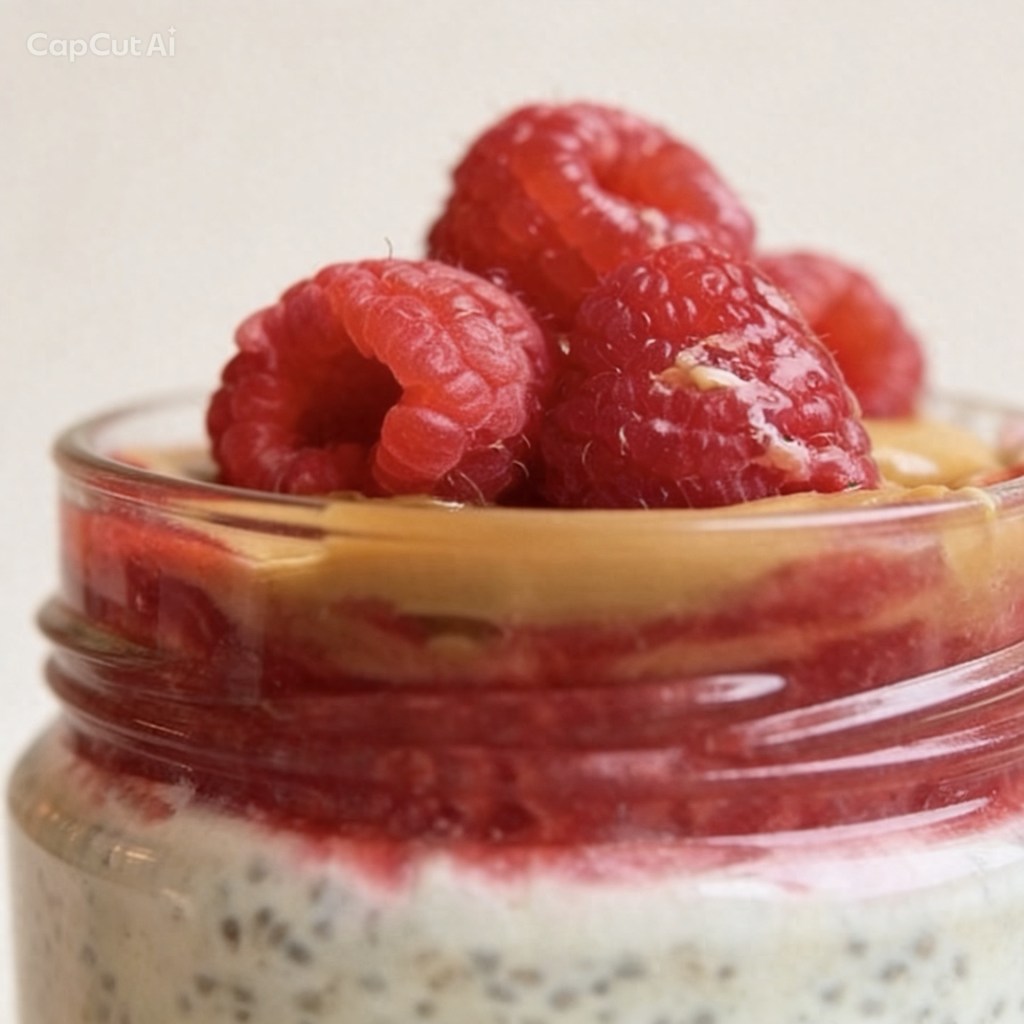
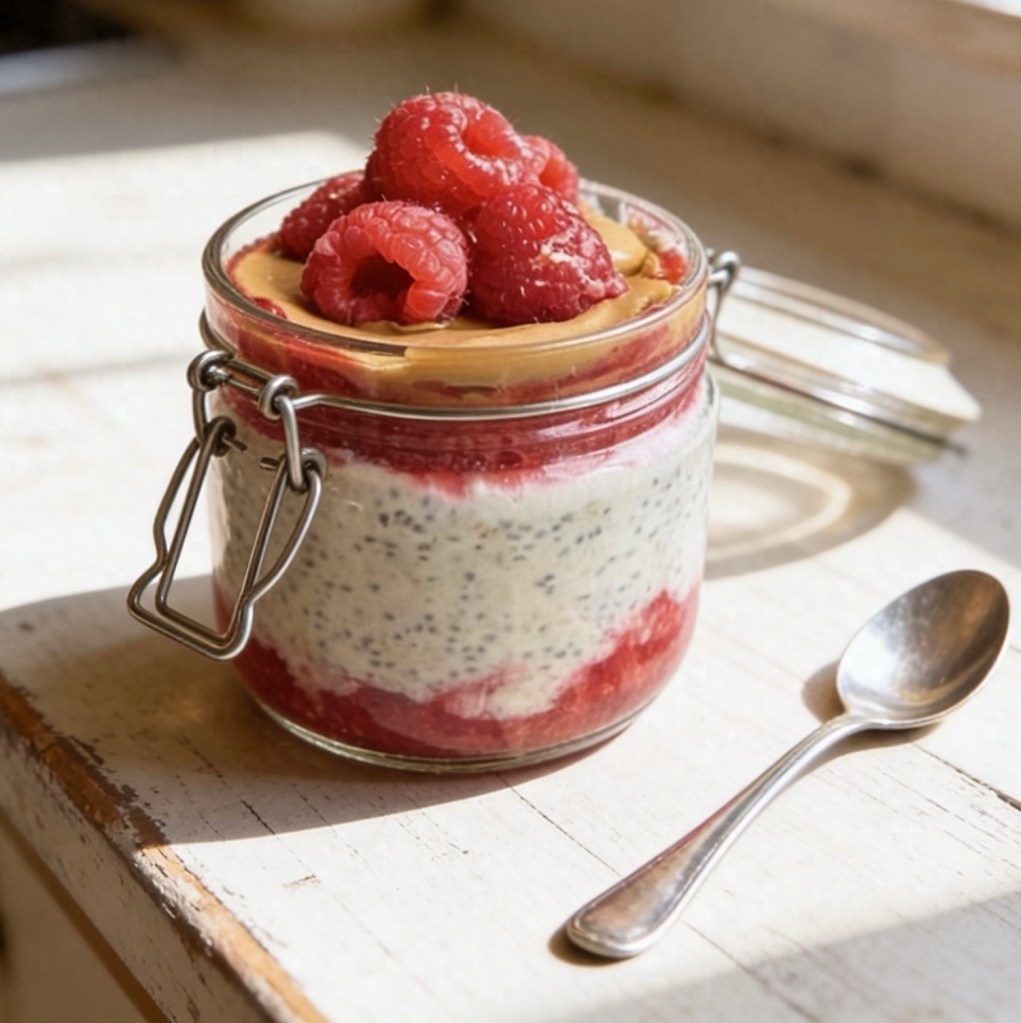
If you are looking for a breakfast that feels like a cheat meal but keeps you fueled, full, and focused for hours, you just found it.
This Peanut Butter and Jelly Overnight Oats recipe takes the nostalgic, comforting flavors of a classic PB&J sandwich and transforms them into a creamy, nutrient-dense breakfast jar. By layering a quick, warm raspberry compote with thick Greek yogurt and hearty oats, you get a beautiful parfait-style meal prep that is ready the second you wake up.
Let’s dive into how to make it!
Prep Time & Yield
Prep Time: 10 minutes
Cook Time: 5 minutes
Chill Time: 6+ hours (Overnight)
Yield: 2 Servings
Ingredients You’ll Need
Ingredient Quantity Notes Raspberries 150 g Fresh or frozen work perfectly Rolled Oats 100 g Use old-fashioned rolled oats, not instant Chia Seeds 25 g Packed with fiber and omega-3s Greek Yogurt 150 g Plain or vanilla for a protein boost Whole Milk 150 ml Or any plant-based milk of choice Smooth Peanut Butter 2 Tbsp Divided between the two containers Runny Honey 4 tsp Divided (for the oats and the final drizzle)
Step-by-Step Instructions
Step 1: Make the Quick “Jam”
Place a small saucepan over medium heat. Add the raspberries to the pan. If you are using fresh berries, splash in 2 tablespoons of water to help them break down. Heat for approximately 5 minutes, stirring occasionally, until the fruit collapses into a glossy, jammy consistency. Remove from the heat and set aside to cool. (Pro-tip: Reserve a small handful of whole berries right at the start to use as a fresh topping later!)
Step 2: Mix the Oat Base
In a large mixing bowl, combine the rolled oats, chia seeds, Greek yogurt, whole milk, and 2 teaspoons of the honey. Stir everything together thoroughly until the yogurt and milk are fully incorporated and the chia seeds are evenly distributed.
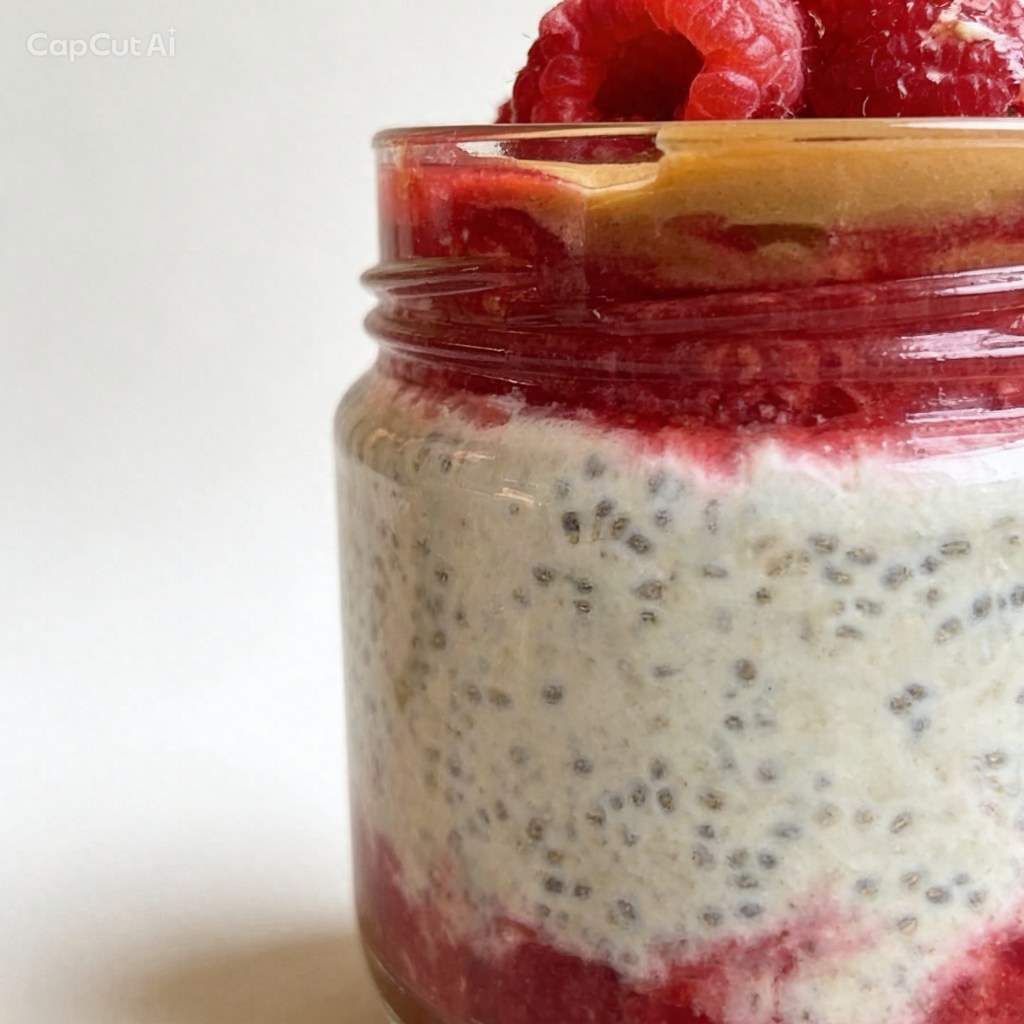
Step 3: Layer and Assemble
Grab two jars or meal-prep containers.
The Base Layer: Divide half of your cooled jammy raspberries equally between the two containers, smoothing them into an even layer at the bottom.
The Middle Layer: Divide the oat mixture evenly between the containers right on top of the jam, levelling the top gently with a spoon.
The Top Jam Layer: Repeat with the remaining half of the raspberry mix, spreading it over the oats.
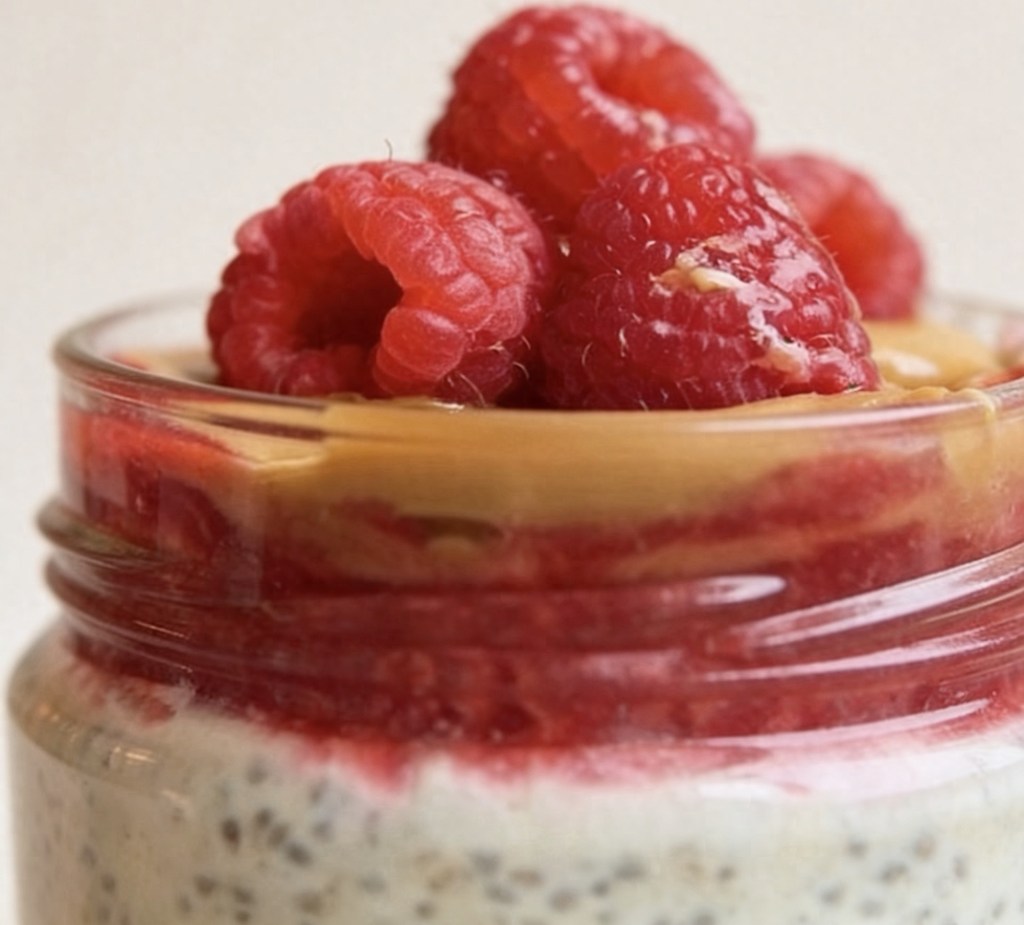
The Finishes: Spoon 1 tablespoon of smooth peanut butter into each container. Top with your reserved handful of raspberries and drizzle the remaining 2 teaspoons of honey over the top.
Step 4: Chill and Serve
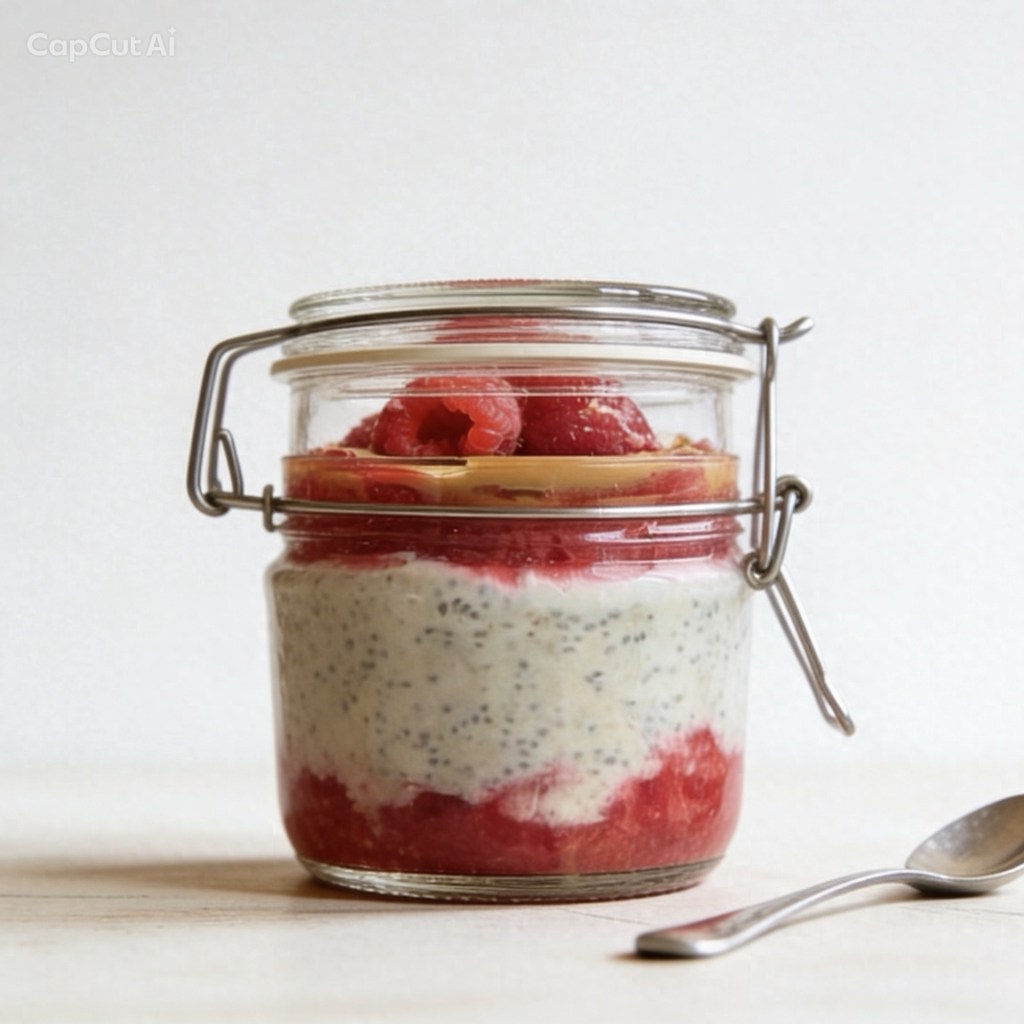
Seal your containers tightly with their lids and place them in the fridge overnight (or for at least 6 hours). This gives the oats and chia seeds time to expand and absorb the liquid, creating an incredibly thick, pudding-like texture.
In the morning, just grab a spoon, stir it up (or eat it layer by layer), and enjoy!
Shopping
These jars are great for overnight oats and come with a seperate container for toppings, nuts fruit etc
This post may contain affiliate links, which means I may earn a small commission if you purchase through them — at no extra cost to you. As an Amazon Associate, I earn from qualifying purchases
How do you know when it’s time to unplug? What do you do to make it happen?
Ooh this is my weak spot !! I am like the Duracell bunny .. I will just go on and on and on ! For me the sign to stop is when I start dropping things ! Sound random but that is my pointer to stop, have a bath and go to bed ! The favourite is mugs and glasses !!! I think my coordination just goes and that’s it !
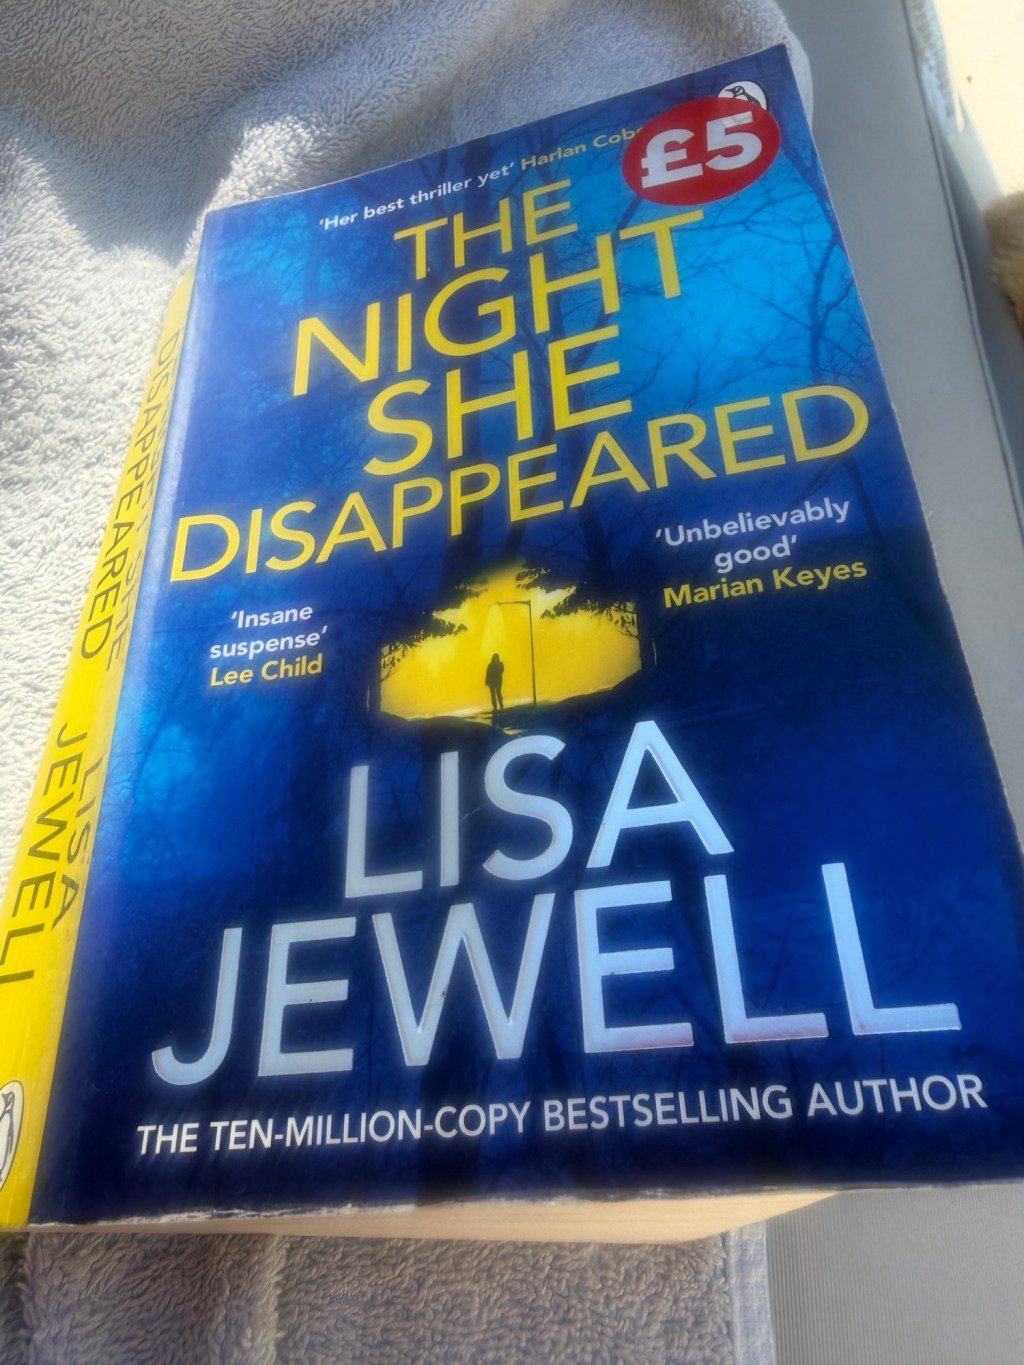
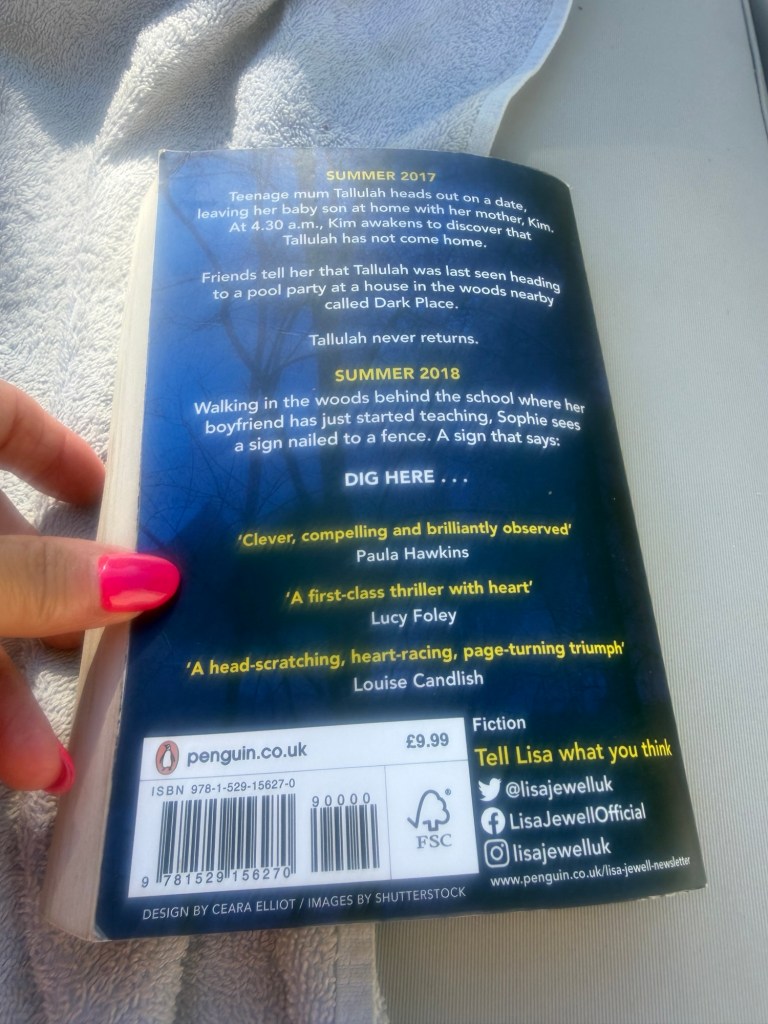
Having read a few of Lisa Jewell’s psychological thrillers, I always look forward to her releases because she has a reliable knack for turning domestic suspense into something entirely addictive. Going into The Night She Disappeared, I expected a dark, atmospheric puzzle with a web of family secrets, and she absolutely delivered. The story follows nineteen-year-old parents Tallulah and Zach, who are struggling to balance their young relationship with the immense pressures of raising their infant son, Noah. When they go out for a rare date night and never return, the investigation eventually goes cold. A year later, a cozy detective novelist named Sophie moves into a cottage bordering the woods near the elite Maypole school.
After discovering a crude cardboard sign nailed to a fence that reads “DIG HERE,” Sophie unearths a buried engagement ring and begins digging into the history of a massive, isolated country estate known as “Dark Place,” where the young couple was last seen.
The narrative brilliantly shifts between timelines, and what makes this book stand out is how deeply it explores the hidden, toxic intricacies of the central relationships. On the surface, Zach appears to be a doting, hard-working young father who is actively planning to propose and buy a flat for his family. However, through Tallulah’s past timeline, Jewell uncovers a much darker, highly claustrophobic dynamic. Tallulah feels entirely trapped and suffocated by Zach’s increasingly forceful and controlling behavior, which he cleverly masks in front of her mother. This deep emotional vulnerability makes her highly susceptible to Scarlett Jacques, a wealthy, glamorous, and profoundly manipulative classmate. Tallulah’s friendship with Scarlett quickly evolves into a secret, intense, and obsessive romantic relationship. Scarlett becomes an intoxicating escape from her domestic life, but Scarlett’s affection quickly borders on a dangerous fixation, creating a volatile web where everyone is hiding a double life, and Zach’s quiet desperation begins to turn genuinely menacing.
This book is the absolute definition of a spectacular holiday read. It is fast-paced, atmospheric, and highly engaging from the very first chapter. The plot architecture is where the book truly shines, spinning a web of red herrings, psychological tension, and shifting motives that keep you actively playing detective. What I appreciate most is that the story doesn’t rely on cheap, unearned twists; instead, it drops subtle puzzle pieces regarding these fragile relationships that keep you guessing right up until the final, breathless chapters.
My only minor critique is that while the central emotional web between Tallulah, Zach, and Scarlett is beautifully drawn and complex, a few of the secondary characters lacked a bit of depth. Some of the minor figures, like Sophie’s boyfriend or the surrounding school staff, felt more like functional plot devices designed to move the mystery forward rather than fully fleshed-out human beings. However, the core psychological tension is so compelling and the pacing is so swift that it is incredibly easy to overlook any minor flaws. Ultimately, The Night She Disappeared earns a solid 4 out of 5 stars. It is a clever, suspenseful, and genuinely thrilling ride that always keeps you guessing towards the end, making it the perfect choice to pack for your next vacation.
Loyalty discretion & honesty are the values I hold most dear in a friend . The fact if I say something in confidence it is kept in confidence and not tittle tattled around – discretion is key and in return I offer the same.
I like a friend I can laugh with till we cry and to just be myself. Someone non judgemental and not afraid to speak their mind
I don’t have a lot of friends , I value quality over quantity.
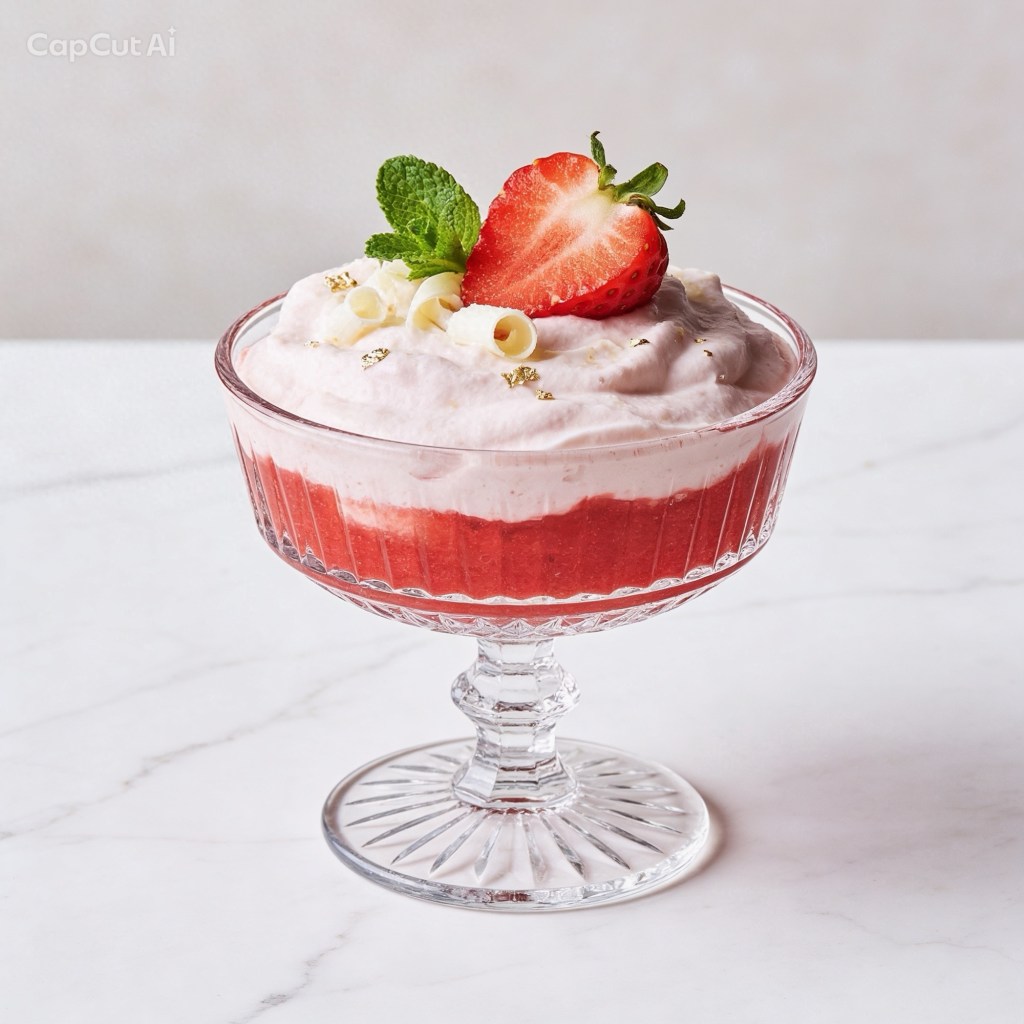
Hello, fellow lovers of elegant indulgence! If you are here, it’s because you believe that true luxury should be effortless, bright, and absolutely non-negotiable. Today, I am ecstatic to share a dessert that I have been perfecting—one that I’m officially calling my “non-boozy miracle mousse.”
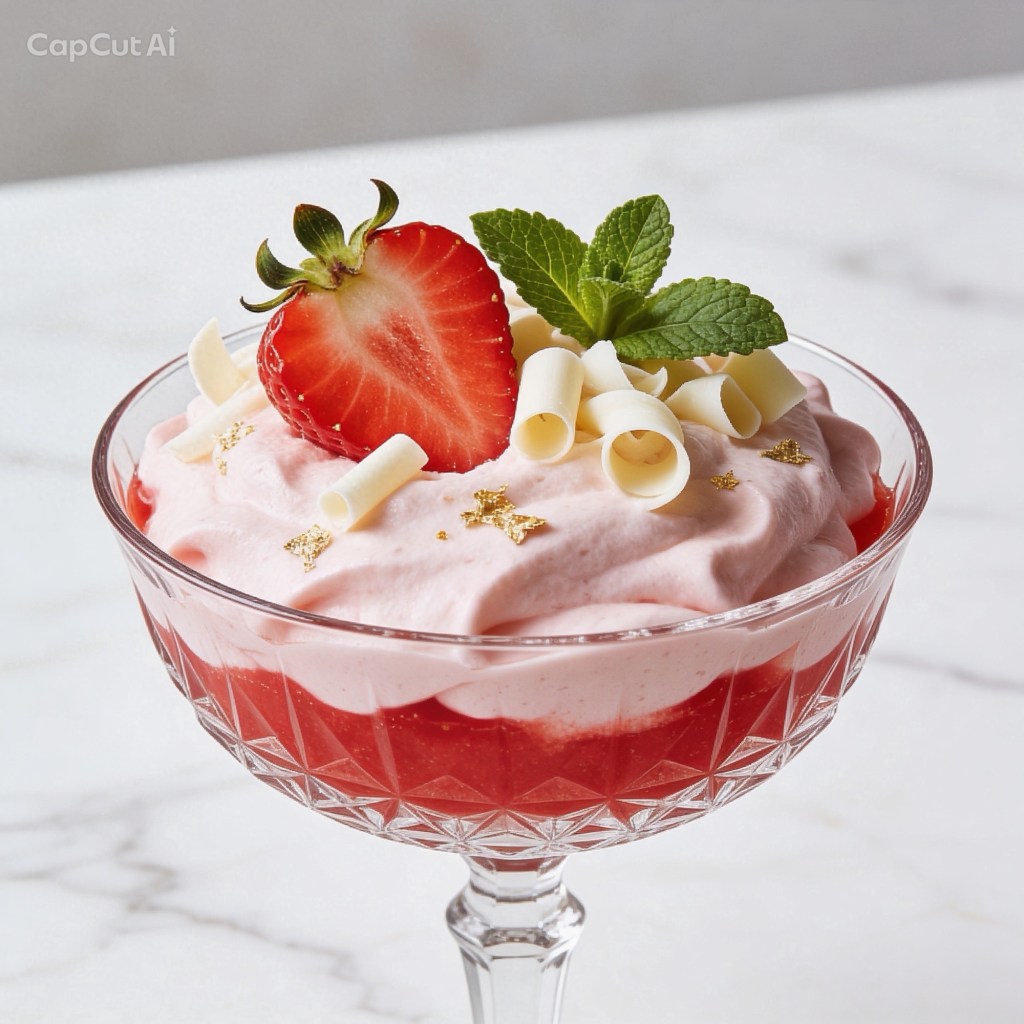
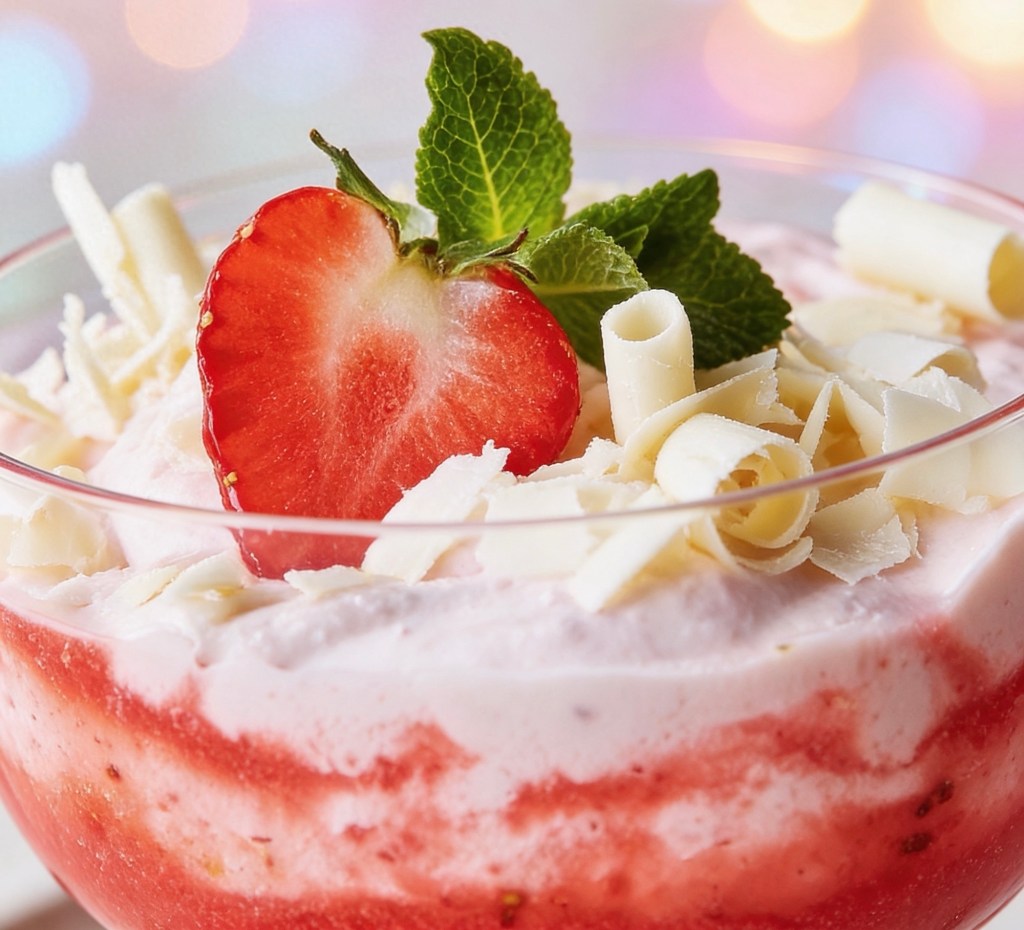
It requires only two main components, but the visual impact is just… pure patisserie drama. Meet The Ruby Strawberry Silk Cup.
Take a look at that deep, glistening red contrast against that cloud of pink. I wanted to create something that looked entirely bespoke and high-end, but that someone could pull together in minutes (well, minus the cooling time!). This isn’t just strawberries and cream; this is strawberries and cream graduating summa cum laude.
So, what is the secret to that magnificent, two-tone finish? How does one get that incredibly bright, pure ruby red?
The secret is all about focusing the flavor and managing the textures. The deep, intense base isn’t just a simple fruit puree; it’s a quick, concentrated jam. I simmer fresh strawberries with a touch of moisture, allowing them to naturally break down and intensely darken. The color you see is pure strawberry magic! This provides that sharp, tart, jammy pop that defines the whole dessert.
The second part is the “silk” itself. Once that beautiful quick jam has cooled—and please, do not rush this part—we take half of that concentrated essence and fold it into soft, pillowy fresh whipped cream. This is how we achieve that incredibly light, pastel pink mousse. By not over-folding, we keep the texture velvety and airy, creating that perfect contrast.
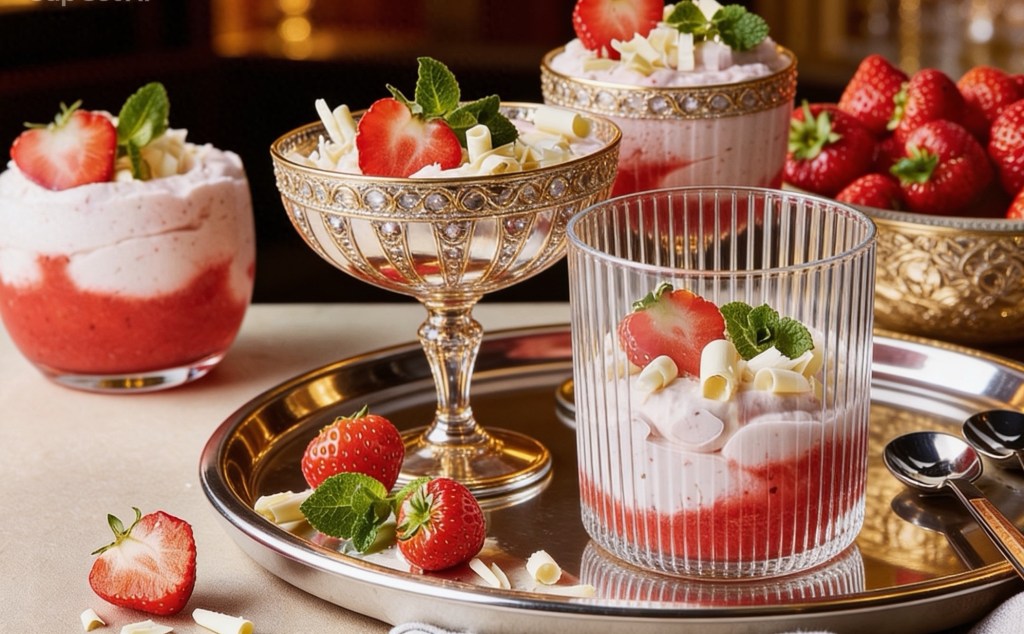
Finally, we talk about the “bouji factor.” If you are presenting this in your favorite crystal goblets (which you should), you cannot skip the garnish:
• The Crystal: Your fanciest glass makes no this dessert feel like an event.
• The Perfect Slices: Just one perfect strawberry slice, nestled slightly.
• The Mint: A small, delicate sprig of fresh mint for that pop of color.
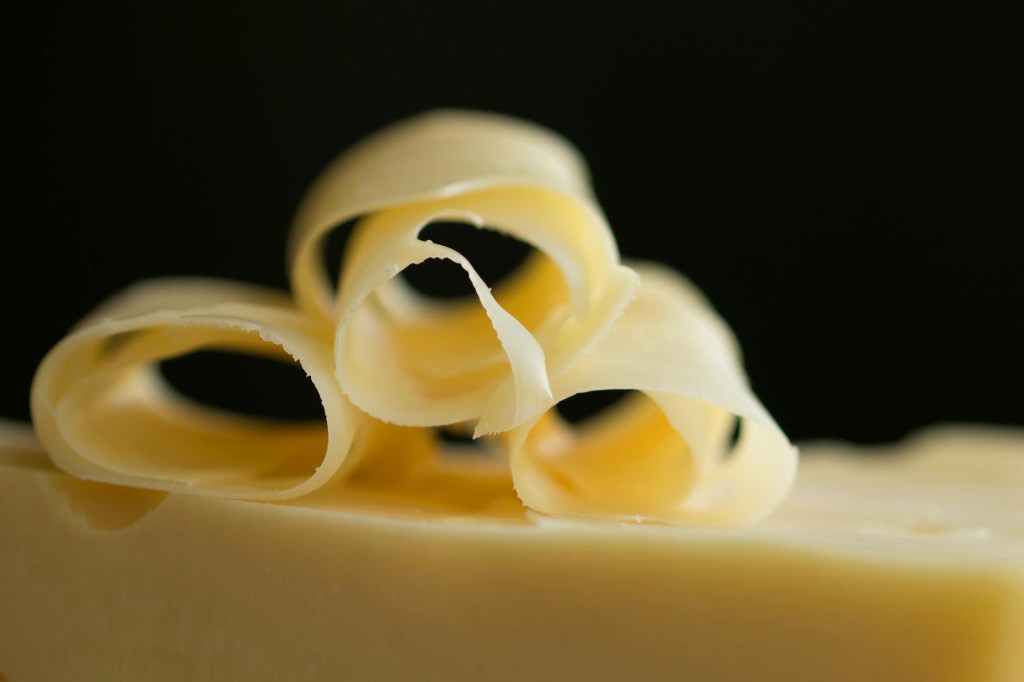
• The White Chocolate: The way those delicate white curls melt into the surface… stunning.
• The Gold: The non-negotiable touch is a micro-dusting of edible gold leaf. That little sparkle is what transforms this from a mousse into a masterpiece.
It’s sweet, bright, and impossibly silky. It’s perfect for a elegant dinner party or a celebratory brunch, but easy enough for a random Tuesday when you need a moment of pure, sophisticated luxury.
Give it a go (the full method is just above!) and let me know in the comments how much gold leaf you applied!
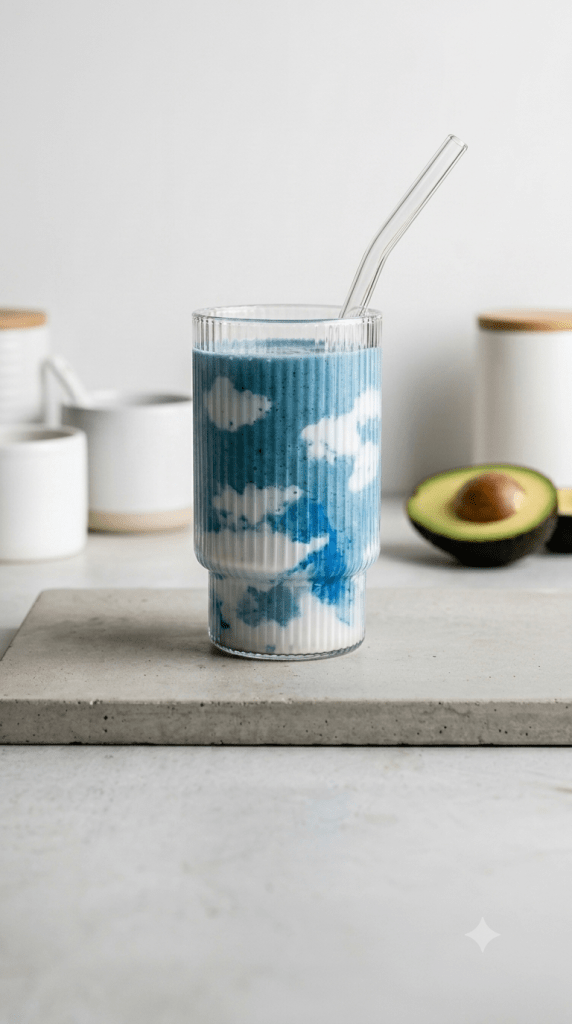
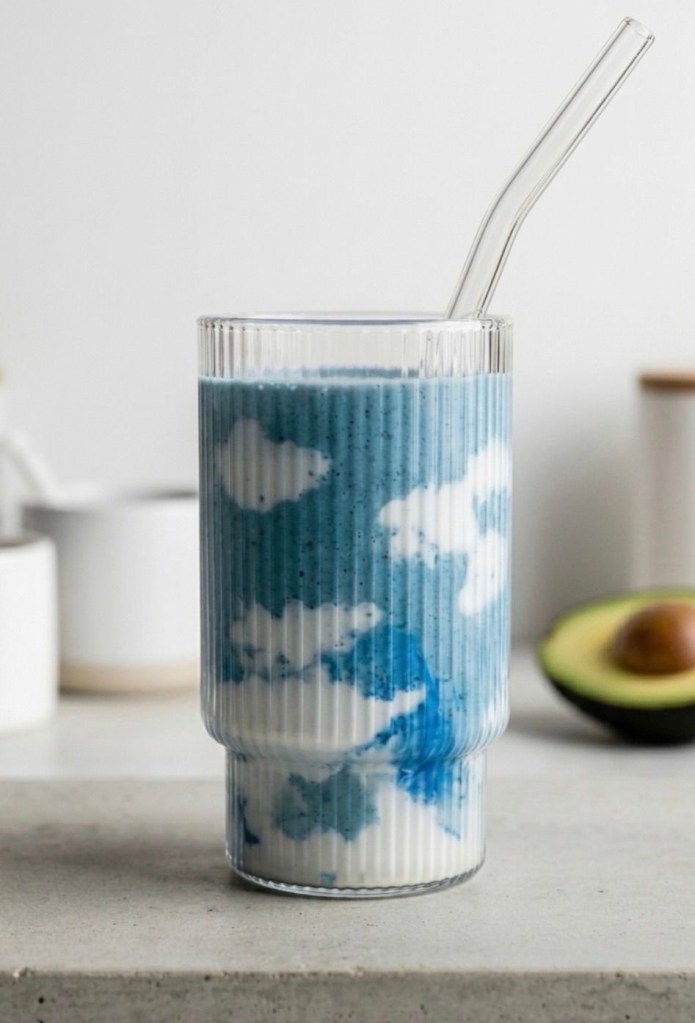
Have you seen that famous blue smoothie all over your social media feeds? You know the one—the vibrant, ethereal blue drink with fluffy white clouds swirled perfectly against the glass.
It’s an absolute showstopper, but if you’ve ever looked up the price tag of the original at high-end health markets, you might have had a mini heart attack. Luckily, I’ve cracked the code. You can make this aesthetic masterpiece at home for a fraction of the cost.
Here is how to whip up the viral Blue Cloud Smoothie in your own kitchen.
Why You’ll Love It
It’s stunning: The “cloud” technique makes it look like professional cafe art.
It’s budget-friendly: You’re using everyday pantry staples instead of expensive specialty ingredients.
It’s healthy: Packed with healthy fats from avocado and almond butter, it’s as nourishing as it is beautiful.
The Recipe
Prep time: 5 minutes | Servings: 1
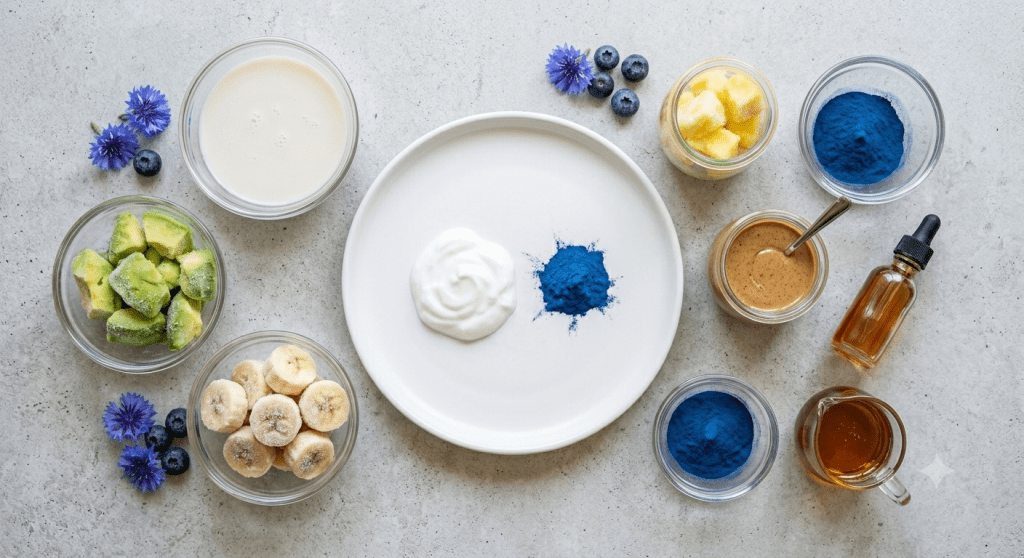
Ingredients
2 tbsp Coconut yogurt (the thickest you can find!)
180ml Non-dairy milk (almond or oat works best)
½ Frozen avocado
½ Frozen banana
60g Frozen pineapple
2 tsp Almond butter
1 tsp Vanilla extract
1 tsp Blue spirulina powder (plus a little extra for dusting)
1 tsp Maple syrup (optional, to taste)
Method
1 Paint Your Clouds: Take a spoon and scoop dollops of coconut yogurt against the interior walls of your glass. Don’t overthink it—random, fluffy shapes look the most natural. Lightly sprinkle a pinch of blue spirulina over the yogurt to give it that sky-blue tint. Set the glass aside.
2 The Blend: In a high-speed blender, combine your milk, frozen avocado, banana, pineapple, almond butter, vanilla, 1 teaspoon of blue spirulina, and maple syrup. Blitz on high until the mixture is perfectly smooth and creamy.
3 The Pour: Carefully pour your smoothie into your prepared “cloud” glass. Try to pour slowly so you don’t smear the yogurt too much.
4 The Finish: Top with the remaining coconut yogurt and a tiny extra dusting of spirulina. Serve immediately with a glass straw for the full aesthetic experience!
Pro-Tips for the Best Photos
Use a Ribbed Glass: The texture of a ribbed glass catches the light and adds dimension to the “cloud” effect.
Use Frozen Fruit: Avoid using ice! Using frozen fruit keeps the smoothie thick, creamy, and vibrantly colored.
Natural Lighting: If you’re posting this to TikTok or Instagram, always photograph or film it near a bright window.
Did you try this recipe? I’d love to see your creations! Snap a photo, tag me, and let me know if you managed to get those clouds looking perfect on your first try. Happy blending!
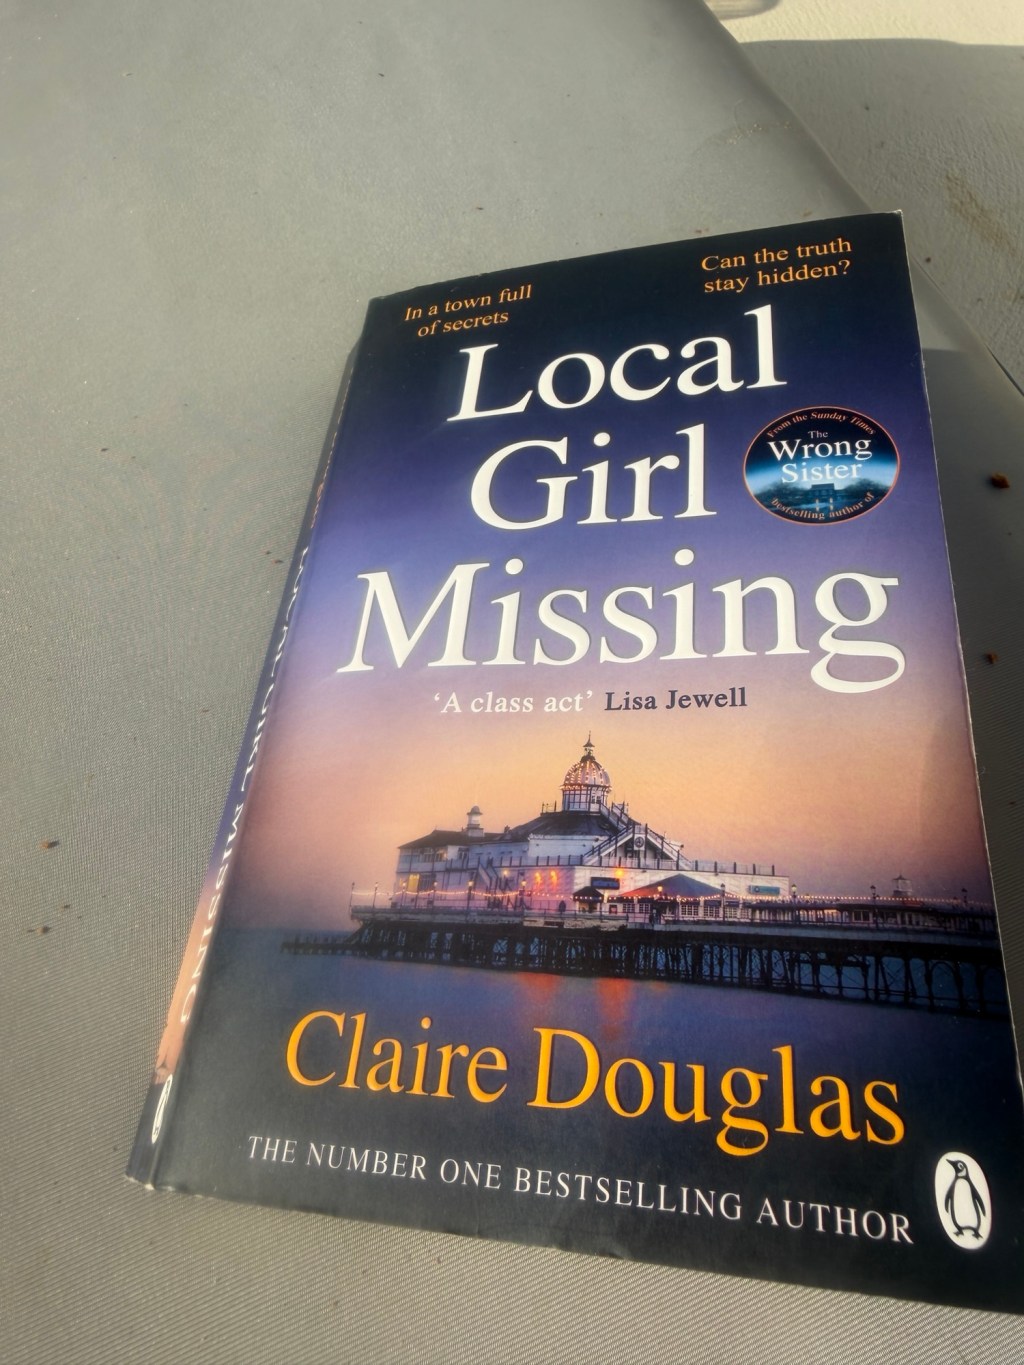
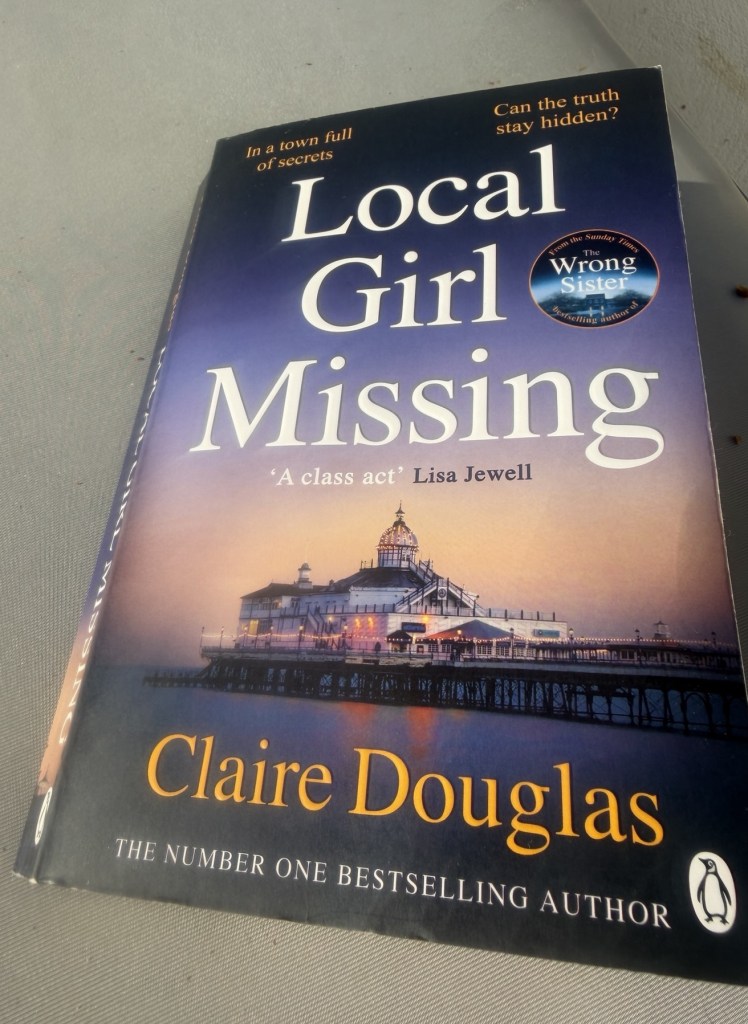
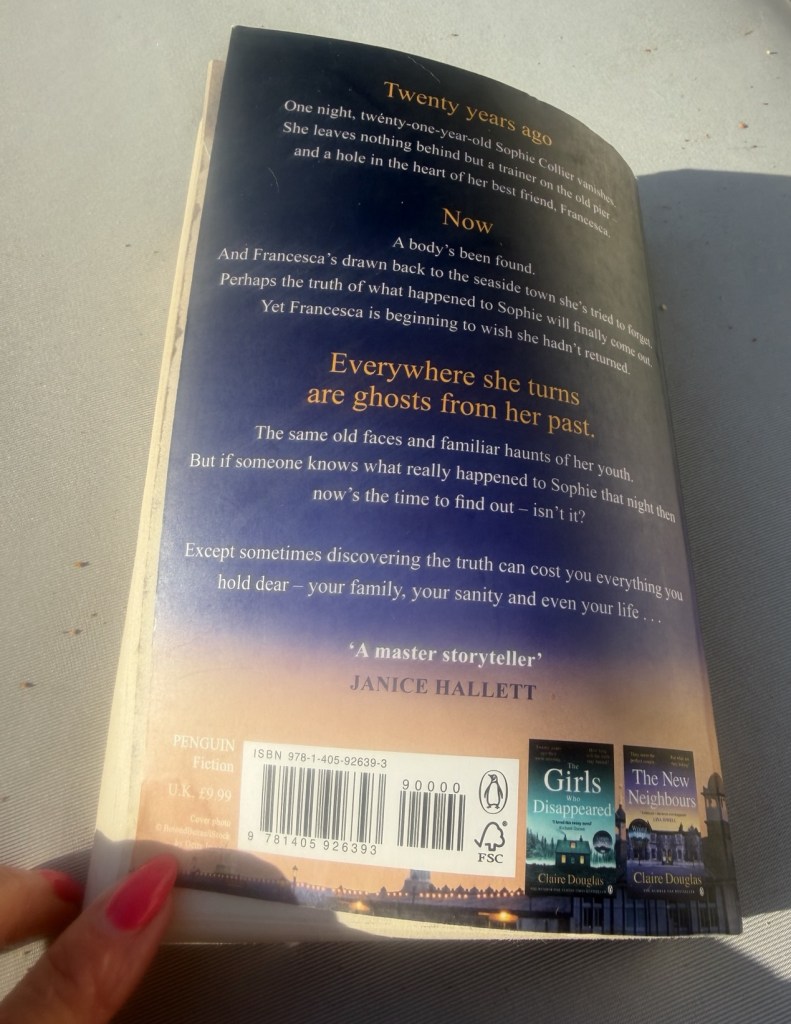
“Local Girl Missing” by Claire Douglas is a wonderfully eerie, slow-burn psychological thriller that really got under my skin in the best way. It follows Francesca “Frankie” Bloom, who is reluctantly pulled back to her gloomy hometown of Oldcliffe-on-Sea almost twenty years after her best friend Sophie disappeared from the old pier. When what appears to be Sophie’s remains are discovered, her brother Daniel asks Frankie to come home and help finally uncover the truth about that night — whether she’s ready for it or not.
The story is told in a dual timeline, which I loved. In the present we have Frankie, trying to piece together what happened while dealing with the ghosts of her past. In the past we hear Sophie’s voice through diary-style chapters, leading us step by step towards her disappearance. This structure works really well: you’re drip-fed information from both sides, and it constantly makes you question who you should trust and what is being left unsaid. It also gives the story a really addictive “just one more chapter” feel. One of my favourite elements was the atmosphere. Oldcliffe-on-Sea is almost a character in its own right — all crumbling buildings, off-season gloom and that sinister, decaying pier hanging over everything. There’s this constant sense of unease, like something is watching from the shadows or about to surface from the past at any moment. It’s not gory or overly graphic; it’s more about tension, mood and the feeling that anything could happen, which I personally prefer in a psychological thriller. The heart of the story, though, is the complicated friendship between Frankie and Sophie. This is not a simple “best friends forever” situation. Their relationship is messy and layered, with jealousy, insecurity, shifting power and long-held resentments running underneath the fun nights out and shared secrets. I really enjoyed how Claire Douglas slowly peeled back those layers, because it made both women feel flawed, human and very believable. You can understand why they loved each other, but you can also see exactly how things went wrong. I really liked this book, and I really like Claire Douglas as an author — I’ve read a few of her other books and this one sits up there with my favourites. Her writing is tight, engaging and easy to fly through, and the twists and turns feel well-planned rather than thrown in for shock value. There are plenty of surprises, but when the reveals come, you can look back and see the clues that were quietly planted earlier on, which I always appreciate. In terms of pacing, it’s definitely more of a slow burn at the start, focusing on atmosphere, character and the weight of the past. That worked perfectly for me, because by the time the story really ramps up, you’re fully invested in these people and their secrets. The tension builds steadily, and the final section has that “I can’t put this down now” energy, with several genuinely unexpected moments that made me rethink what I thought I knew.
Overall, Local Girl Missing is a well-written, atmospheric thriller with a great sense of place, complex relationships and a gripping mystery at its core. If you enjoy dark, twisty psychological thrillers that are more about character and suspense than constant action, I think this will be right up your street. I’m giving Local Girl Missing by Claire Douglas a very solid 4.5 out of 5.
My very first job was at 14 selling ice lollies and soft drinks in the pop shop in a local pub. My elder brother worked there and he got me the job.
I trained to be a nanny and whilst I was at college worked behind the bar at a local hotel for a couple of years leaving when I got a full
Time nannying position . I loved the job but the money and hours were
Appalling so decided to go a work for BNFL, a civil service type job . It was the sort of job where you were set for life, good pay good pension but boring as hell !!
My dad had a job as an estate agency manager but couldn’t get weekends cover so I helped him out … and fell in love with property – the start of a very long love affair ! After I few months I left the boring clerical job and got a full time position in a local estate agency, in warrington where I lived . When that closed down I took the opportunity to travel and become a holiday rep in Tenerife and then Gran Canaria which was character building to say the least . It was the first time I had been abroad apart from a school trip so taught me a lot about myself and how to stand up for myself ‘ After a year of that I returned to the uk and continued into estate agency, working my way up to branch manager with a handful of awards to my name . I still maintain estate agency is the best most interesting job. You meet such a wide range of people and a massive variation of properties . It keeps you on your toes.
After few years I married and had children and worked in my now ex husbands law firm doing probate and accounts whilst at the same time renovating houses and renting them out.
After my divorce I decided to take things easier and now resell
Online with my other half Lance . It fits in with our life and lets us chose our hours and holidays !!!