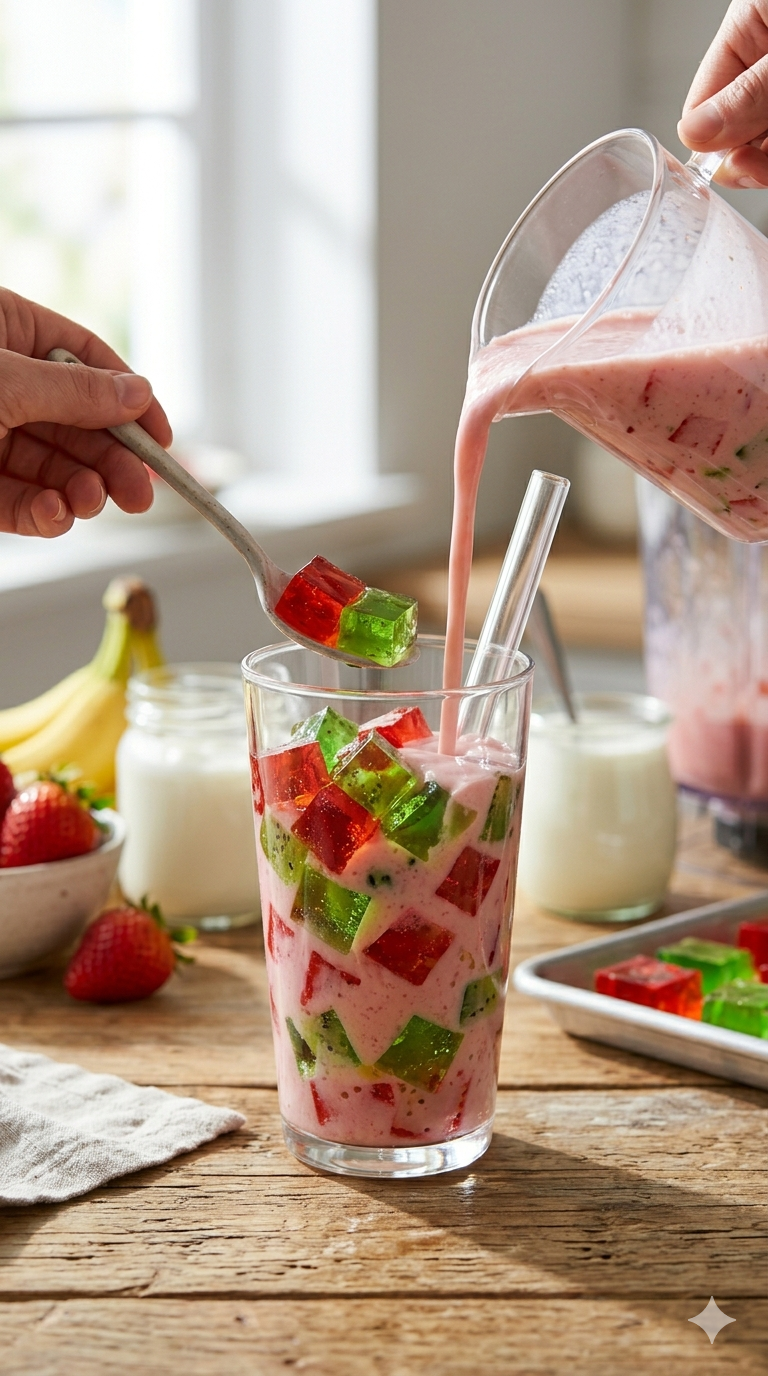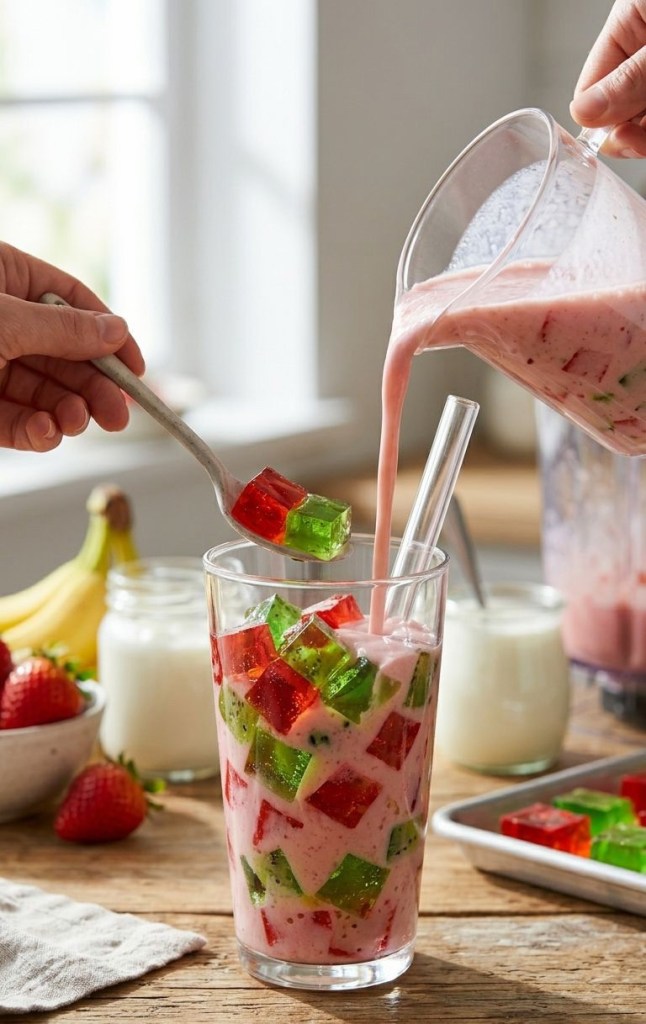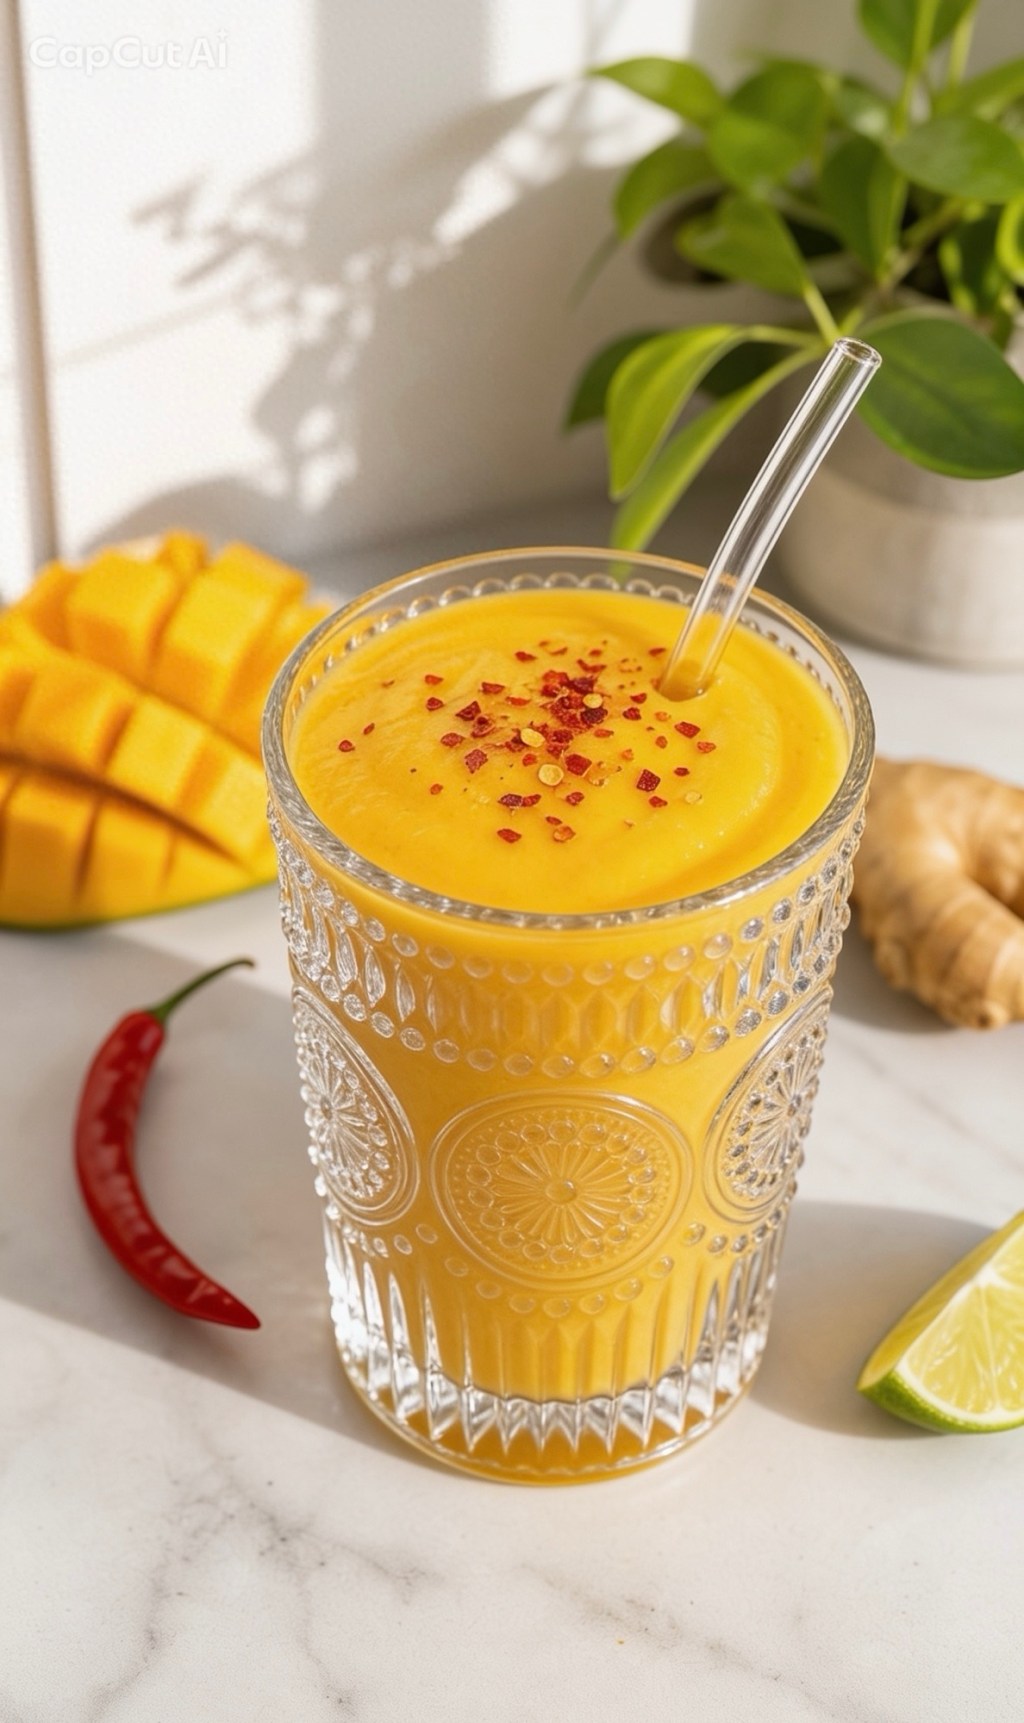
Want a breakfast that looks like a masterpiece and tastes like a tropical holiday? The Sunset Glow Smoothie is your new go-to. This stunning, two-layered creation uses vibrant mango and berries to create a gradient effect that’s perfect for your morning fuel or an impressive brunch item.
The best part? This isn’t just an aesthetic ‘gram-worthy drink. The bottom layer is a pure burst of sunshine mango, and the top layer provides a sweet, zesty berry kick.
We’ve designed this specific recipe using precise UK metric measurements for a perfect, easy-to-follow result every time.
The Recipe: Step-by-Step
This smoothie is all about the layers, so you will need to blend them separately for the best effect.
Prep Time: 5 Minutes
Makes: 1 Large Smoothie (or 2 small ones for sharing)
Step 1: The Base Layer (The Sunset)
Ingredients:
250ml Frozen Mango Chunks (roughly 1 large cup-full)
125ml Coconut Milk (or any plant-based milk)
A healthy squeeze of Lime Juice (optional, but adds a brilliant zest)
Instructions:
1 Place the frozen mango and coconut milk into your blender.
2 If using, squeeze in your lime juice.
3 Blend on high until smooth. You want this layer to be quite thick, so it can support the next layer. If it’s too thin, add a couple of extra mango chunks.
4 Pour this mixture into your glass, filling it just over halfway. Use a spoon to level and smooth the top surface against the glass. Rinse the blender jug quickly.
Step 2: The Glow Layer (The Berry)
Ingredients:
125ml Frozen Strawberries (roughly 1/2 a standard cup)
125ml Frozen Raspberries (roughly 1/2 a standard cup)
125ml Coconut Milk
1 tsp Honey or Agave Nectar
Instructions:
1 Combine the frozen strawberries, raspberries, coconut milk, and sweetener in your clean blender.
2 Blend on high until smooth. This layer should be thick but slightly softer than the base.
Step 3: To Finish (The Assembly)
Ingredients for Garnish:
1 tablespoon Chia Seeds
A few fresh Raspberries
A sprig of fresh Mint
Assembly Instructions:
1 Here is the trick for the perfect layer: Use a clean, large spoon. Hold the spoon, curved side up, directly over the base layer.
2 Slowly pour the berry mixture onto the back of the spoon, letting it gently diffuse onto the mango layer rather than crashing down. This ensures the layers remain distinct.
3 Fill to the top of the glass.
4 Finish by sprinkling the chia seeds, arranging your fresh raspberries, and placing your mint sprig on top for a professional look. Enjoy your Glow!
What’s something you used to believe as a kid that seems ridiculous now?
As a kid, I had it all planned out. The moment I became an adult, life would simply fall into place. I would eat cake for breakfast if I wanted to. I would stay up as late as I liked. Nobody would tell me what to do, where to be, or when to go to bed. I would be completely, gloriously free. I could not wait. And then adulthood arrived. And with it came taxes, alarm clocks I set for myself, and the inexplicable urge to go to bed at 9pm voluntarily. Nobody asked me to. I just… wanted to. What happened to me? I also discovered that “eating whatever you want” as an adult means standing in front of the fridge at 11pm eating leftovers over the sink because you forgot to plan dinner. Living the dream, truly. The worst part? I used to watch adults stress about boring things like mortgages and grocery bills and think “that will never be me.” Reader, it is absolutely me. I have entire conversations about the price of olive oil now and I cannot be stopped. Here is the truth nobody tells you as a child: adults are just children who got taller and started paying for their own biscuits. We are all equally clueless, just pretending otherwise with varying degrees of confidence. So if you are a kid reading this thinking adulthood is the answer — bless your heart. Enjoy your naps while someone else pays the bills. You have no idea what is coming. And if you are an adult reading this? You already know. Pour yourself a cup of tea. We are in this together.
What’s something you used to believe as a kid that seems ridiculous now?
As a kid, I had it all planned out. The moment I became an adult, life would simply fall into place. I would eat cake for breakfast if I wanted to. I would stay up as late as I liked. Nobody would tell me what to do, where to be, or when to go to bed. I would be completely, gloriously free. I could not wait. And then adulthood arrived. And with it came taxes, alarm clocks I set for myself, and the inexplicable urge to go to bed at 9pm voluntarily. Nobody asked me to. I just… wanted to. What happened to me? I also discovered that “eating whatever you want” as an adult means standing in front of the fridge at 11pm eating leftovers over the sink because you forgot to plan dinner. Living the dream, truly. The worst part? I used to watch adults stress about boring things like mortgages and grocery bills and think “that will never be me.” Reader, it is absolutely me. I have entire conversations about the price of olive oil now and I cannot be stopped. Here is the truth nobody tells you as a child: adults are just children who got taller and started paying for their own biscuits. We are all equally clueless, just pretending otherwise with varying degrees of confidence. So if you are a kid reading this thinking adulthood is the answer — bless your heart. Enjoy your naps while someone else pays the bills. You have no idea what is coming. And if you are an adult reading this? You already know. Pour yourself a cup of tea. We are in this together.
If you haven’t read The Family Upstairs, start there first. In my opinion this is not a standalone, whatever the cover might suggest — without that backstory you’ll be lost.
For those who did read the first book, this picks up with siblings Henry and Lucy Lamb, now adults, still living in the shadow of a deeply traumatic childhood. Their parents fell under the spell of a controlling con man who essentially turned their family home into a cult — and the fallout from that is still very much haunting everyone. Lucy’s daughter Libby, who was left behind as a baby in that house, is about to travel to Botswana to finally meet her biological father Phin — a boy who grew up alongside Henry and Lucy during those dark years. But Phin mysteriously disappears before they can reach him, and Henry, who has always been obsessively fixated on Phin, takes off alone to track him down in Chicago. What follows is a multi-strand story — Lucy chasing after Henry, a detective investigating bones pulled from the Thames that lead back to that same Chelsea mansion, and a new character called Rachel, whose story of escaping an abusive husband slowly weaves into everything else. It sounds gripping, and at times it is — but for me the multiple storylines and narrators made it feel a little scattered. It lacked the claustrophobic tension of the original. Rachel’s whole thread in particular felt like it dragged the pace down rather than adding to it. Still worth reading if you loved the first book — just go in knowing it won’t quite hit the same heights. Rating: 3.5/5
Looking for a side dish that looks like it came from a high-end bistro but takes minutes to throw together? This pear, fig, and blue cheese salad is the answer
. It perfectly balances sweet, crisp fruit with tangy blue cheese and earthy, toasted walnuts. It is the perfect centerpiece for your next lunch or dinner gathering.
Ingredients
For the Salad:
Mixed Salad Greens: 150g (approx. 5-6 cups), such as arugula or baby spinach
Shallot: 1 small, very thinly sliced
Figs: 2 medium, quartered
Pears: 3 medium (Bosc or Anjou work best), ripe but firm and thinly sliced
Blue Cheese: 113g (4 oz), crumbled
Walnuts: 117g (approx. 1 cup), lightly toasted and roughly chopped
Pomegranate Arils: 82g (approx. 1/2 cup)
Fresh Thyme: For garnish
For the Dressing:
Extra-Virgin Olive Oil: 60ml (4 tablespoons)
Champagne or White Wine Vinegar: 30ml (2 tablespoons)
Honey or Maple Syrup: 20g (1 tablespoon)
Dijon Mustard: 1 teaspoon
Sea Salt & Black Pepper: A pinch of each
Instructions
1. Toast the Walnuts: In a dry skillet over medium heat, toast the walnut halves for 3–4 minutes until fragrant. Keep an eye on them so they don’t burn! Remove from the heat, let them cool, and give them a rough chop.
2. Assemble the Base: Arrange your mixed salad greens in a large serving bowl. Scatter the sliced shallots and quartered figs evenly across the top.
3. Layer the Flavors: Fan the pear slices at intervals throughout the bowl for that professional look. Generously crumble the blue cheese over the top and scatter with your toasted walnuts.
4. Add the Finishing Touches: Sprinkle the pomegranate arils over the salad for a pop of color, and finish with a few sprigs of fresh thyme.
5. Make the Dressing: In a small bowl or jar, whisk together the olive oil, vinegar, honey, Dijon mustard, salt, and pepper until the dressing is smooth and emulsified.
6. Serve: Drizzle the vinaigrette over the salad just before serving to keep everything crisp and fresh.
Pro Tip: If you are prepping this ahead of time, keep the dressing separate and add it right before you walk to the table. This keeps the greens from wilting!
Give Me the Child” starts with a genuinely compelling premise — one that immediately draws you in and promises a tense, emotional read. The central idea has real potential, and at the beginning, it feels like you’re settling into something gripping and thought-provoking.
However, as the story unfolds, it doesn’t quite maintain that initial momentum. The pacing feels uneven, with some sections dragging while others rush through moments that could have been more deeply explored. This creates a slightly disjointed, patchy feel that makes it harder to stay fully immersed in the narrative. There were parts I did enjoy, particularly where the tension was allowed to build, but overall the execution didn’t quite match the strength of the concept. Some plot developments felt a little far-fetched, which took away from the realism and emotional impact the story seemed to be aiming for. It’s not a bad read by any means — just one that doesn’t fully deliver on its promise. Given how much hype surrounds it, I was left feeling slightly disappointed, as it had all the ingredients to be something much more powerful. Overall, I’d give it 3.5 out of 5 — worth a read if you like the genre, but don’t go in expecting it to completely blow you away.
This post may contain affiliate links, which means I may earn a small commission if you purchase through them — at no extra cost to you. As an Amazon Associate, I earn from qualifying purchases
We’ve all seen the trend. Every brunch spot on the planet serves some version of avocado toast, and by now, it’s a staple in almost every home kitchen. But lately, I’ve been experimenting with ways to take this classic breakfast to the next level.
If you are looking for a way to break out of your morning routine rut, look no further than the sweet and spicy combo that has been making waves online.
The Secret Ingredient
You might think I’m crazy, but the secret to elevating your avocado toast is honey.
Yes, you read that right. Drizzling a high-quality, raw honey over your savory avocado adds a depth of flavor that is genuinely transformative. When you pair that sweetness with the heat of red pepper flakes and the creaminess of ripe avocado, you get a perfect balance that hits every taste bud.
How to Recreate It
This isn’t a complex recipe; it’s a simple upgrade that takes less than five minutes.
The Bread: Start with a thick, rustic slice of sourdough. You want something with enough structural integrity to hold the toppings and a bit of crunch to contrast with the creamy avocado.
The Mash: Don’t overthink this. Mash your avocado directly onto the warm toast with a fork. Leave it a little chunky—it provides a better texture.
The Seasoning: A generous pinch of sea salt and red pepper flakes is non-negotiable. The salt brings out the fat in the avocado, while the flakes provide that necessary kick.
The Finish: Drizzle your honey in a light, even motion. If you want to be extra fancy, add a few microgreens on top for a pop of color and freshness.
Why It Works
It sounds strange, but the interplay between sweet and spicy is a classic culinary technique. Just like salt and caramel or spicy chocolate, the honey highlights the earthiness of the avocado without overwhelming it.
The next time you’re rushing through your morning routine, take two extra minutes to try this. It’s a small change that makes breakfast feel like a deliberate, elevated experience.
Are you brave enough to try this combo, or are you a savory-only purist? Let me know in the comments below!
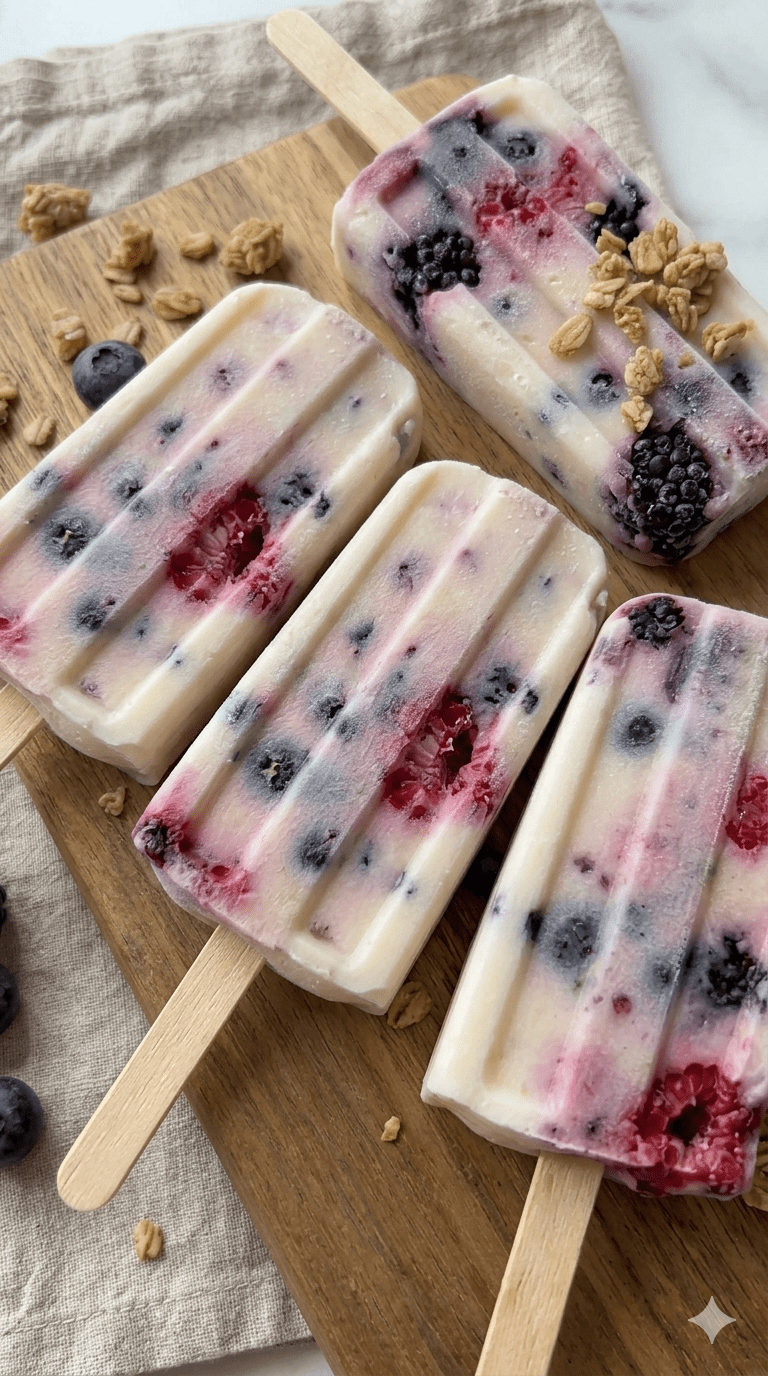
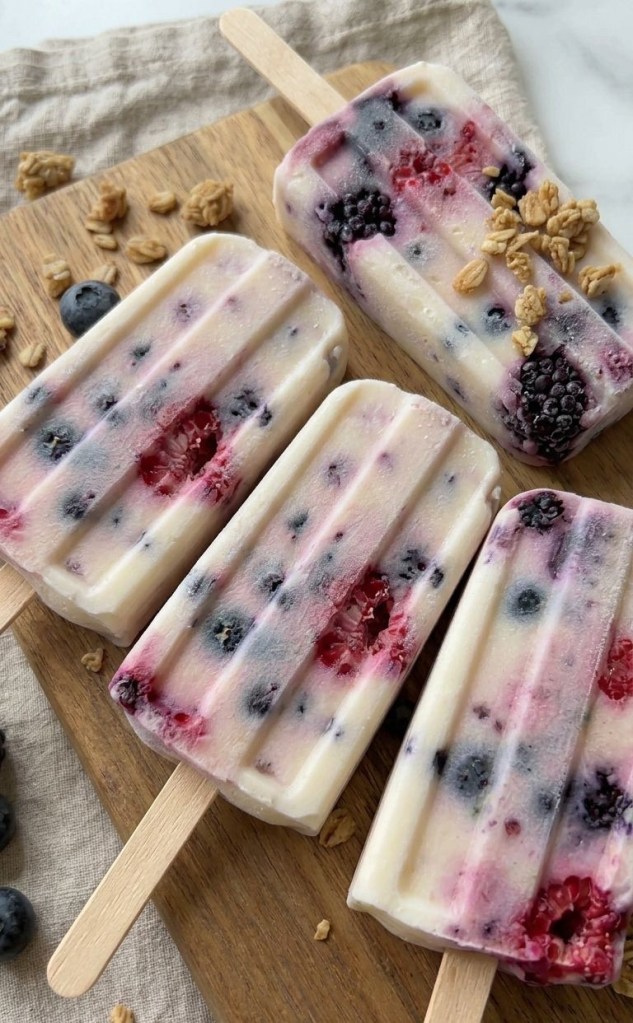
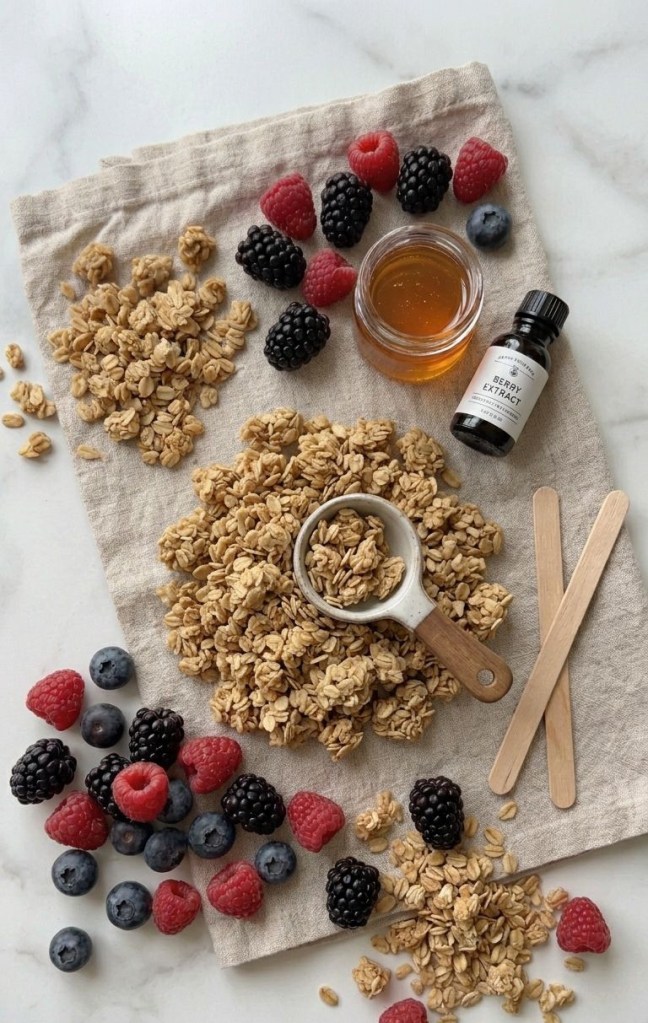
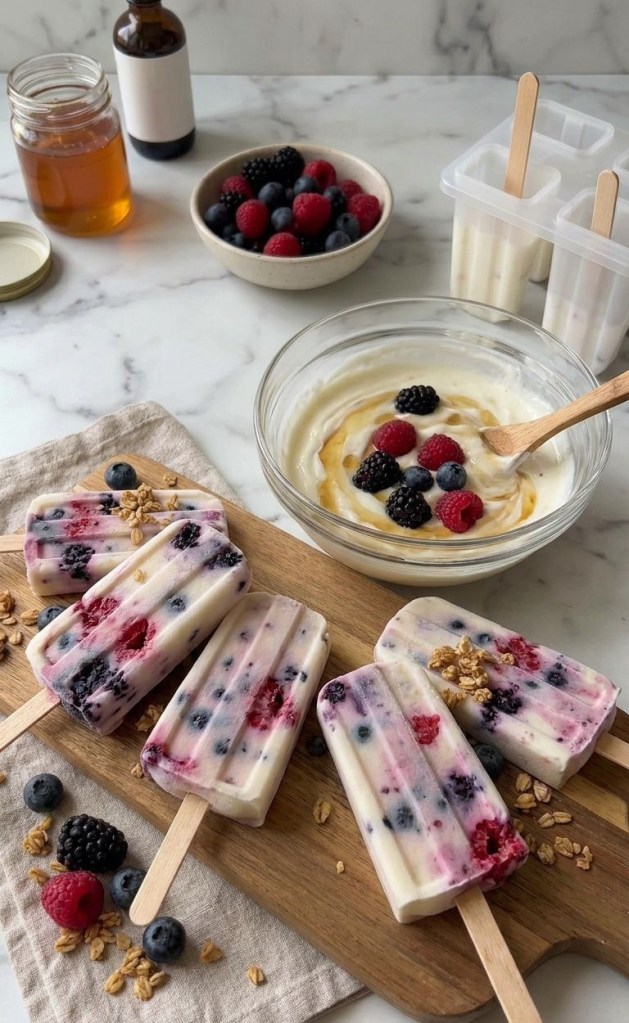
Looking for a healthy, crowd-pleasing dessert that takes minimal effort? These frozen yogurt bars are the perfect solution for a hot day or a quick, nutritious snack. Made with simple, wholesome ingredients, they offer a creamy, fruity flavor profile that hits the spot every time.
Simple Ingredients
This recipe relies on just a few staples you likely already have in your kitchen.
2 cups (approx. 475g) Greek yogurt
1/2 cup (approx. 170g) honey
1 teaspoon (5ml) vanilla extract
1 cup (approx. 150g) mixed berries
Preparation Steps
The process is straightforward and quick, leaving you with a delicious treat to reach for in the freezer.
1. Mix: In a bowl, combine the Greek yogurt, honey, and vanilla extract until the mixture is smooth.
2. Fold: Gently fold in the mixed berries.
3. Pour: Transfer the mixture into your chosen popsicle molds.
4. Freeze: Let them set in the freezer for at least 4 hours before serving.
Nutrition Breakdown
If you are tracking your macros, here is an estimate per serving, assuming the recipe makes 6 bars:
Calories: 165 kcal
Protein: 7g
Carbohydrates: 28g
Fat: 3g
Whether you are looking to satisfy a sweet craving or need a cool-down snack, these frozen bars are a fantastic, easy-to-make option. Give them a try and let us know what your
If you are looking for a dessert that screams “effortless elegance,” you just found it. This Mascarpone Strawberry Tart looks like it walked straight out of a high-end pastry shop, but here is our little secret: it requires zero baking.
With a buttery, crunchy biscuit crust, a velvety-smooth mascarpone filling, and a stunning crown of fresh, glossy strawberries, it’s the ultimate dessert for dinner parties, weekend brunches, or just because you deserve a treat.
Why You’ll Love This Recipe
No Oven Required: Keep your kitchen cool. The fridge does all the heavy lifting.
Textural Heaven: You get the crunch of the biscuit case paired with a cloud-like filling.
Customizable: Swap the traditional oat biscuits for orange-infused or almond biscuits to give it an extra layer of flavor.
Ingredients
For the Crumb Case
75g (3oz) butter
250g (9oz) almond, orange, or sweet oat biscuits
For the Filling & Topping
1 large free-range egg, separated
1 tbsp caster sugar
250g (9oz) mascarpone
2 drops vanilla extract
250g (9oz) fresh strawberries, hulled and thinly sliced
Step-by-Step Instructions
1. Prepare the Crumb Case
Melt the butter in a small saucepan. Place your choice of biscuits in a food processor and process to fine crumbs (alternatively, place them in a plastic bag and bash with a rolling pin, taking care not to split the bag).
Mix the crumbs thoroughly with the melted butter and spoon into a 25cm (10in) diameter loose-bottomed flan tin. Press the crumbs firmly over the base and up the sides of the tin to cover completely. Transfer to the fridge to chill until firm.
2. Whip Up the Mascarpone Filling
Put the egg yolk into a bowl with the caster sugar and beat for a few seconds until thoroughly mixed. Add the mascarpone and beat until thoroughly combined, then stir in the vanilla extract.
In a separate, completely clean bowl, beat the egg white with a whisk until stiff peaks form when the whisk is removed. Gently fold the egg white into the mascarpone mixture.
3. Assemble and Chill
Remove the biscuit crumb case from the fridge. Spoon the mascarpone mixture into the case and gently smooth the top with a spatula. Arrange the sliced strawberries in a beautiful pattern on top of the mascarpone.
Transfer the tart back to the fridge and chill until ready to serve.
💡 Pro-Tip: For the absolute best flavor and texture, remove the tart from the fridge 20 minutes before serving. This lets the mascarpone soften just enough to create that perfect, melt-in-your-mouth slice!
Let’s Chat!
Are you team almond, orange, or classic oat biscuit for your crust? Let me know in the comments below how your tart turned out!
Tired of green smoothies that taste like liquid grass? It’s time for an upgrade. This vibrant, tropical-inspired green smoothie is a revelation—perfect for a refreshing breakfast, a post-workout recharge, or a delicious afternoon pick-me-up.
As seen in my recent close-up (look at that beautiful texture and vibrant colour!), this smoothie balances creamy sweetness with a powerful ginger kick and a bright lime finish. Best of all? It’s packed with ingredients that love you back.
Read on to discover why this green smoothie is so incredible and get the exact recipe that will change your morning routine forever.
Why This Green Smoothie Works
Green smoothies are a superfood standard, but many fall short on flavour. This recipe uses clever ingredient pairing to make the greens virtually undetectable, while amplifying the health benefits.
The natural sweetness of the pineapple and banana perfectly counters the earthiness of the spinach. Then, a punch of fresh ginger and a squeeze of zesty lime brighten up the entire drink, making it genuinely refreshing instead of a chore to drink. The tiny green specks in the smoothie show you’re getting all the nutrition from the coriander, adding an extra layer of freshness.
The Amazing Health Benefits Behind the Greens
This smoothie is more than just a beautiful colour; it’s a nutritional powerhouse. Let’s break down the incredible benefits of every ingredient:
1. Leafy Spinach (The Iron Boost)
Spinach provides the bulk of the colour and the essential nutrients. It is incredibly rich in iron (critical for energy production and oxygen transport), magnesium, and vitamins K, A, and folate. Because it is so low in calories, it’s a fantastic way to bulk up your nutrition without adding excess sugar.
2. Frozen Pineapple (The Digestion Dynamo)
The tropical sweetness of pineapple isn’t just delicious; it’s a natural source of bromelain, an enzyme that is famous for its anti-inflammatory properties and its ability to aid digestion. It’s also packed with vitamin C to boost your immune system. Using frozen chunks is key to getting that thick, smoothie-bar texture.
3. Frozen Banana (Creaminess & Potassium)
Banana is our base ingredient for that gorgeous, creamy texture. More importantly, bananas provide potassium, which is vital for heart health and muscle function, making this an ideal post-workout smoothie. They also provide natural, easy-to-digest energy.
4. Fresh Ginger (The Anti-Inflammatory Star)
A 1cm piece of fresh ginger changes everything. Gingerol, the active compound in ginger, has powerful anti-inflammatory and antioxidant effects. It’s superb for calming digestion, reducing nausea, and soothing muscle soreness. It gives this smoothie its signature warmth and depth.
5. Green Apple (Fibre and Natural Sweetness)
We use a green apple for its crisp tartness and natural fibre. The fibre (especially pectin) supports healthy digestion and can help stabilise blood sugar levels, keeping you full and satisfied. Apples are also rich in antioxidants like quercetin.
6. Coriander (The Fresh Ally)
A small handful of fresh coriander adds a complex, refreshing herb note. Beyond flavour, coriander is rich in vitamins A and K. Some studies also suggest it may support the body’s natural cleansing and metabolic processes.
7. Fresh Lime Juice (Vitamin C and Bright Acid)
A tablespoon of fresh lime juice balances all the sweetness and cuts through the earthiness of the greens. It provides a huge boost of Vitamin C and helps enhance the body’s absorption of the iron found in the spinach.
8. Water or Orange Juice (Hydration)
Your liquid base is crucial. Water provides pure hydration without added calories. If you opt for orange juice, you are adding natural sweetness and an extra dose of Vitamin C (just keep an eye on total sugar).
The Ultimate Ginger-Lime Green Smoothie Recipe
Ingredients
120ml water (or orange juice for a sweeter, immunity boost)
1 whole green apple (cored and roughly chopped)
80g frozen pineapple chunks (do not thaw)
½ frozen banana
1cm piece of fresh ginger root, peeled and finely grated
30g fresh spinach (about a large handful)
Small handful fresh coriander leaves
1 tablespoon fresh lime juice
Method
1 Prep Your Ingredients: If your high-speed blender has a specific loading order (usually liquids first), follow that. Otherwise, start by pouring in your liquid base (water or OJ).
2 Add the Greens: Load in the fresh spinach and the handful of coriander. Adding these on top of the liquid helps them process smoothly.
3 Layer the Fruits: Add the chopped green apple, frozen pineapple, frozen banana chunks, and the grated fresh ginger. Finally, add the tablespoon of fresh lime juice.
4 Blend Until Smooth: Secure the lid tightly and start your blender on a low speed, quickly increasing to high. Blend for 30–60 seconds, or until the smoothie is completely smooth with no remaining chunks of fruit or large specks of spinach.
5 Serve Immediately: Pour straight away into a glass—preferably with a glass straw and a beautiful lime wedge garnish! Enjoy immediately for the best texture and nutrient value.
Make it Social!
We want to see your results! If you make this smoothie, share your own vibrant green glass and tag us!