In a world of quick fixes and ultra-processed convenience, finding a meal that truly respects your body—and your schedule—can feel like a challenge. The truth is, eating well doesn’t have to be complicated or time-consuming.
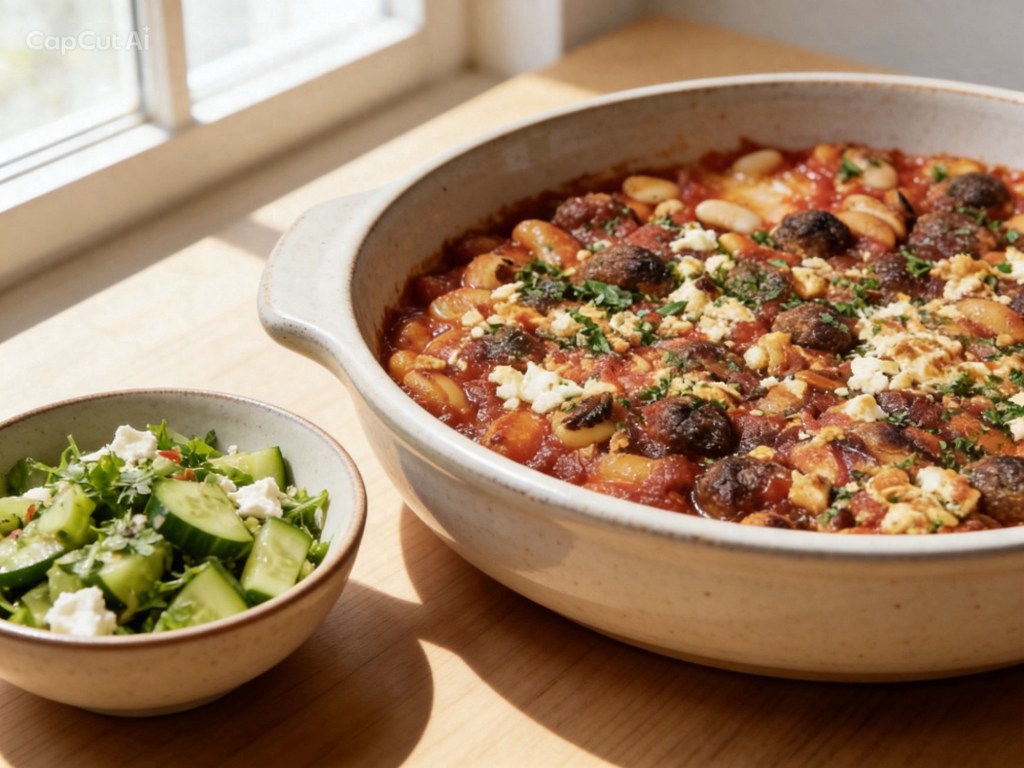
Enter the High-Protein Burrito Bowl.
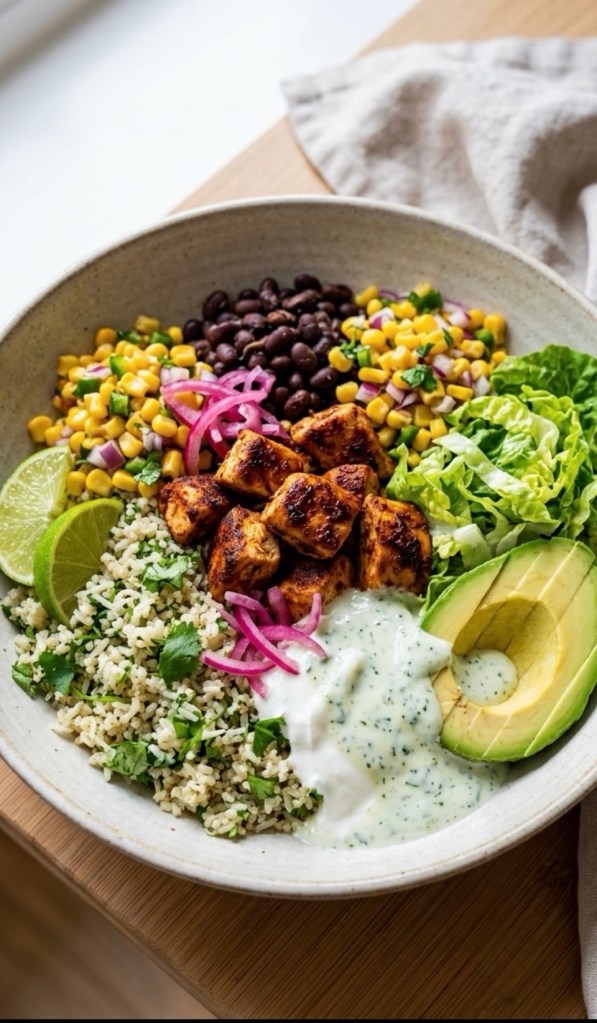
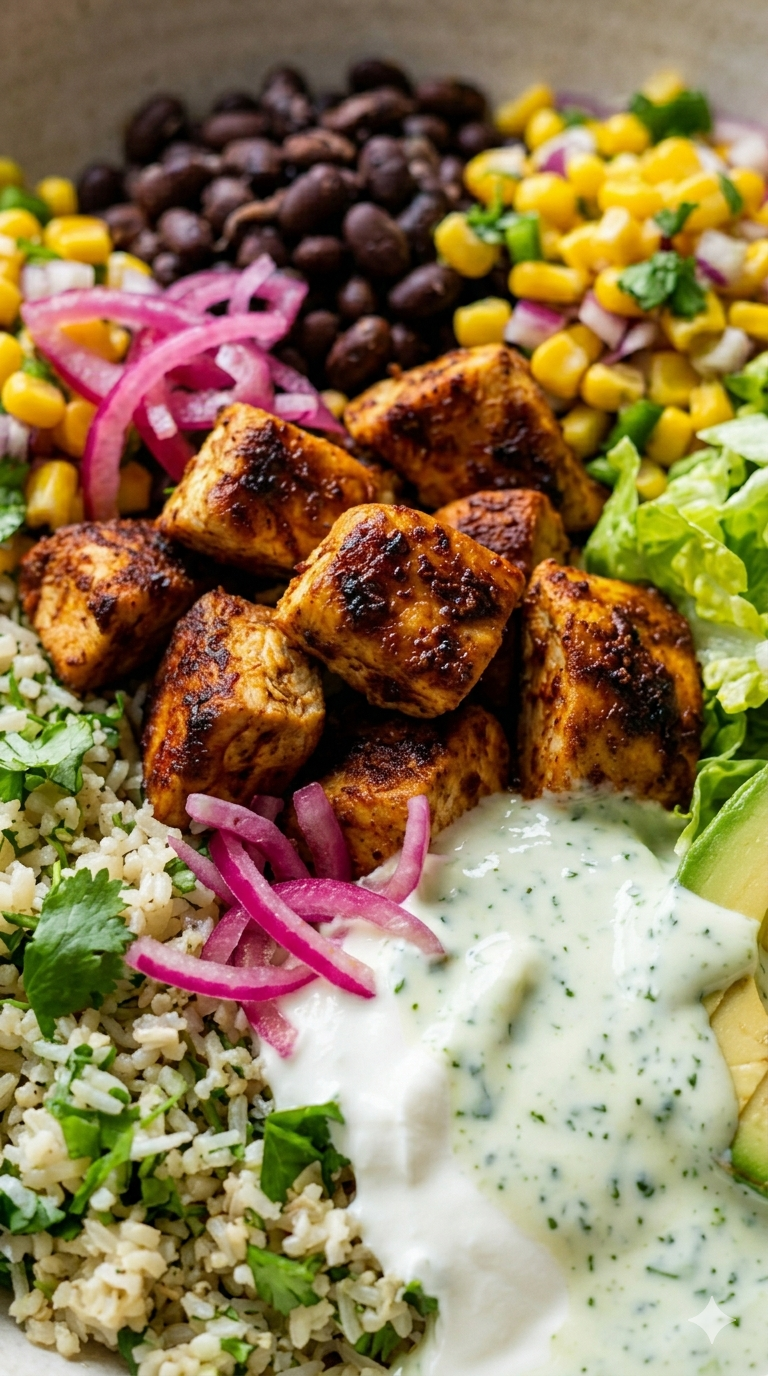
This isn’t just another meal; it’s a nutritional powerhouse designed to keep you feeling full, focused, and energized. By swapping traditional heavy sauces for Greek yogurt and refined grains for nutrient-dense quinoa, we’ve created a bowl that balances macro-nutrients while celebrating fresh, vibrant flavours.
Why This Bowl is a Lifestyle Winner
Sustained Energy: By combining complex carbohydrates (quinoa), lean protein (chicken), and healthy fats (avocado), this meal provides a slow-release of energy, preventing the dreaded mid-afternoon sugar crash.
Gut-Friendly Nutrition: Using Greek yogurt as a base adds a dose of probiotics, while the fibre in the black beans and quinoa supports healthy digestion.
Mindful Preparation: The simple act of chopping fresh coriander, dicing red onion, and slicing lime is a form of kitchen mindfulness. Cooking at home is one of the most effective ways to take control of your well-being.
Protein Stacking: With approximately 60g of protein per serving, this bowl is an excellent tool for muscle recovery and metabolic support, whether you’re heading to the gym or just tackling a busy day.
The Nutritional Blueprint (Serves 2)

400g Free-range chicken breast, cubed (a clean, lean protein source)
200g Cooked quinoa (a complete plant protein, rich in magnesium and iron)
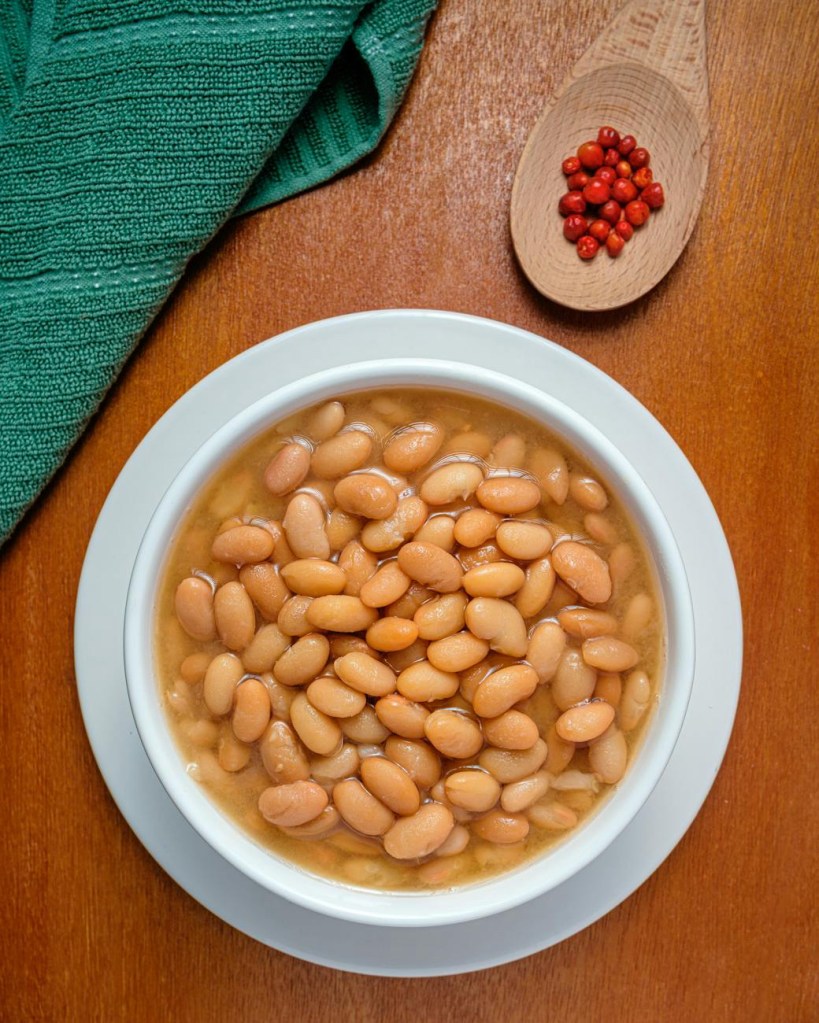
400g Black beans, rinsed and drained (high in plant-based protein and fibre)
100g Sweetcorn (for natural sweetness and antioxidants)
1 Large ripe avocado (a fantastic source of monounsaturated fats for heart health)
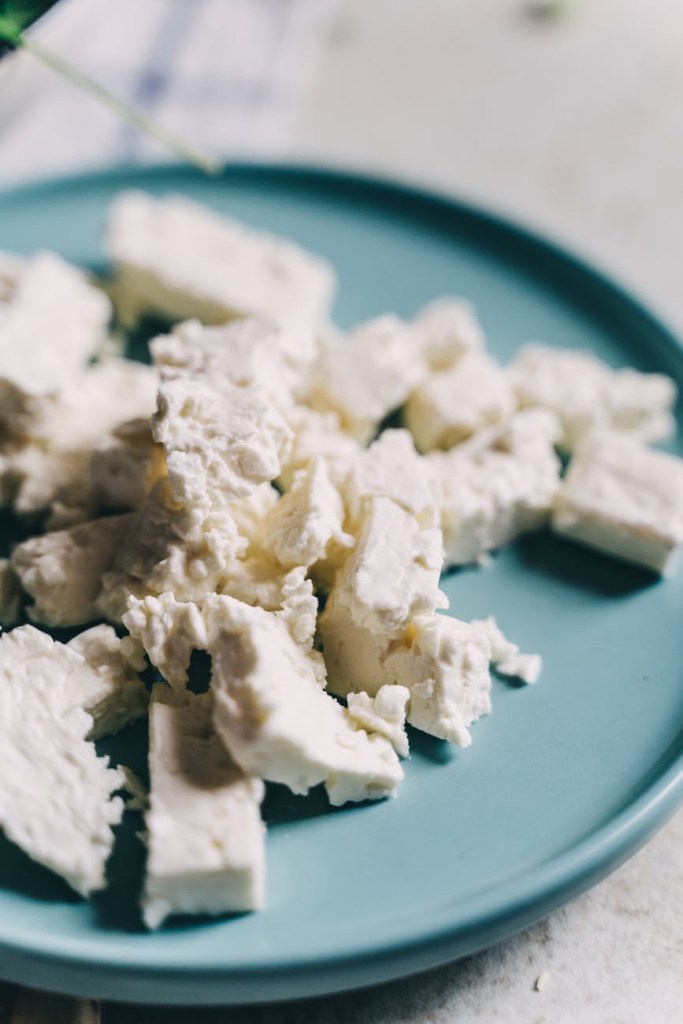
100g 0% Fat Greek yogurt (a creamy, protein-packed alternative to sour cream)
Fresh coriander, red onion, and lime (for vitamins, brightness, and natural detoxifying properties)
The Spice Blend: 1 tsp cumin, 1 tsp smoked paprika, 1 tsp chili powder, 1/2 tsp garlic powder, sea salt, and black pepper.
Method: The Path to the Perfect Bowl
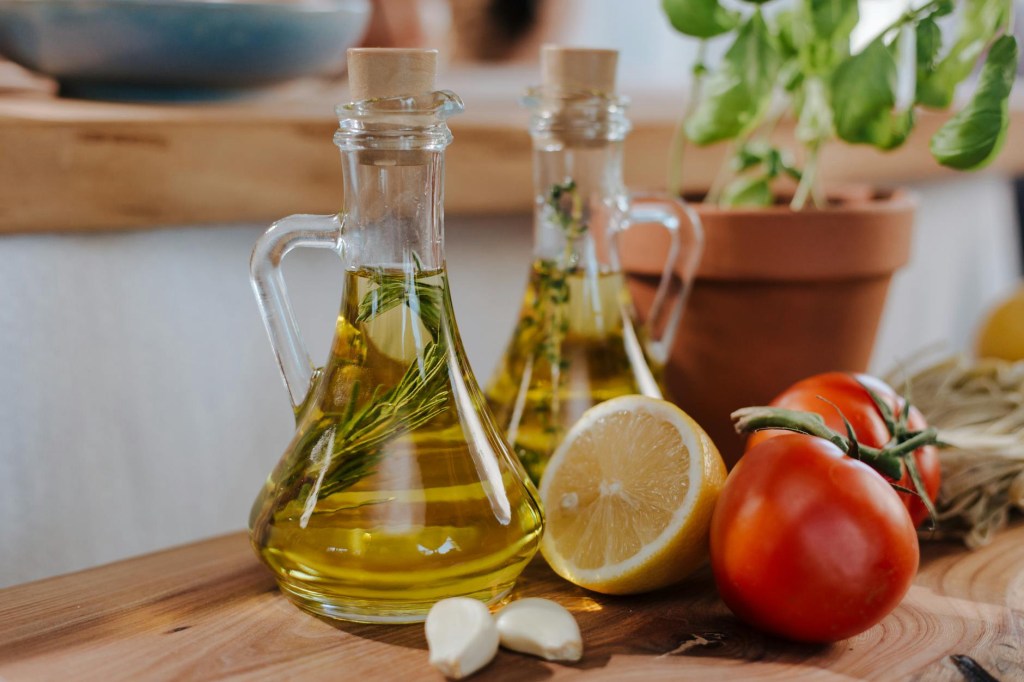
1 Marinate with Intention: In a glass bowl, combine the cubed chicken breast with the spices, a drizzle of extra virgin olive oil, and a squeeze of lime. Let it sit for 5–10 minutes. This ensures the spices penetrate the meat, creating a deeper flavour profile without needing extra salt or sugar.
2 Sear for Texture: Heat a non-stick pan over medium-high heat. Add the chicken, allowing it to develop a golden-brown sear. This crust adds a delicious texture that makes the bowl feel like a treat rather than just “diet food.”
3 Elevate the Base: While the chicken is cooking, fluff your pre-cooked quinoa with a fork. Fold in a generous handful of freshly chopped coriander and a hearty squeeze of lime juice. This “zesty base” provides the essential brightness that brings all the other flavours together.
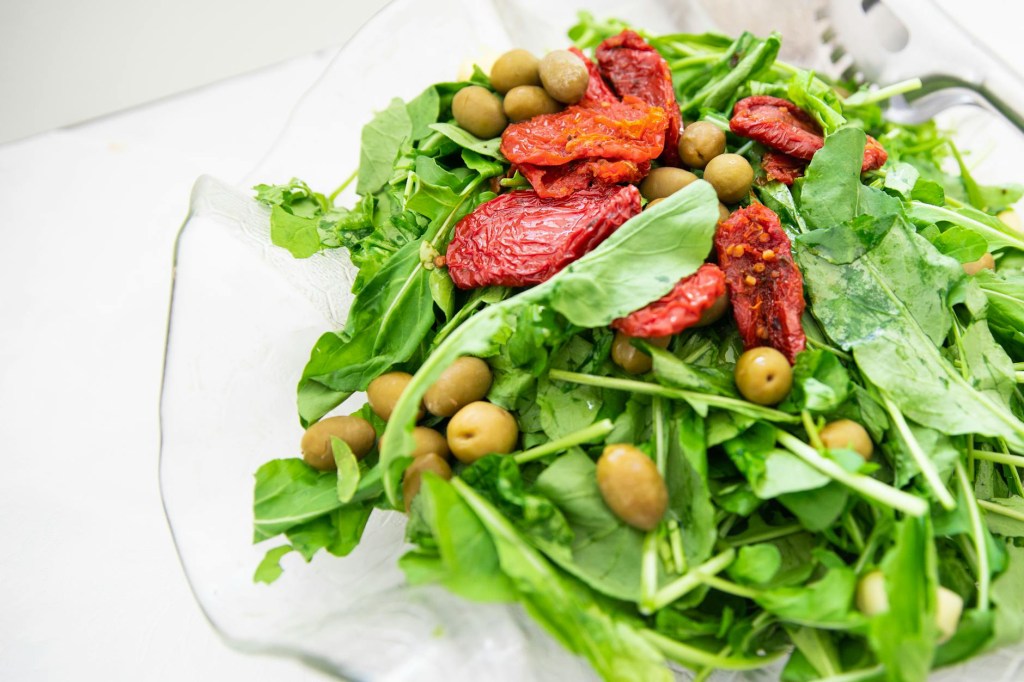
4 Artful Assembly: Start with the quinoa base. Add the black beans and sweetcorn in vibrant sections. Place your chicken in the center. Add a handful of fresh, leafy greens or baby spinach for added micronutrients.
5 The Finishing Touch: Layer on your avocado slices. Add a dollop of Greek yogurt as a creamy contrast to the spices. For that extra touch of brightness, top with thin slivers of red onion and an extra squeeze of fresh lime juice.
Making It Your Own
A healthy lifestyle is built on flexibility. If you’re short on time, this bowl is excellent for “component meal prep”—cook the quinoa and chicken on Sunday, and assemble fresh each day. If you prefer a plant-forward day, swap the chicken for roasted chickpeas or grilled tofu.
The most important part of this recipe? Enjoying it. Take a moment to sit down, step away from your screens, and appreciate the fuel you’ve created for your body.

What’s your favourite way to keep your meal prep exciting? Share your tips in the comments below—I’m always looking for new ways to elevate my healthy kitchen routine!