Let’s be honest for a second—whenever most of us hear the words “Coronation Chicken,” our minds immediately go to a slightly sad, neon-yellow sandwich filler sitting in a plastic tub at the local supermarket. It’s a British staple, sure, but is it exciting? Usually, no.
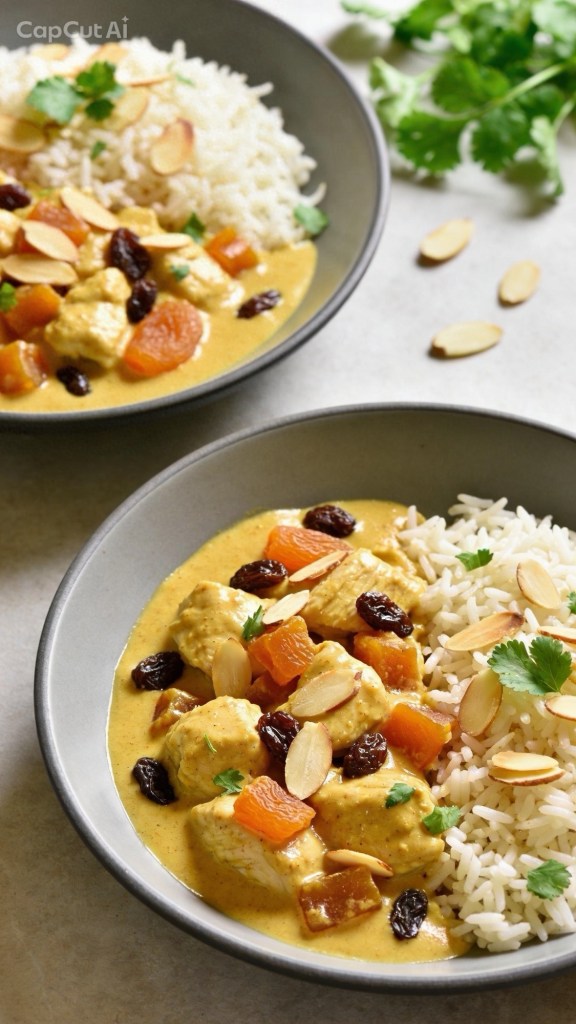
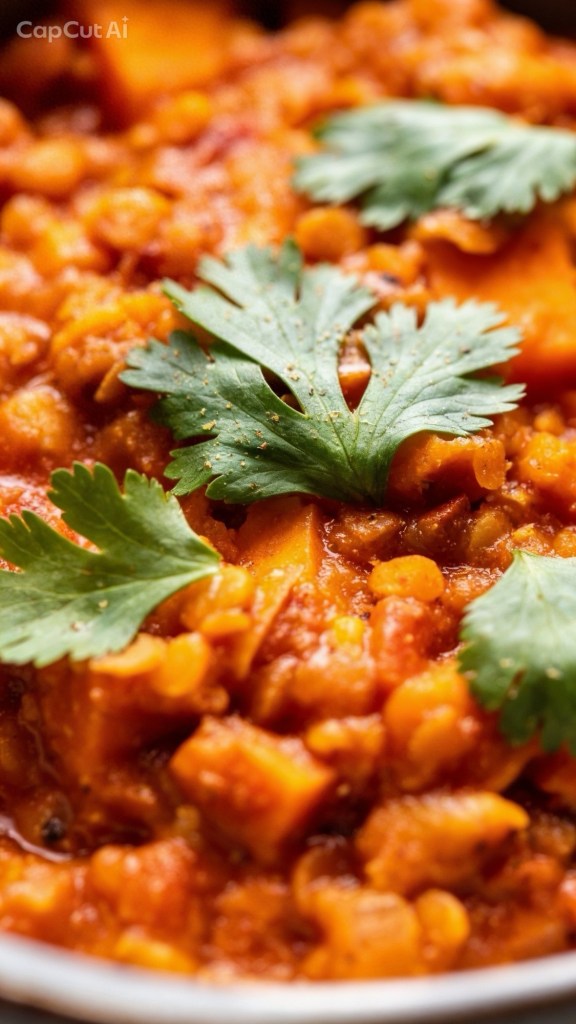
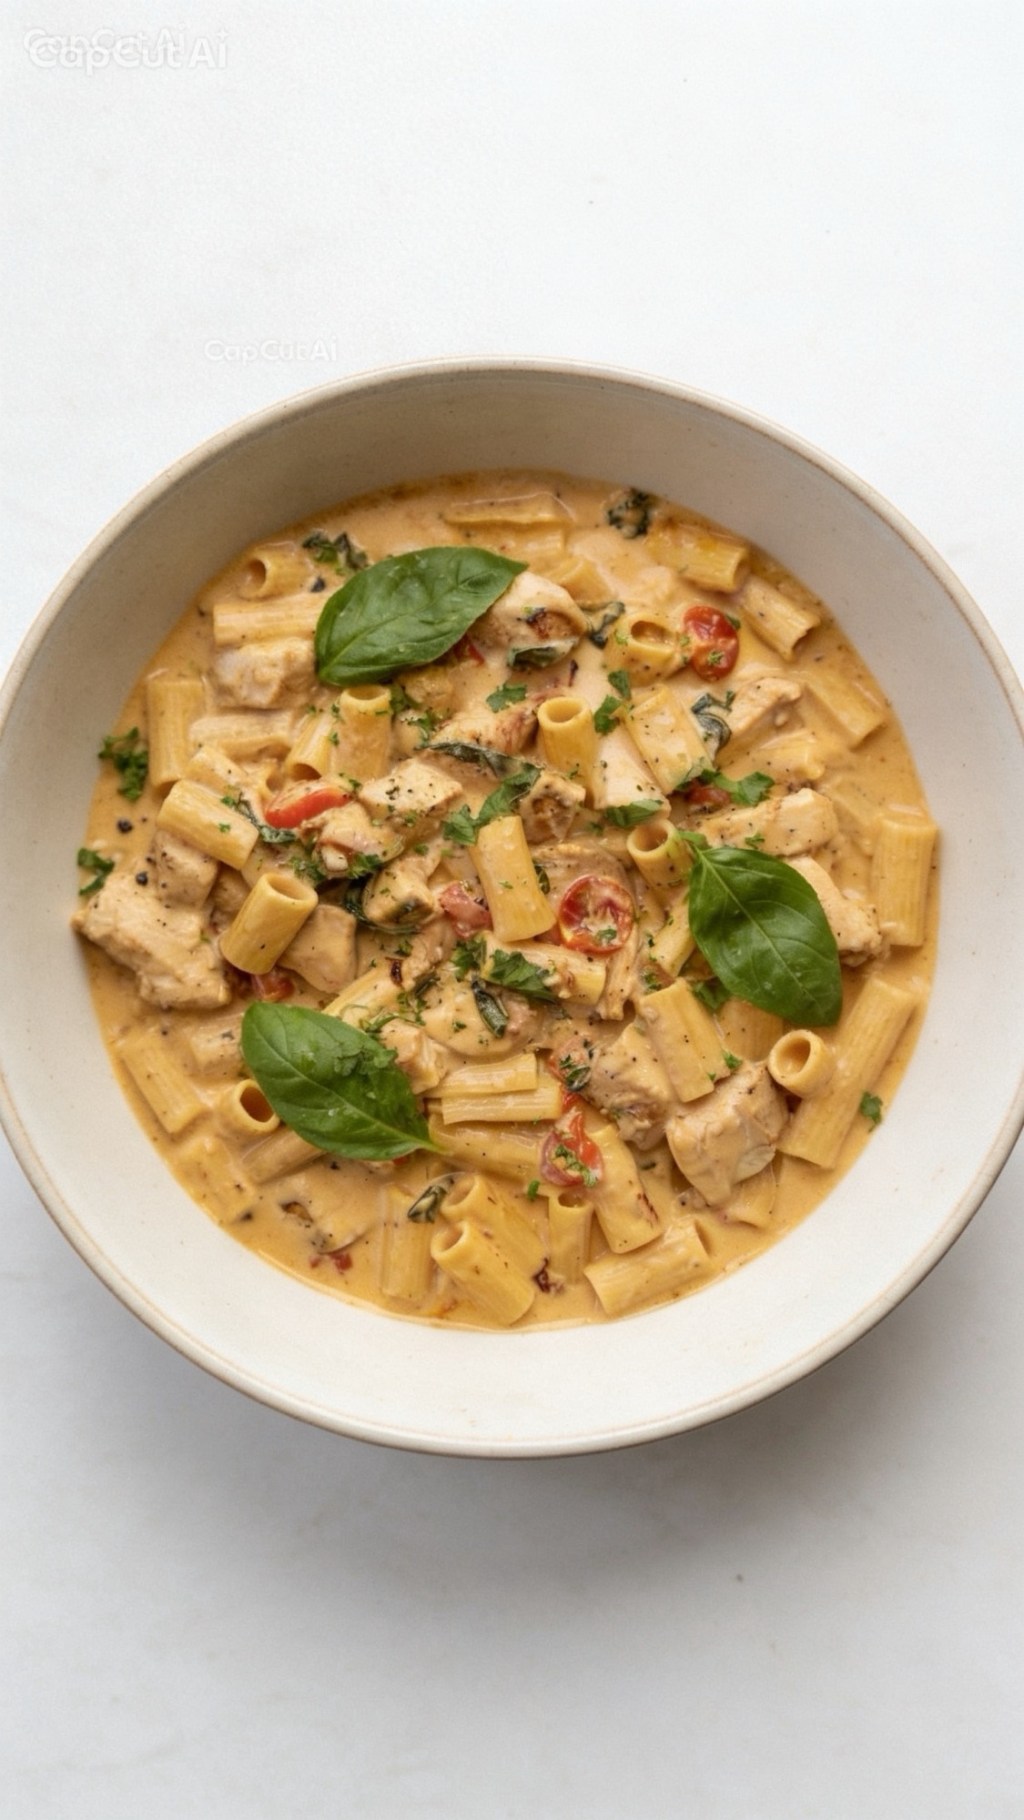
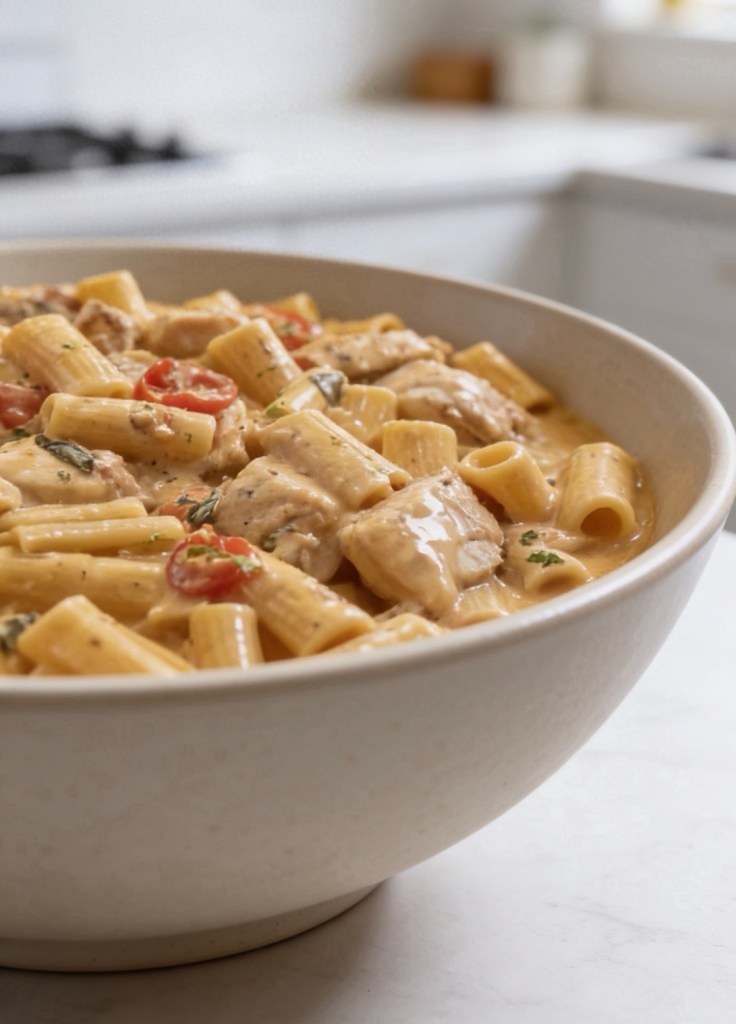
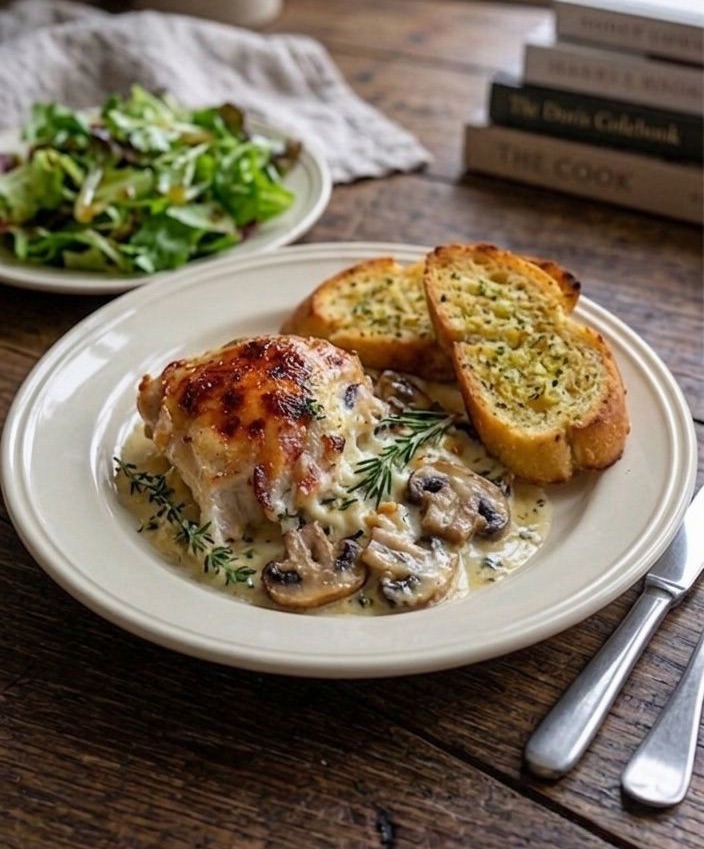
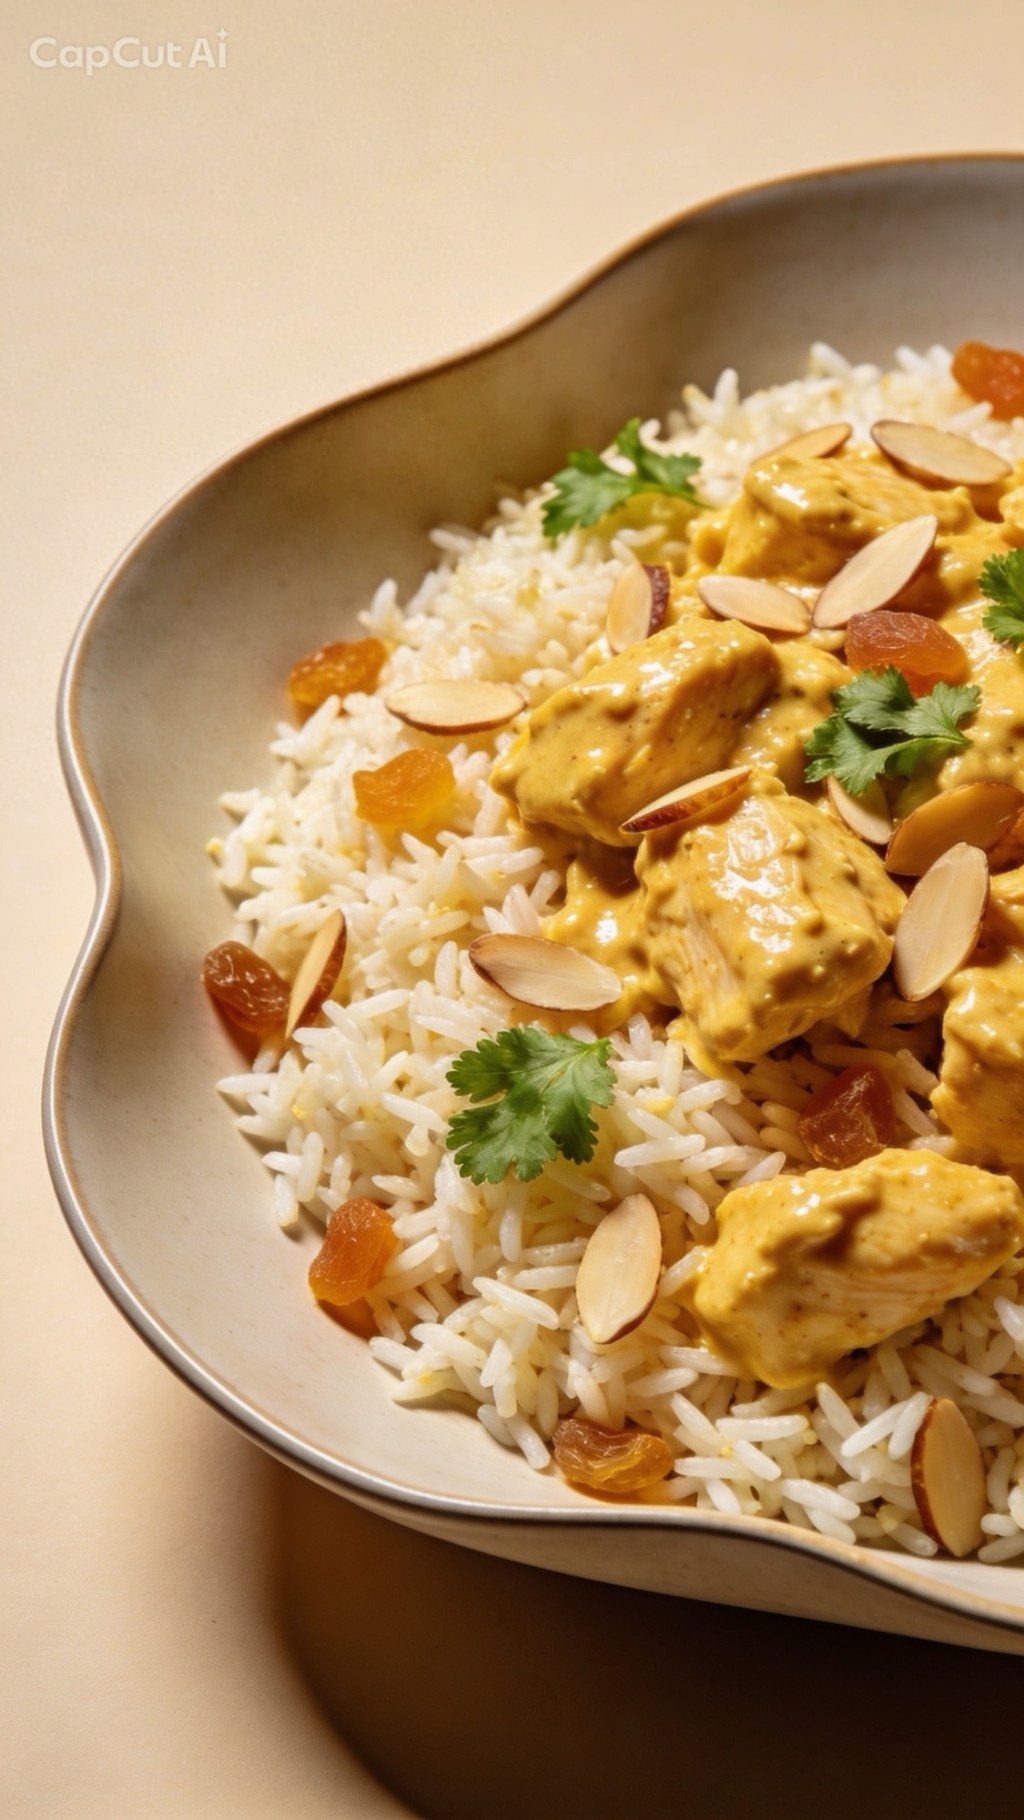
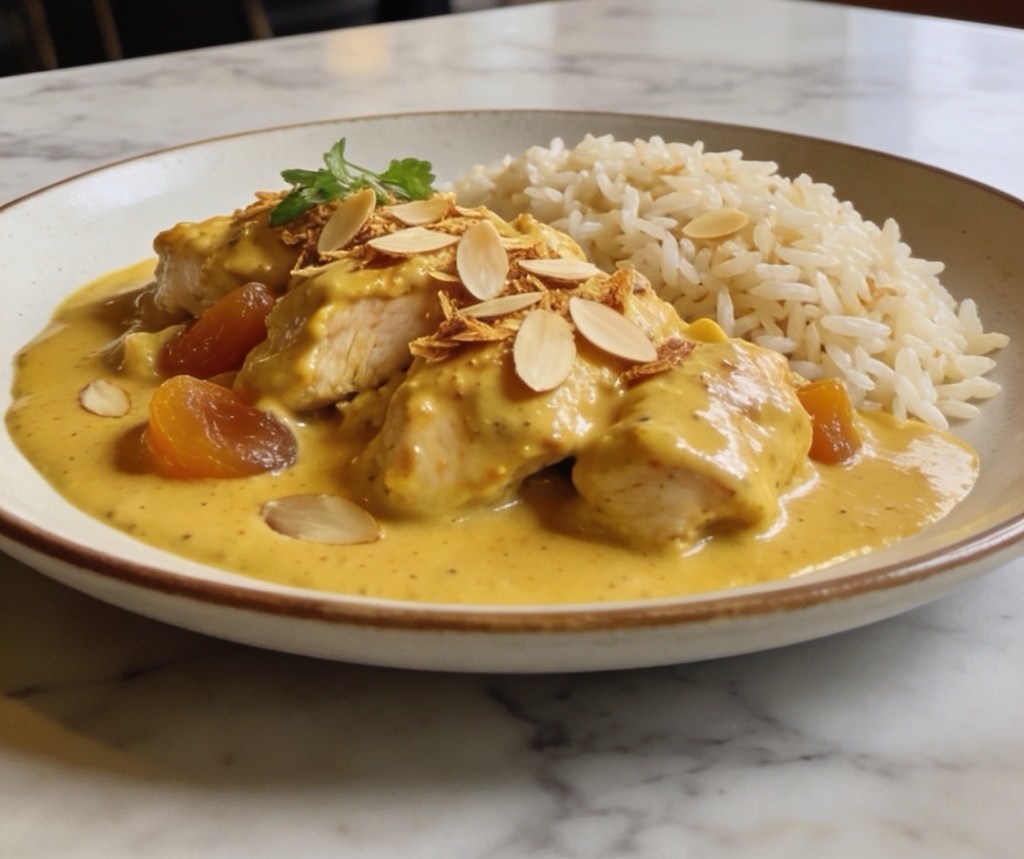
But then, you see a plate of Hot Coronation Chicken and everything changes. We are talking about a version that feels less like a lunchtime afterthought and more like a high-end restaurant main. It’s creamy, it’s vibrant, and it’s served over a steaming bed of fluffy basmati rice.
What Makes This Version “The One”?
The secret to this “glow-up” is all about moving away from the cold mayo base and leaning into a rich, warm, velvety sauce. You get a deep golden hue by blooming mild curry powder and turmeric in a pan before adding silky double cream. It transforms the spices, taking away that raw “dusty” taste and replacing it with a mellow, rounded warmth.
But the real stars of the show? The fruit and the crunch.
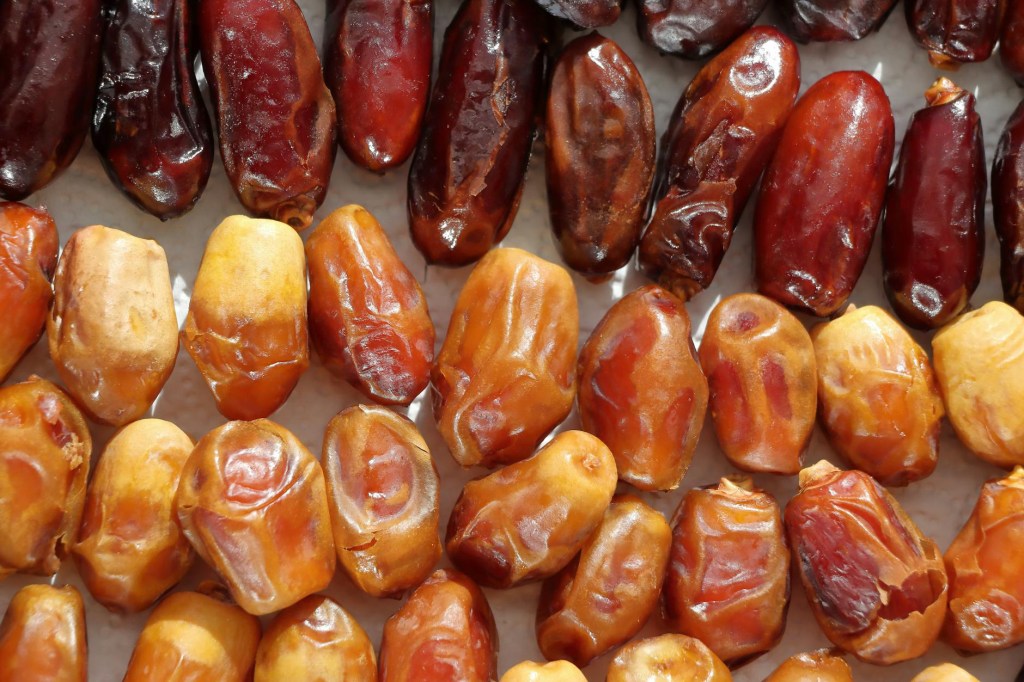
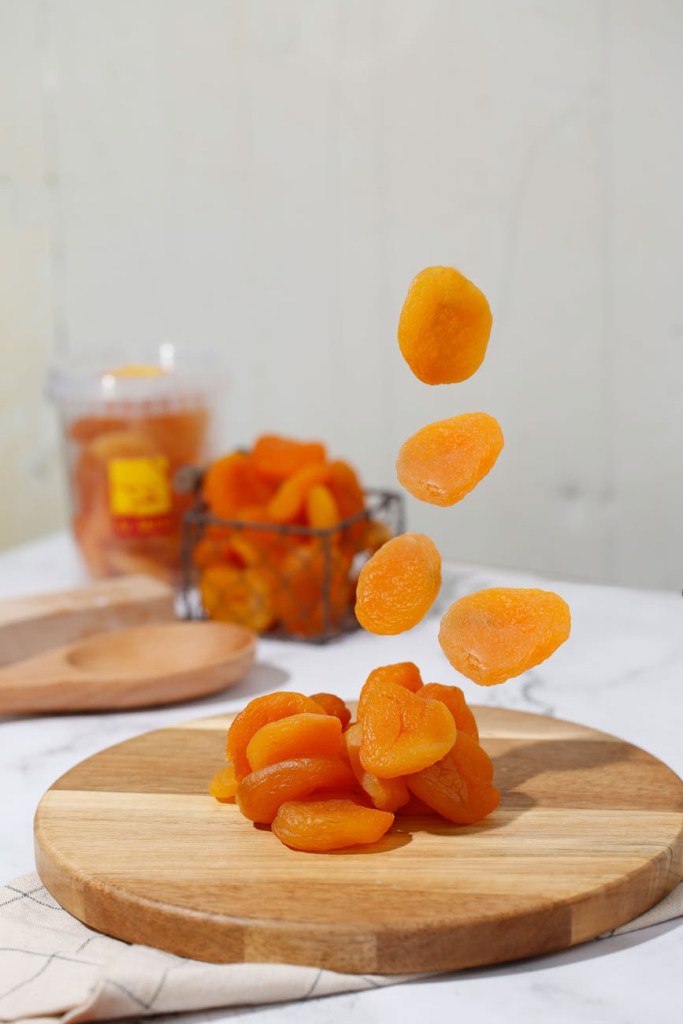
• The Apricots: We aren’t just using tiny specs of fruit. We’re using bold, halved dried apricots. When simmered in the hot sauce, they plump up and become little pockets of honey-like sweetness that cut through the savoury curry perfectly.
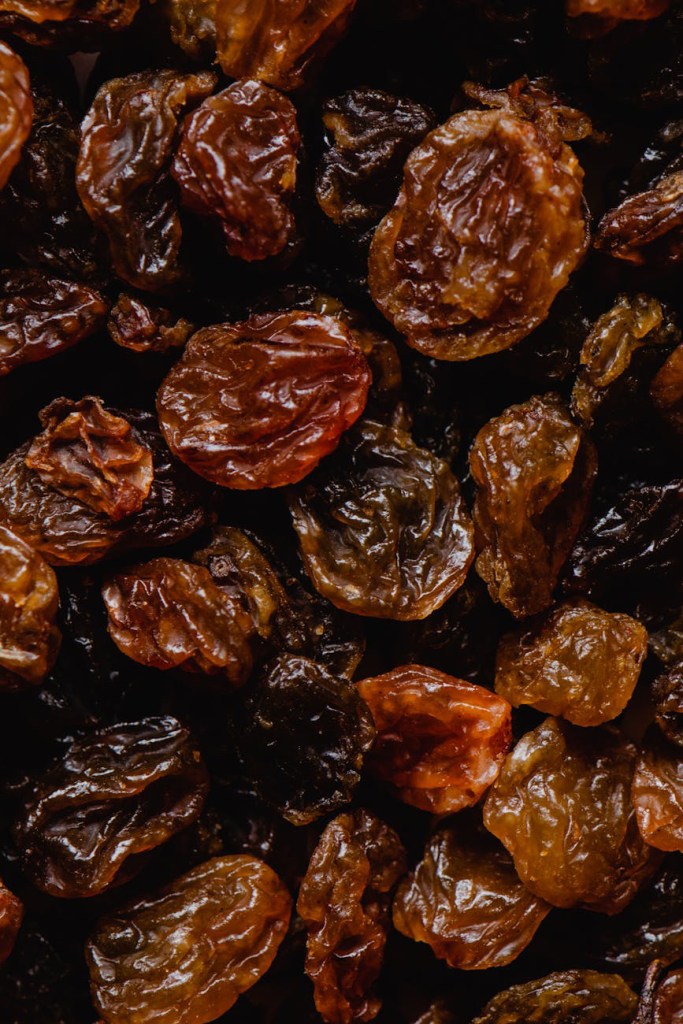
• The Sultanas: These add that classic burst of chewiness that reminds you of the traditional 1953 recipe, but with a modern twist.
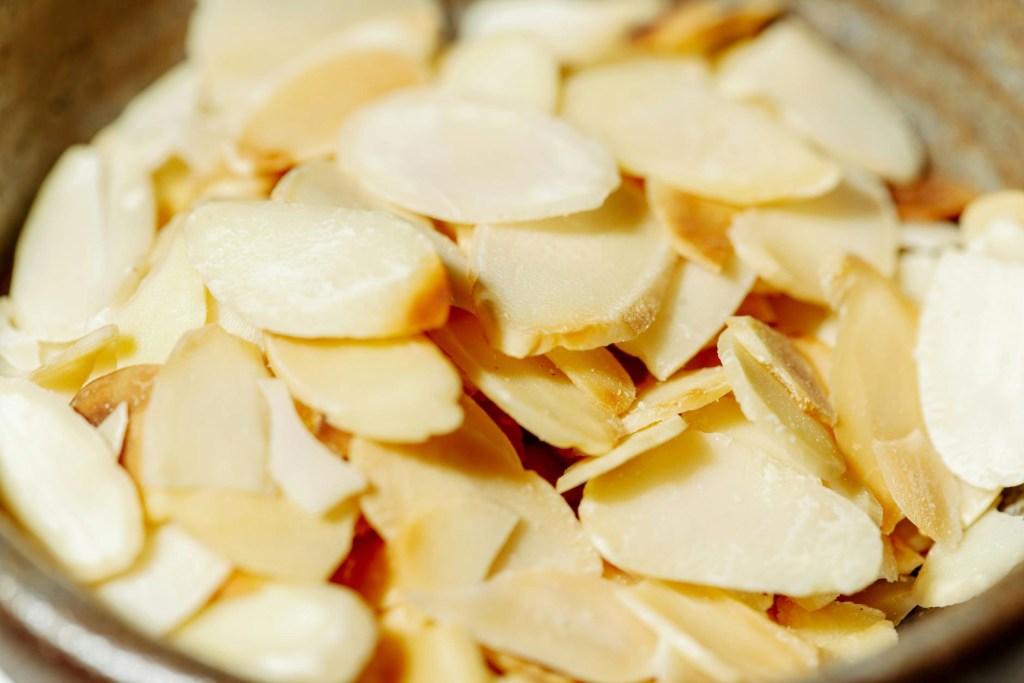
• The Toasted Almonds: Do not skip the toasting! A quick two minutes in a dry pan turns them into golden, nutty shards that provide the essential crunch against the soft rice and tender chicken.
Bringing the Cafe Vibes Home
The beauty of this dish is that it looks incredibly sophisticated but takes barely 15 minutes to throw together. It’s the kind of meal you make when you want to feel like you’ve put in effort, but you’ve actually just had a very productive session with a single frying pan.

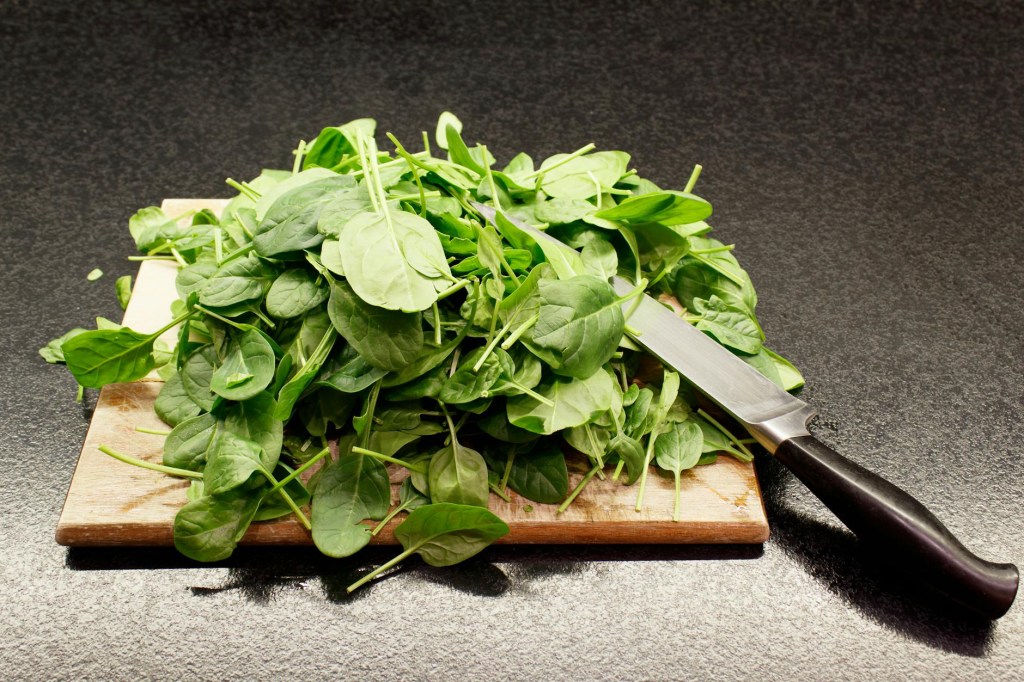
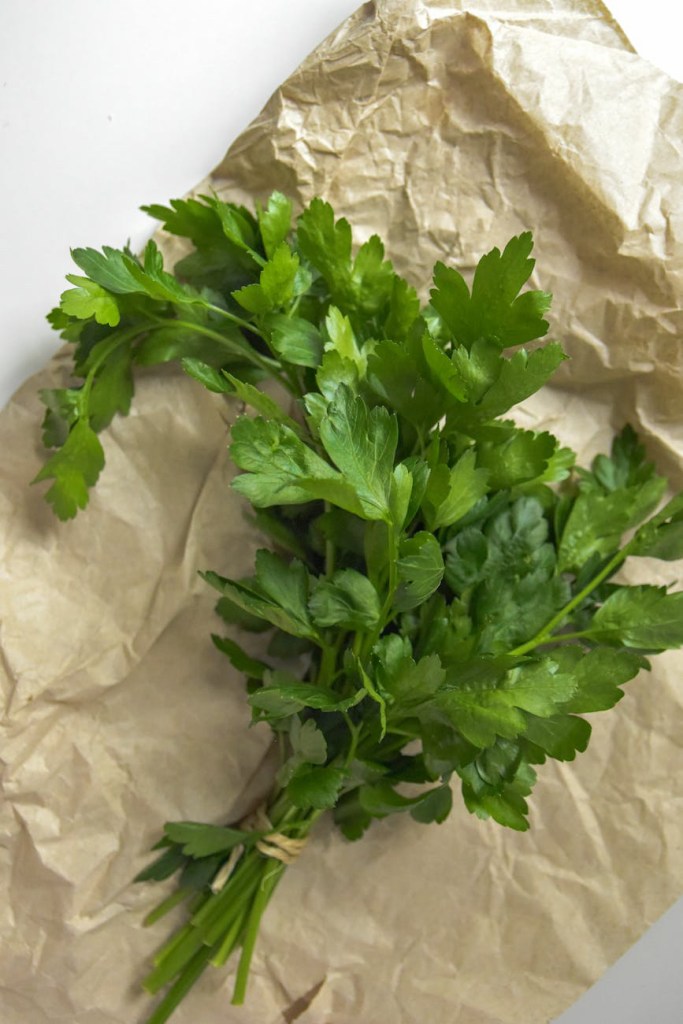
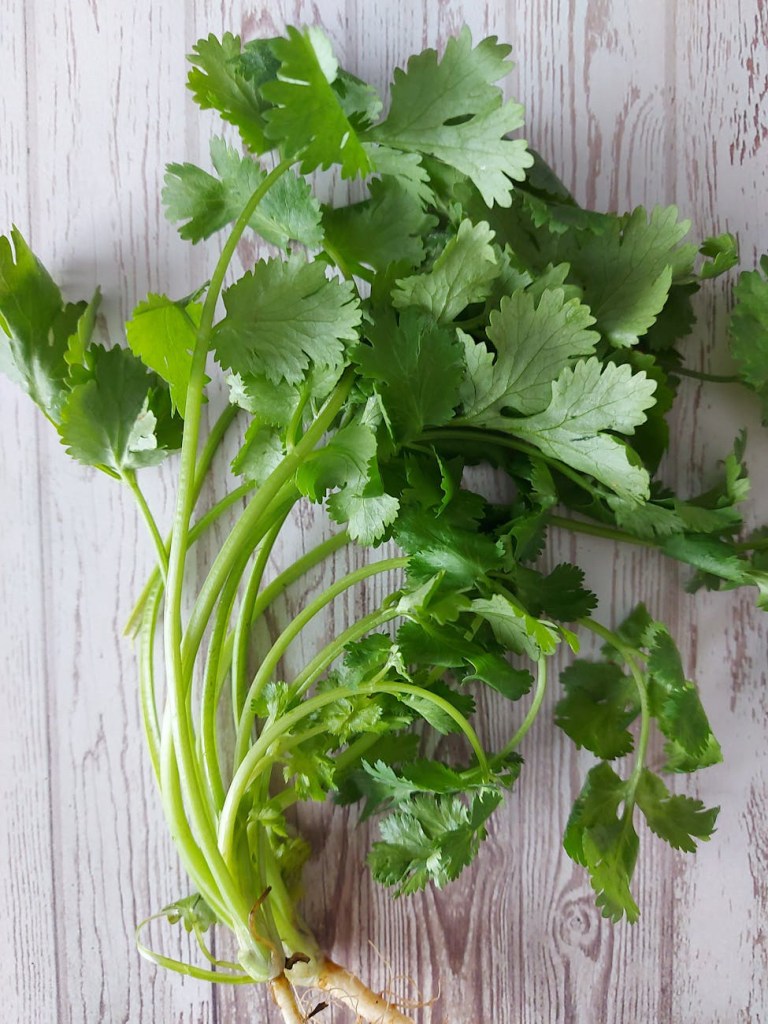
Whether you’re hosting a quick mid-week dinner for friends or you’re just treating yourself to a “main character” solo meal, this hot version brings a sense of occasion to the table. The final pop of green from fresh coriander makes the whole plate sing.
So, are you ready to ditch the deli tub and give this royal classic the respect it deserves? Trust me, once you’ve had those warm, jammy apricots and that glossy cream sauce, there’s no turning back.
The Recipe: Hot Apricot Coronation Chicken 👑
The Ingredients:
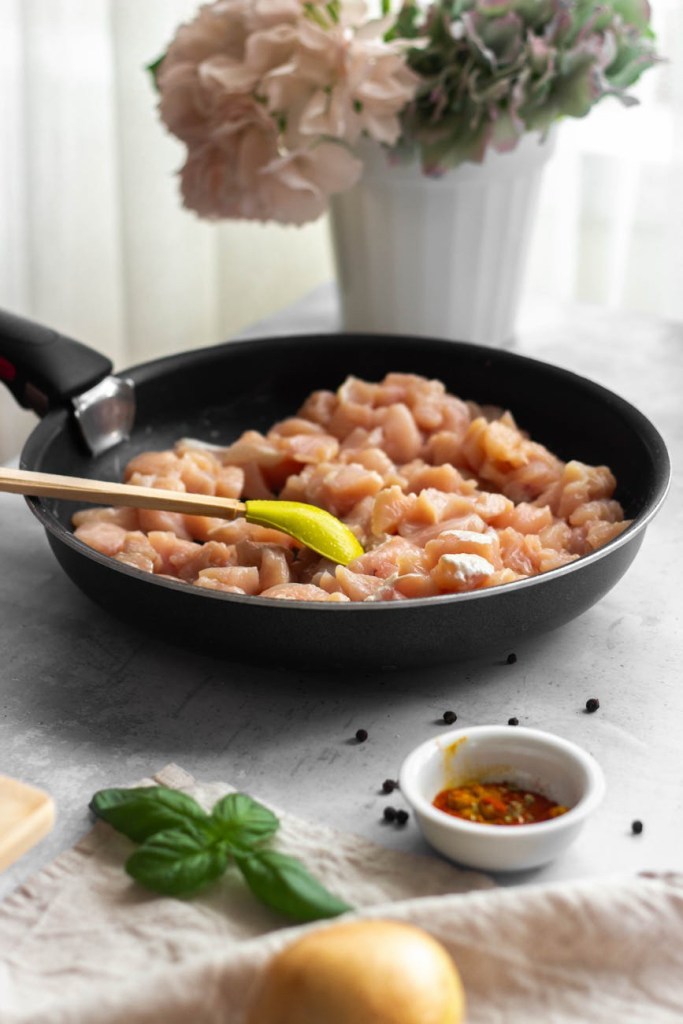
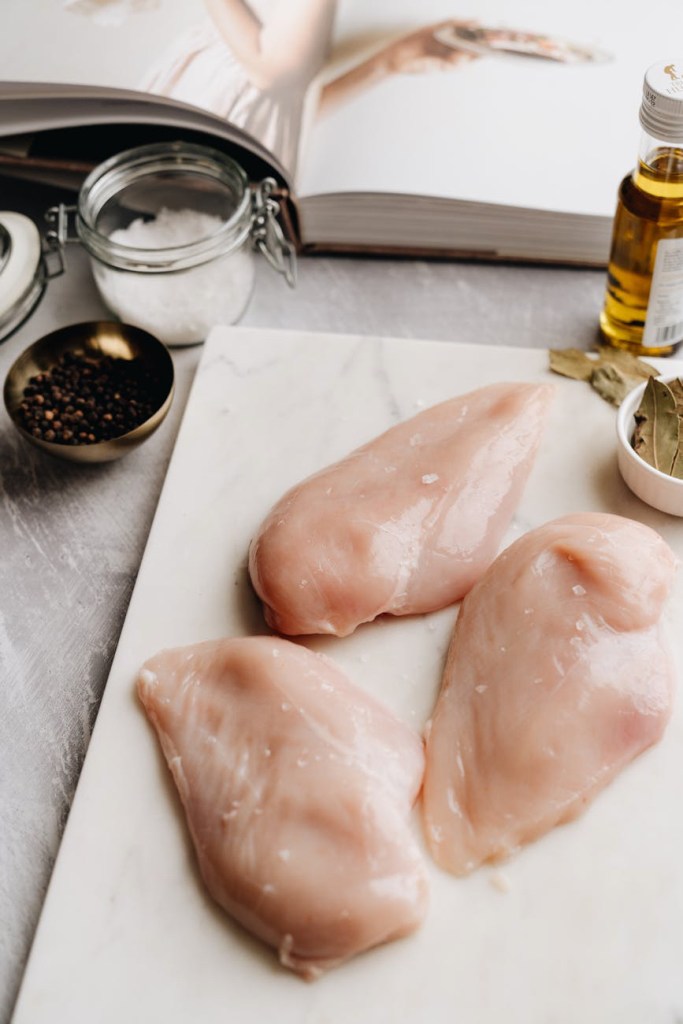
• 2 Chicken Breasts, diced into bite-sized chunks
• 250g Basmati Rice, cooked until fluffy
• 200ml Double Cream (The secret to that glossy finish!)
• 2 tbsp Mild Curry Powder & 1 tsp Turmeric
• 1 tbsp Mango Chutney
• 6-8 Dried Apricots, halved
• Handful of Flaked Almonds, toasted
• Fresh Coriander, for that final flourish
The Method:
1. The Rice: Get your rice boiling in salted water. By the time it’s drained and fluffed, your chicken will be ready.
2. The Sizzle: Fry your chicken chunks in a little butter or oil until they’re golden.
3. The Glow: Stir in the curry powder and turmeric. Let them toast with the chicken for a minute until the spices are fragrant.
4. The Cream: Turn the heat down and pour in the double cream and mango chutney.
5. The Fruit: Add your halved apricots and sultanas. Let them simmer for 5 minutes so they get nice and juicy.
6. The Grand Finale: Pile the rice high, spoon over that gorgeous chicken, and go heavy on the toasted almonds and coriander.
Whether you’re looking to impress guests at a weekend brunch or simply want to elevate your Tuesday night “dinner-for-one,” this hot apricot version is the ultimate way to enjoy a British icon. It’s a dish that proves you don’t need hours in the kitchen to create something that looks—and tastes—perfectly royal. So, grab your finest plate, pile that rice high, and get ready to experience a classic in a whole new light. Once you’ve tasted that creamy, golden sauce paired with a jammy apricot, the deli-counter tub will be a distant memory.
Happy cooking! ✨