I’m good at trying! I don’t have skills I wish I had like being able to sing beautifullly, dance or paint – it must be wonderful to be have natural talent and be able improve on that . I can’t sing for toffee , have dreadful co-ordination and always have and my drawing skills extend to stick men!! When my girls were younger school craft projects were a nightmare and in fairness I could have made them and passed them off as there’s my talent is so immense !!
I am loving, I suppose that’s the greatest talent and I’m a mother lion who protects her pack even though they are in their 20’s.
What I do have is determination, I give everything my best shot and I’m fairly good at looking at a room and making it wow, which came in handy when I was renovating and renting houses.
So I would say you don’t have to be amazing at everything, just try your best at everything you do and you can’t go far wrong xx
Let’s be real—some nights call for a drink, and some call for a serious chocolate fix. But when you want to feel a bit more sophisticated? You combine them.
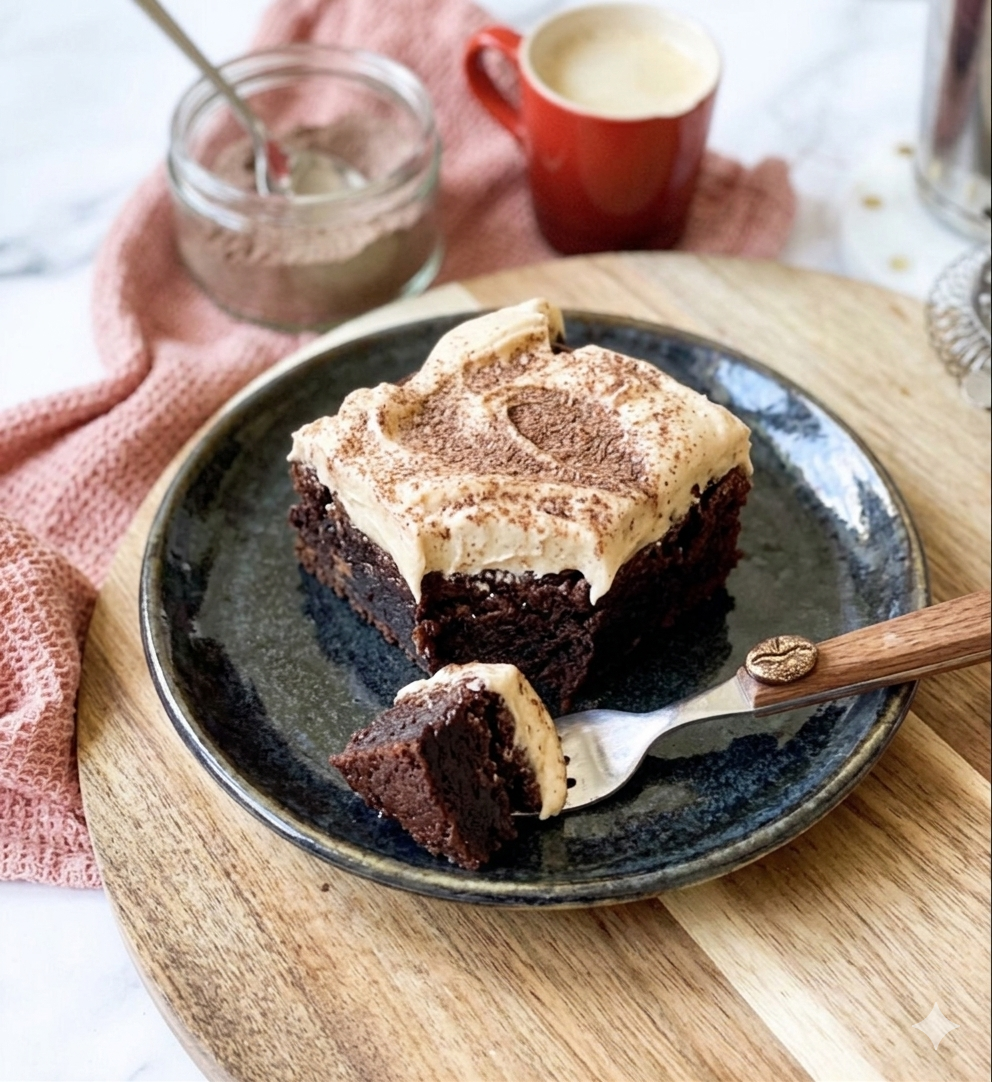
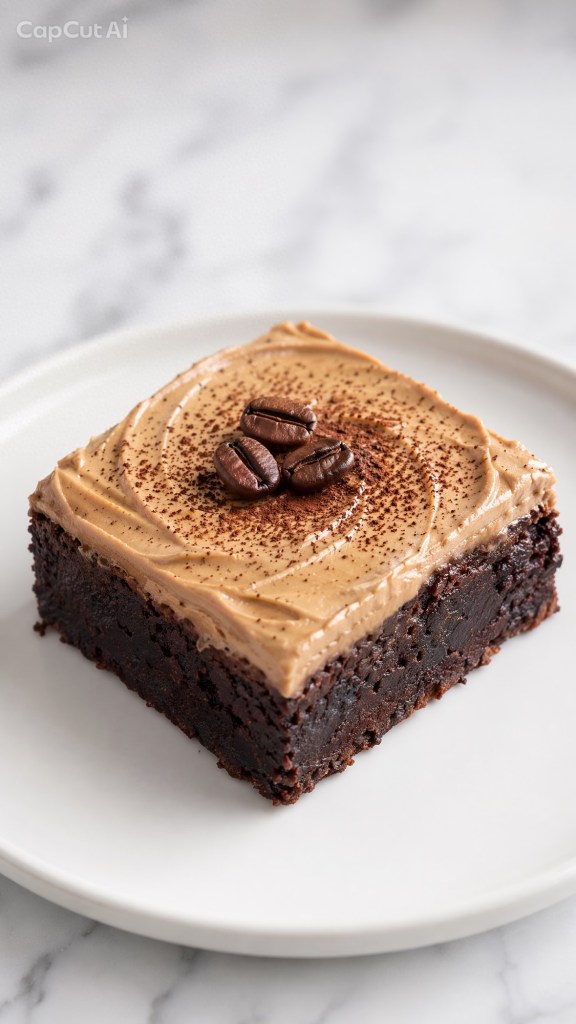
Meet the Espresso Martini Brownie.
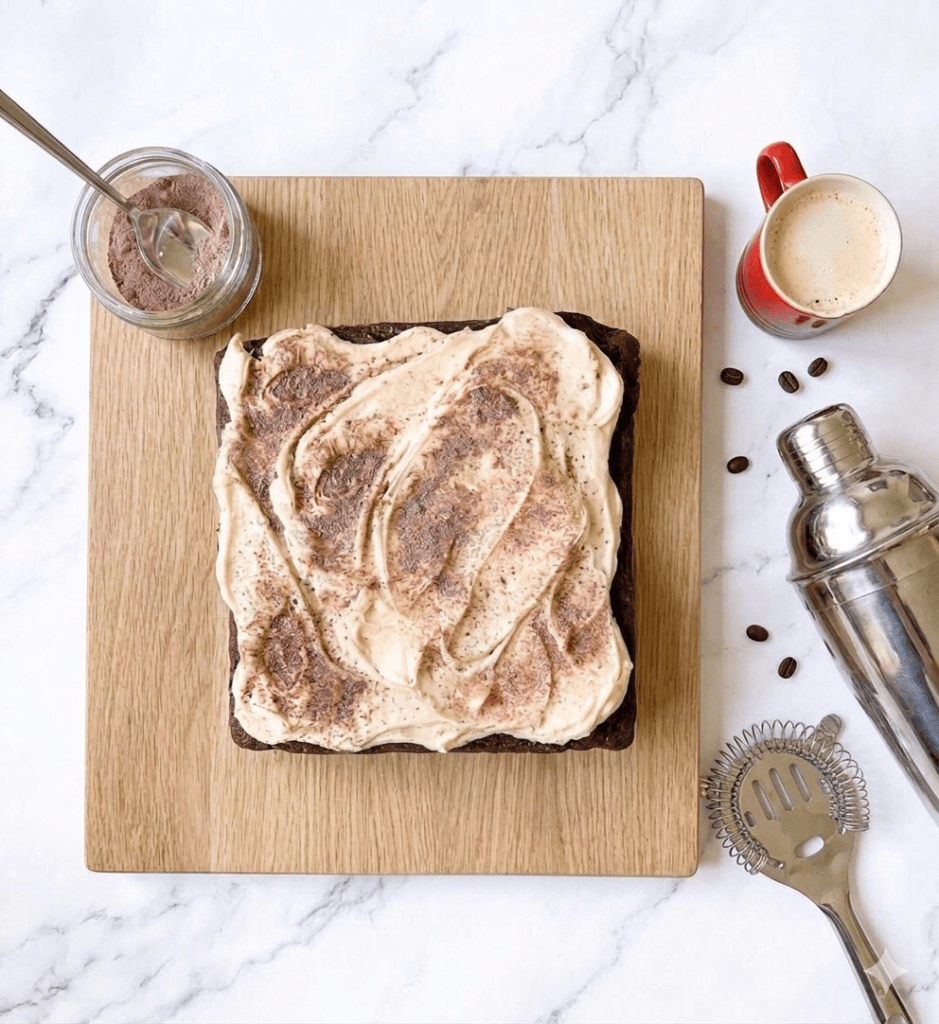
This is the brownie for grown-ups. We’re talking a dark, intense, fudgy base that’s packed with molten chocolate, topped with a silky buttercream spiked with a proper hit of coffee liqueur. It’s rich, it’s boozy, and it’s the ultimate “wow” dessert for when you’re hosting (or when you just want to feel fancy on a Friday night).
Why These Work:
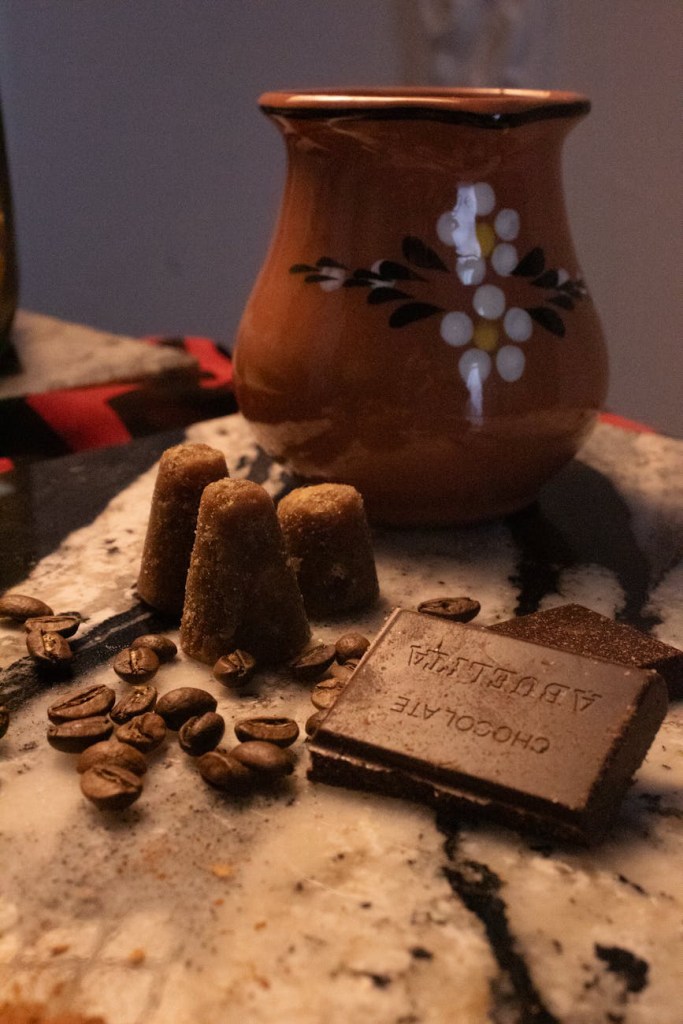
• The Depth: Dark chocolate and espresso are a match made in heaven. The coffee makes the chocolate taste ten times more intense.
• The Texture: No cakey brownies here. These are dense, fudgy, and loaded with chunks.
• The Finish: The frosting is basically an Espresso Martini in buttercream form. It’s elite.
The Recipe (UK Measurements)
Prep: 15 mins | Bake: 30 mins | Makes: 12 squares of absolute indulgence
• 30ml Coffee Liqueur (Kahlúa or Tia Maria work perfectly)
Let’s Bake
1. Prep: Preheat your oven to 170°C (150°C Fan). Line a 20cm (8″) square tin with baking paper.
2. Whisk: Combine your melted butter and both sugars. Whisk for a solid 3-5 minutes until the mixture is pale and smooth—this is the secret to that perfect texture.
3. The Base: Stir in the eggs and coffee extract. Slowly pour in the melted dark chocolate, making sure it’s cooled slightly so it doesn’t cook the eggs.
4. Fold: Sift in the flour, cocoa, and a pinch of salt. Fold it gently with a spatula until just combined. Stir through those milk chocolate chunks.
5. Bake: Pour the batter in and bake for 30 minutes. You want a slight wobble in the middle—that’s how you keep them fudgy. Let them cool completely in the tin.
6. The Frosting: Whisk the softened butter and liqueur together, then gradually add the icing sugar. Beat it until it’s light and fluffy. Spread it thick, dust with extra cocoa powder, and slice into clean squares.
Pro Tip: For the full cocktail-hour vibe, serve a single square on a dark plate with a silver pastry fork. It’s pure class.
Whether you’re serving these at a late-night party or just treating yourself after a long week, these brownies are the ultimate proof that you don’t need a glass to enjoy a cocktail. They’re dark, they’re boozy, and they’re far too good to share—so maybe keep the tin hidden. Give them a go, and let me know if they become your new after-hours obsession!
What does “having it all” mean to you? Is it attainable?
To me it means peace . To be happy in one’s self, confident in who you are and being able to not let anyone upset your inner peace. Material things mean nothing it’s love compassion and treating others how I would want to be treated myself and not letting the behaviour of others change who I am.
Is it attainable .. yes it is but sometimes hard work . Be true to yourself and you can’t go far wrong xx
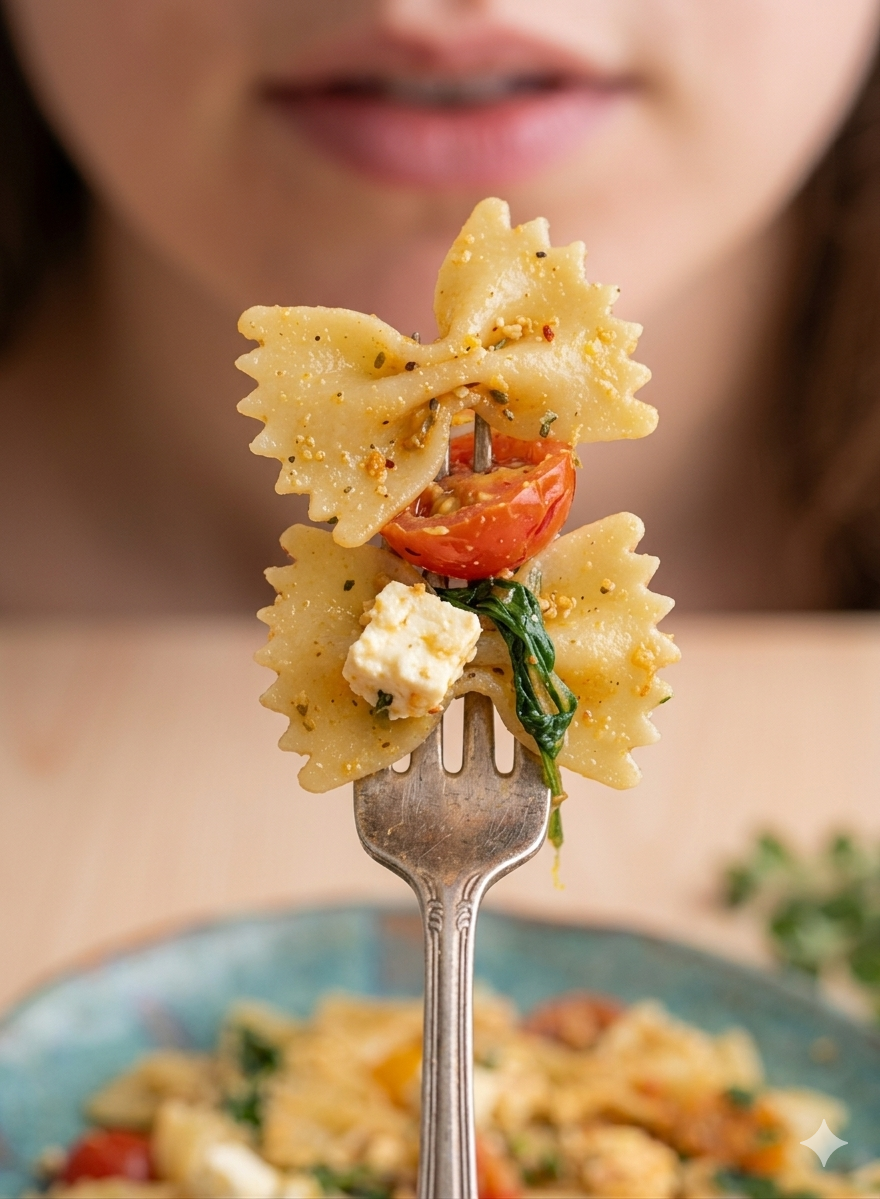
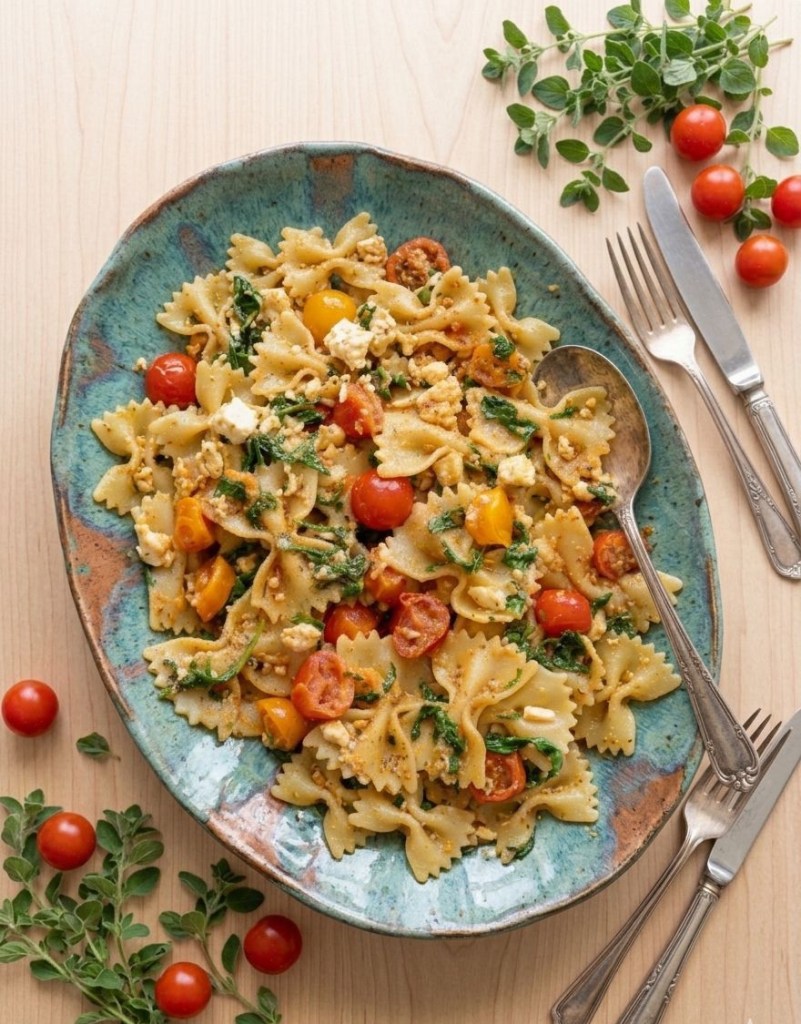
Let’s be real—by the time Wednesday rolls around, the last thing anyone wants to do is spend an hour hovering over a hot stove. If you’re looking for a dinner that feels like a holiday in Greece but takes less time than a quick trip to the shops, you’ve hit the jackpot.
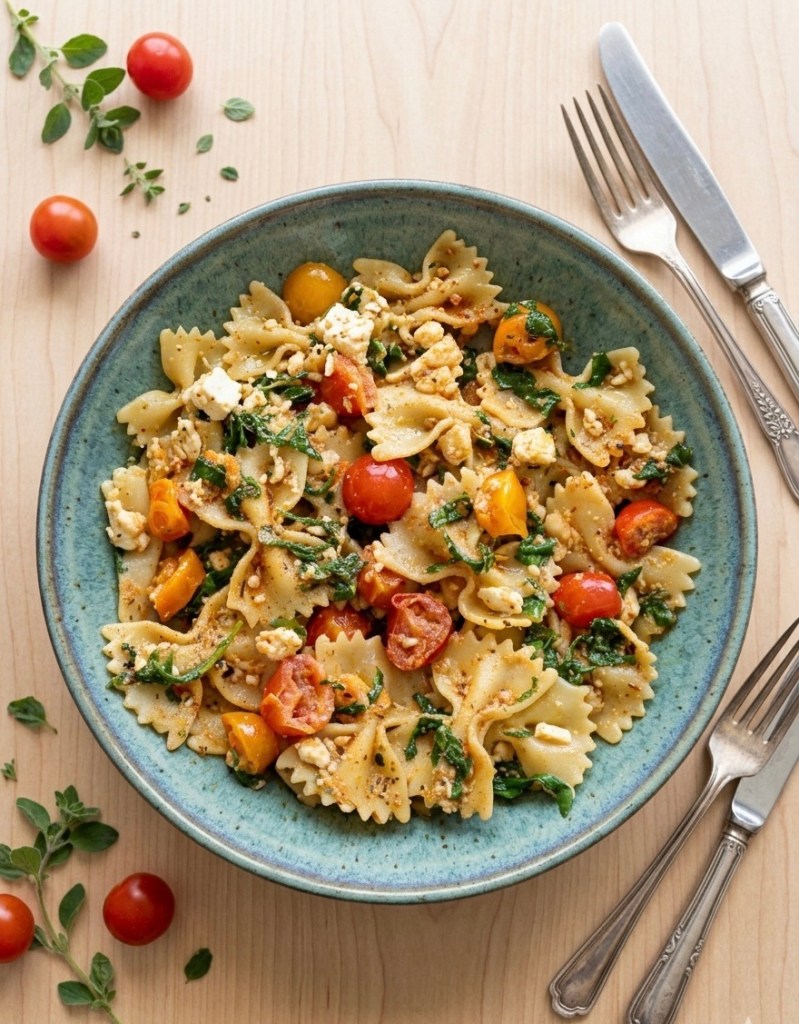
This Mediterranean Pasta is my absolute go-to. It’s vibrant, zesty, and uses those gorgeous Mediterranean diet staples we all love. Best of all? It’s a “one-pan wonder” (mostly!) that’s ready in 30 minutes flat.
🛒 The Shopping List
Here’s what you’ll need to grab from the cupboard or the local market:
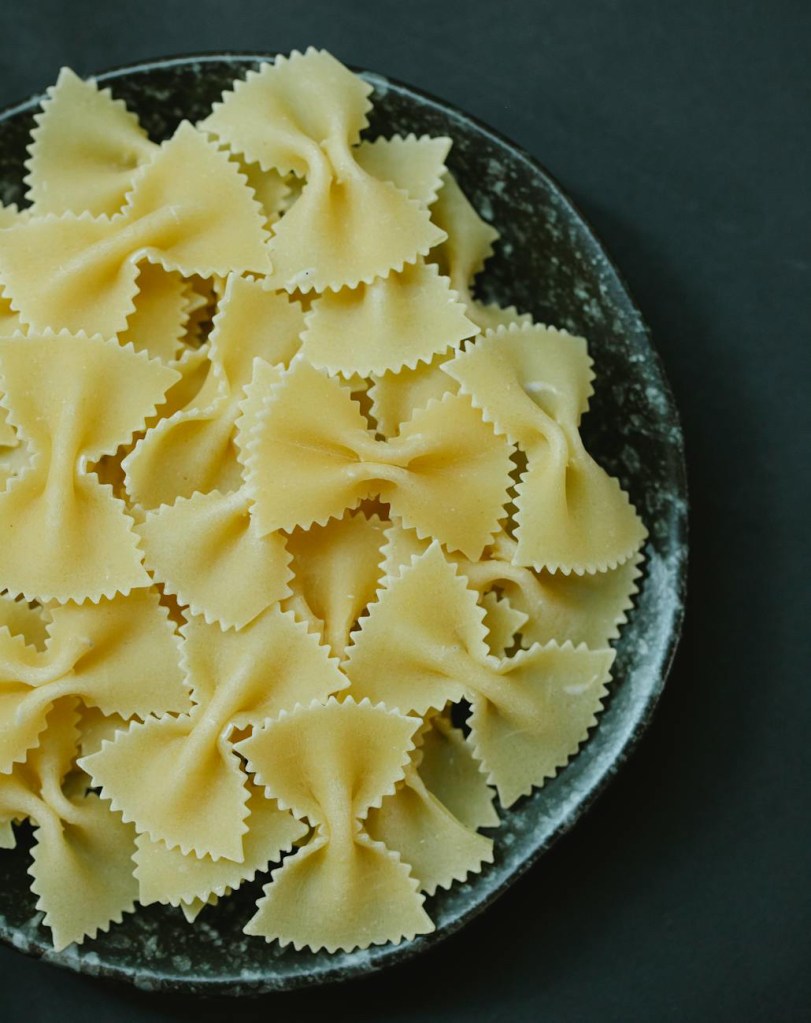
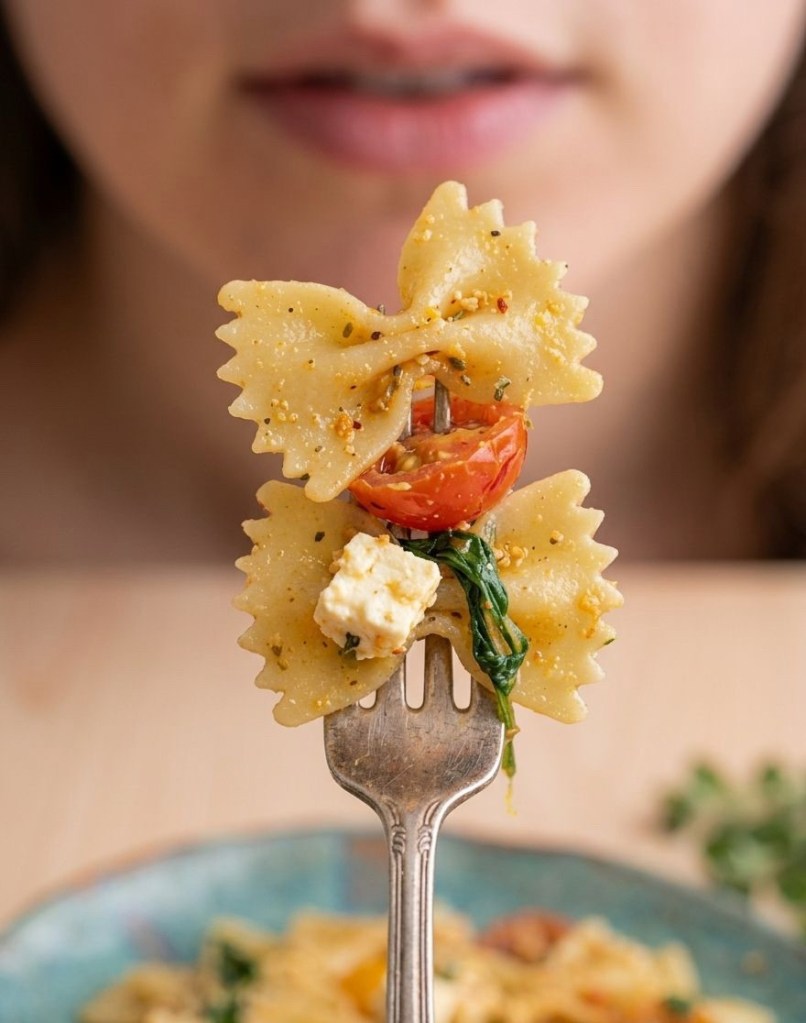
• The Pasta: I’m a fan of farfalle (the little bows), but any short-cut pasta works perfectly. Think penne, fusilli, or rigatoni—basically anything that’s good at catching the sauce.
• The Veg: Get yourself some cherry or grape tomatoes. If you can find a mix of red and yellow, it looks stunning.
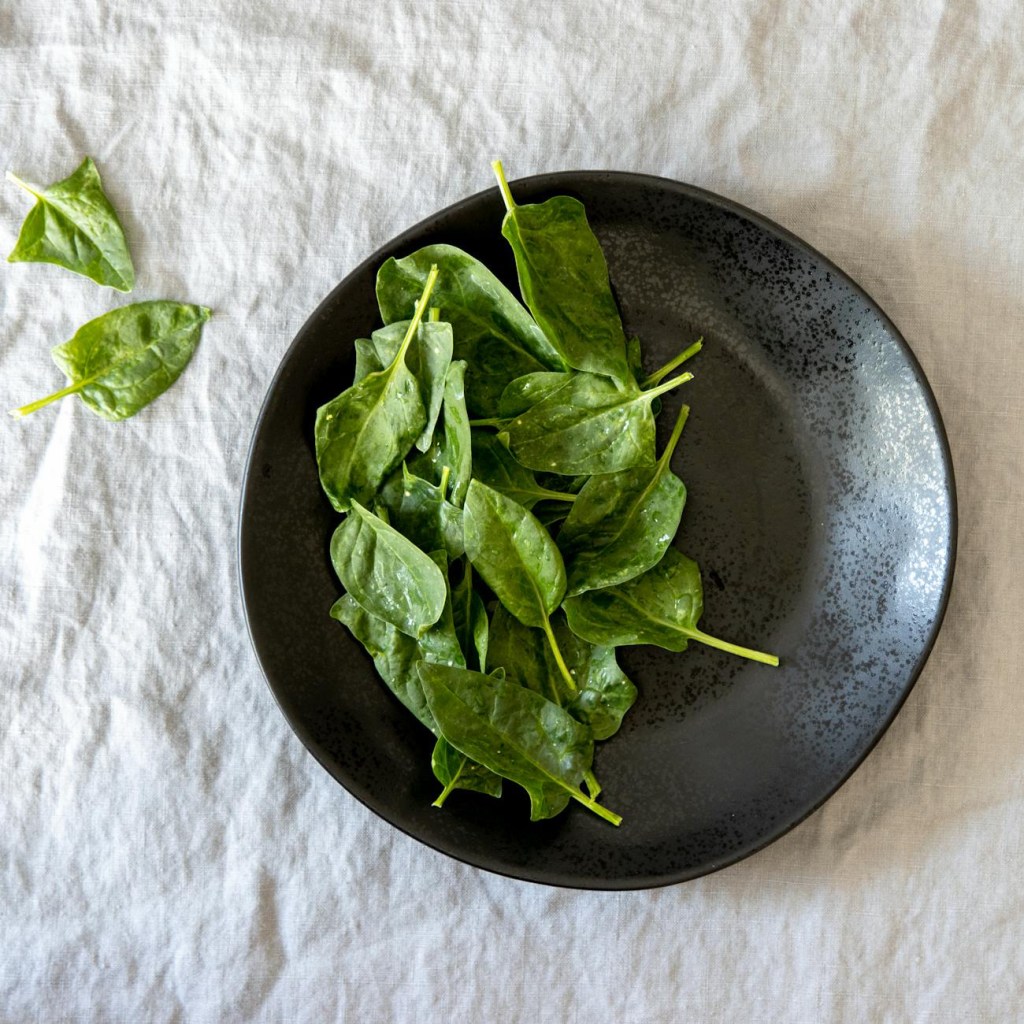
• The Greens: A big bag of fresh spinach. If you’ve only got frozen, just make sure to thaw it and squeeze out the water first.
• The Flavour Makers: Plenty of fresh garlic (don’t be shy!), olive oil, and a cheeky squeeze of lemon.
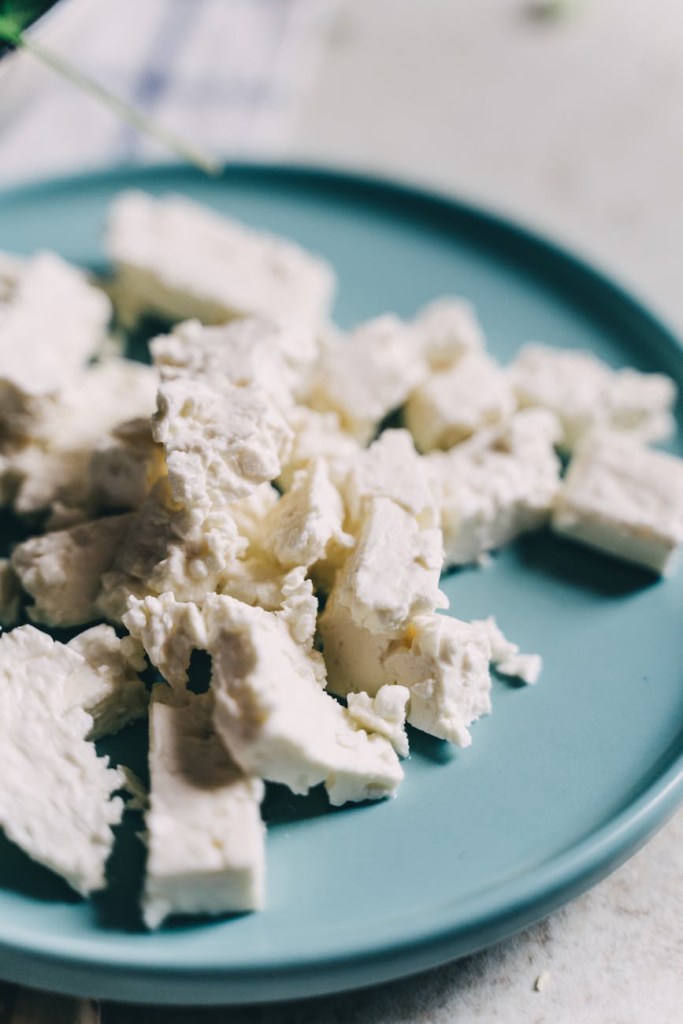
• The Cheese: Feta is the star here. You can buy the block and crumble it yourself or grab a pack of ready-crumbled to save time.
• The Spice Rack: Grab your Italian seasoning, some paprika for a bit of warmth, and plenty of sea salt and cracked black pepper.
👩🍳 How to Whip It Up
1. Get the water on: Boil a large pot of salted water and cook your pasta until al dente.
2. Sizzle the tomatoes: While the pasta bubbles away, grab a large frying pan or skillet. Toss in your halved tomatoes, minced garlic, a glug of olive oil, paprika, salt, and your dried herbs. Cook on a medium heat for about 2 minutes until the tomatoes start to soften and get juicy.
3. Wilting time: Throw in the spinach. Stir it around until it wilts into that lovely garlic-tomato base.
4. The Feta finish: Stir in your crumbled feta and let it get just a little bit melty.
5. The Big Mix: Toss in your drained pasta and the lemon juice. Give it a good stir for a minute to get everything coated. If it looks a bit dry, add an extra drizzle of olive oil.
Top Tip: This is a fantastic “make-ahead” meal. It keeps beautifully in the fridge for lunch the next day, and you can even freeze it!
Whether you’re dodging the temptation of a takeaway or just need a win after a hectic shift, this Mediterranean pasta is the ultimate shortcut to a proper meal. It’s vibrant, zesty, and—best of all—gets you from “starving” to “serving” in the time it takes to boil a kettle. Give it a go tonight, enjoy the fact that there’s barely any washing up, and let that hit of lemon and garlic do the heavy lifting. Happy cooking!
Let’s be honest for a second—whenever most of us hear the words “Coronation Chicken,” our minds immediately go to a slightly sad, neon-yellow sandwich filler sitting in a plastic tub at the local supermarket. It’s a British staple, sure, but is it exciting? Usually, no.
But then, you see a plate of Hot Coronation Chicken and everything changes. We are talking about a version that feels less like a lunchtime afterthought and more like a high-end restaurant main. It’s creamy, it’s vibrant, and it’s served over a steaming bed of fluffy basmati rice.
What Makes This Version “The One”?
The secret to this “glow-up” is all about moving away from the cold mayo base and leaning into a rich, warm, velvety sauce. You get a deep golden hue by blooming mild curry powder and turmeric in a pan before adding silky double cream. It transforms the spices, taking away that raw “dusty” taste and replacing it with a mellow, rounded warmth.
But the real stars of the show? The fruit and the crunch.
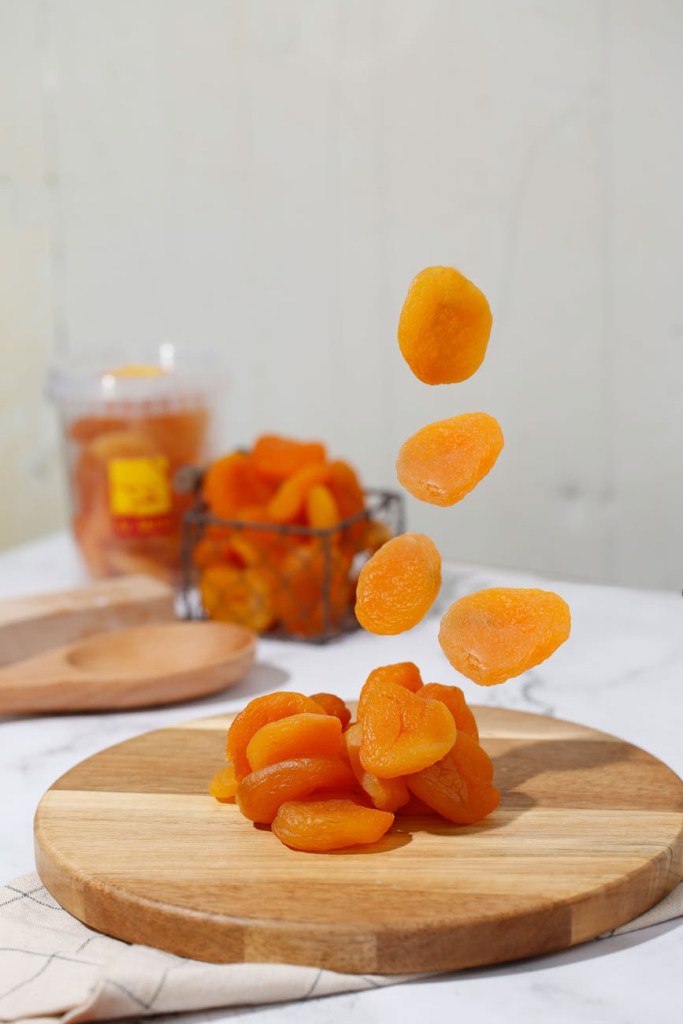
• The Apricots: We aren’t just using tiny specs of fruit. We’re using bold, halved dried apricots. When simmered in the hot sauce, they plump up and become little pockets of honey-like sweetness that cut through the savoury curry perfectly.
• The Sultanas: These add that classic burst of chewiness that reminds you of the traditional 1953 recipe, but with a modern twist.
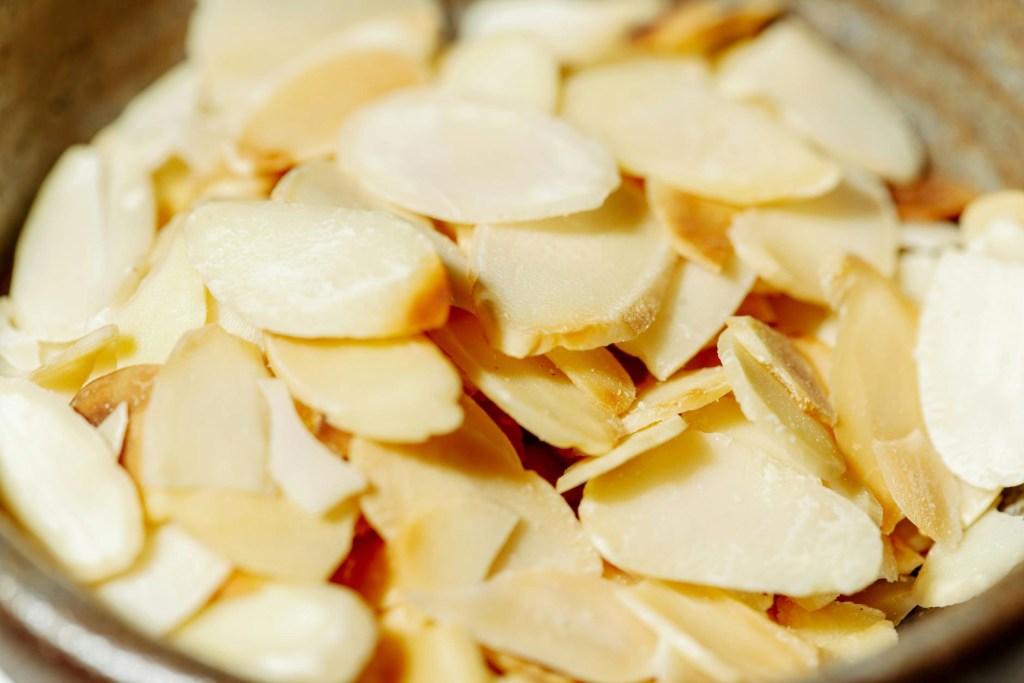
• The Toasted Almonds: Do not skip the toasting! A quick two minutes in a dry pan turns them into golden, nutty shards that provide the essential crunch against the soft rice and tender chicken.
Bringing the Cafe Vibes Home
The beauty of this dish is that it looks incredibly sophisticated but takes barely 15 minutes to throw together. It’s the kind of meal you make when you want to feel like you’ve put in effort, but you’ve actually just had a very productive session with a single frying pan.
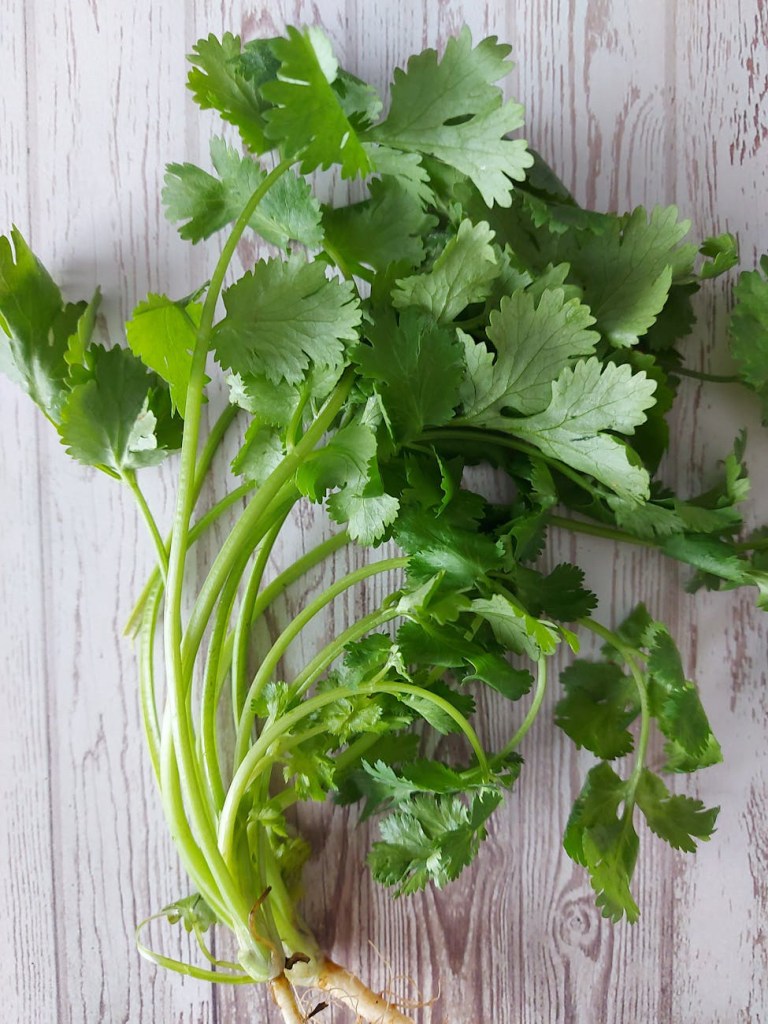
Whether you’re hosting a quick mid-week dinner for friends or you’re just treating yourself to a “main character” solo meal, this hot version brings a sense of occasion to the table. The final pop of green from fresh coriander makes the whole plate sing.
So, are you ready to ditch the deli tub and give this royal classic the respect it deserves? Trust me, once you’ve had those warm, jammy apricots and that glossy cream sauce, there’s no turning back.
The Recipe: Hot Apricot Coronation Chicken 👑
The Ingredients:
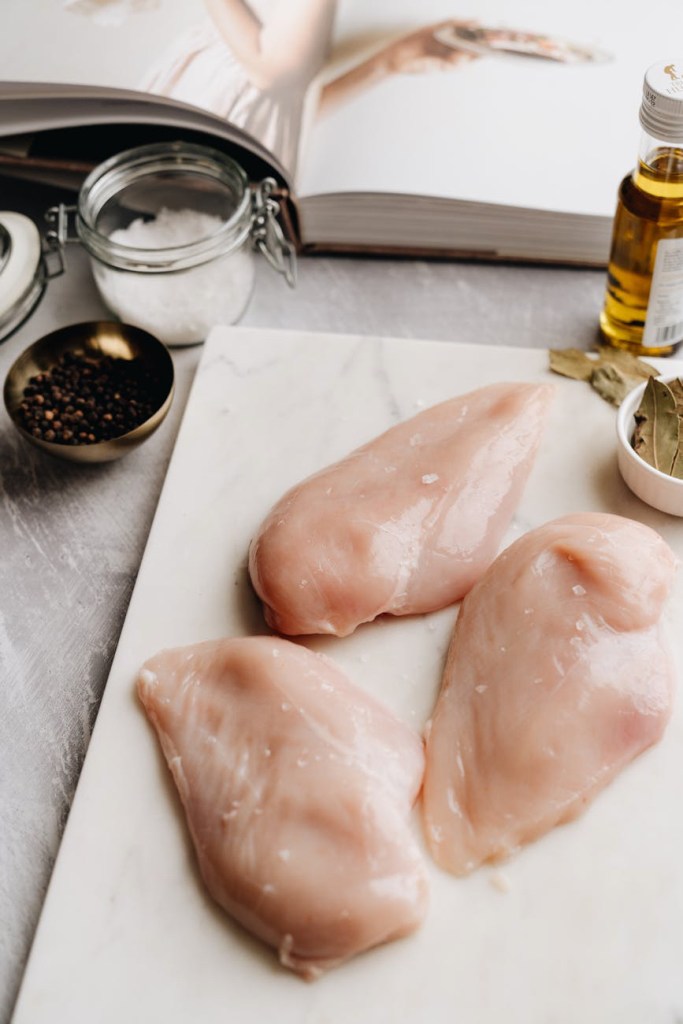
• 2 Chicken Breasts, diced into bite-sized chunks
• 250g Basmati Rice, cooked until fluffy
• 200ml Double Cream (The secret to that glossy finish!)
• 2 tbsp Mild Curry Powder & 1 tsp Turmeric
• 1 tbsp Mango Chutney
• 6-8 Dried Apricots, halved
• Handful of Flaked Almonds, toasted
• Fresh Coriander, for that final flourish
The Method:
1. The Rice: Get your rice boiling in salted water. By the time it’s drained and fluffed, your chicken will be ready.
2. The Sizzle: Fry your chicken chunks in a little butter or oil until they’re golden.
3. The Glow: Stir in the curry powder and turmeric. Let them toast with the chicken for a minute until the spices are fragrant.
4. The Cream: Turn the heat down and pour in the double cream and mango chutney.
5. The Fruit: Add your halved apricots and sultanas. Let them simmer for 5 minutes so they get nice and juicy.
6. The Grand Finale: Pile the rice high, spoon over that gorgeous chicken, and go heavy on the toasted almonds and coriander.
Whether you’re looking to impress guests at a weekend brunch or simply want to elevate your Tuesday night “dinner-for-one,” this hot apricot version is the ultimate way to enjoy a British icon. It’s a dish that proves you don’t need hours in the kitchen to create something that looks—and tastes—perfectly royal. So, grab your finest plate, pile that rice high, and get ready to experience a classic in a whole new light. Once you’ve tasted that creamy, golden sauce paired with a jammy apricot, the deli-counter tub will be a distant memory.
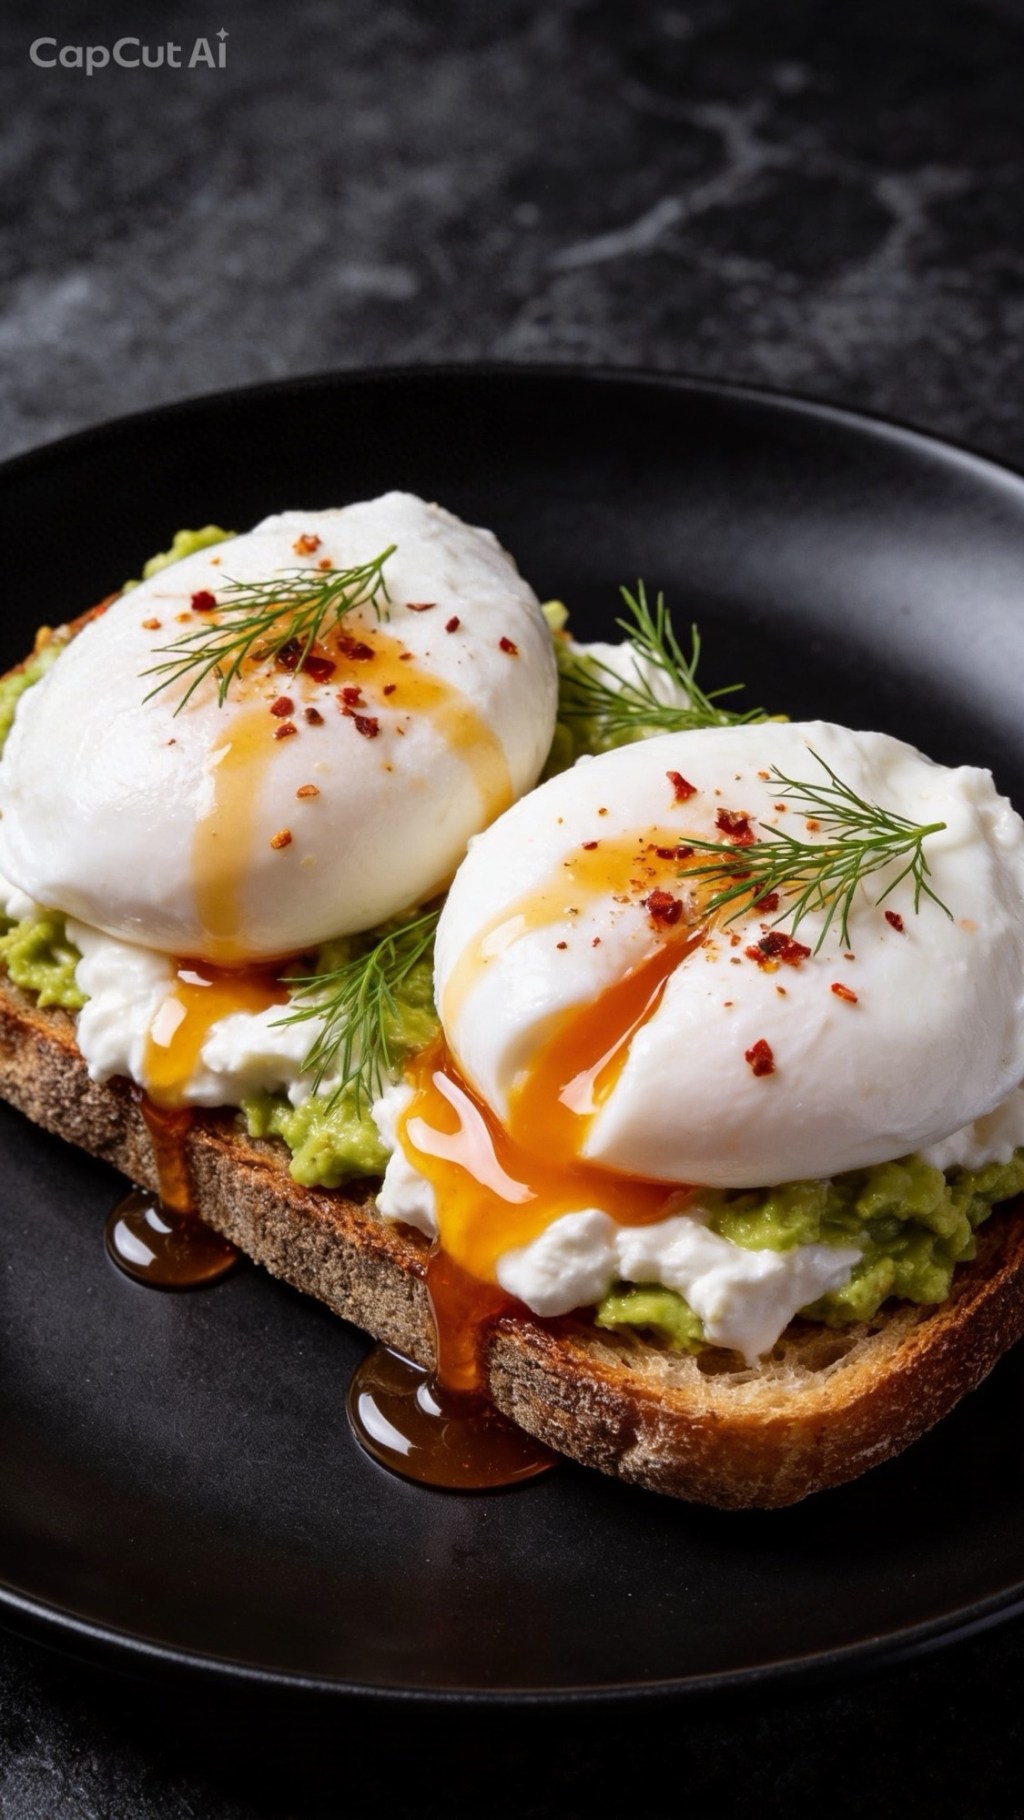
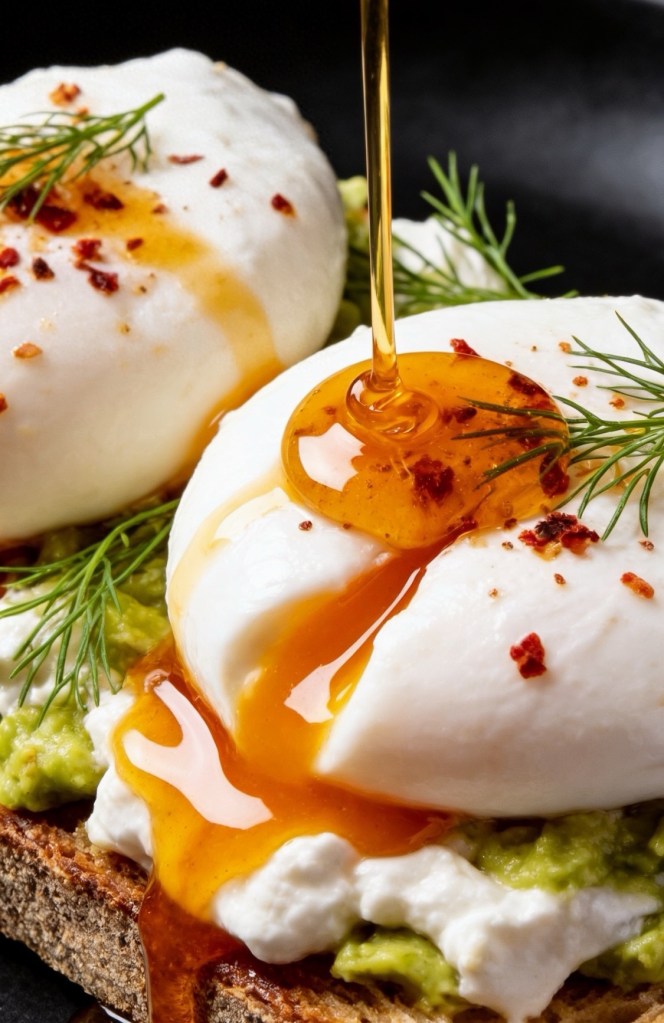
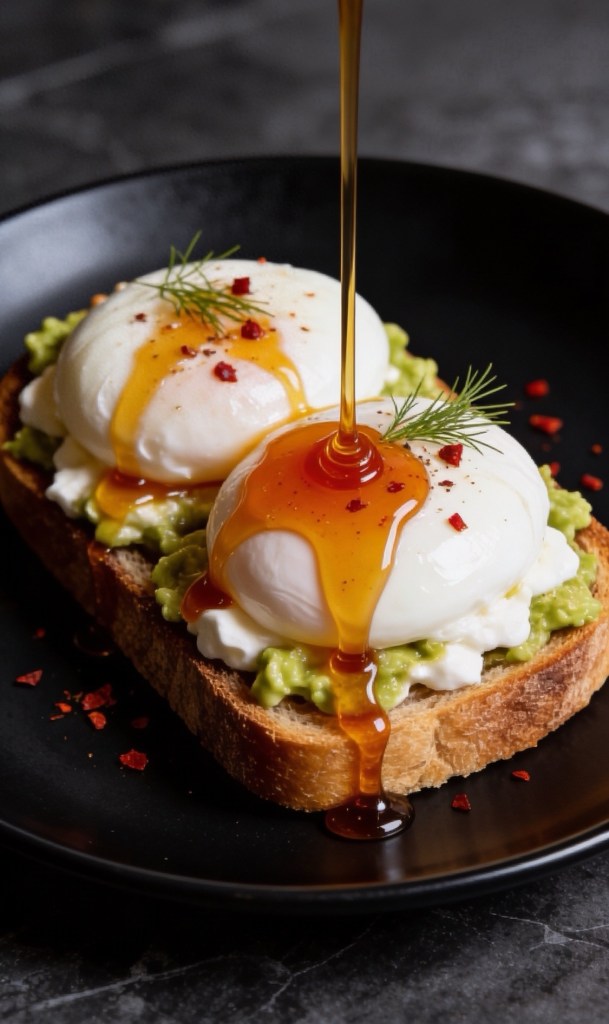
Move over basic avocado toast; there’s a new heavyweight champion in town. If you’re looking for a breakfast that hits every single taste bud—creamy, crunchy, spicy, and sweet—this Hot Honey Avocado & Cottage Cheese Sourdough is it.
Why This Combo Works
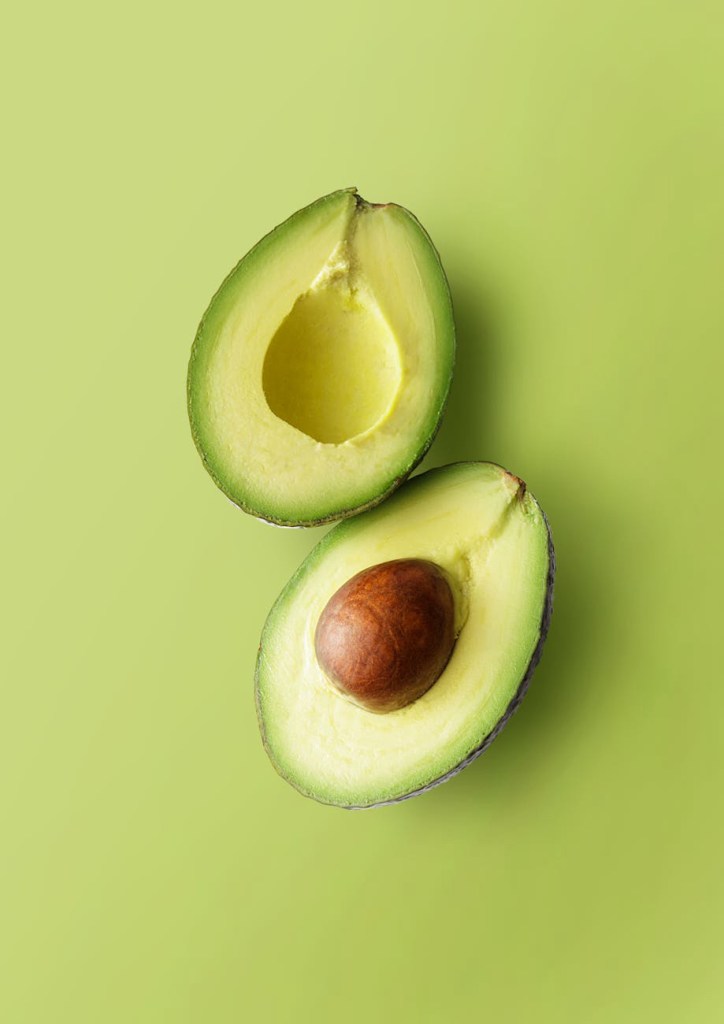
The magic lies in the deliberate layering of textures and temperatures. We start with a thick slice of toasted sourdough, providing a sturdy, crunchy base. This is topped with a generous mash of ripe avocado, seasoned with a squeeze of lemon and flaky salt for that essential healthy fat and zing.
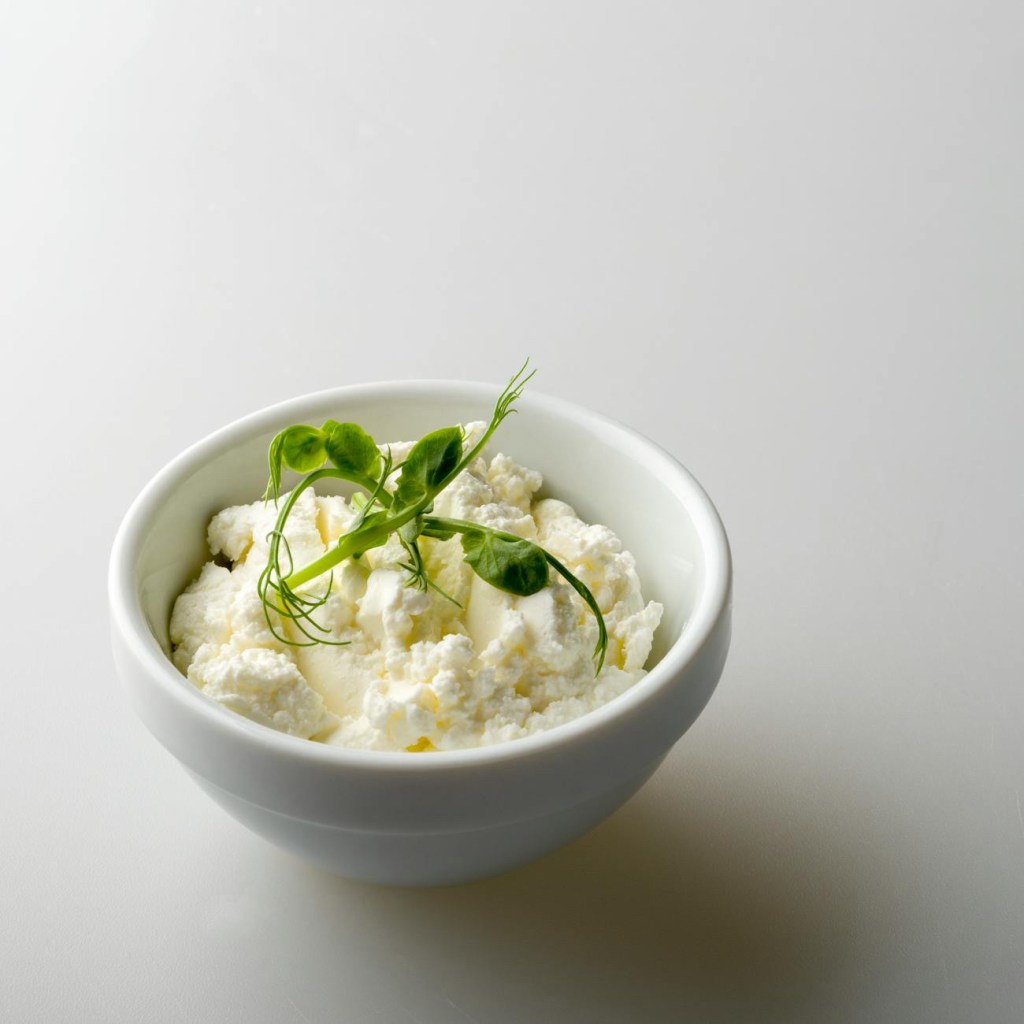
Then comes the game-changer: a layer of chilled cottage cheese. It provides a massive hit of high protein and a cool, creamy texture that perfectly balances the heat from the toppings. It’s a modern twist that adds both substance and a refreshing mouthfeel to every bite.
The Star of the Show: Poached Perfection
While many recipes opt for a fried egg, we are elevating this dish with perfectly poached eggs. There is something uniquely indulgent about the way a poached egg interacts with the other ingredients. When that golden, liquid yolk breaks over the cottage cheese and mingles with a heavy drizzle of hot honey.
it creates a rich, sweet, and spicy sauce that is honestly life-changing.
The Finishing Touches
To round out the flavours, we finish the toast with a garnish of fresh dill, which adds a bright, herbal note. A final sprinkle of chilli flakes and cracked black pepper adds a lingering warmth that keeps you coming back for more. It’s a cafe-quality brunch right in your own kitchen that looks just as good as it tastes.
There is a moment when life strips away all your pretenses. For us, that moment had four paws, a black-and-white tuxedo coat, and a veterinary prognosis that turned our entire world upside down.
When our little lad, Ruby, became poorly, we didn’t retreat inward. Instead, we put him in a pet pram and hit the paths around Cheshire. We started writing. We started filming. And, honestly? We expected to shout into the digital void. Our typical YouTube videos usually gathered fewer than 100 views.
Then, we shared the raw truth of our journey with Ruby.
947 views later—an 847% spike in engagement—we realized something profound.
People didn’t tune in for a polished, hyper-curated lifestyle vlog. They tuned in for the unfiltered reality of a family navigating a crisis with humility, love, and a bit of standard Gen X resilience.
Caring for Ruby forced us to slow down, quite literally. It led us to explore new paths right on our doorstep, and it drove us back into the kitchen. We found solace in the slow, rhythmic comfort of home-cooked meals, turning our kitchen into a sanctuary of slow-cooker recipes designed to feed the soul when the mind was heavy.
We didn’t share our story to show off. We shared it as a beacon.
When you are going through the absolute ringer, the isolation can feel heavy enough to crush you. But by putting our vulnerability out there, we found a community. We want our journey—the chaos, the cooking, the pram walks, and the quiet moments of grief and love—to stand as a reminder to anyone else walking a dark path:
You are not navigating the chaos alone. Pull up a chair, put something on the slow cooker, and keep moving forward.
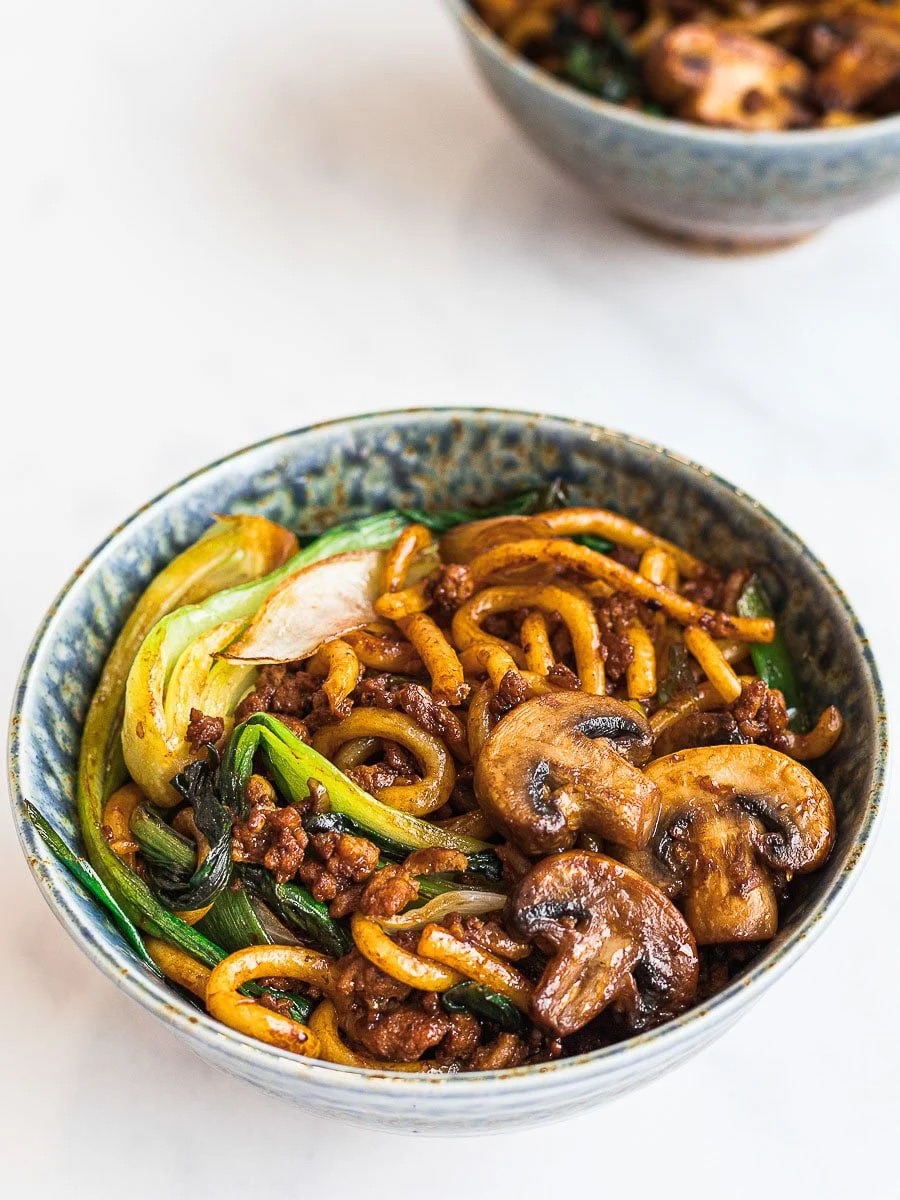
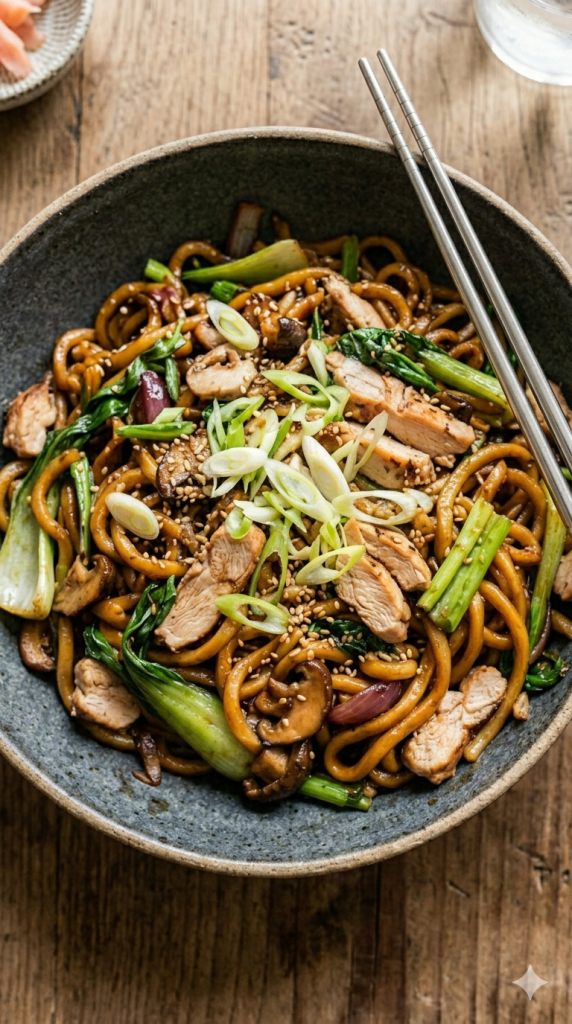
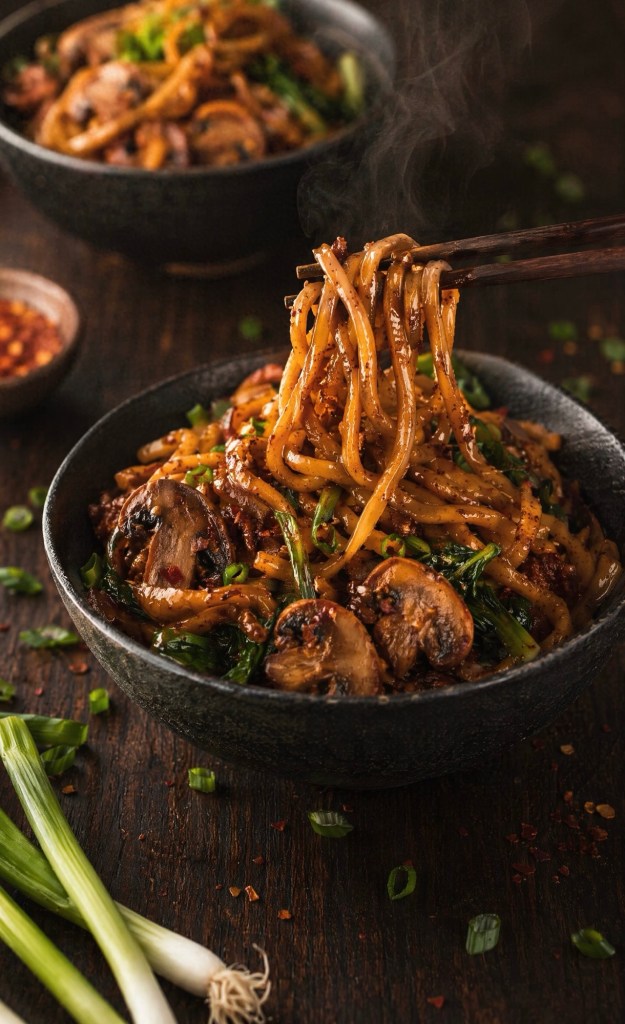
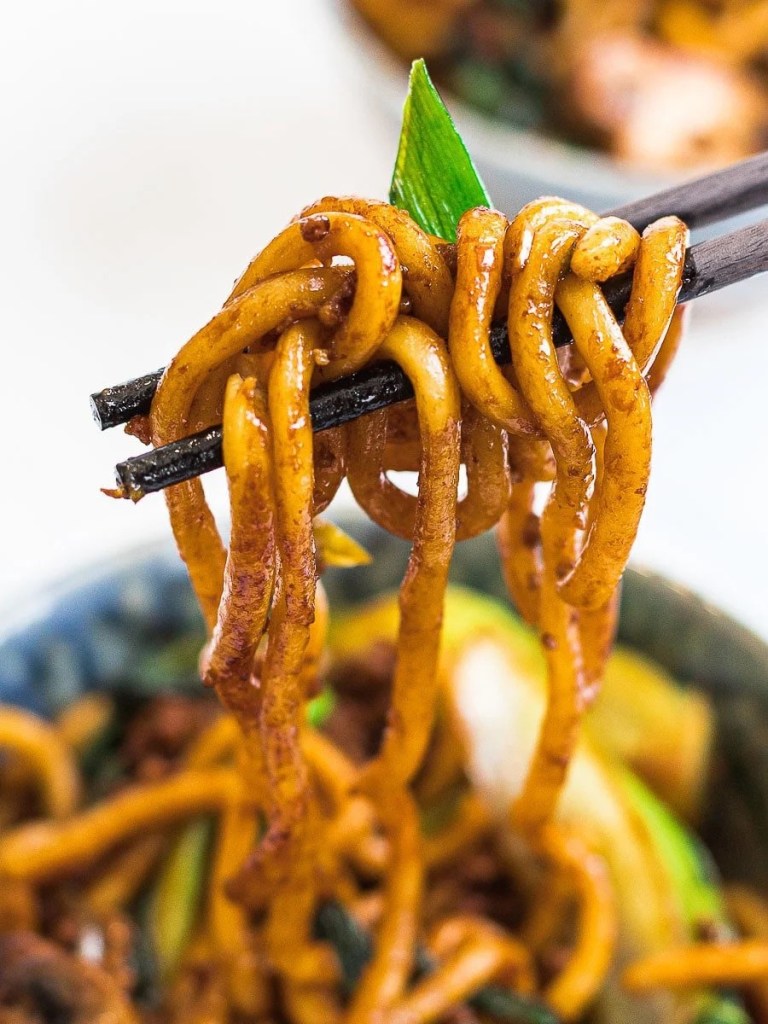
If you are looking for a weeknight dinner that is lightning-fast, packed with flavor, and guarantees empty bowls, you’ve just found it. This Chicken Yaki Udon takes just 15 minutes from prep to plate, making it quicker than waiting for a delivery driver.
Using thick, chewy udon noodles, fresh pak choi, and budget-friendly chicken mince, this recipe delivers that perfect sweet, savory, and umami-rich punch you expect from your favorite noodle bar. Best of all? It’s completely adapted to UK high street ingredients and metrics.
Why You’ll Love This Recipe
Fast & Foolproof: Precooked vacuum-packed noodles mean zero waiting around for pasta to boil.
Budget-Friendly: Swapping chicken breasts for chicken mince keeps costs low while absorbing maximum flavor from the sauce.
Veggie Loaded: It is a fantastic “fridge-raid” meal to clear out whatever vegetables you have left in the crisper drawer.
Ingredients You’ll Need
The Stir-Fry Base:
Vacuum-Packed Udon Noodles: Look for these in the world foods aisle of any major UK supermarket. They come pre-cooked and just need a quick blanching.
Chicken strips : A lean, quick-cooking protein that perfectly catches the thick sauce.
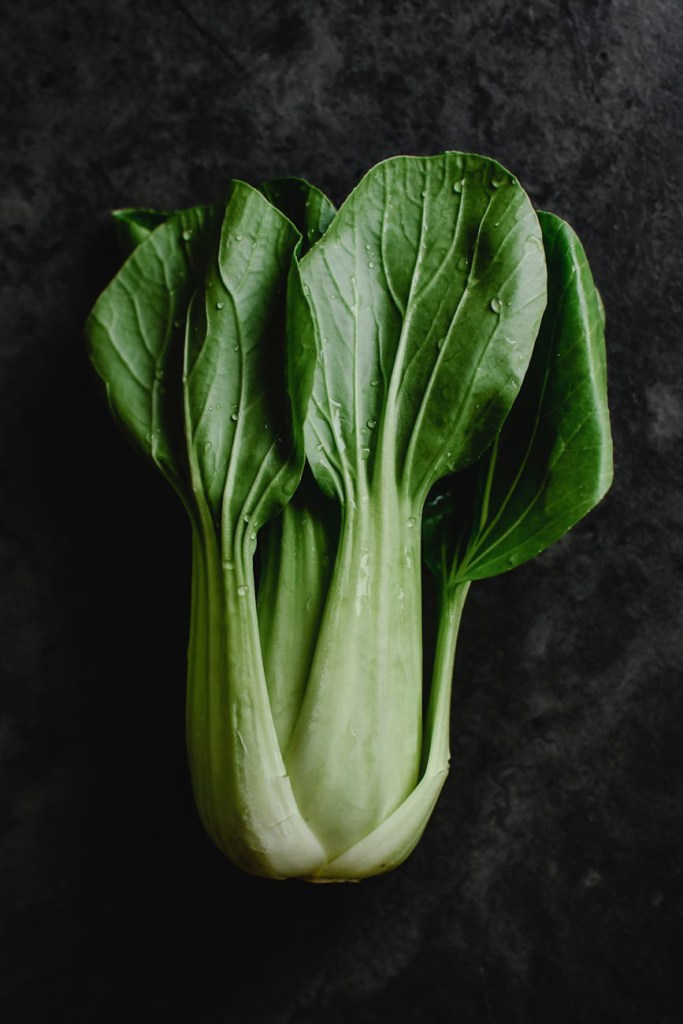
Vegetables: A mix of mushrooms, pak choi (bok choy), and onions works beautifully, but feel free to throw in sliced peppers or tenderstem broccoli.
Spring Onions: Cut into chunky 5 cm pieces for a fresh, sweet crunch.
Avocado Oil: Or any high-smoke-point oil like vegetable or sunflower oil.
The Sweet & Savory Yaki Udon Sauce:
Dark Soy Sauce: For that deep, rich color and intense savory base.
Oyster Sauce: Adds a thick texture and savory depth.
Mirin: A sweet Japanese rice wine that balances the salty soy.
Soft Brown Sugar: Adds a hint of caramel sweetness.
Rice Wine Vinegar: Just a touch of acidity to cut through the richness.
Step-by-Step Instructions
1. Prep the Noodles
Bring a large pot of water to a boil. Drop in your udon noodles and stir gently. It should only take 1 to 2 minutes for them to loosen up and separate. Drain them immediately and rinse under cold water to stop the cooking process—otherwise, they’ll lose that signature chewy texture.
2. Fry the Chicken & Veg
Get your largest frying pan or wok screaming hot over a high heat. Add the oil, then toss in the chicken. Cook,until it’s nearly cooked through. Toss in your chopped mushrooms, onions, and pak choi, stir-frying until the chicken is done and the veg is tender.
3. Sauce and Serve
Pour in your pre-mixed sauce, the drained noodles, and the spring onions. Toss everything together vigorously for about 3 minutes. You want the noodles to absorb the sauce and get a tiny bit of char from the pan. Divide into bowls and eat straight away!
Top Tips for Success
Don’t Overcook the Noodles: Remember, vacuum-packed udon is already cooked. You are only dipping them in boiling water to untangle them.
Prep Before You Cook: Stir-frys move incredibly fast. Have your sauce mixed and veggies chopped before you even turn on the hob.
Give it a Go Tonight!
There you have it—a restaurant-quality Chicken Yaki Udon made in less time than it takes to order a takeaway. It is chewy, savoury, packed with fresh veggies, and guaranteed to become a regular fixture in your weekly dinner rotation. The next time you are staring blankly into the fridge wondering what to cook, skip the delivery apps, grab a wok, and whip up this 15-minute wonder instead. If you try it, don’t forget to leave a comment below and let me know your favourite veggies to toss into the mix!
Next month, I’ll be turning sixty. It’s a milestone that feels less like “getting older” and more like finally arriving. For the first time in my life, I’m standing on a threshold where I’m not looking for a house to renovate or a team to manage—I’m just looking at the life I’ve built, and for once, I’m letting myself be happy in it.
For decades, my identity was wrapped up in being a “fixer.” I was an Estate Agency Manager, a job that I still think is the best in the world . Estate Agency has a bad reputation but I was truly an honest estate agent and loved matching people with their new homes – a sort of property version of Blind Date 😂 We also had our own property company . I knew how to see the potential in a ruin and how to manage the chaos of a construction site. I was always someone’s daughter, Mum, wife girlfriend and now I’m trying to be just me.
But whilst renovating houses, dealing with tenants and careers, I was often fighting a silent battle within. I lived with a persistent, nagging feeling of never being “good enough” and a habit of believing that everything—every struggle, every setback—was somehow my fault and also being made to feel that way
Reclaiming My Truth
For a long time, I allowed the negative things said about me to become my own internal voice. Those words knocked my confidence and made me feel small, even when I was achieving big things. But as I approach sixty, I am finally learning to stop believing the lies and start believing in myself.
I’ve realized that the people who try to tear others down are usually the ones who are hurting or insecure themselves. I’ve made a conscious choice to be the opposite: to be a builder of people. I want to use my voice to lift others up, not to repeat the patterns of the past.
Love is a Verb: Actions Speak Louder
If life has taught me anything, it’s that actions speak so much louder than words. It’s easy to say you care, but it’s another thing entirely to show it. I’ve learned the importance of making people feel truly loved—not just through a text or a card, but through being there, showing up, and giving of yourself.
I’ve found that giving is so much better than receiving. There is a deep, quiet soul-satisfaction in being the person who helps someone else feel seen and valued.
Watching Them Fly
My two daughters are my heart’s greatest joy. Watching them carve out their own lives is a beautiful, bittersweet transition.
Seeing them find their own paths and their own independence is the ultimate proof that despite the storms, I did a beautiful job. I’m proud of them
I hope I’ve shown them that love isn’t just something you say—it’s something you do. I hope they remember the quote my parents and grandparents taught me to thine own self be true.
At the end of the day always be you not mould yourself into someone other people want you to be.
Listen to your inner voice and most importantly value your self and protect your own self worth. Live the life you want to live and always believe in yourself .
The Shadows and the Strength
I carried the weight of “blame” through the darkest chapters of my journey toward motherhood—through IVF, an early miscarriage, and the profound grief of a stillbirth. But standing here now, I can see the truth: I wasn’t failing; I was surviving. I was showing a level of resilience.
Finding My Way to the Light
After the dust of my separation settled, life brought me Lance. I wasn’t looking for love , I was too emotionally bruised but it found me .
Together, we’ve discovered a kind of happiness that is beautifully simple.
We laugh, we can be completely daft with one another, and we’ve learned to embrace the quiet joy of the “right now.” We love theatre , travel, live music and just “being”
We’ve also become “cat parents” in the most accidental, lovely way. We didn’t go out looking for them; they all found us.
There is something so special about a creature choosing you as their safe harbor. They’ve become a huge part of our home, reminding us daily to live in the moment.
The “Sixty” Philosophy: Truth and Kindness
The biggest gift of this birthday? I’ve officially retired from caring what outsiders think. I spent too many years worrying about an invisible audience. Now, I know that as long as I am true to myself, their opinions are just noise.
My guiding light is simple: Be kind. Treat people exactly how you want to be treated. I’ve found peace in the morning at the gym and a different kind of creativity in my kitchen. I’m no longer renovating houses; I’m nurturing a soul.
Final Thoughts
I spent years managing properties, but I’ve finally learned to manage my own happiness. Sixty isn’t about slowing down; it’s about finally being light enough to fly because I’ve set down the burdens that weren’t mine to carry. Here’s to laughter, to Lance, to the cats that found us, to my incredible daughters, and to finally knowing that I am more than enough.
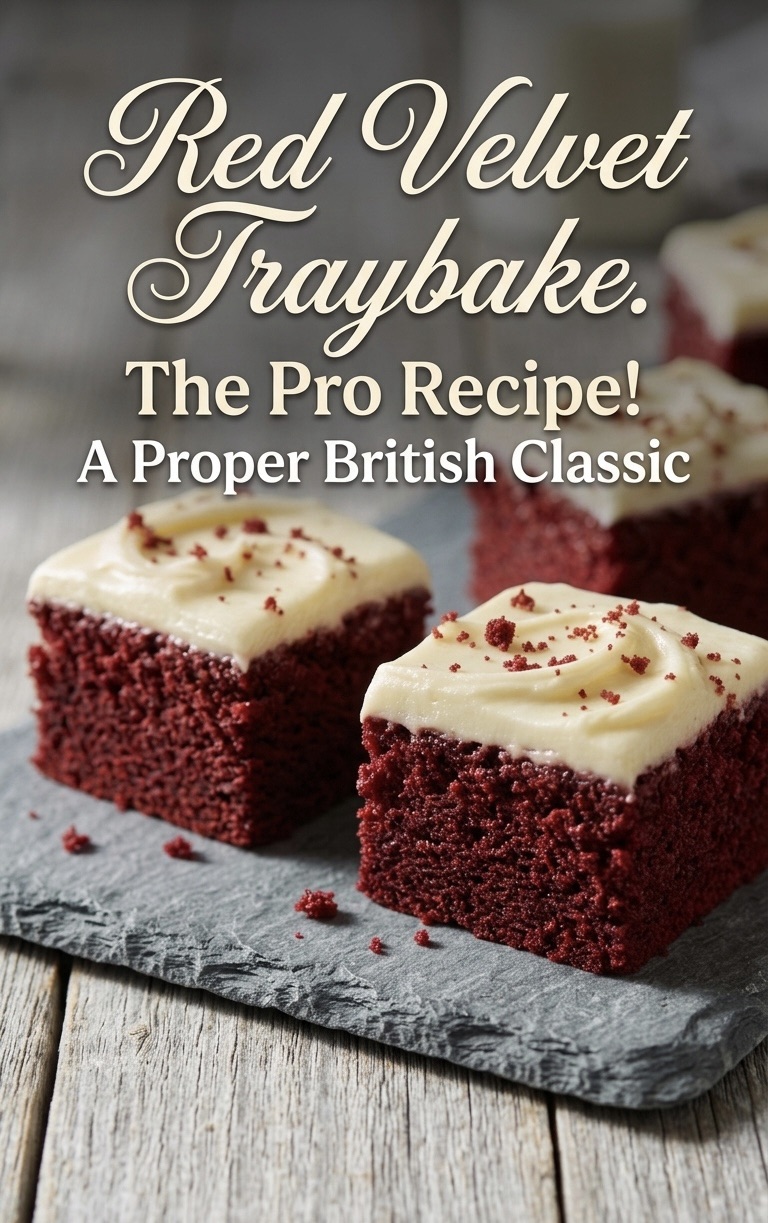
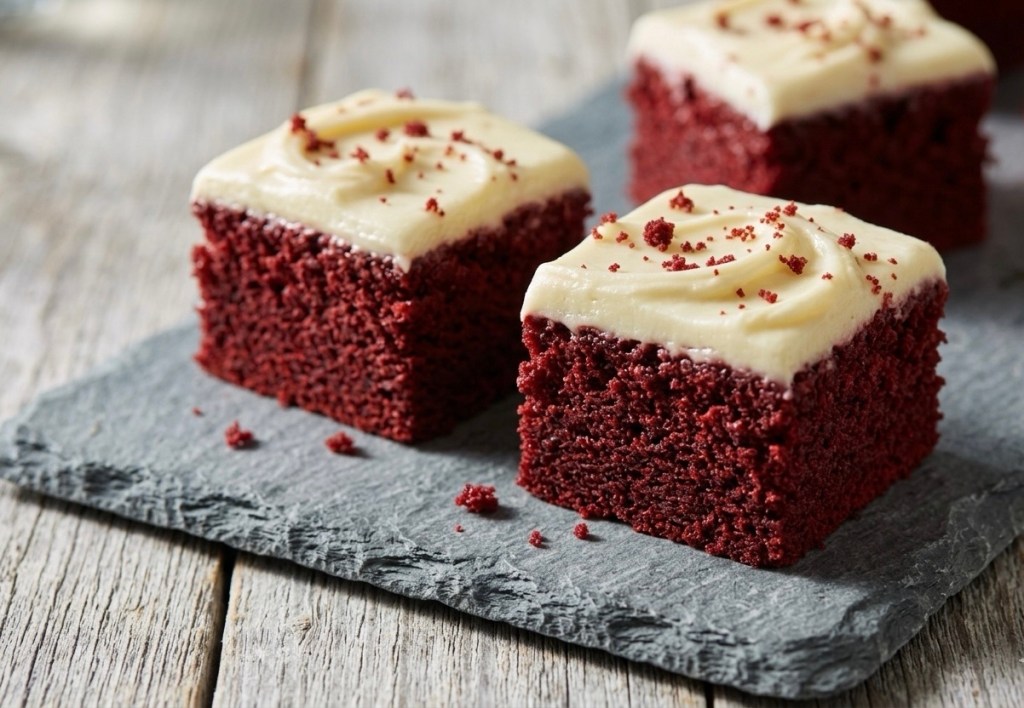
Let’s be honest—Red Velvet is a cake that often gets a bad reputation. Too many people think it’s just a chocolate cake with a bottle of red dye thrown in. But a proper Red Velvet is a masterpiece of baking chemistry. It’s tangy, incredibly light, and has a unique “velvet” crumb that sets it apart from any other sponge.
If you’ve struggled with dry cakes or a “muddy” colour in the past, this one-tin traybake is about to change your kitchen game.
The “Velvet” Secret: Chemistry in a Tin 🧪
The magic of this recipe lies in the reaction between 1 Tbsp white wine vinegar and 1 tsp bicarbonate of soda. When you mix these right at the end, they fizz up, creating tiny air bubbles that give the sponge its iconic, tight-but-fluffy texture.
Combined with 200ml of buttermilk, you get a sponge that stays moist for days and has that signature subtle tang that balances the sweetness.
The Pro-Secret: Sugarflair Velvet Red 🎨
We’ve all been there—using an entire bottle of supermarket liquid colouring only to end up with a cake that looks maroon or, worse, brown. For this recipe, we are using 1–3 tsp of Sugarflair Velvet Red paste.
Because it’s a concentrated paste, it delivers a deep, dramatic crimson without adding extra liquid to your batter. You can easily find it online, and it is worth every penny for that professional bakery finish.
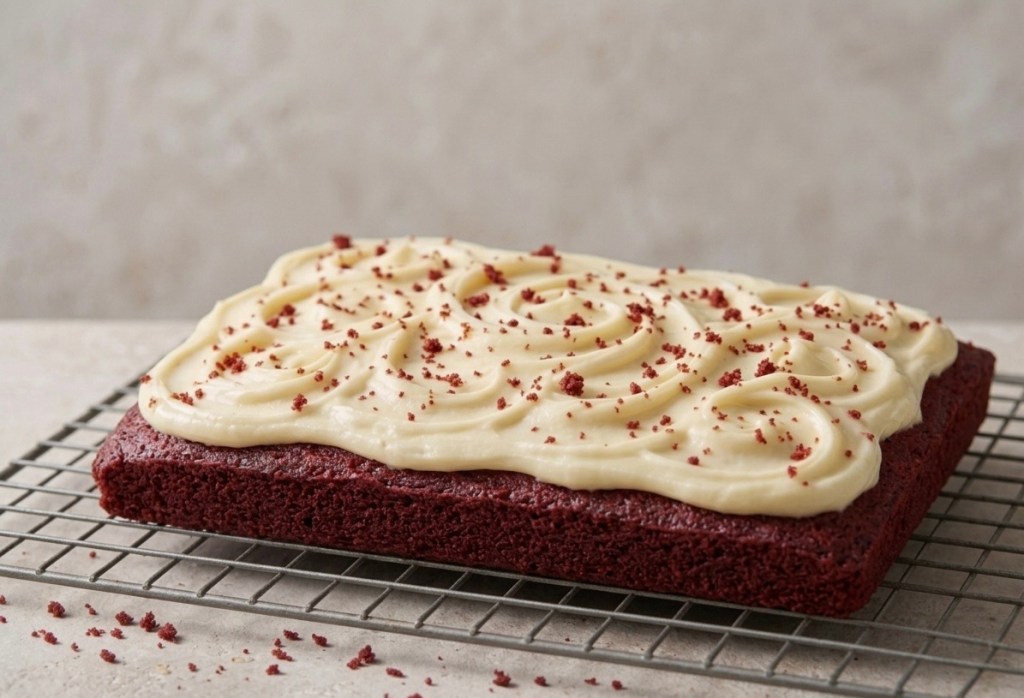
The Topping: Cream Cheese Perfection 🥯
The frosting is the crowning glory. To get it perfect every time:
• Temperature Matters: Ensure your 100g of butter and 250g of full-fat cream cheese are at room temperature. Cold cheese leads to lumps!
• The Method: Whisk the butter and 100g of icing sugar until pale and fluffy first. Only then do you fold in the cream cheese. If you over-beat it, the icing can turn runny, so keep it brief!
The Ingredients
For the Sponge:
• 250g unsalted butter, softened
• 250g caster sugar
• 4 medium eggs
• 200ml buttermilk
• 275g self-raising flour
• 50g cocoa powder
• 1–3 tsp Sugarflair Velvet Red paste (available online)
• 1 Tbsp white wine vinegar
• 1 tsp bicarbonate of soda
For the Icing:
• 100g unsalted butter, softened
• 100g icing sugar, sifted
• 250g full-fat cream cheese (room temperature)
• Red sprinkles (optional)
Step-by-Step Directions
1. Prep the Tin: Preheat your oven to 180°C (160°C fan). Grease and line a roughly 20 x 30cm baking tin with baking parchment.
2. Cream the Base: In a large bowl, whisk the 250g butter and 250g caster sugar until pale and fluffy.
3. Mix the Wet & Dry: In a jug, whisk the eggs and buttermilk. Sift your 275g self-raising flour and 50g cocoa into a separate bowl.
4. Combine: Add 1/3 of the egg mix to the butter, then 1/3 of the flour. Repeat until incorporated. Beat in your Sugarflair paste until you hit that gorgeous red shade.
5. The Fizz: Quickly mix the vinegar and bicarb in a small cup. Pour the fizzing mix into the batter, beat it in quickly, and get it straight into the tin.
6. Bake: Bake for 45 minutes or until a skewer inserted into the centre comes out clean. Let it cool completely in the tin.
7. The Frosting: Whisk the 100g butter and 100g icing sugar until light. Gently beat in the 250g cream cheese just until combined.
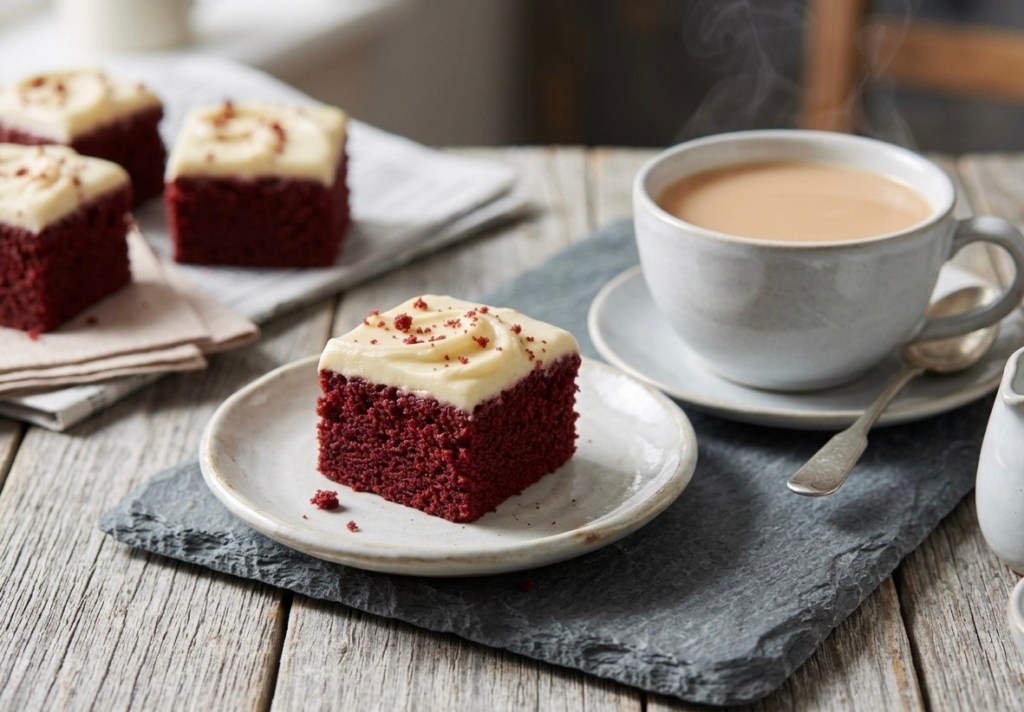
8. Finish: Spread thick over the cooled sponge, add sprinkles, and cut into 16 generous squares.
So, there you have it—the only Red Velvet recipe you’ll ever need in your baking arsenal! Honestly, once you’ve seen that vinegar and bicarb work their magic and tasted that silkier-than-silk cream cheese frosting, there’s no going back. It’s the perfect bake for when you want something that looks incredibly impressive but actually lets you keep your cool in the kitchen.
If you do give it a whirl, please tag me in your photos or leave a comment below—I’d love to see your crimson masterpieces! Now, if you’ll excuse me, I have some “quality control” testing to do with a cuppa and a very large square of cake. Happy baking, everyone! 🍰✨