We’ve all been there. It’s 9 PM on a rainy Tuesday, the work emails won’t stop pinging, and your brain is screaming for something sweet, warm, and comforting. When life gets a bit too chaotic, some people meditate, others go for a brisk run, and a few light scented candles.
Me? I put on my comfiest trackies, head straight to the kitchen, and grab a jar of hazelnut spread.
What started as a viral TikTok meme—the ultimate “what do we do when we’re stressed?” joke—has officially become my holy grail baking recipe. Let’s be honest: standing over a warm oven and eating gooey chocolate straight from the baking tin might actually be the cheapest form of self-care available.
If you have a jar of Nutella, a couple of eggs, and a scoop of flour in your cupboard, you are exactly 20 minutes away from chocolate heaven. Here is why this recipe works, the science behind it, and how to nail it on your very first try.
The Secret Science: Why 3 Ingredients Actually Work
Usually, baking is a strict science experiment. If you forget the baking powder, mess up the sugar ratio, or use the wrong type of fat, your bake is ruined. You’re usually left hunting through the cupboards for golden syrup, cocoa powder, and blocks of expensive baking chocolate.
This recipe completely throws the traditional rulebook out the window. Why? Because the clever scientists at Ferrero have already done the hard work for you.
• The Nutella: Think of Nutella not just as a topping, but as your primary baking base. It is already packed with cocoa for flavour, sugar for sweetness, and palm oil/hazelnut fats for moisture. It replaces the butter, sugar, and cocoa powder of a traditional brownie in one single scoop.

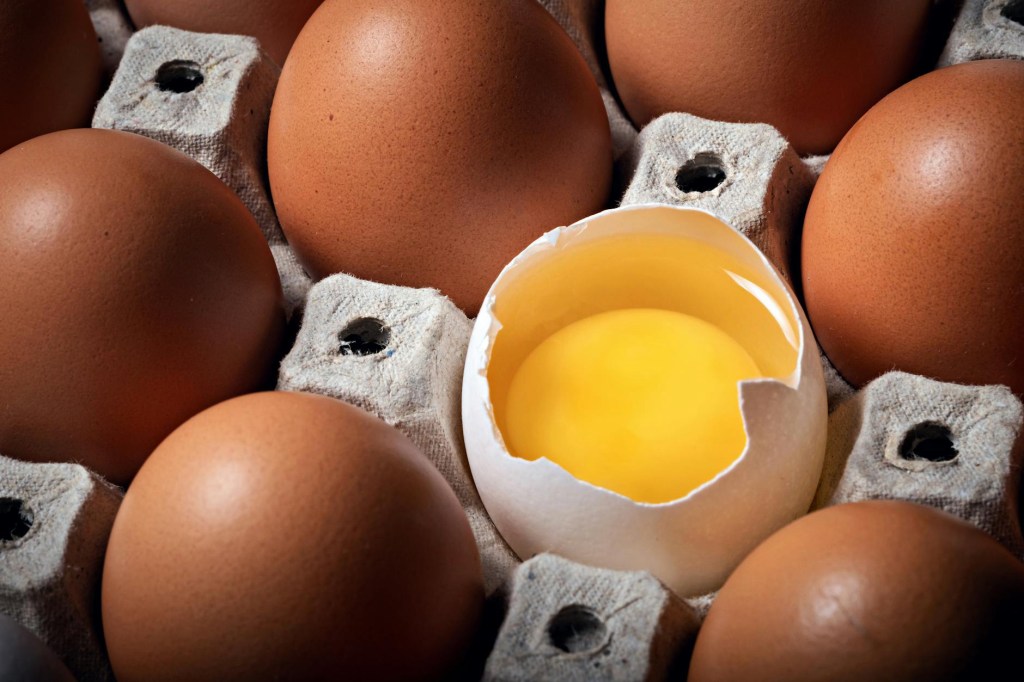
• The Eggs: Eggs are the magicians of this recipe. They provide the structure, the rise, and—most importantly—that highly coveted, shiny, papery crinkle-top that separates a mediocre brownie from an elite one.
• The Plain Flour: A tiny amount of plain flour binds everything together. Because we aren’t using raising agents (like self-raising flour or baking powder), the dense properties of plain flour keep the texture beautifully fudgy rather than cake-like.
No fancy equipment, no waiting for butter to soften on the counter for hours, and practically zero washing up. It is pure kitchen efficiency.
The Recipe: Fudgy Nutella Brownies
Ingredients
• Nutella: 280g (Roughly one standard small jar. Ensure it’s at room temperature so it mixes easily.)
• Eggs: 2 Large (Use free-range, room-temperature eggs for the best rise.)
• Plain Flour: 65g (Standard plain white flour – do not use self-raising!)
Step-by-Step Method
1. Prep Your Station
Before you do anything else, preheat your oven to 180°C (160°C fan/Gas Mark 4). Line a small square baking tin (around 8×8 inches or 20×20 cm) with baking parchment.
Top Tip: Leave a bit of parchment overhang on the sides. This creates “handles” so you can easily lift the brownie block out of the tin later without it breaking apart.
2. Whisk the Base
In a medium-sized mixing bowl, crack in your two large eggs and add the 280g of Nutella. Grab a whisk and go to town. At first, it might look a bit split, lumpy, or strange as the cold eggs hit the thick spread. Keep whisking for about a minute! Suddenly, it will transform into a beautifully smooth, glossy, and thick chocolate batter.
3. Fold, Don’t Stir
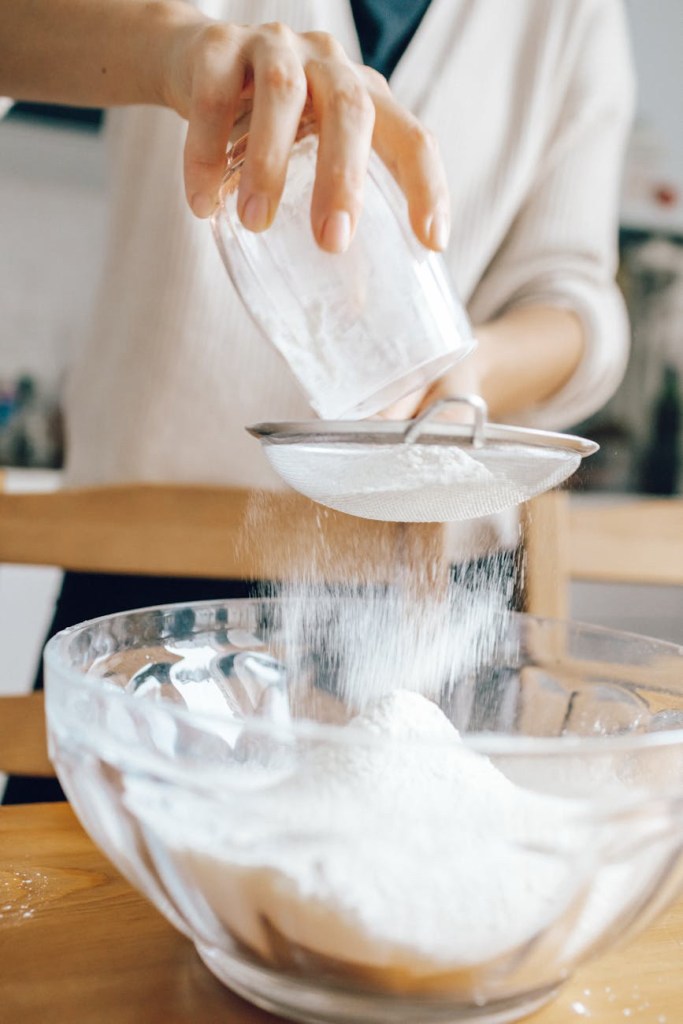
Sift your 65g of plain flour into the bowl. Put the whisk away and grab a silicone spatula or a wooden spoon. Gently fold the flour into the chocolate mixture using a figure-of-eight motion just until the white streaks disappear.
The Golden Rule: Stop mixing the second the flour is incorporated! If you overmix the batter, you will develop the gluten in the flour. This turns your dense, fudgy brownies into a tough, bready cake—and nobody wants a bready brownie.
4. Into the Oven
Pour the batter into your lined tin. It will be quite thick and sticky, so use your spatula to smooth it out into the corners. Pop it into the middle shelf of the oven and bake for 15 to 20 minutes.
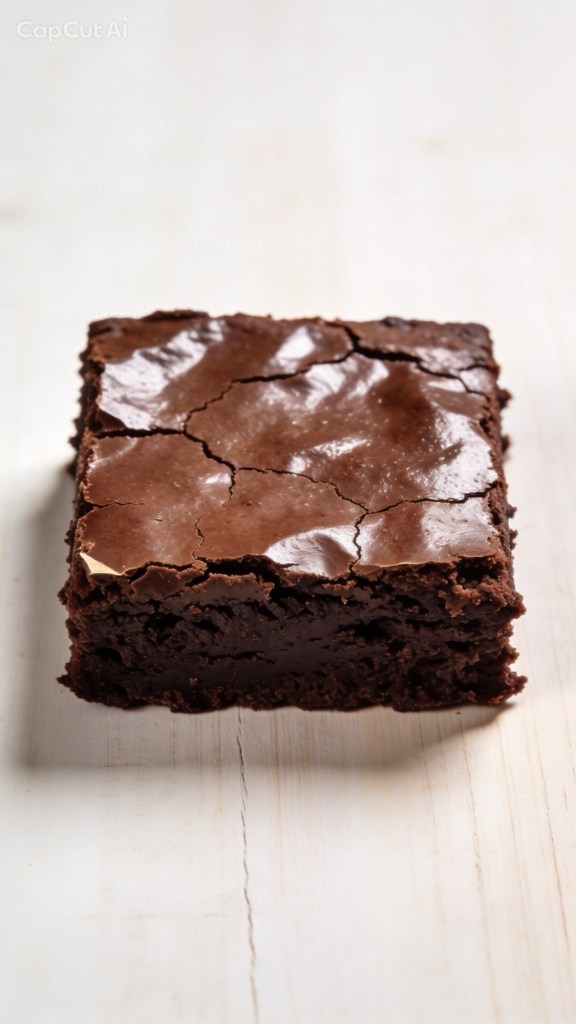
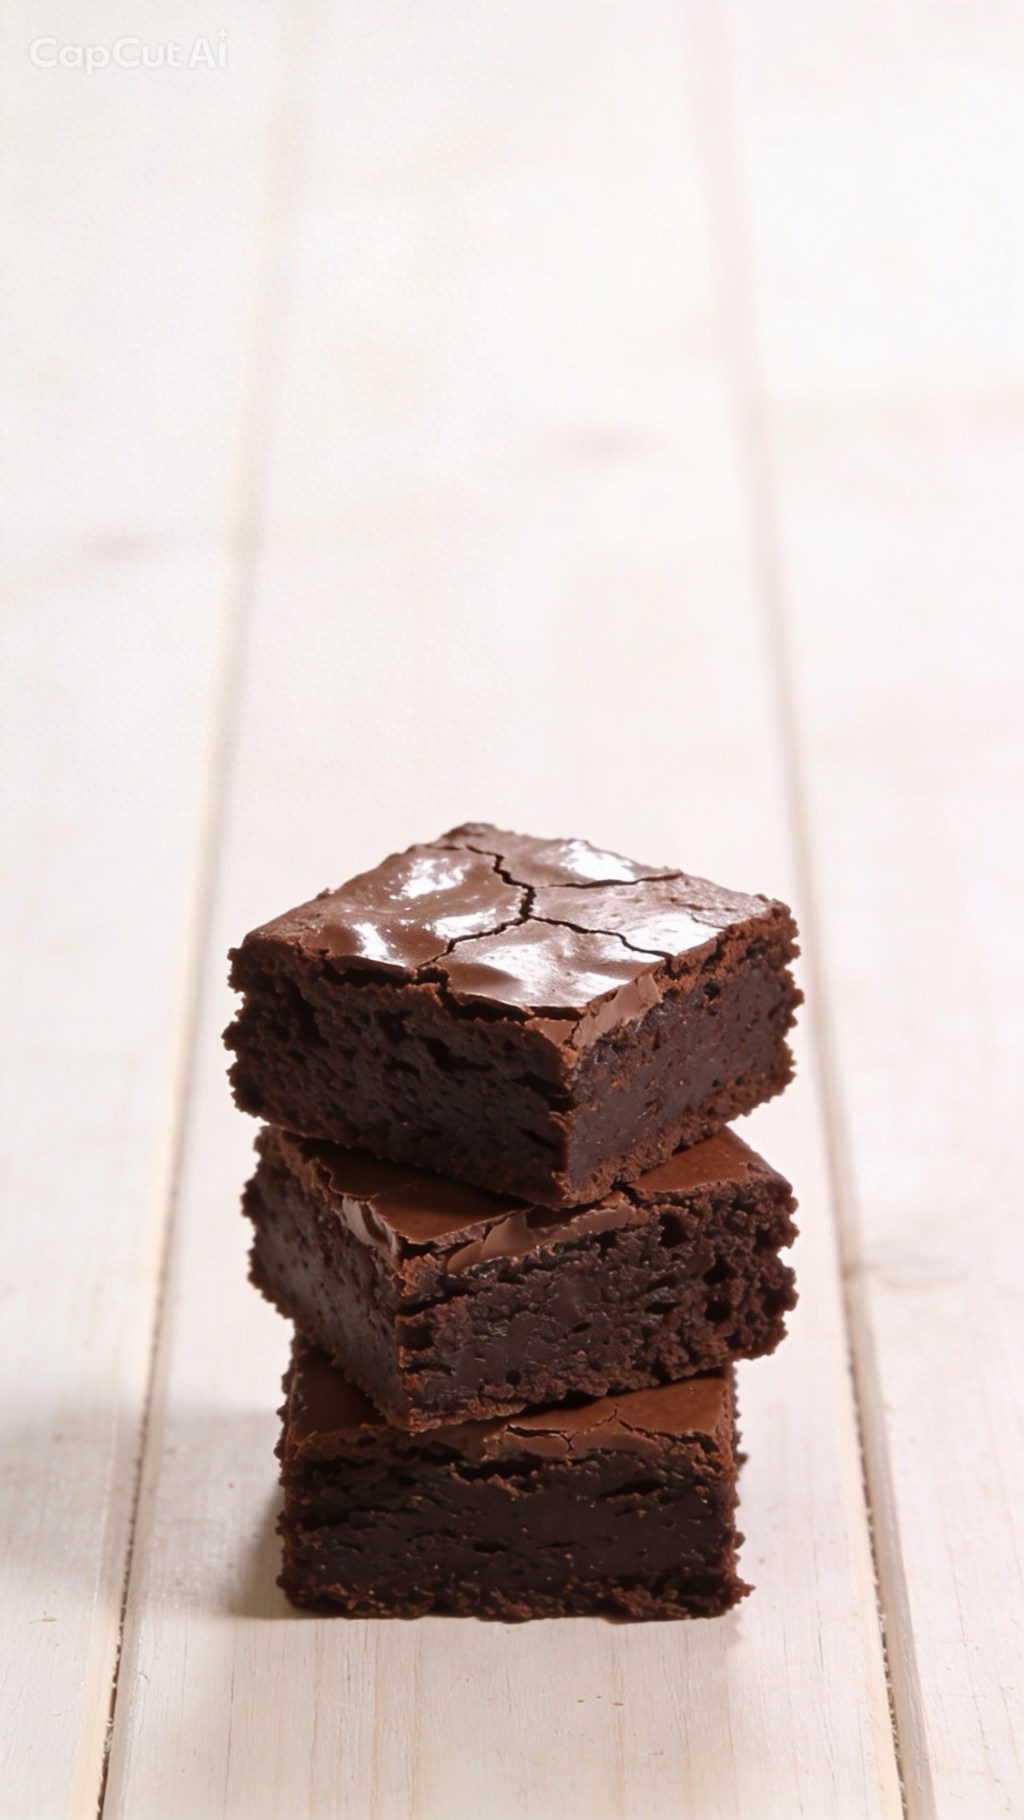
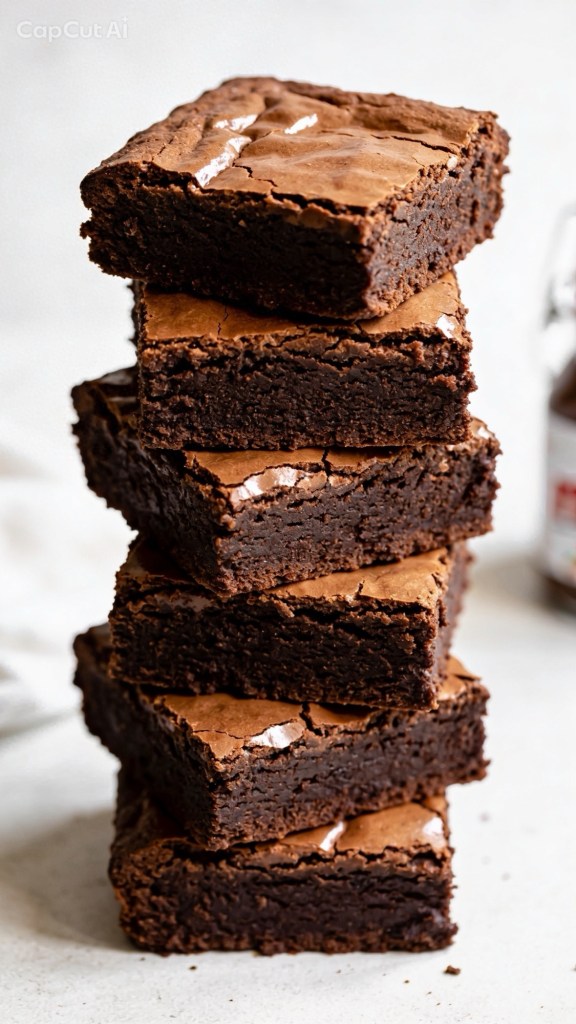
The Ultimate Brownie Test: Fudgy vs. Overbaked
How do you know when they are perfectly done?
You want the edges to look set and matte, and the top should have that gorgeous, paper-like crinkle. However, if you gently shake the tin, the very centre should still have a tiny bit of a wobble.
If you insert a toothpick or skewer into the centre, it should not come out completely clean. It should have a few moist, sticky crumbs attached to it. If the skewer comes out completely dry, you’ve overbaked them into a cake. Pull them out early—they will continue to firm up as they cool down in the hot tin!
Variations to Try (If You’re Feeling Fancy)
While the 3-ingredient version is perfect on its own, it also acts as a brilliant blank canvas. If you want to level up your bake next time, try folding in these extras right before baking:
• The Sweet & Salty: Add a generous pinch of flaky sea salt (like Maldon) over the top right before it goes in the oven.
• The Crunch: Fold in 50g of chopped, toasted hazelnuts to mimic the inside of a Ferrero Rocher.
• The Ultimate Chocolate Fix: Toss in a handful of white or milk chocolate chips for a bit of texture.
How to Serve
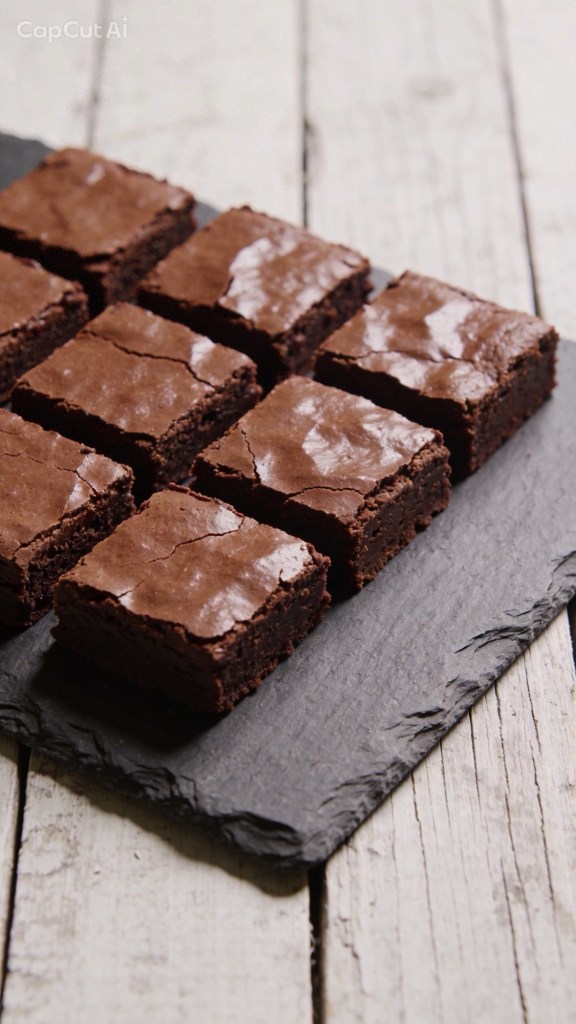
If you possess an incredible amount of self-control, let the brownies cool completely in the tin for about 20–30 minutes, slice them into neat squares, and serve them alongside a scoop of vanilla bean ice cream or a hot cup of tea.
If you’re having one of those weeks? Forget the knife. Grab a spoon, sit yourself down on the kitchen floor, and eat them warm and gooey straight out of the tin. We completely support your journey.
Have you tried the 3-ingredient Nutella brownie trend yet, or are you skeptical that a recipe this simple can actually taste good? Let me know in the comments below if you’re team fudgy or team cakey!