Tag: #cooking

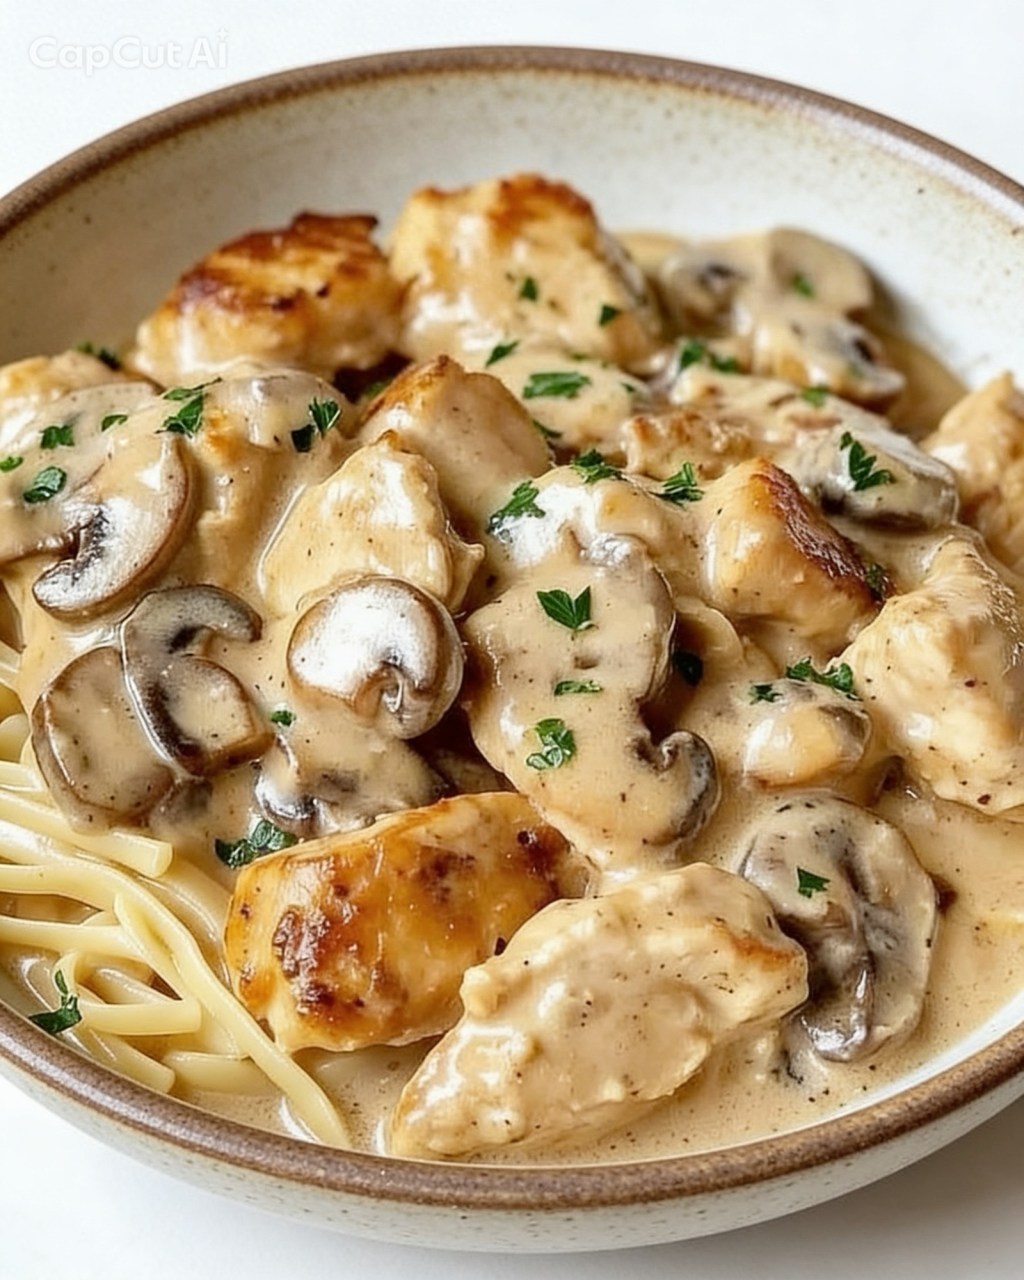
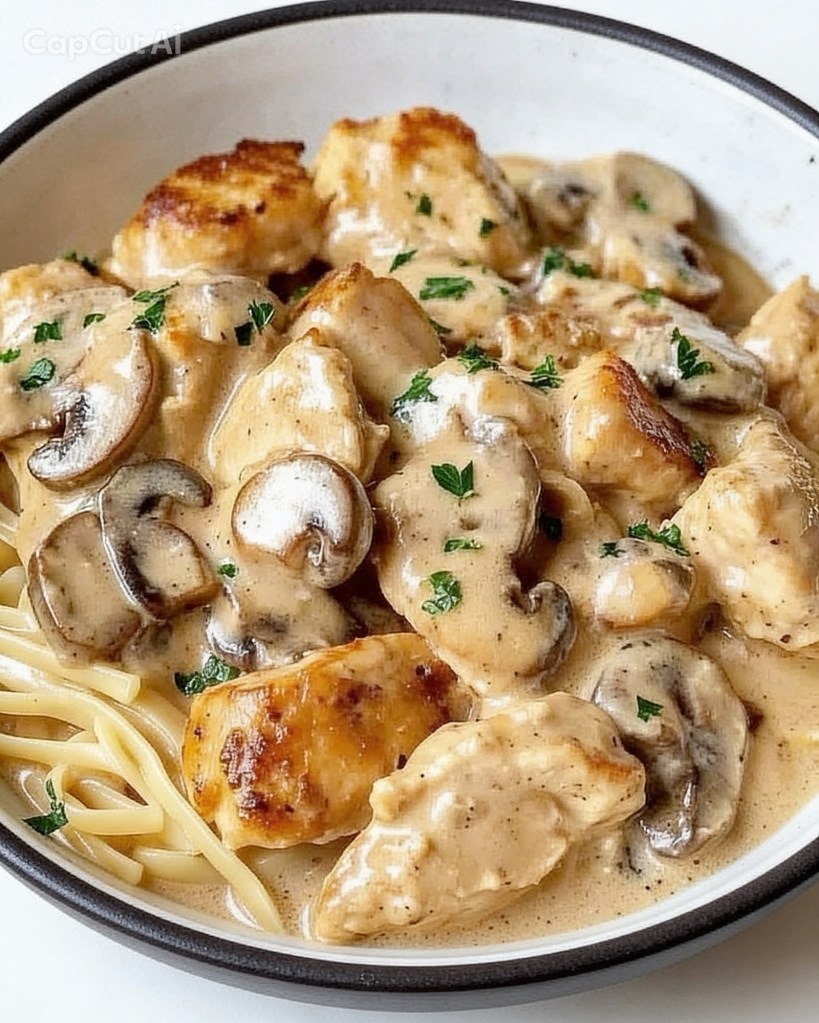
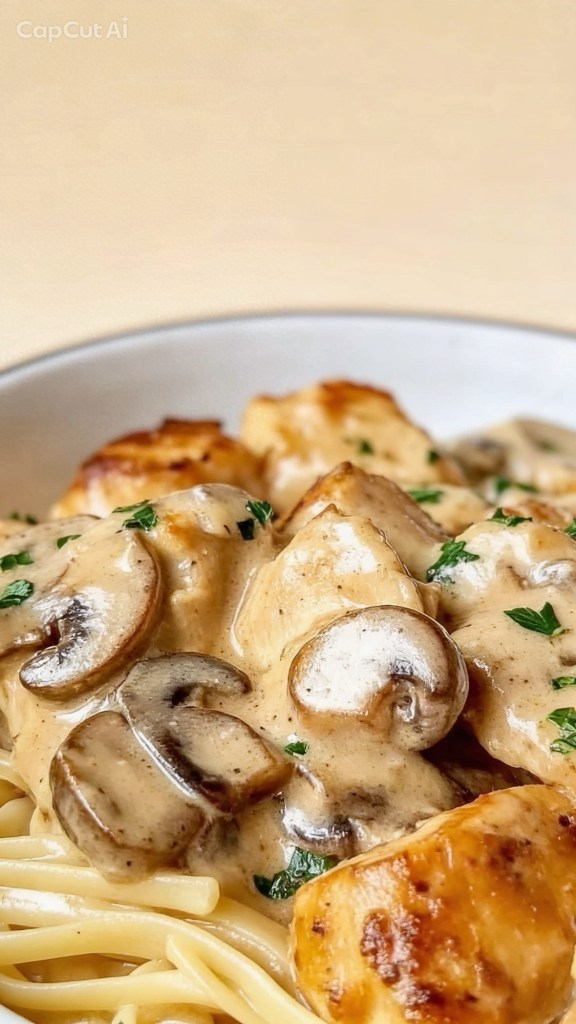
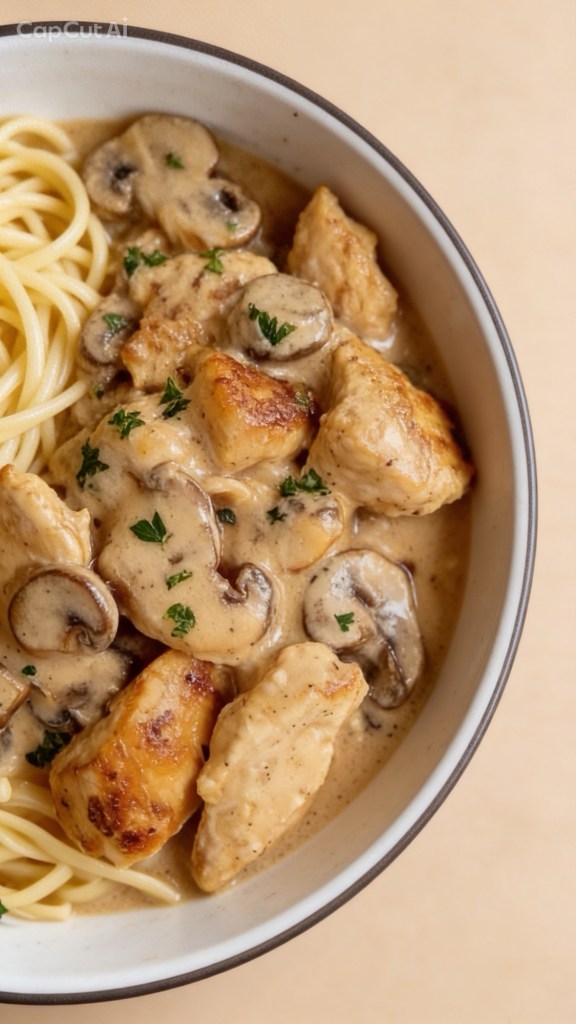
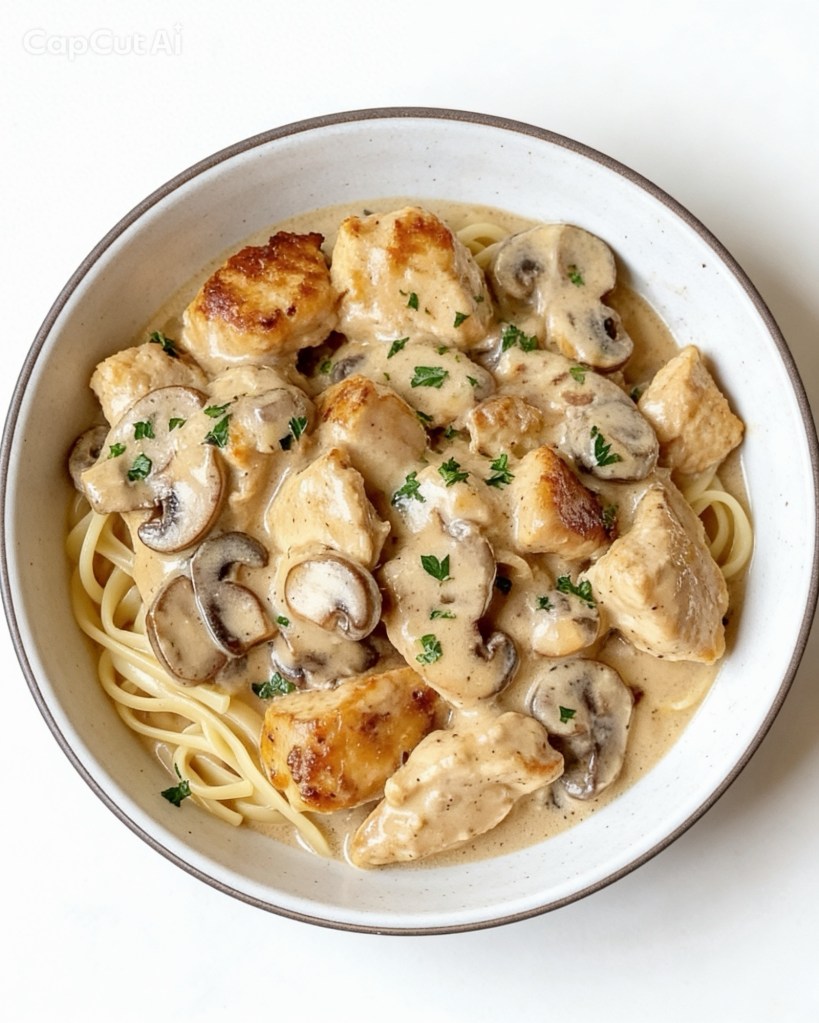
  • The Ultimate 30-Minute Creamy Chicken & Mushroom Stroganoff (Your New Weeknight Best Friend)

    The Ultimate 30-Minute Creamy Chicken & Mushroom Stroganoff (Your New Weeknight Best Friend)

    Let’s be completely real for a second: weeknights can be absolute chaos. By the time 6 PM rolls around, the last thing anyone wants to do is spend hours standing over a hot stove or chopping a million different ingredients.
    But at the same time, a sad piece of toast or another takeaway order just isn’t going to cut it.

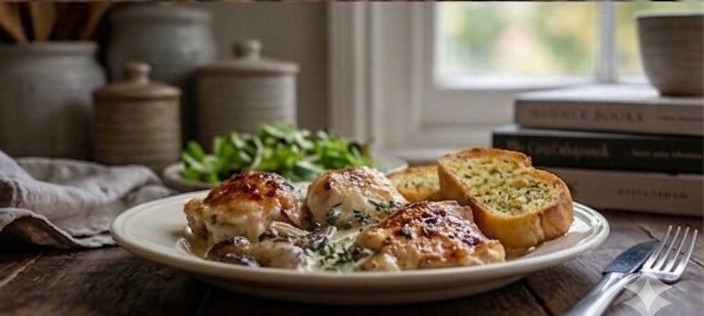
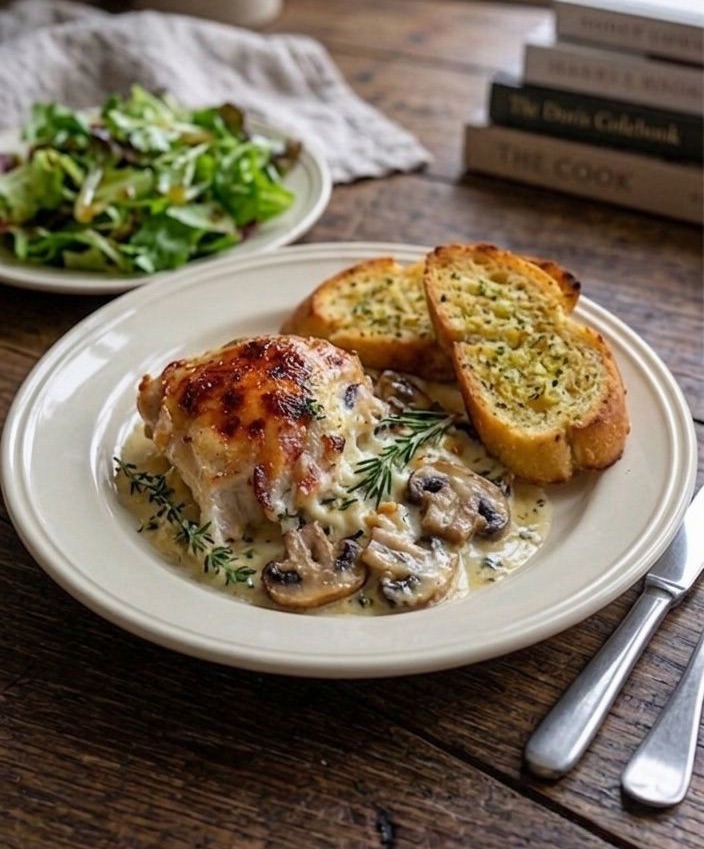
    Enter this Creamy Chicken and Mushroom Stroganoff. It is pure comfort food in a pan, it takes exactly 30 minutes from start to finish, and it tastes like you’ve been letting it simmer all afternoon.

    The Great Cream Debate: Double Cream vs. Sour Cream

    Before we get into the kitchen, we need to have a quick chat about the dairy.

    In the UK, a lot of us grew up eating stroganoff made with heavy double cream. It’s rich, it’s luxurious, and it rarely splits when you heat it up.

    However, if you want a truly authentic, traditional Eastern European flavour, swap out that double cream for sour cream. The natural tang of sour cream cuts through the richness of the chicken and mushrooms beautifully, creating a much brighter, complex sauce.

    Top Tip for using Sour Cream: Sour cream has a lower fat content than double cream, which means it can curdle if it gets too hot. To avoid this, turn the heat right down to a low simmer before stirring it in, and never let the sauce boil once it’s added!

    The Ingredients You’ll Need

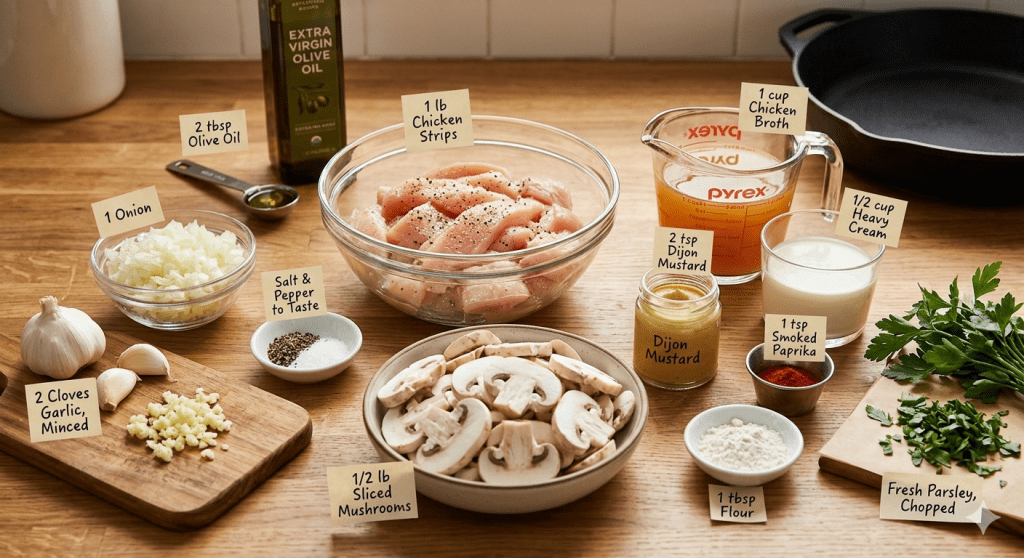
    Here is your shopping list for 4 generous servings. We are keeping it simple with standard UK supermarket staples:

     450g Chicken Breast: Cut into bite-sized strips. (You can use chicken thighs if you prefer a juicier meat!)

     2 tbsp Olive Oil: Divided, for frying.

     1 Onion: Finely chopped.

     2 Garlic Cloves: Minced.

     250g Mushrooms: Sliced. Chestnut mushrooms work brilliantly here for extra flavour.

     1 tbsp Plain Flour: This is our secret weapon to thicken the sauce perfectly.

     240ml Chicken Stock: Made with a high-quality stock cube or pot.

     120ml Double Cream: (Or sour cream, if you’re going for that authentic tang!)

     2 tsp Dijon Mustard: Don’t skip this—it gives the sauce its signature kick.

     1 tsp Smoked Paprika: For warmth and a gorgeous golden hue.

     Salt and Pepper: To taste.

     Fresh Parsley: Roughly chopped, to make it look pretty at the end.

    Step-by-Step Method

    This recipe moves quickly once it starts, so it’s a good idea to have all your ingredients chopped and ready to go before you turn on the hob.

    Step 1: Sear the Chicken (5-7 mins)

    Heat 1 tablespoon of olive oil in a large frying pan over a medium-high heat. Toss in your chicken strips, season generously with salt and pepper, and fry until they are golden brown on all sides. Don’t worry if they aren’t cooked 100% the way through yet—they will finish cooking in the sauce later. Remove them from the pan and set aside on a plate.

    Step 2: Sauté the Veggies (9 mins)

    Turn the heat down to medium and add the remaining tablespoon of olive oil to the same pan. Throw in the chopped onion and sauté for about 4 minutes until soft and translucent. Next, add the garlic and your sliced mushrooms. Cook for another 5 minutes until the mushrooms have released their moisture and turned a lovely deep brown.

    Step 3: Build the Sauce Base (1-2 mins)

    Sprinkle the plain flour directly over the mushroom and onion mixture. Stir it constantly for about a minute to cook out the raw flour taste. Now, slowly pour in the chicken stock a little bit at a time, whisking or stirring continuously. You’ll see the liquid bubble up and transform into a smooth, thick gravy.

    Step 4: Simmer and Meld (5-7 mins)

    Turn the heat down to a gentle simmer. Stir in your double cream (or sour cream), Dijon mustard, and smoked paprika until the sauce is completely uniform. Slide the cooked chicken and any resting juices back into the pan. Let everything bubble away gently for 5 to 7 minutes until the chicken is tender and cooked through, and the sauce is thick enough to coat the back of a spoon.

    What to Serve with Chicken Stroganoff

    Honestly, you can’t go wrong here, but depending on your mood, here are the three best vessels for soaking up that incredible sauce:

    1 A Bed of Egg Noodles or Tagliatelle: The classic choice. The wide pasta shapes catch the mushroom pieces perfectly.

    2 Fluffy White Rice: Great for an easy weeknight option, as the rice absorbs the cream sauce like a sponge.

    3 A Massive Scoop of Buttery Mashed Potato: If you want ultimate comfort food, this is the winner.

    Got leftovers? Keep them in an airtight container in the fridge for up to 3 days. Just reheat gently on the hob, adding a splash of milk or stock if the sauce has thickened up too much in the fridge.

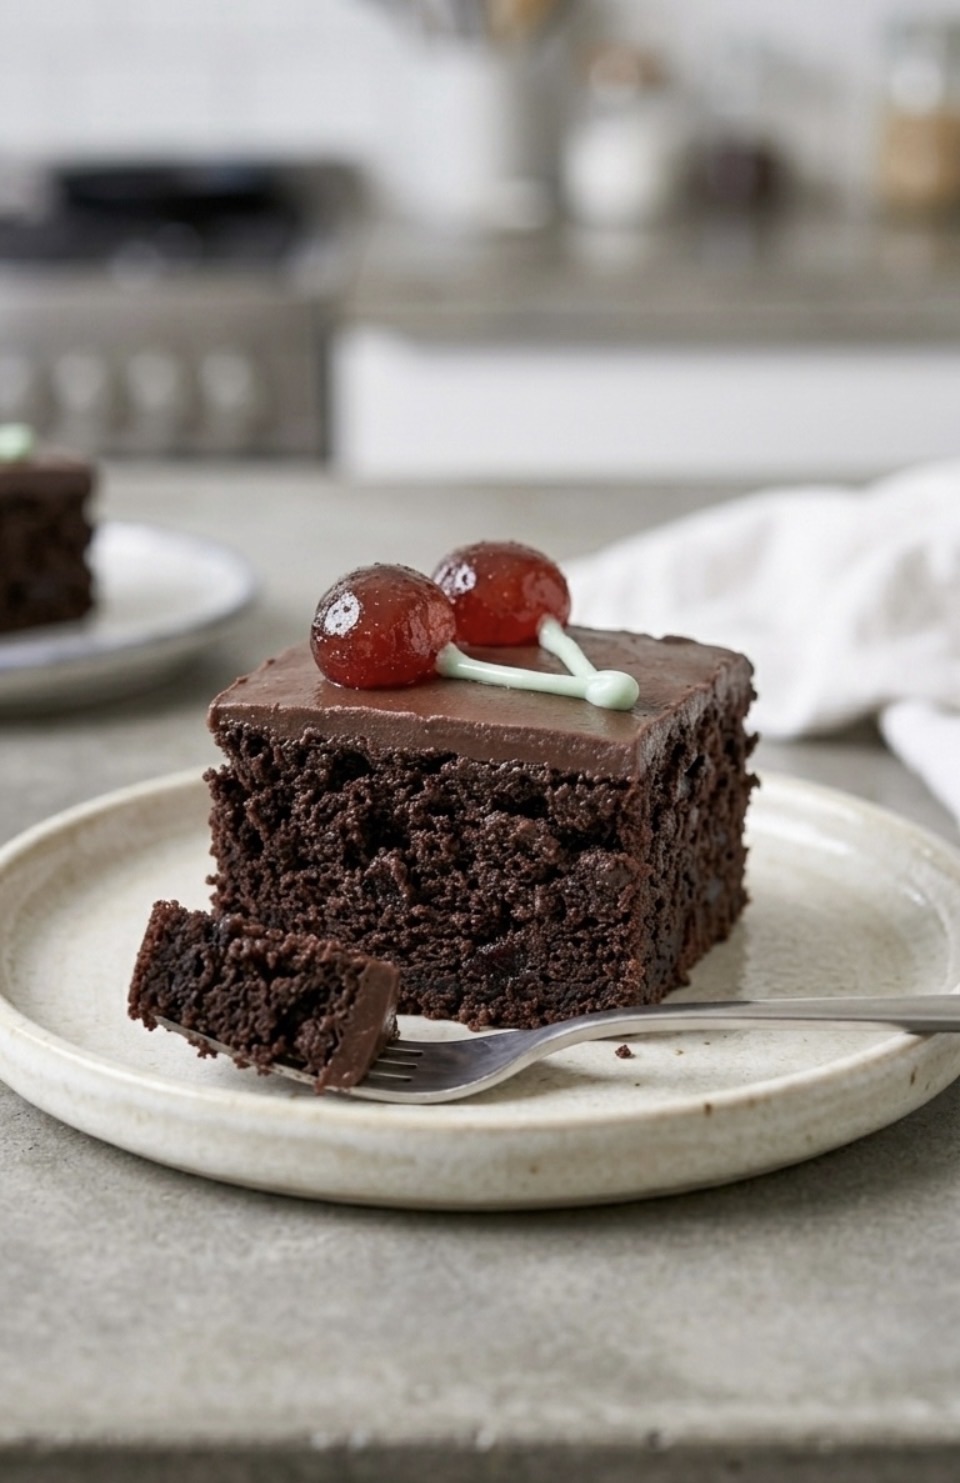
  • The Ultimate Black Forest Tray Bake: Rich, Fudgy, and Perfectly Cherry-Topped

    The Ultimate Black Forest Tray Bake: Rich, Fudgy, and Perfectly Cherry-Topped

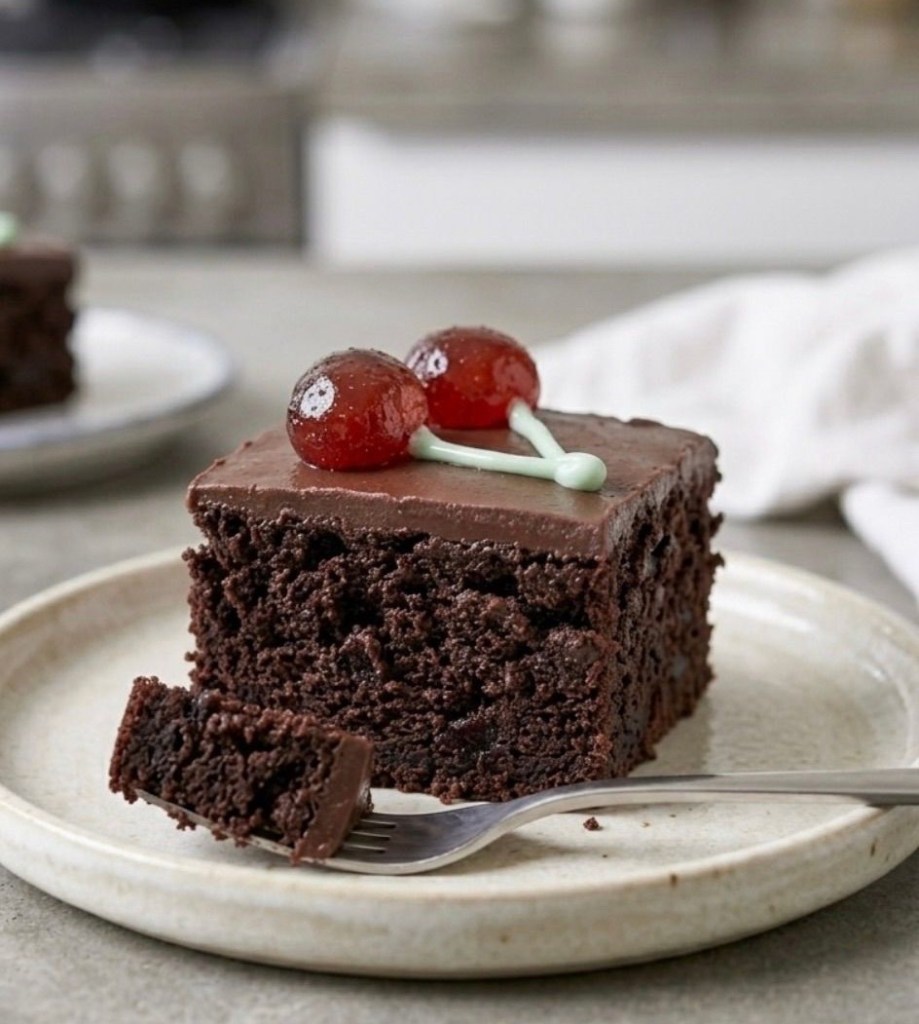
    There is something undeniably classic about the combination of deep, dark chocolate and sweet, tangy cherries. If you’re looking for a crowd-pleaser that looks as good as it tastes, this Black Forest Tray Bake is exactly what your kitchen needs.

    Whether you are baking for a weekend treat or a special occasion, this recipe delivers on both texture and flavour.

    Why You’ll Love This Bake

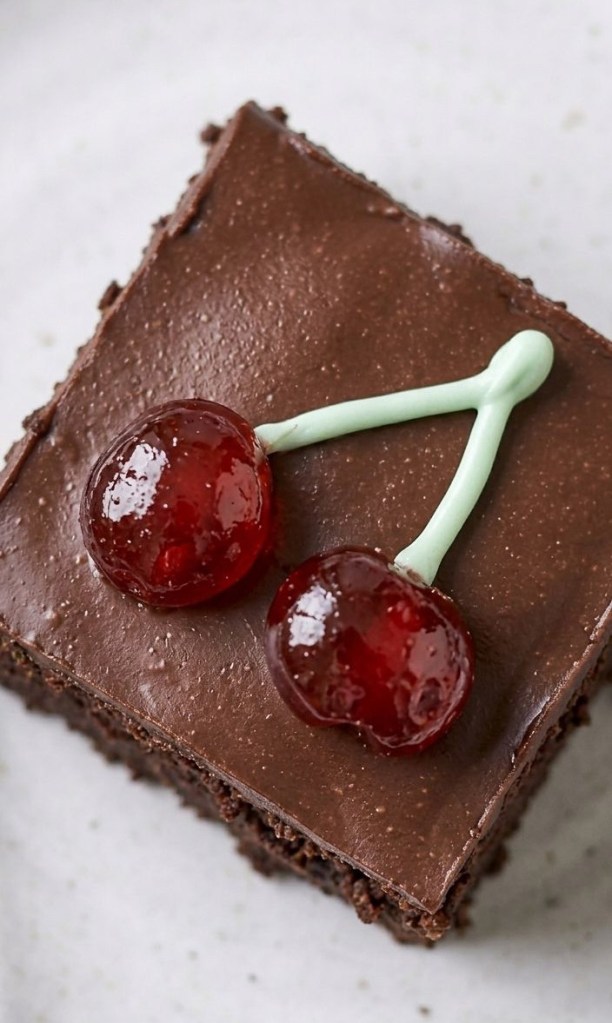
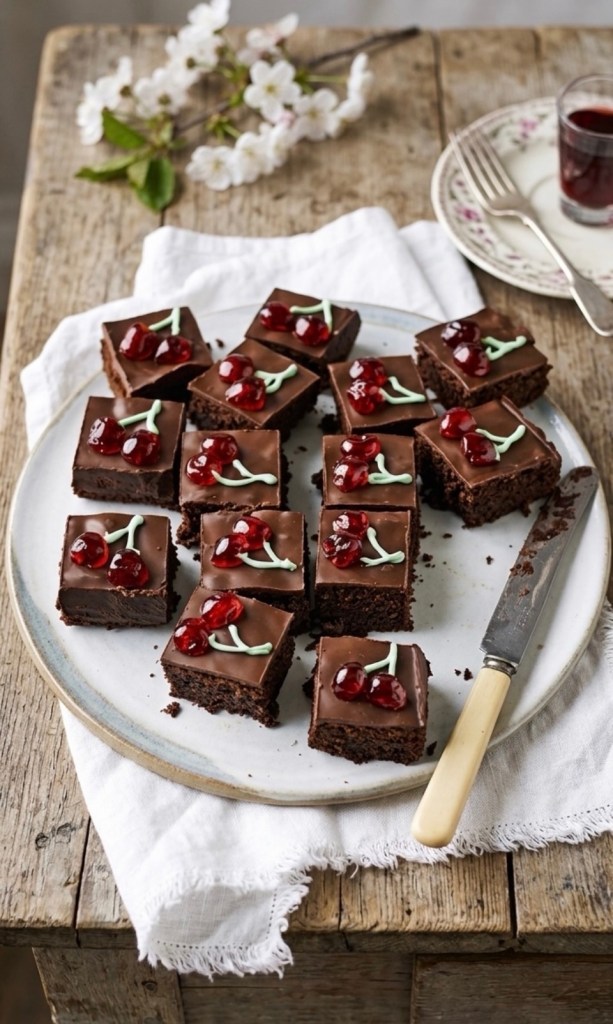
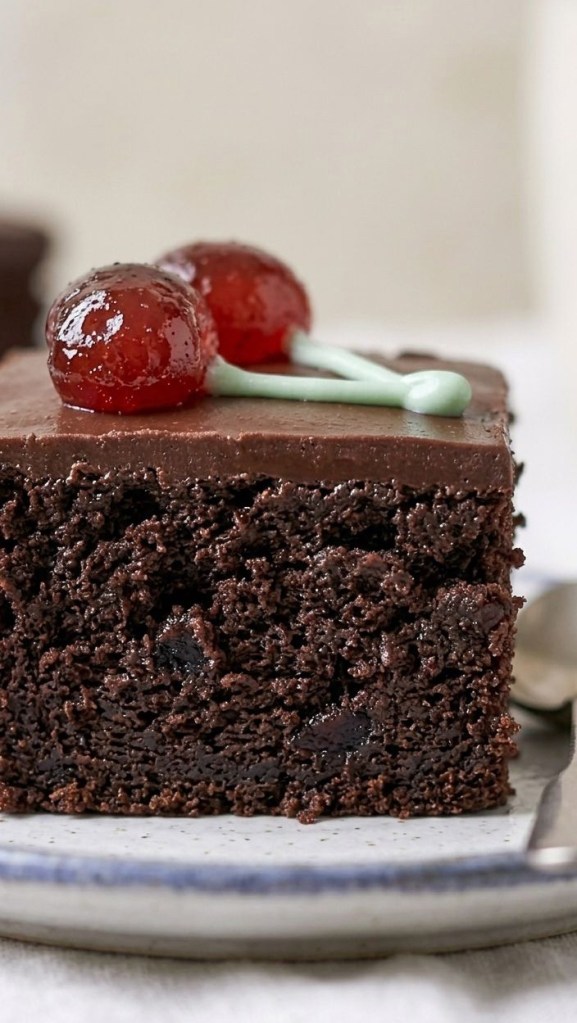
    This isn’t your average brownie. By incorporating dried sour cherries into the batter, you get little pockets of intense flavour in every bite. The addition of instant coffee also helps to deepen the chocolate notes, creating a rich, sophisticated base. Finished with a silky dark chocolate glaze and adorable hand-piped buttercream “stems,” this tray bake is a total showstopper.

    Ingredients

     For the Base:

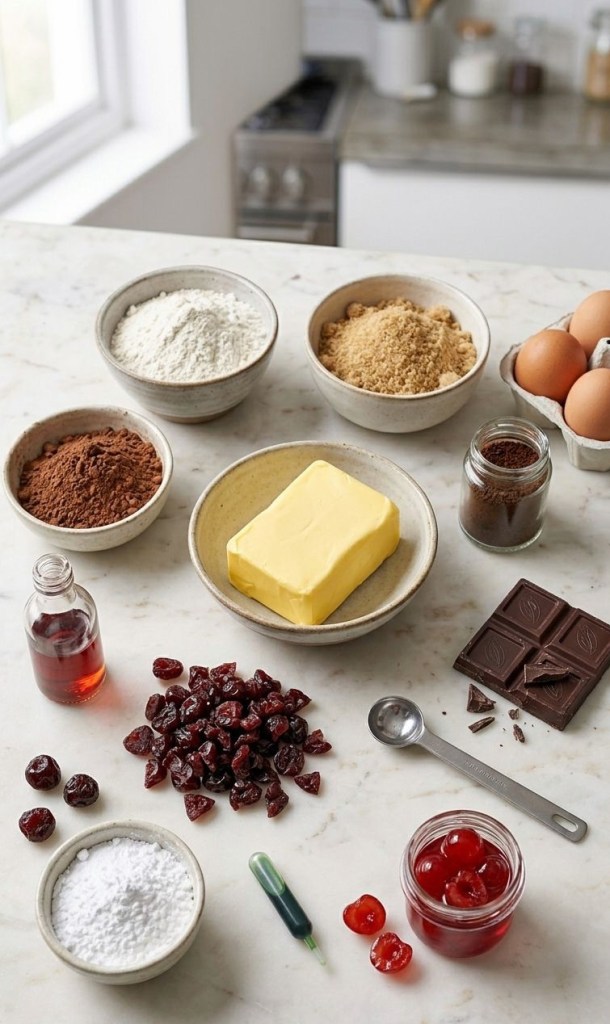
     250g unsalted butter, softened (plus extra for greasing)

     1 tbsp instant coffee powder

     350g light brown soft sugar

     4 medium eggs

     75g cocoa powder

     100g self-raising flour

     1 tsp cherry essence (optional, but recommended for that classic profile)

     100g dried sour cherries, chopped

     For the Topping:

     200g dark chocolate (60% minimum cocoa solids)

     25g unsalted butter, softened

     50g icing sugar

     Green food colouring gel

     20 glacé cherries, halved

    Method

    1. Preparation

    Start by preheating your oven to 180°C/160°C fan/gas 4. Grease a 30 x 20cm cake tin and line it with parchment paper to ensure an easy release later. Mix your instant coffee with 2 tablespoons of boiling water and set it aside to cool.

    2. Mixing the Batter

    Cream the butter and sugar together for about 5 minutes until the mixture is light and fluffy. Add the eggs one at a time, making sure to incorporate them well after each addition. In a separate bowl, whisk together the cocoa powder and flour. Stir the cherry essence and cooled coffee into your butter mixture, then fold in the dry ingredients followed by the chopped dried sour cherries.

    3. The Bake

    Spoon the batter into your prepared tin and level the top with the back of a spoon. Bake in the centre of the oven for 30–35 minutes, or until a skewer inserted into the middle comes out clean. Let it cool completely in the tin before moving on to the topping.

    4. The Finishing Touches

    Melt the dark chocolate (using a microwave or a bain-marie) and spread it in an even layer over the cooled brownies. While the chocolate sets, mix the butter, icing sugar, and a few drops of green food colouring to create your buttercream. Once the chocolate has set, cut the tray into 20 squares. Place two glacé cherry halves on top of each square and use the green buttercream—fitted with a writing tip nozzle—to pipe the cherry stems.

    Have you given this Black Forest Tray Bake a try? I’d love to hear how yours turned out—let me know in the comments below!

    Key ingredient Shopping

    Sour cherries

    https://amzn.to/3PxoG5Z

    Cherry essence

    https://amzn.to/4uFzEW1

    Chocolate

    https://amzn.to/4wZ3TZP

    Cherries

    https://amzn.to/4fR6zT4

    This post may contain affiliate links, which means I may earn a small commission if you purchase through them — at no extra cost to you. As an Amazon Associate, I earn from qualifying purchases

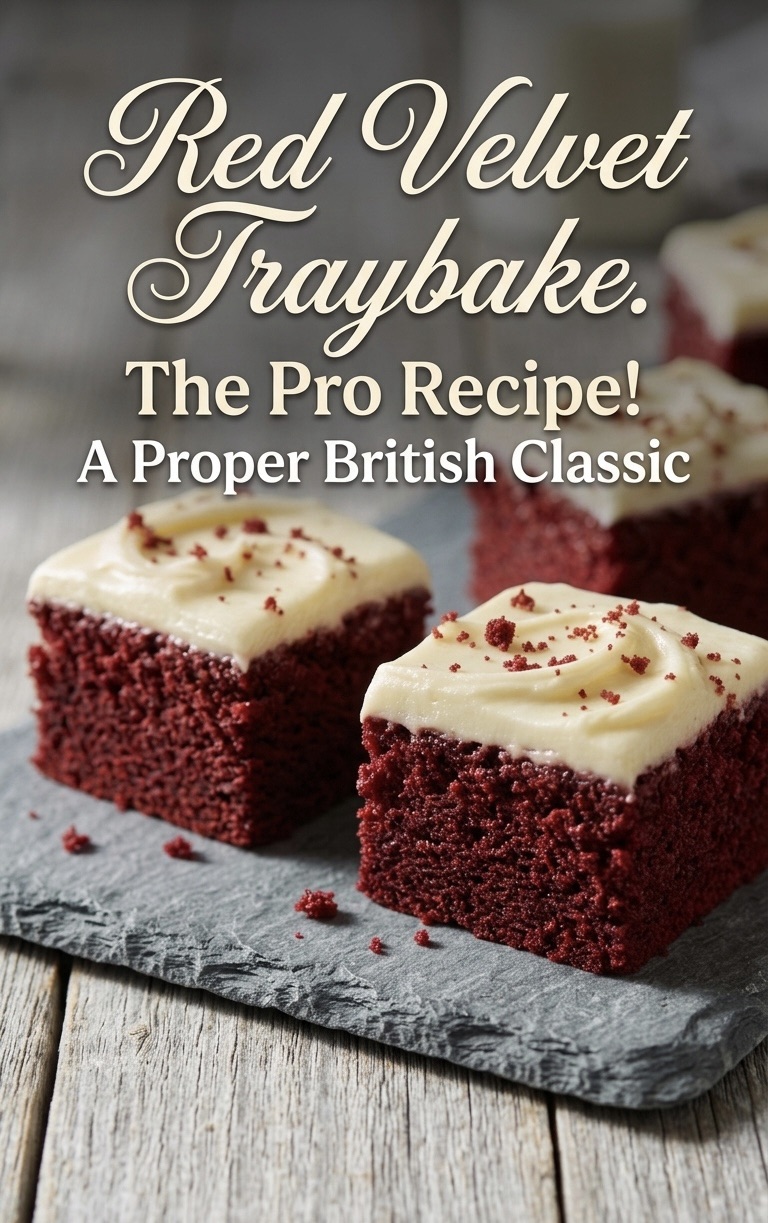
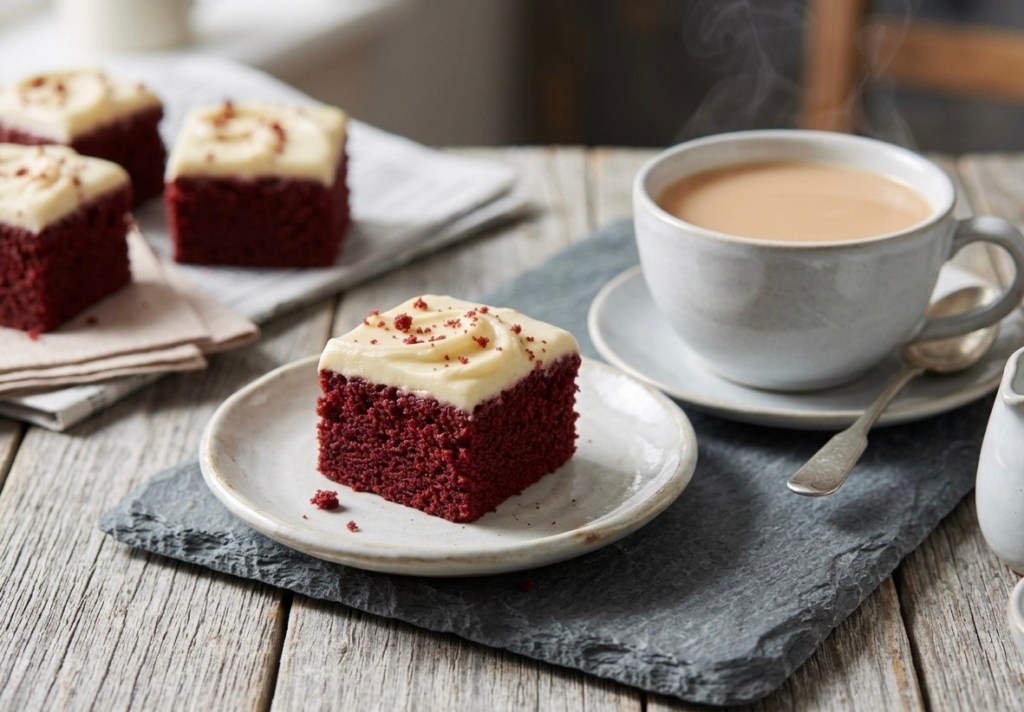
  • The Red Velvet Renaissance: A Proper British Traybake (With a Secret Science Twist!) 🍰

    The Red Velvet Renaissance: A Proper British Traybake (With a Secret Science Twist!) 🍰

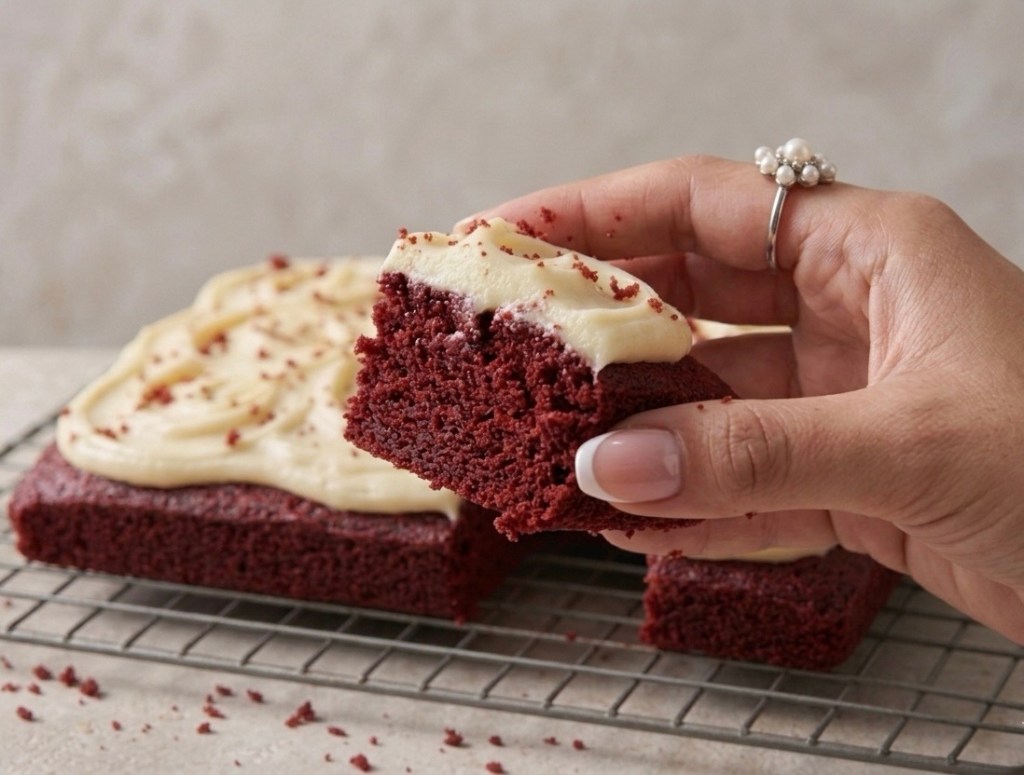
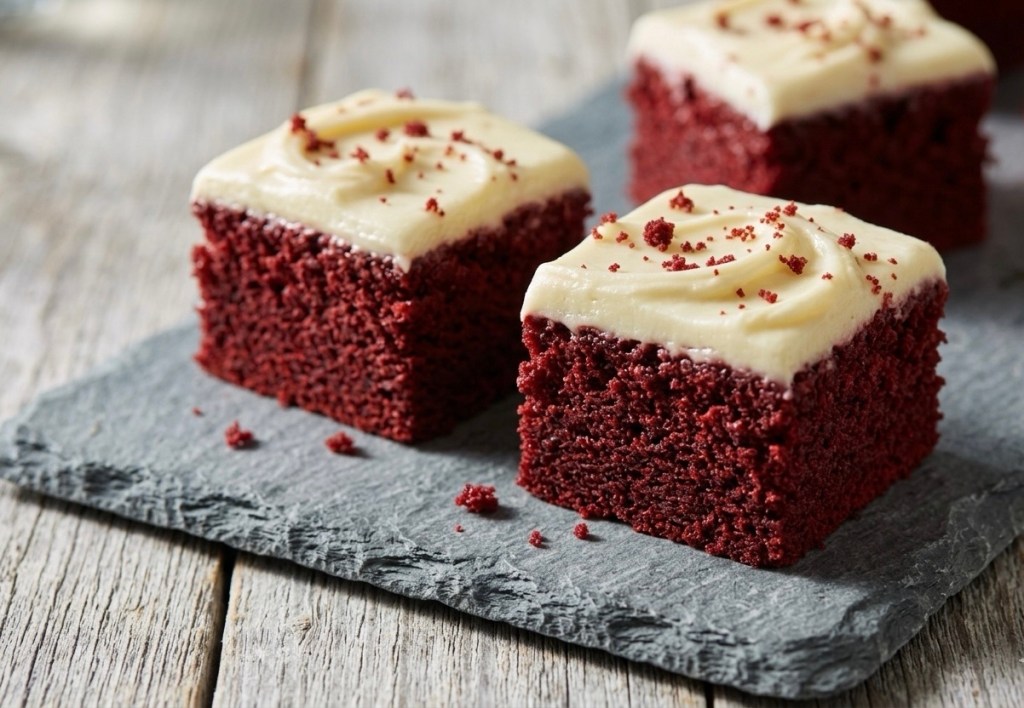
    Let’s be honest—Red Velvet is a cake that often gets a bad reputation. Too many people think it’s just a chocolate cake with a bottle of red dye thrown in. But a proper Red Velvet is a masterpiece of baking chemistry. It’s tangy, incredibly light, and has a unique “velvet” crumb that sets it apart from any other sponge.

    If you’ve struggled with dry cakes or a “muddy” colour in the past, this one-tin traybake is about to change your kitchen game.

    The “Velvet” Secret: Chemistry in a Tin 🧪

    The magic of this recipe lies in the reaction between 1 Tbsp white wine vinegar and 1 tsp bicarbonate of soda. When you mix these right at the end, they fizz up, creating tiny air bubbles that give the sponge its iconic, tight-but-fluffy texture.

    Combined with 200ml of buttermilk, you get a sponge that stays moist for days and has that signature subtle tang that balances the sweetness.

    The Pro-Secret: Sugarflair Velvet Red 🎨

    We’ve all been there—using an entire bottle of supermarket liquid colouring only to end up with a cake that looks maroon or, worse, brown. For this recipe, we are using 1–3 tsp of Sugarflair Velvet Red paste.

    https://amzn.to/4u2kHNt

    Because it’s a concentrated paste, it delivers a deep, dramatic crimson without adding extra liquid to your batter. You can easily find it online, and it is worth every penny for that professional bakery finish.

    The Topping: Cream Cheese Perfection 🥯

    The frosting is the crowning glory. To get it perfect every time:

    • Temperature Matters: Ensure your 100g of butter and 250g of full-fat cream cheese are at room temperature. Cold cheese leads to lumps!

    • The Method: Whisk the butter and 100g of icing sugar until pale and fluffy first. Only then do you fold in the cream cheese. If you over-beat it, the icing can turn runny, so keep it brief!

    The Ingredients

    For the Sponge:

    • 250g unsalted butter, softened

    • 250g caster sugar

    • 4 medium eggs

    • 200ml buttermilk

    • 275g self-raising flour

    • 50g cocoa powder

    • 1–3 tsp Sugarflair Velvet Red paste (available online)

    • 1 Tbsp white wine vinegar

    • 1 tsp bicarbonate of soda

    For the Icing:

    • 100g unsalted butter, softened

    • 100g icing sugar, sifted

    • 250g full-fat cream cheese (room temperature)

    • Red sprinkles (optional)

    Step-by-Step Directions

    1. Prep the Tin: Preheat your oven to 180°C (160°C fan). Grease and line a roughly 20 x 30cm baking tin with baking parchment.

    2. Cream the Base: In a large bowl, whisk the 250g butter and 250g caster sugar until pale and fluffy.

    3. Mix the Wet & Dry: In a jug, whisk the eggs and buttermilk. Sift your 275g self-raising flour and 50g cocoa into a separate bowl.

    4. Combine: Add 1/3 of the egg mix to the butter, then 1/3 of the flour. Repeat until incorporated. Beat in your Sugarflair paste until you hit that gorgeous red shade.

    5. The Fizz: Quickly mix the vinegar and bicarb in a small cup. Pour the fizzing mix into the batter, beat it in quickly, and get it straight into the tin.

    6. Bake: Bake for 45 minutes or until a skewer inserted into the centre comes out clean. Let it cool completely in the tin.

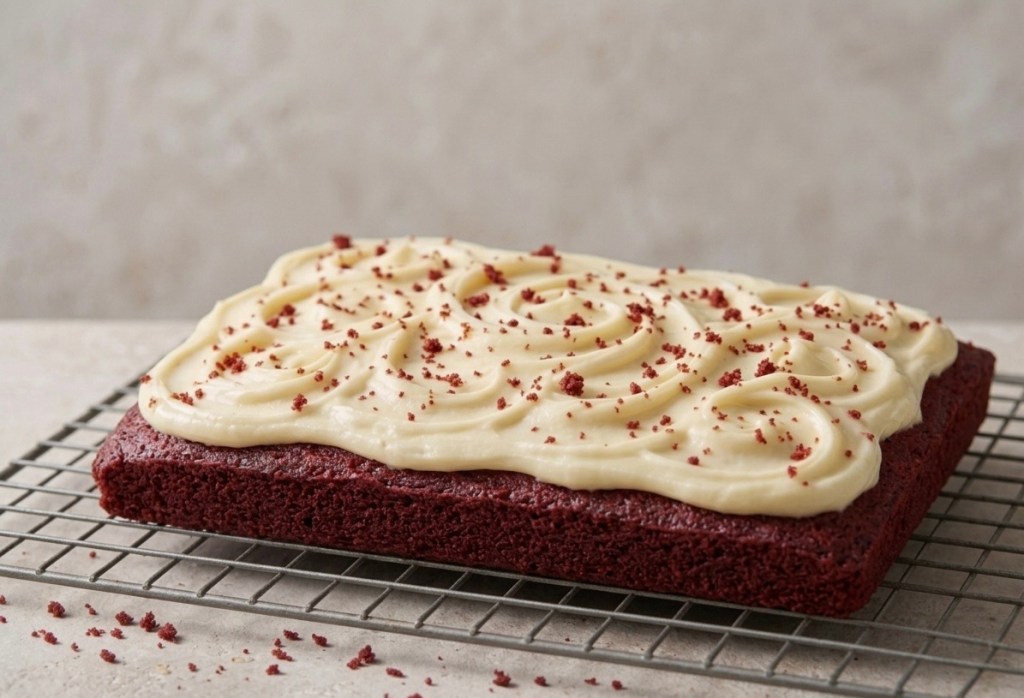
    7. The Frosting: Whisk the 100g butter and 100g icing sugar until light. Gently beat in the 250g cream cheese just until combined.

    8. Finish: Spread thick over the cooled sponge, add sprinkles, and cut into 16 generous squares.

    So, there you have it—the only Red Velvet recipe you’ll ever need in your baking arsenal! Honestly, once you’ve seen that vinegar and bicarb work their magic and tasted that silkier-than-silk cream cheese frosting, there’s no going back. It’s the perfect bake for when you want something that looks incredibly impressive but actually lets you keep your cool in the kitchen.

    If you do give it a whirl, please tag me in your photos or leave a comment below—I’d love to see your crimson masterpieces! Now, if you’ll excuse me, I have some “quality control” testing to do with a cuppa and a very large square of cake. Happy baking, everyone! 🍰✨

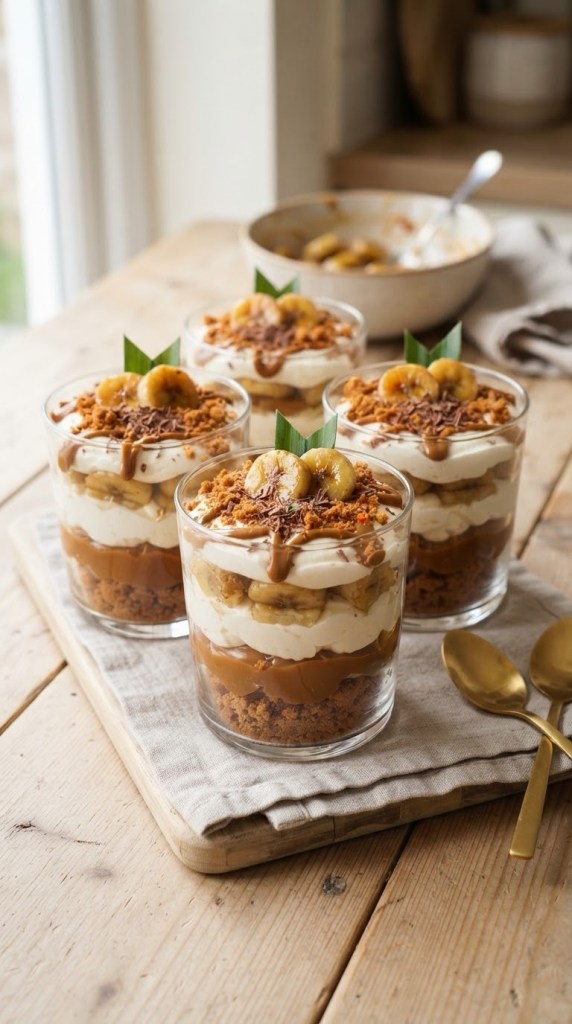
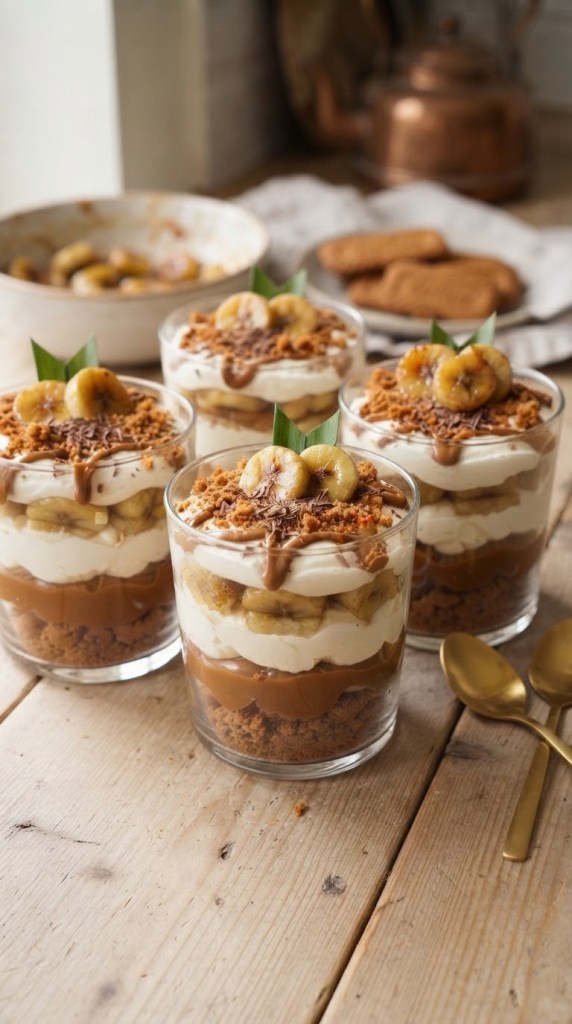
  • The Ultimate No-Bake Biscoff Tiramisu: A Caramelized Twist on an Italian Classic

    The Ultimate No-Bake Biscoff Tiramisu: A Caramelized Twist on an Italian Classic

    Hey everyone! If you’re anything like me, your love for Biscoff is less of a “preference” and more of a “personality trait.” We’ve all been there—standing in the kitchen with a jar of cookie butter and a spoon, wondering how something can taste that good. Well, today I am sharing something that is quite literally the dessert of my dreams.

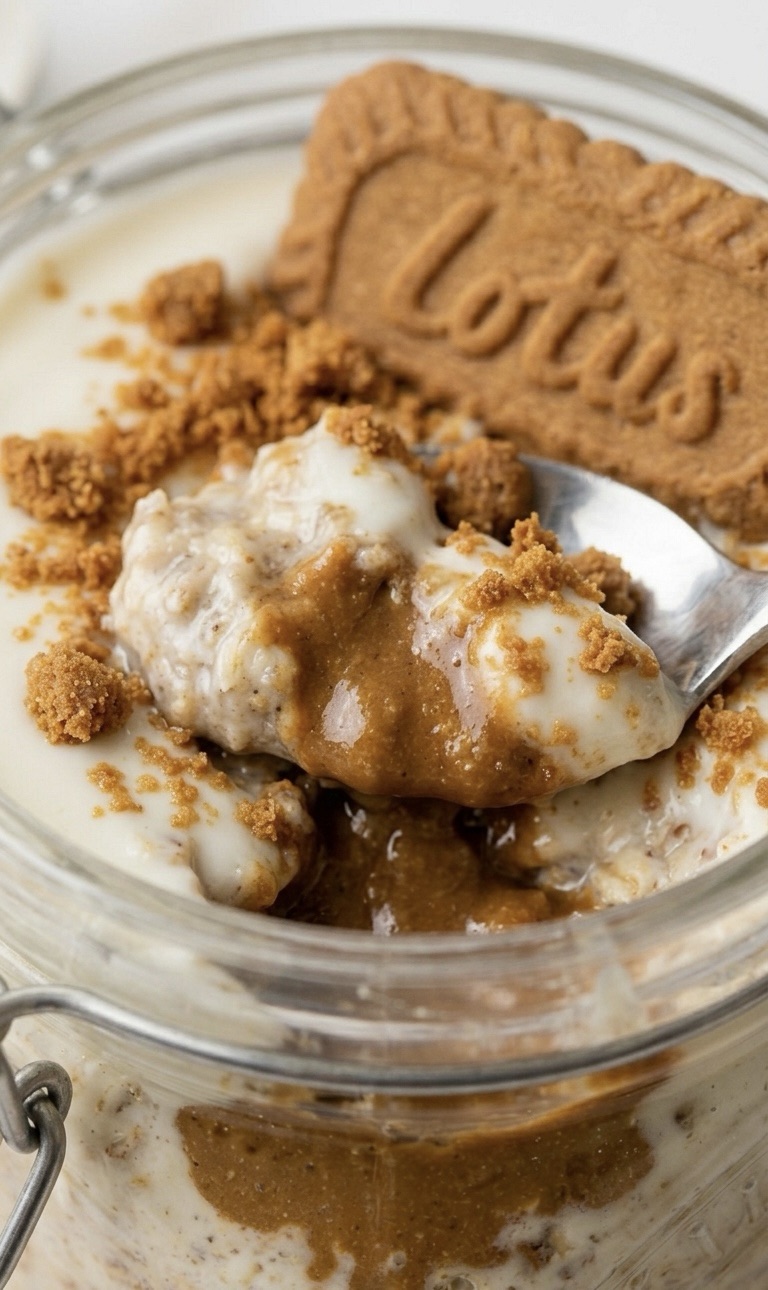
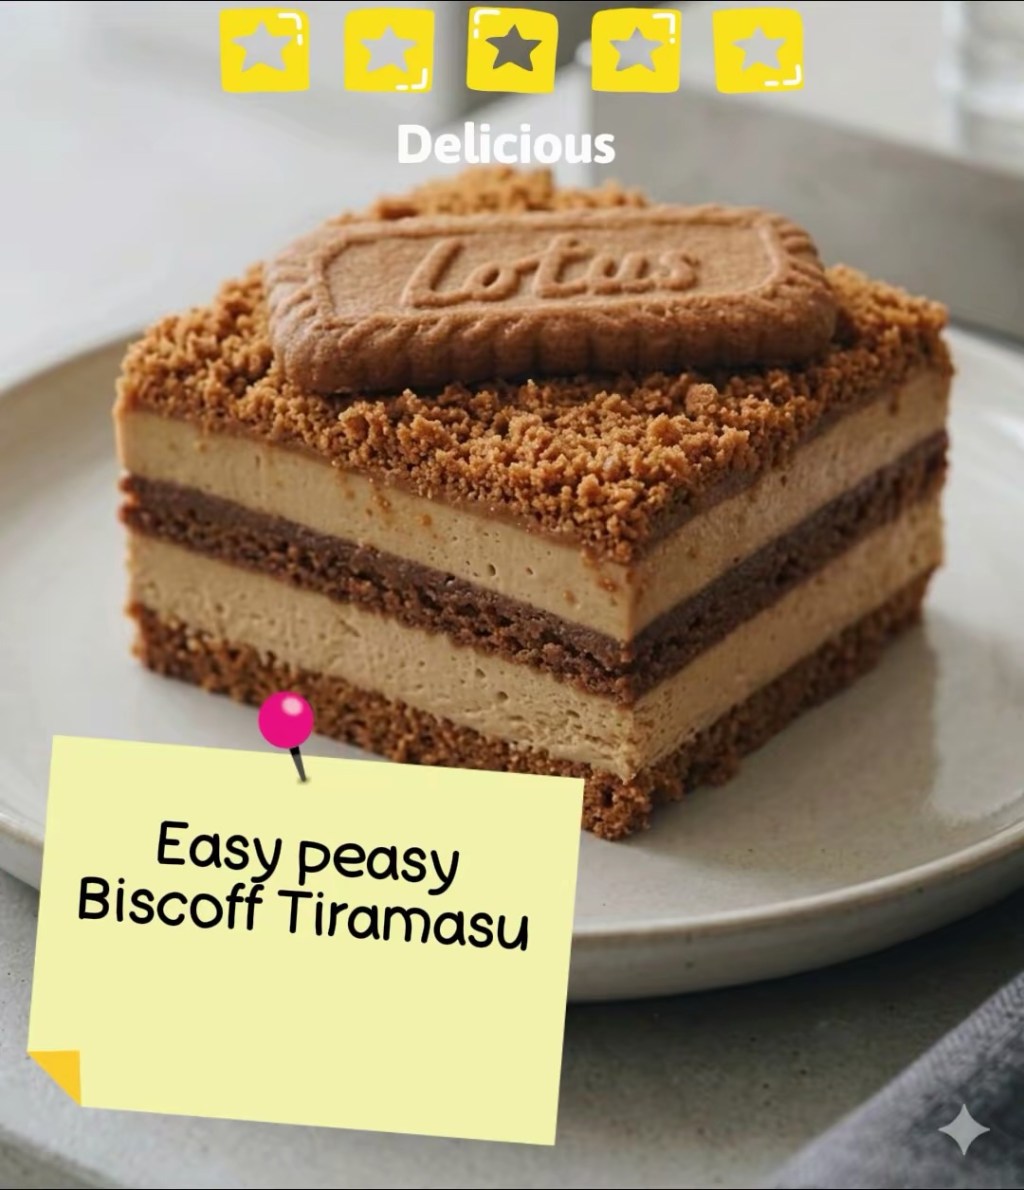
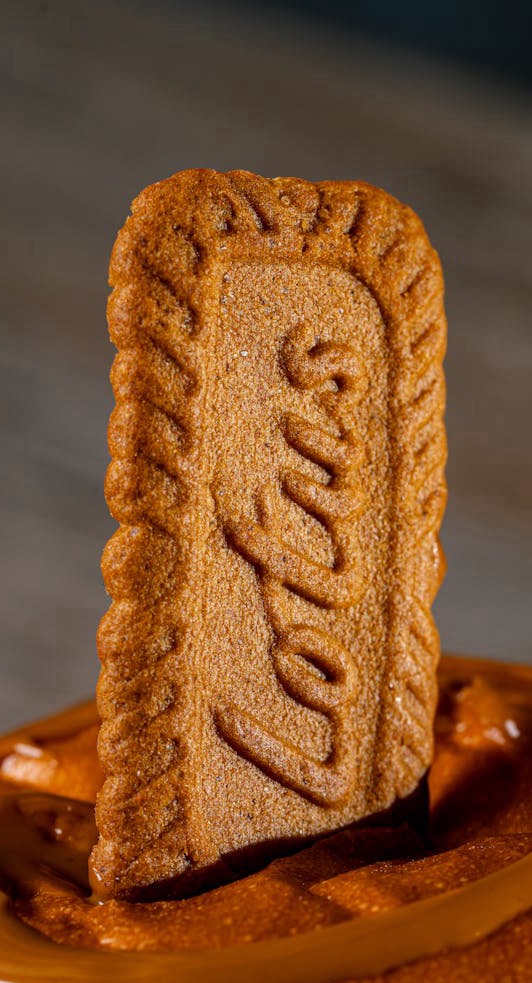
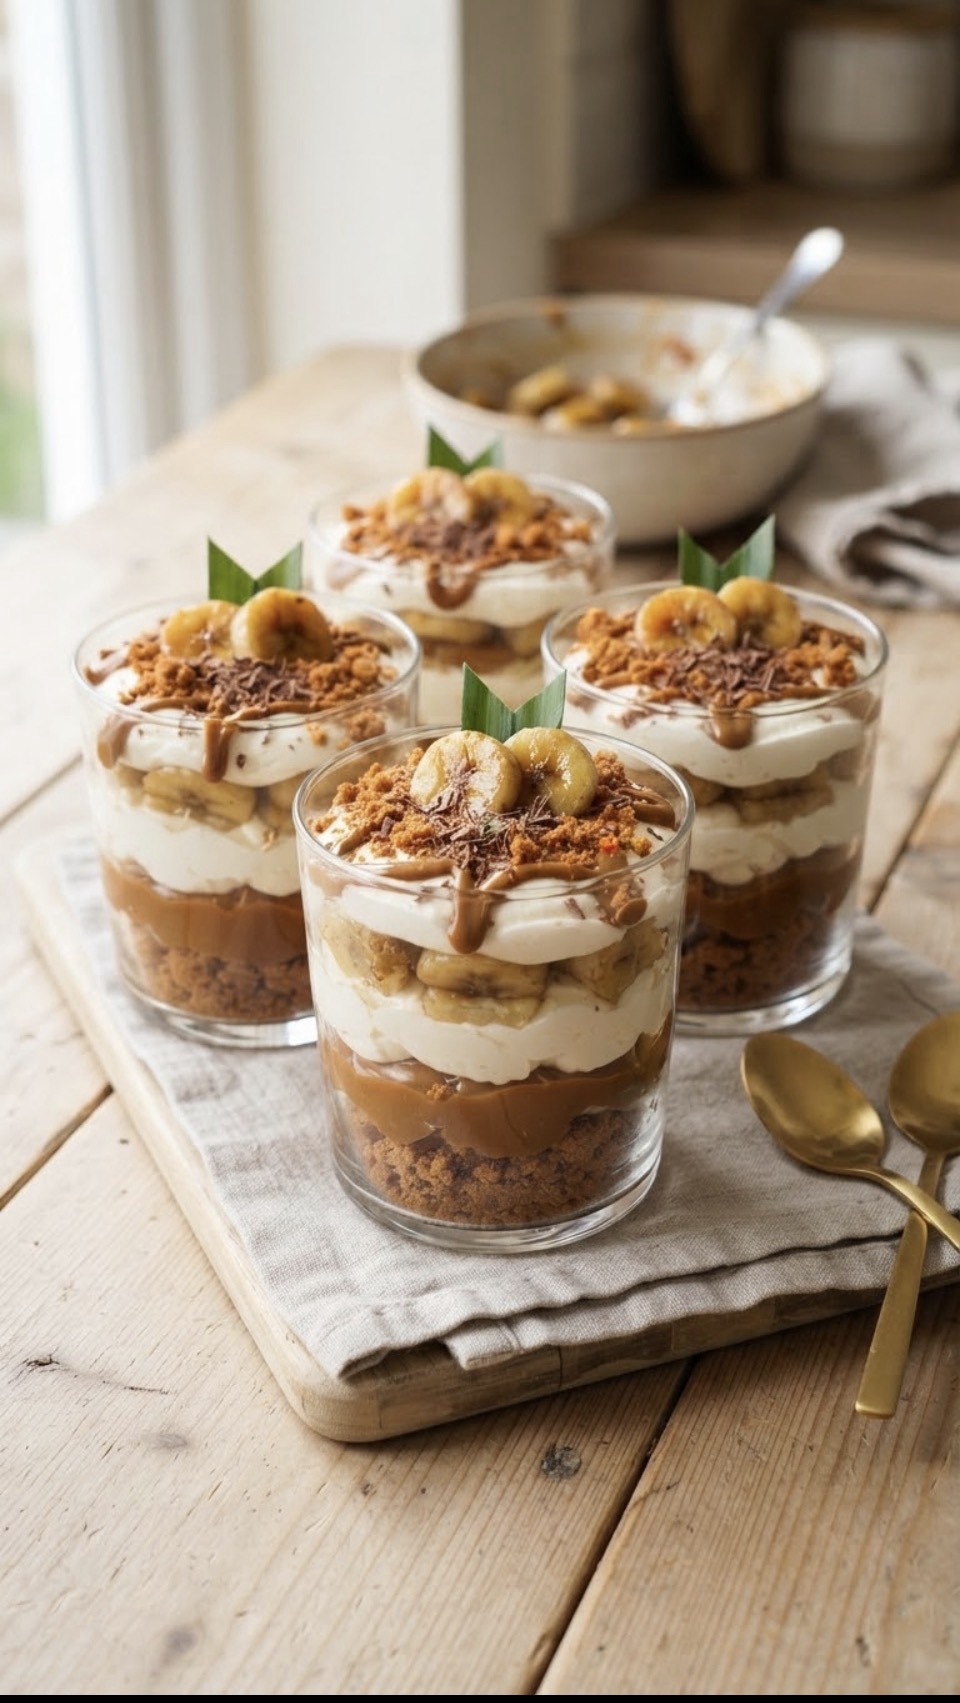
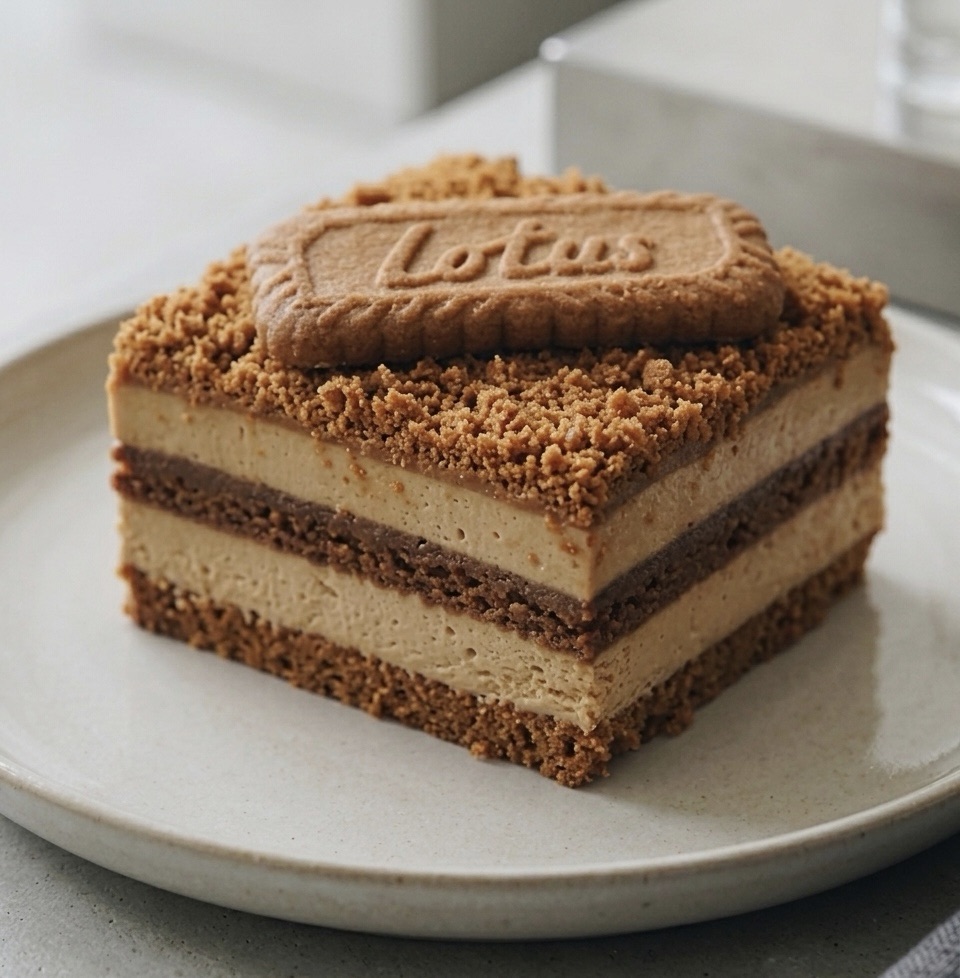
    We’re taking that classic, velvety Italian vibe we all love and giving it a major, caramelized glow-up. Forget ladyfingers—we are using those iconic spiced Lotus biscuits. And instead of just plain cream? We’re folding in a massive amount of Biscoff spread to create a cloud-like mousse that is completely irresistible.

    The best part? It is entirely no-bake. That means you get to serve up a high-end, contemporary dessert that looks like it came from a chic bistro without ever touching your oven. It’s the perfect “wow-factor” dish for dinner parties, but easy enough to whip up on a lazy Sunday afternoon.

    Why This Recipe Works

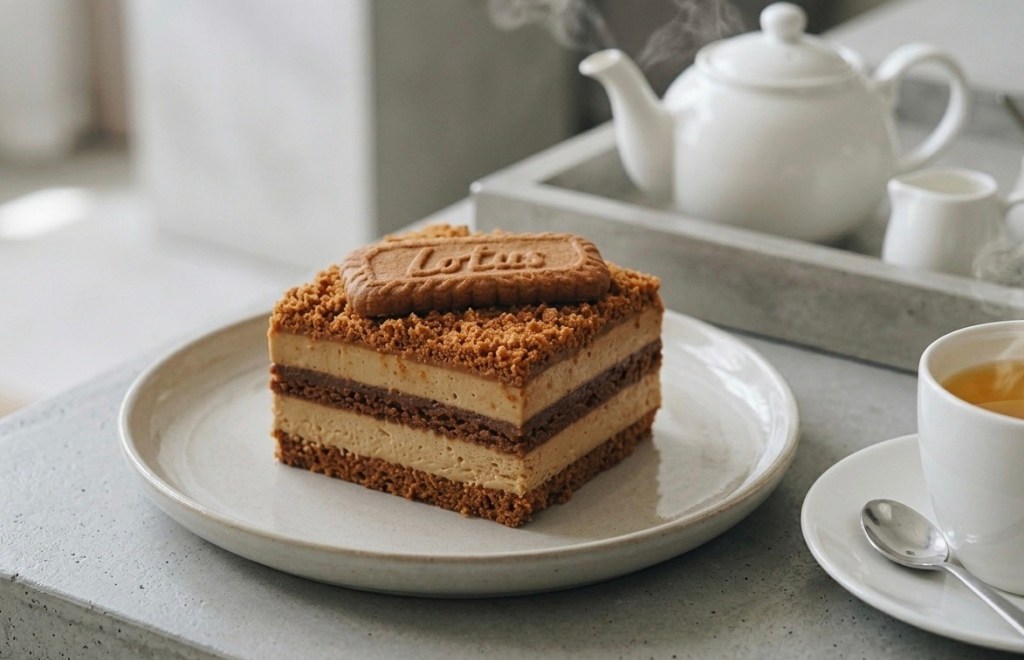
    The secret is all in the “double-dunk.” By stacking two cookies together before hitting the espresso, you create a substantial, cake-like base that absorbs the coffee perfectly without turning into mush. When you let it sit overnight, the cookies soften into the cream, creating those beautiful, clean layers you see in the photos.

    Trust me, once you try the combination of bitter espresso, spiced cinnamon cookies, and silky mascarpone, you’ll never go back to the traditional version again.

    Scroll down to grab the recipe, and let’s get layering!

    The Recipe

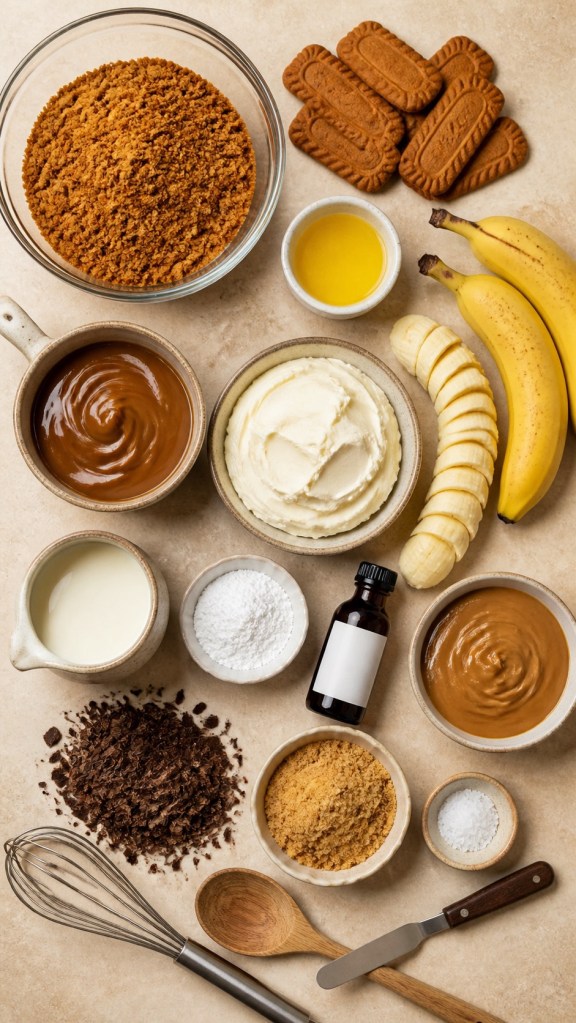
    Ingredients

    • 600g Biscoff Cookies: Plus an extra 10–15 cookies for that all-important crunchy topping.

    • 400g Mascarpone Cheese: Ensure it’s at room temperature for the smoothest mix.

    • 200g Double Cream: Cold from the fridge to help it whip up thick.

    • 300g Biscoff Spread: Smooth or crunchy—both work, but smooth gives that silky finish.

    • 1 tsp Vanilla Extract: To round out the sweetness.

    • 300ml Cold Espresso: Strong coffee is key to balancing the sweetness of the biscuits.

    Method

    1. Prep the Biscoff Cream

    In a large mixing bowl, combine your mascarpone, double cream, Biscoff spread, and vanilla extract. Using a hand mixer on medium-high speed, beat the mixture until it is thick, smooth, and holds its shape. Be careful not to over-whip, but you want it sturdy enough to layer.

    2. The Espresso Soak

    Pour your cold espresso into a wide, shallow bowl. Take two Biscoff cookies and stack them directly on top of each other. Quickly dip them into the coffee—it should be a lightning-fast “in and out” to prevent them from becoming soggy and breaking apart.

    3. Build the Foundation

    Place the soaked cookie pairs into the bottom of a square 8×8″ dish, lining them up until the base is completely covered.

    4. Layering the Dream

    Spread exactly 1/3 of your mascarpone/Biscoff mixture over the first layer of cookies, smoothing it out with the back of a spoon or an offset spatula. Repeat the process two more times: cookie layer, cream layer, cookie layer, cream layer.

    5. The Finishing Touch

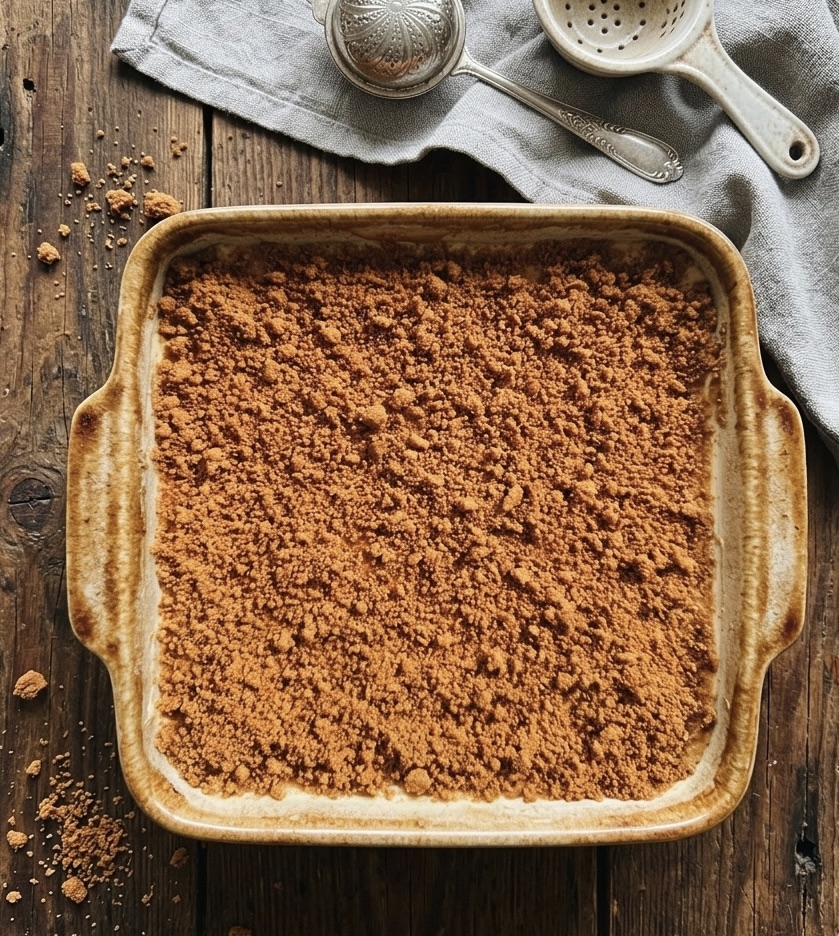
    Take your extra cookies and crush them into fine crumbs (a food processor or a rolling pin and a freezer bag works perfectly!). Sprinkle them generously over the top of the Tiramisu until you have a beautiful, even orange-gold crust.

    6. The Big Chill

    Cover the dish tightly with cling film and place it in the fridge. It needs at least 3–4 hours to set, but for the absolute best results (and the cleanest slices!), leave it overnight. This allows the coffee to fully penetrate the cookies and the flavors to meld together.

    Whether you’re serving this up at a chic dinner party or just treating yourself to a well-deserved slice on a Tuesday night, this Biscoff Tiramisu is guaranteed to disappear in seconds. There is something so incredibly satisfying about that first scoop through the silky cream and coffee-soaked biscuits. I honestly can’t wait for you guys to try it! If you do whip this up, make sure to tag me in your photos—seeing your creations is literally the highlight of my day. Happy “baking” (or lack thereof!), and I’ll see you in the next one!

  • The Ultimate Comfort Food: Creamy Chicken & Mushroom Cheese Bake

    The Ultimate Comfort Food: Creamy Chicken & Mushroom Cheese Bake


    A Rainy Sunday Afternoon and a Game-Changing Recipe

    There’s something about a rainy Sunday afternoon that calls for comfort food. The other week, as the rain pattered against the window, I was craving something that felt like a warm hug. My kitchen was filled with the rich, earthy scent of roasting chicken and mushrooms, and for a moment, I was transported right back to my favorite little bistro.

    I’d been on the hunt for a dish that delivered that deep, satisfying, home-cooked flavor but without the all-day faff in the kitchen. And that’s exactly when I stumbled across this absolute gem: a Creamy Chicken & Mushroom Cheese Bake.

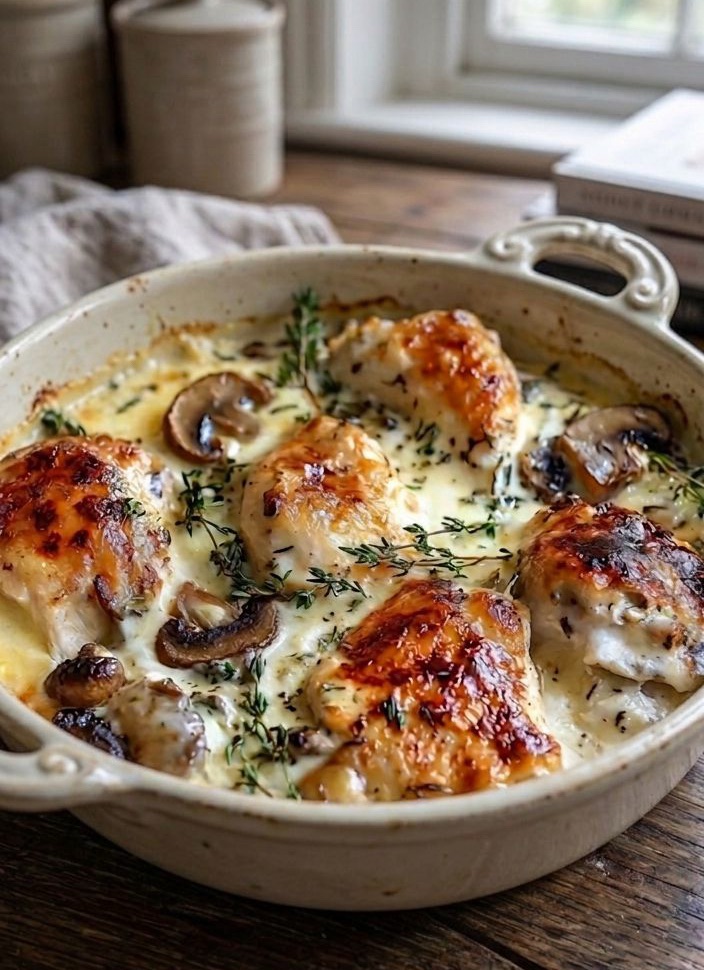
    Let me tell you, this recipe is a total game changer. It’s a gorgeous mix of succulent chicken, sautéed mushrooms, and a velvety, cheesy sauce, all baked until it’s bubbly and golden. It’s simple enough for a busy weeknight (perfect for after school and work!) but elegant enough to serve up to friends for a casual dinner party. And the best bit? You probably have most of what you need already in your cupboards!

    This isn’t just dinner; it’s a cosy culinary adventure that guarantees smiles all around the table. No fast food hassle, just pure, homemade comfort. Ready to try my new go-to recipe? Let’s get cooking!

    Why You’ll Adoooooore This Creamy Chicken & Mushroom Cheese Bake

    Ultimate Comfort: If this dish was a person, it would be that friend who gives the best hugs. It’s warm, gooey, and deeply satisfying. Perfect for when you need a pick-me-up.

    Super Simple: Honestly, this recipe is ridiculously easy to follow. You don’t need to be some sort of Michelin-star chef. If you can slice mushrooms and stir a sauce, you’ve got this. It looks gourmet but is genuinely foolproof.

    What You’ll Need (All in Proper UK Measures!)

    The ingredients are simple, no-nonsense classics. Here’s your shopping list:

    For the Chicken

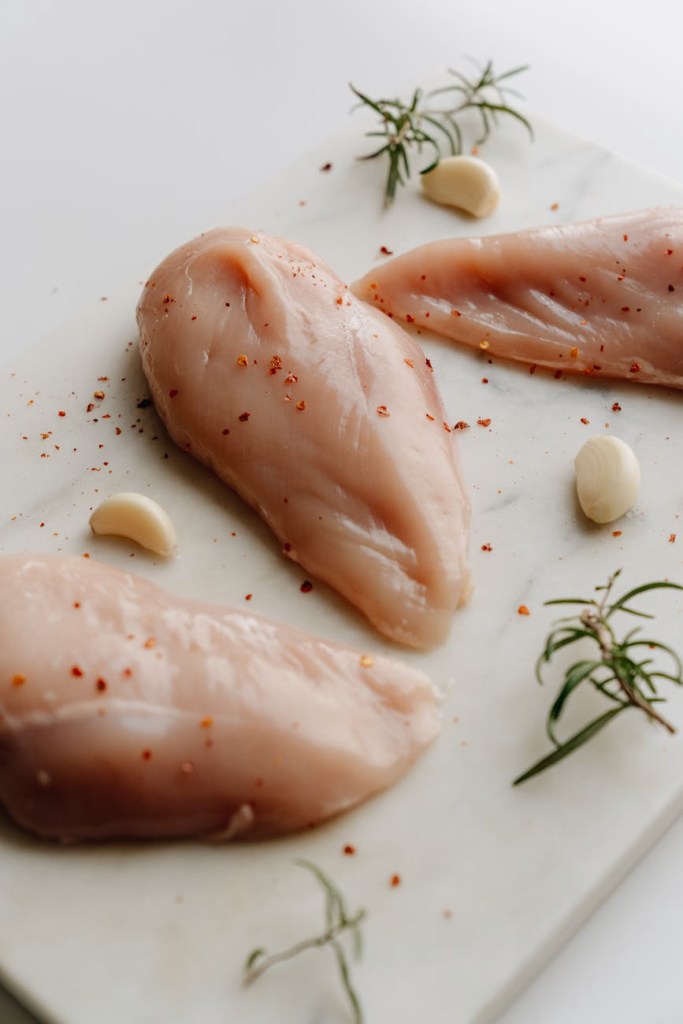
    • 400g Chicken Breast: Grab boneless, skinless breasts. They stay lovely and tender when they’re baked in the sauce.

    • A good pinch of Sea Salt: A little salt goes a long way to really making that chicken flavor pop.

    For the Mushrooms

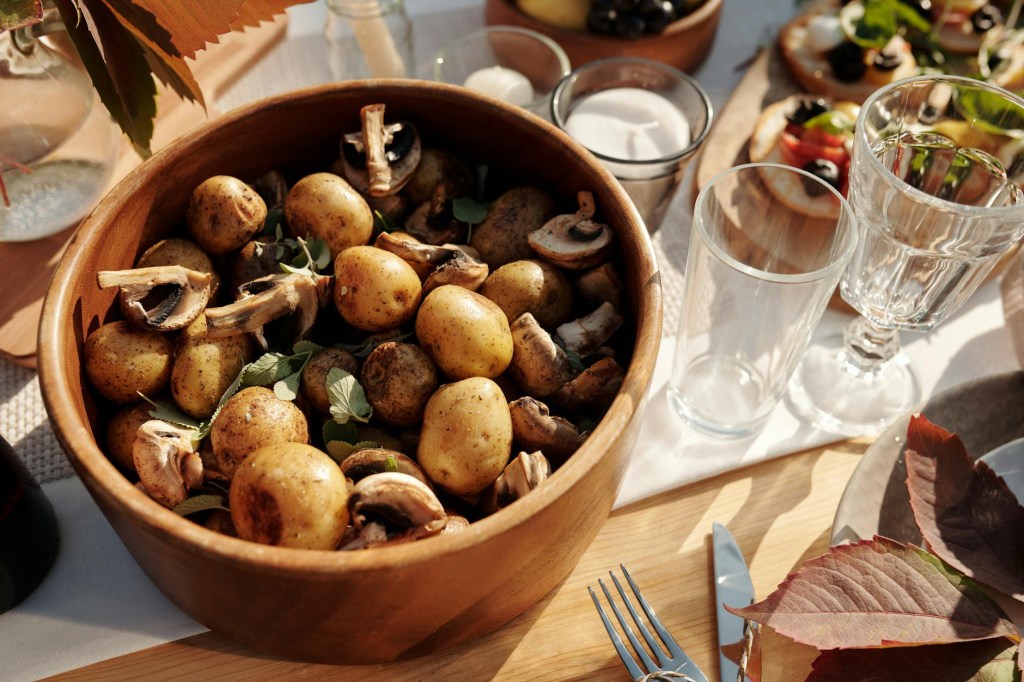
    • 300g Fresh Mushrooms: I like a mix of button and chestnut for this, sliced. They add that beautiful, deep, earthy depth that works so perfectly with the creamy sauce.

    • 1 tbsp Olive Oil: Just a standard olive oil (no need to use your fancy extra virgin stuff here) for sautéing the mushrooms and bringing out all their natural goodness.

    For that Lush Creamy Sauce

    • 200ml Double Cream: Okay, I know, I know… but double cream is what gives this dish its insanely rich and velvety texture. You could use single cream or even semi-skimmed milk for a lighter version, but for that true, bistro-style indulgence, go for the double cream. It’s so worth it!

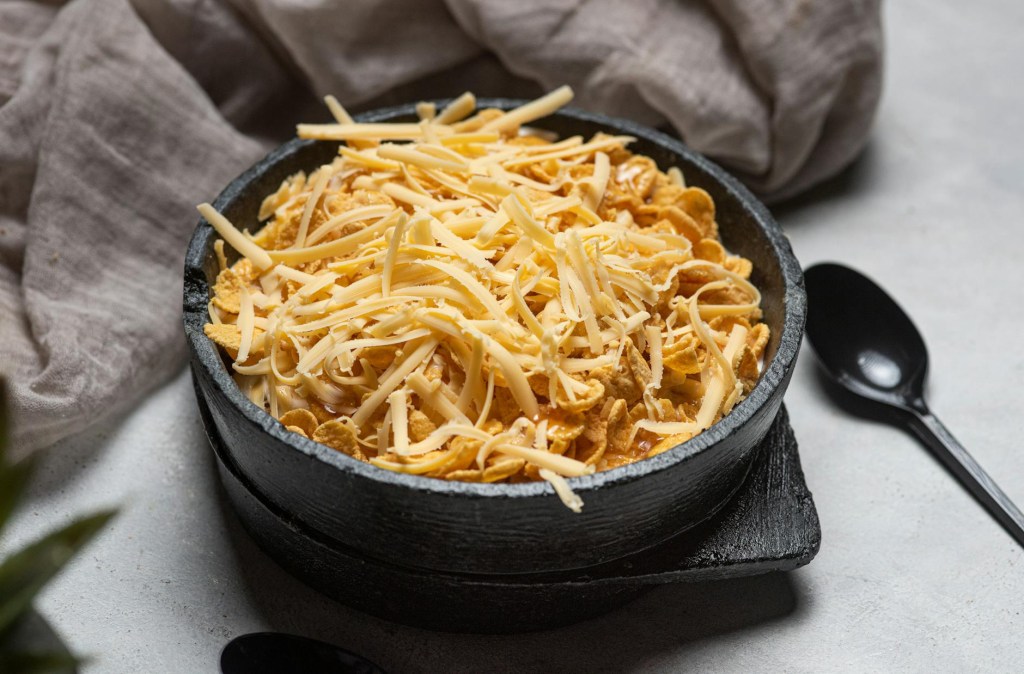
    • 150g (approx. 1½ cups) Grated Cheese: For the perfect gooey topping that pull-aparts in the most satisfying way, use a mix. Half Mozzarella (for the melt) and half Mature Cheddar (for the punchy flavor) is my absolute favorite combo.

    • 1 tsp Garlic Powder: This adds a gorgeous, subtle hint of garlic that elevates the whole sauce without being overwhelming.

    • 1 tsp Onion Powder: Pairs perfectly with the garlic for that classic, deep, savory flavor.

    For the Perfect Finishing Touch (The Topping!)

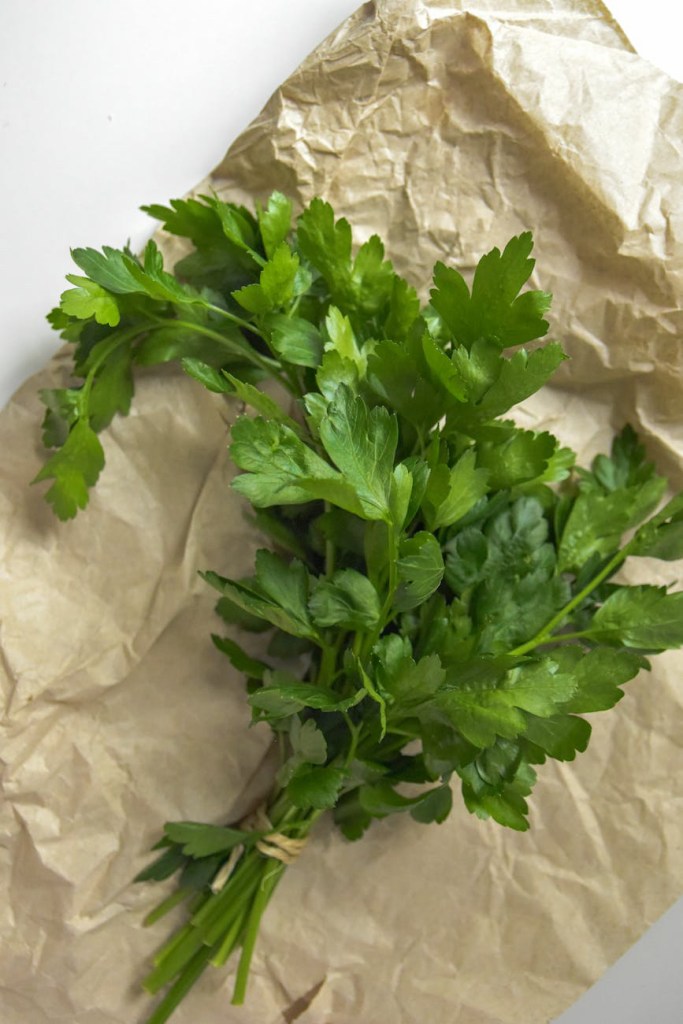
    • A small handful of Fresh Parsley: Chopped finely, this adds a burst of vibrant green color and a lovely, fresh flavor contrast.

    • 1-2 tbsp Grated Parmesan Cheese (Optional): If you’re feeling extra indulgent, a sprinkle of Parmesan on top takes the cheesy goodness to a whole new level of rich and savory. Trust me, it’s a pro move!

    And that’s it! Just simple, quality ingredients that come together to create absolute magic. Let’s get to the fun part… making it!

    How to Make Your Creamy Chicken & Mushroom Cheese Bake

    Okay, grab your favorite apron (and maybe pour yourself a glass of something nice – it is a rainy Sunday, after all!). Here is my super easy, step-by-step guide.

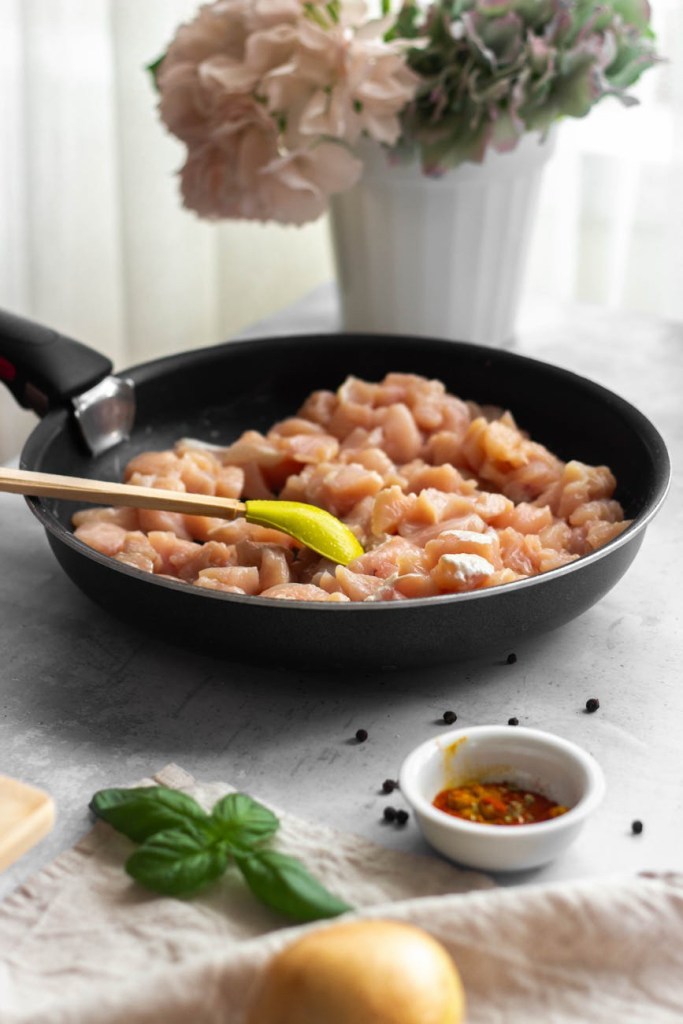
    1. Prep Your Chicken: First things first, get that oven on! Preheat it to 200°C (180°C fan) / Gas Mark 6. While that’s heating up, grab your 400g of chicken breast. I like to slice mine into strips or bite-sized pieces so it cooks a bit faster and gets completely coated in that amazing sauce. Season it generously with your pinch of sea salt. This simple step makes a huge difference in the final taste.

    2. Sauté Your Mushrooms: In a nice big skillet or frying pan (the one you’ll also be making the sauce in, to save on washing up!), heat up your 1 tbsp of olive oil over a medium heat. Once it’s hot, add in your 300g of sliced fresh mushrooms. Sauté them, stirring every now and then, for about 5 minutes, or until they’ve released their juices, are gorgeous and golden brown, and smelling divine. Remove them from the pan and set them aside.

    3. Cook the Chicken: Using the same pan (more flavor!), add the seasoned chicken. Cook it for about 5-7 minutes on each side. You want it to get some lovely color, but the main thing is ensuring it’s no longer pink in the middle. (If you’ve sliced it small, this might only take 3-4 minutes per side).

    4. Make the Lush Sauce: This is where the magic happens. Turn the heat down slightly and pour in your 200ml of double cream. Stir in your 1 tsp of garlic powder and 1 tsp of onion powder. Let it simmer very gently for about 3-5 minutes, just until the mixture is slightly thickened. You’re not trying to reduce it too much, just get it to a beautiful, velvety consistency.

    5. Get it Oh-So-Cheesy: Now, the moment of truth. Stir in your 150g of grated cheese mix (Mozzarella and Cheddar). Watch in pure joy as it melts effortlessly into that cream, creating a smooth, rich, and ridiculously gooey sauce that smells like actual heaven. Make sure it’s fully melted and has beautifully coated all that succulent chicken.

    6. Bake to Perfection: Now, transfer the whole glorious mixture into your favorite ovenproof dish (a medium-sized rectangular or oval one works perfectly). For that extra-special touch, top it with a light sprinkling of the optional grated Parmesan and a handful of the freshly chopped parsley. Pop it in the preheated oven and bake for 20 minutes, or until the top is an irresistible golden brown and it’s all bubbling away beautifully.

    7. Serve & Devour: The hardest part: waiting for it to cool for a few minutes before serving. This allows the sauce to set slightly. Once you can’t wait a second longer, garnish with some more fresh parsley, dish it up, and watch as it creates instant silence around the table (the sign of a very good meal!).

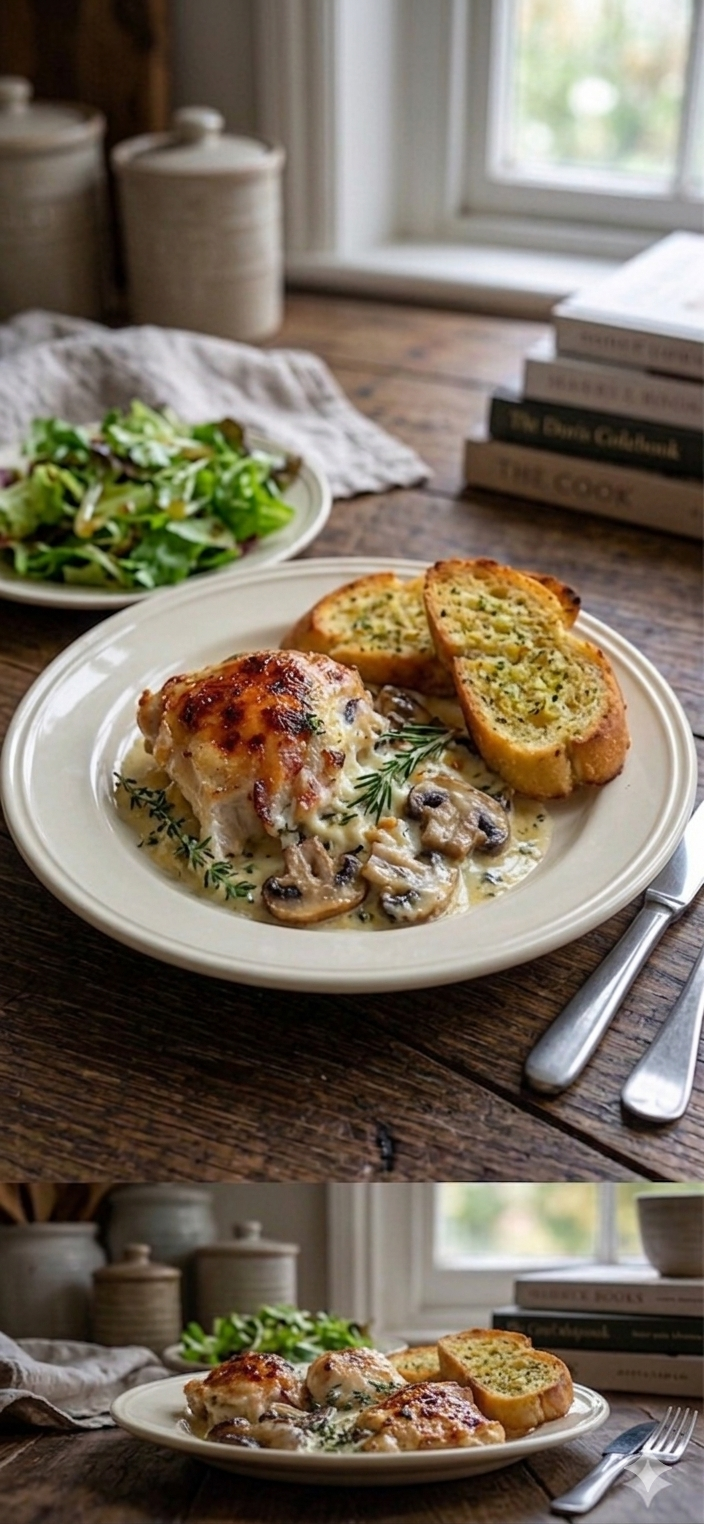
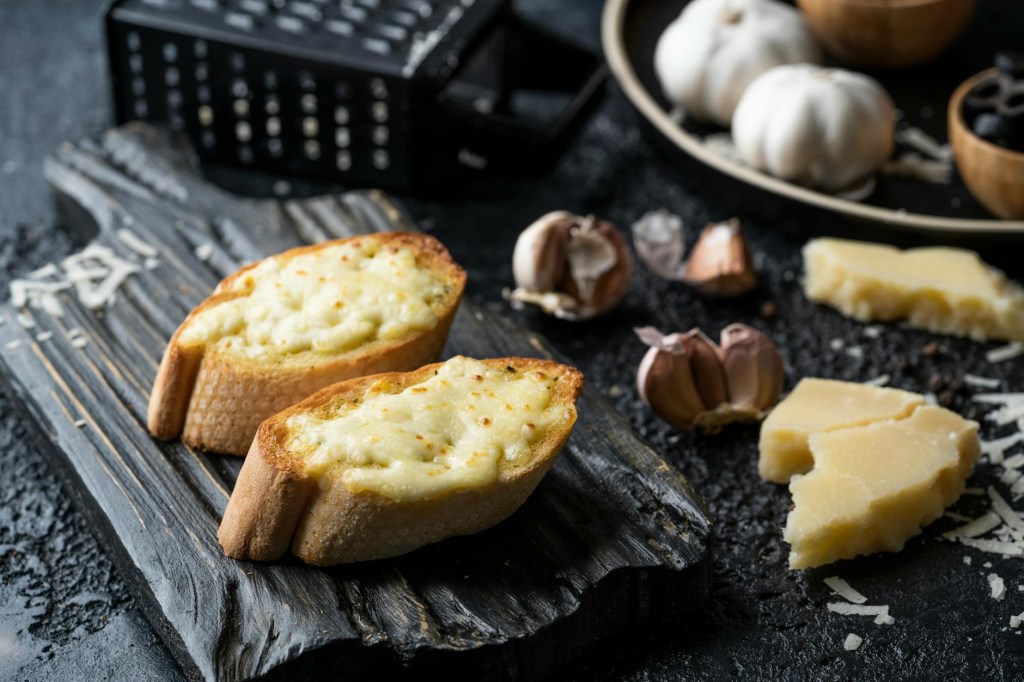
    I love serving mine with some crusty garlic bread to mop up all that delicious sauce, and maybe a simple side salad if I’m feeling fancy. It’s also incredible over some fluffy rice or even tossed through pasta.

    So there you have it, my go-to recipe for the ultimate comfort food. This Creamy Chicken & Mushroom Cheese Bake is guaranteed to be a hit. It’s simple, delicious, and brings that bistro feeling right to your kitchen. I can’t wait for you to try it!

    Let me know in the comments if you make it, and don’t forget to tag me on social media so I can see your cozy culinary creations! Happy cooking!

  • You HAVE to Try These! Healthy, 20g+ Protein Blueberry Muffins (Secret Ingredient Included!)

    You HAVE to Try These! Healthy, 20g+ Protein Blueberry Muffins (Secret Ingredient Included!)

    Hi everyone!

    I am so excited to finally share this recipe with you. It’s been a total game-changer in our house. We are always on the look-out for healthy, high-protein snacks that actually taste good, and these Blueberry Cottage Cheese Protein Muffins hit all the right marks.

    Yes, you read that correctly—cottage cheese! I know it might sound unusual, but it’s the secret to making these muffins incredibly moist, tender, and, most importantly, packed with protein. The cottage cheese completely melts away during baking, leaving you with a light and fluffy muffin and zero strange texture. My kids (the toughest critics) absolutely love them and have no idea they are eating something healthy.

    Each muffin delivers a serious punch of protein, making them the perfect grab-and-go breakfast for busy mornings or a satisfying post-workout snack. They are naturally sweetened and full of juicy blueberries, giving you that classic muffin flavour without all the refined sugar and flour.

    I’ve rewritten the recipe with UK measurements to make it as easy as possible for everyone. Give them a try this weekend and let me know what you think! Happy baking!

    Have you tried adding cottage cheese to your baking before? Share your experience or a photo of your muffins in the comments below, or tag me on Instagram—I’d love to see your creations!