Let’s be honest: there’s nothing quite like a traybake to save a busy weeknight. I’ve been obsessed with this specific combo lately—it’s inspired by a classic recipe which is “ Pinterest-worthy” and made in my own kitchen.
The Secret is in the Sausage
If you want this dish to go from “standard midweek meal” to “gourmet comfort food,” don’t skimp on the sausages. I highly recommend using high meat content sausages (look for 85% meat or higher) from your local butcher or even more reasonable Lidl do some brilliant ones . Heck sausages are good too.
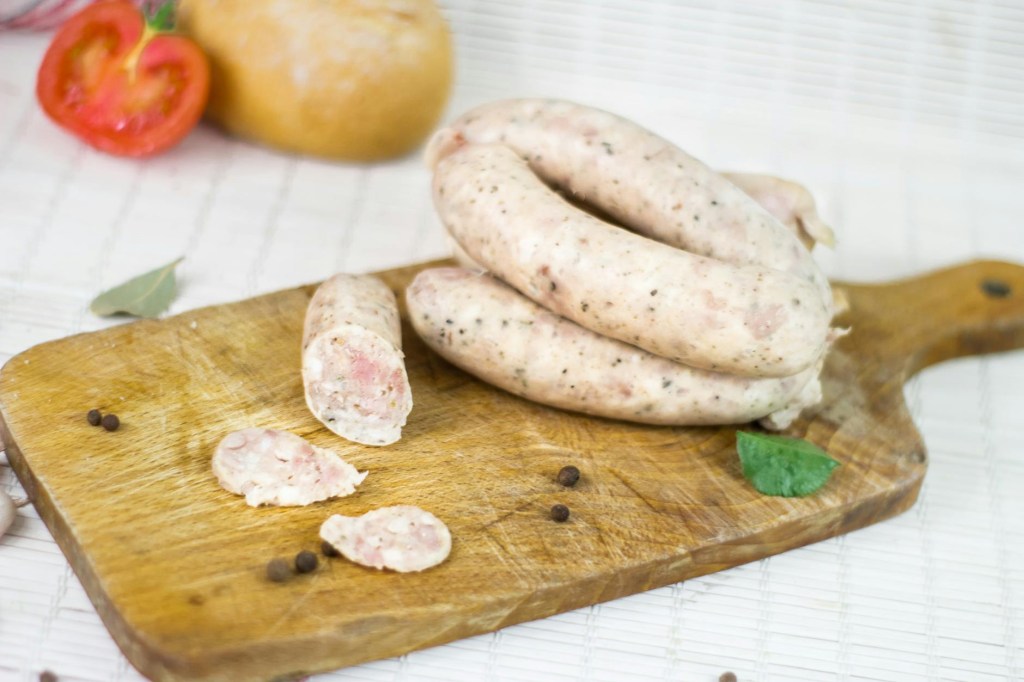
A proper Cumberland or a peppery Lincolnshire works beautifully here. Because we’re roasting them, cheaper sausages tend to shrink or release too much water; a high-quality banger stays juicy, holds its shape, and develops a gorgeous caramelised crust that flavours the entire tin.
The Double-Roast Technique
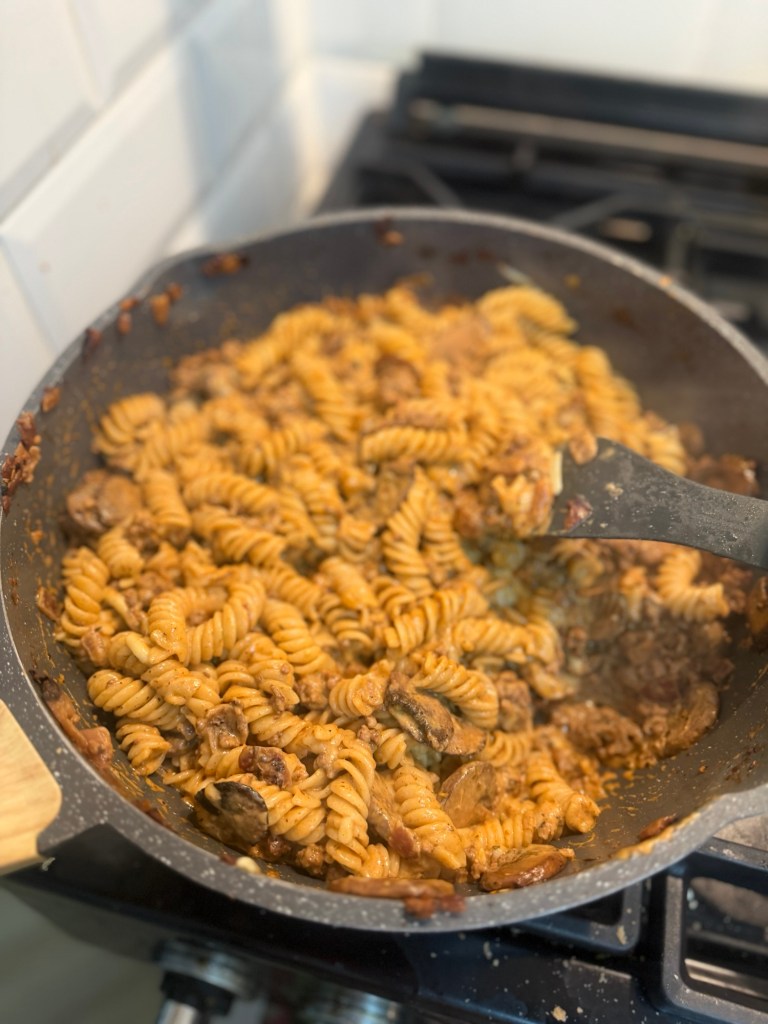
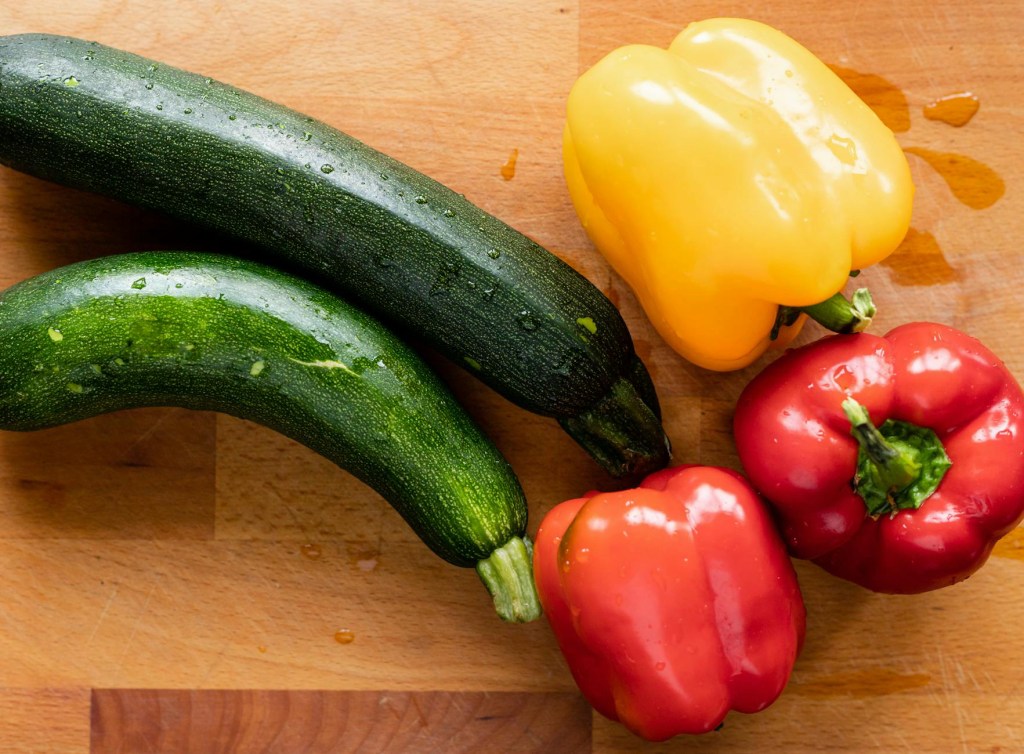
What makes this version a winner is the roasting process. Instead of just boiling everything, we’re roasting the peppers, courgettes, and red onions first to intensify their natural sweetness. Then, we toss in those chunky sausage pieces so they get lovely and browned while the veg finishes off.
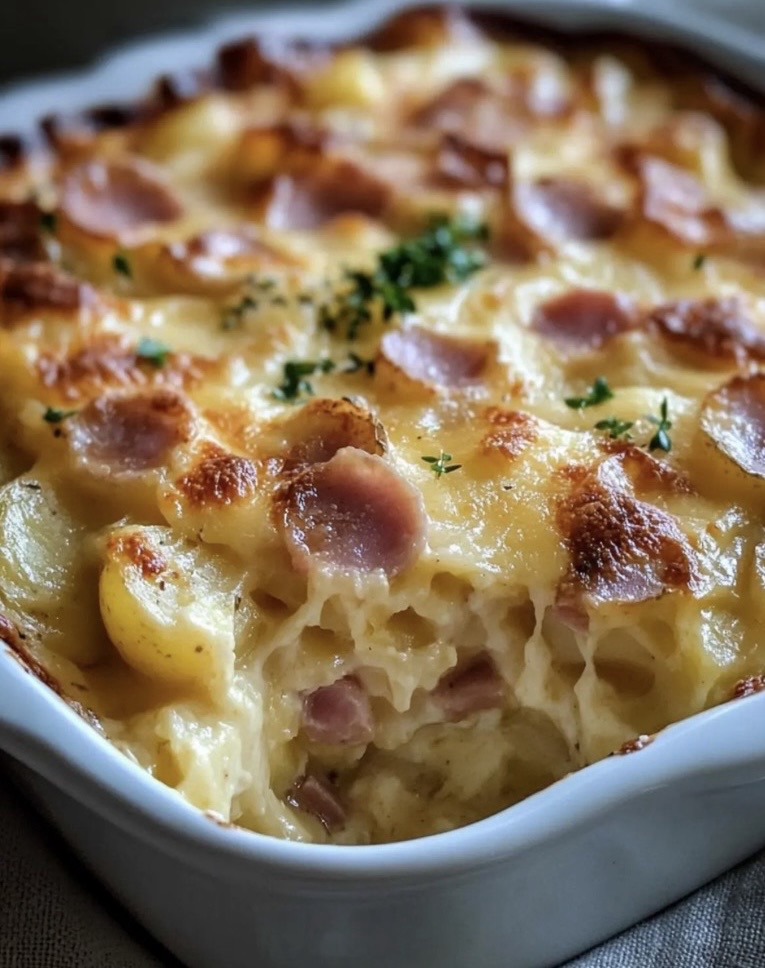
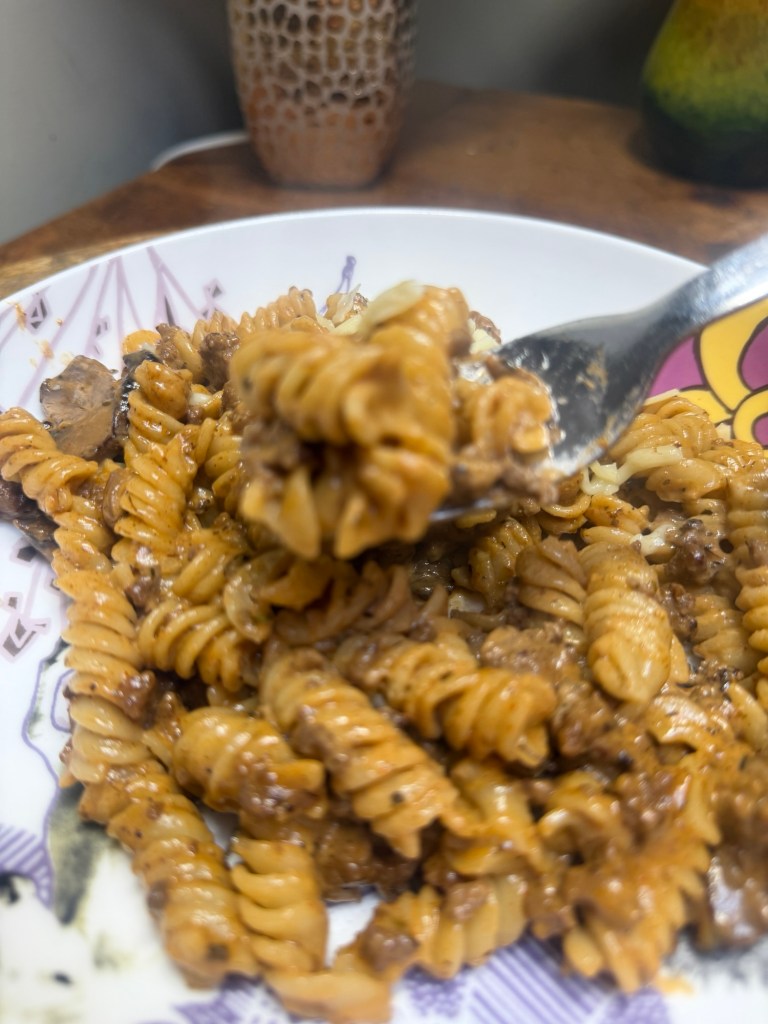
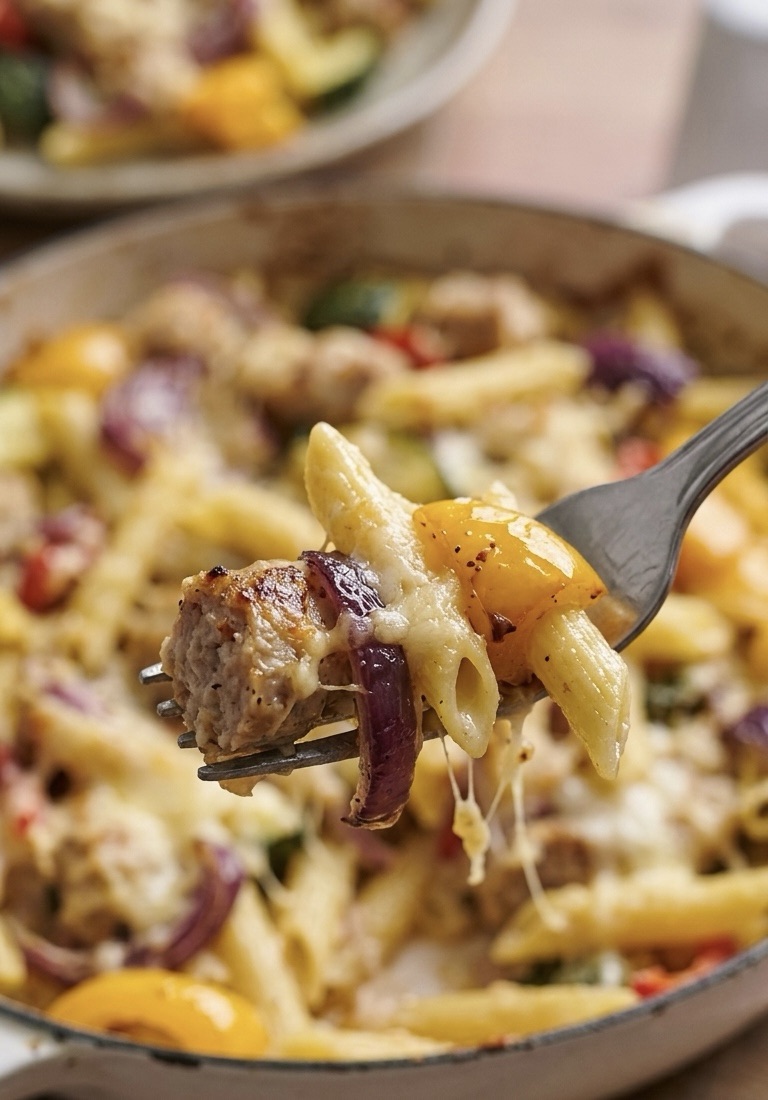
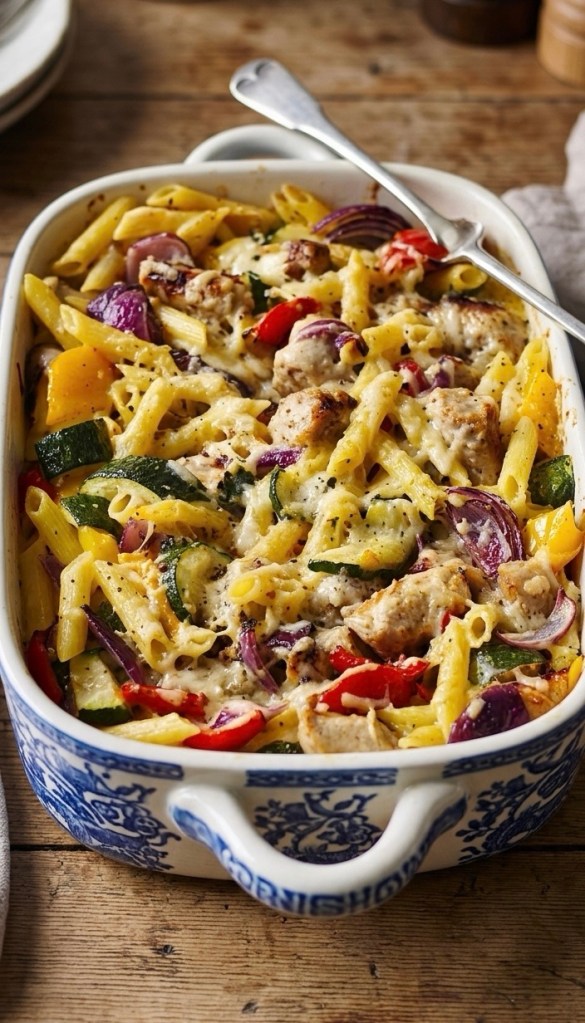
While the oven is doing the heavy lifting, you just boil your penne until al dente, drain it, and then the magic happens. You toss the pasta directly into that hot roasting tin, letting it soak up the juices. Pour over the silky double cream, blanket the whole thing in a sharp, mature Cheddar, and give it one last blast in the oven.
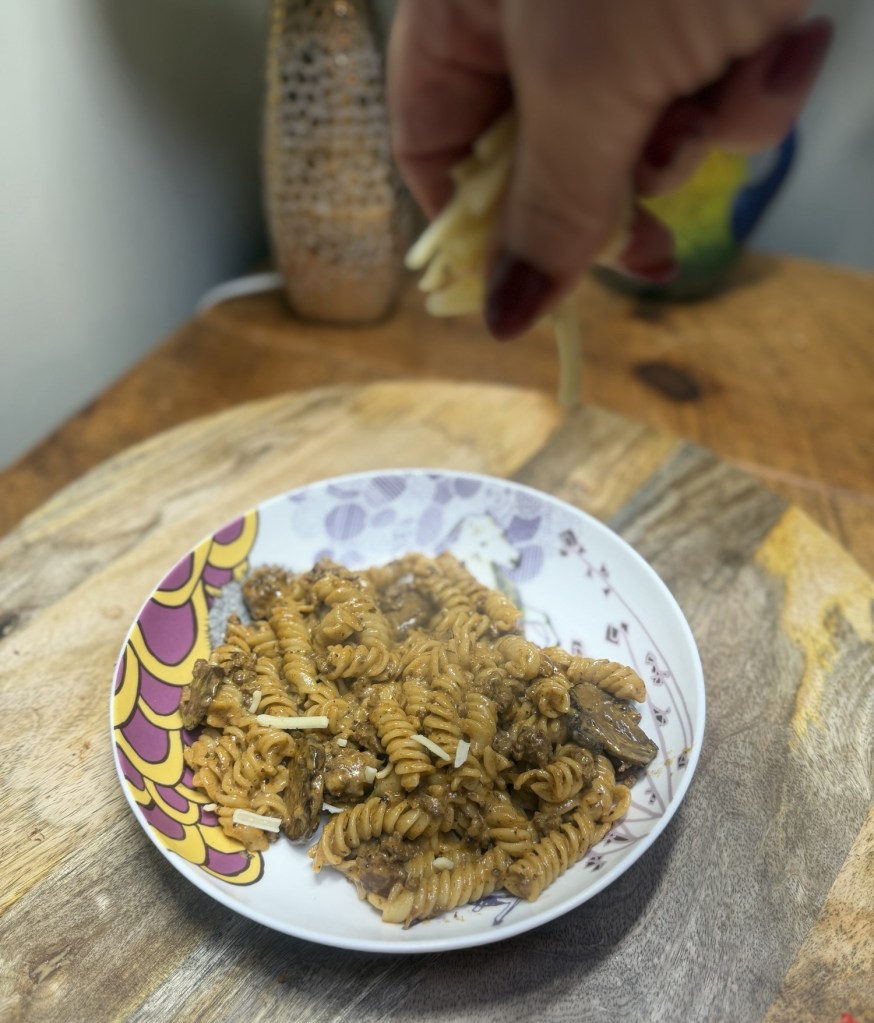
The result? A colourful, quintessentially British “hug in a bowl” that looks like it took way more effort than it actually did.
The Recipe & Method
Prep time: 15 mins | Cook time: 40 mins | Serves: 4
Ingredients
• The Stars: 6-8 high meat content sausages (Cumberland or Lincolnshire are top-tier choices), cut into thick, chunky coins.
• The Veg: 1 large red onion (peeled and wedged), 1 large courgette (sliced into thick half-moons), and 2 mixed peppers (deseeded and chopped into 3cm chunks).
• The Pasta: 300g dried Penne pasta.
• The Sauce: 100ml Double cream (don’t use single, it’ll split!) and 1 tbsp olive oil.

• The Topping: 150g Mature Cheddar, freshly grated for the best melt.
• Seasoning: A generous pinch of sea salt and plenty of freshly ground black pepper.
Method
1. Prep the Heat: Crank your oven up to 220°C (200°C Fan / Gas 7). You want it hot so the veg roasts rather than steams.
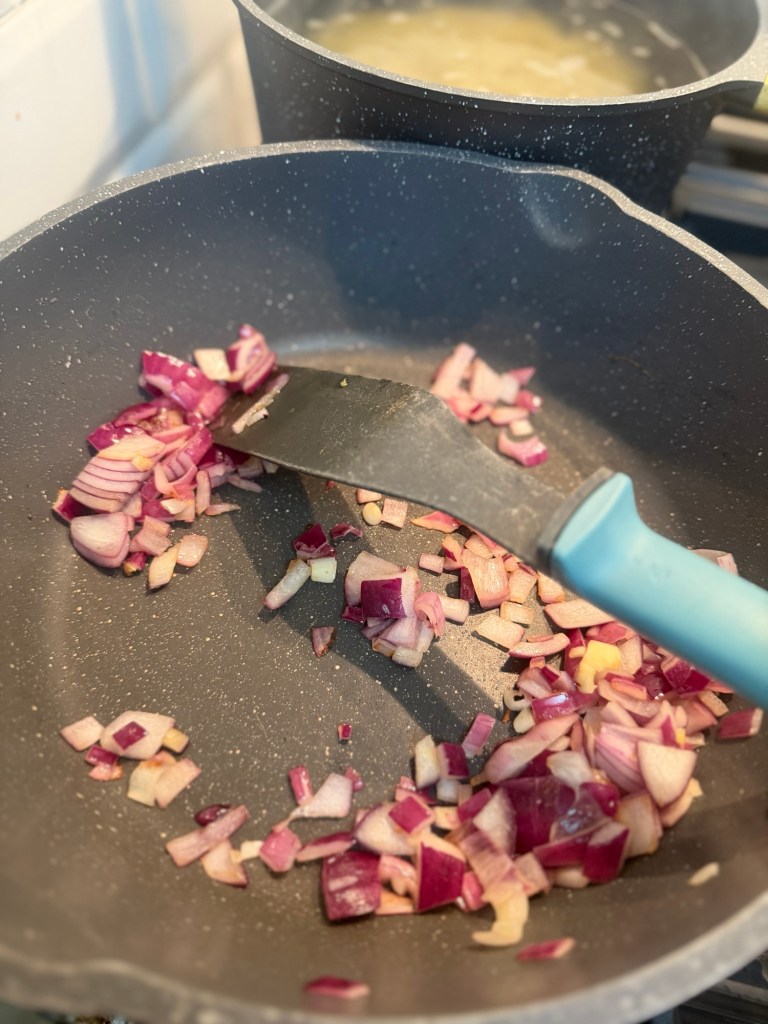
2. The First Roast: Spread your chopped onion, peppers, and courgette in a large roasting tin. Drizzle with oil, season well, and toss. Roast for 10 minutes.
3. Sausage Time: Add your high-quality sausage chunks to the tin. Give it all a good stir to coat the sausages in those lovely veg juices. Roast for another 20 minutes until the sausages are golden-brown and cooked through.
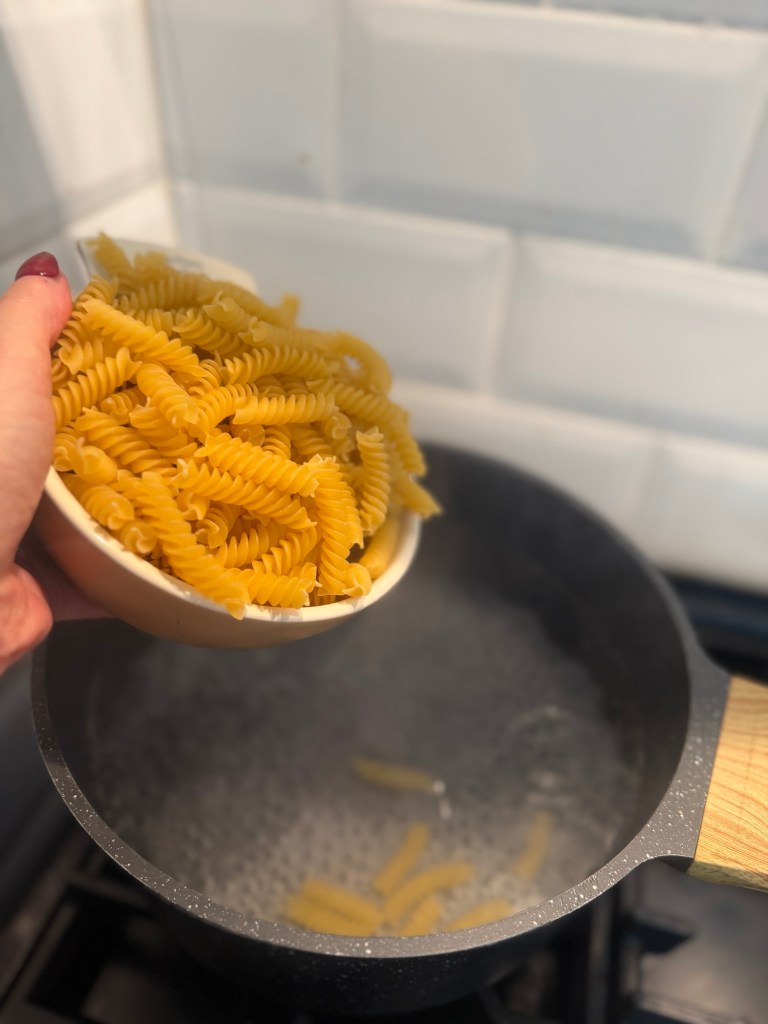
4. Boil the Pasta: While the tin is sizzling, cook your penne in a large pan of salted boiling water for 10–12 minutes. You want it tender but with a slight bite. Drain well.
5. The Big Mix: Tip the drained pasta into the roasting tin. Pour over the double cream and toss everything together until every tube of pasta is glistening.
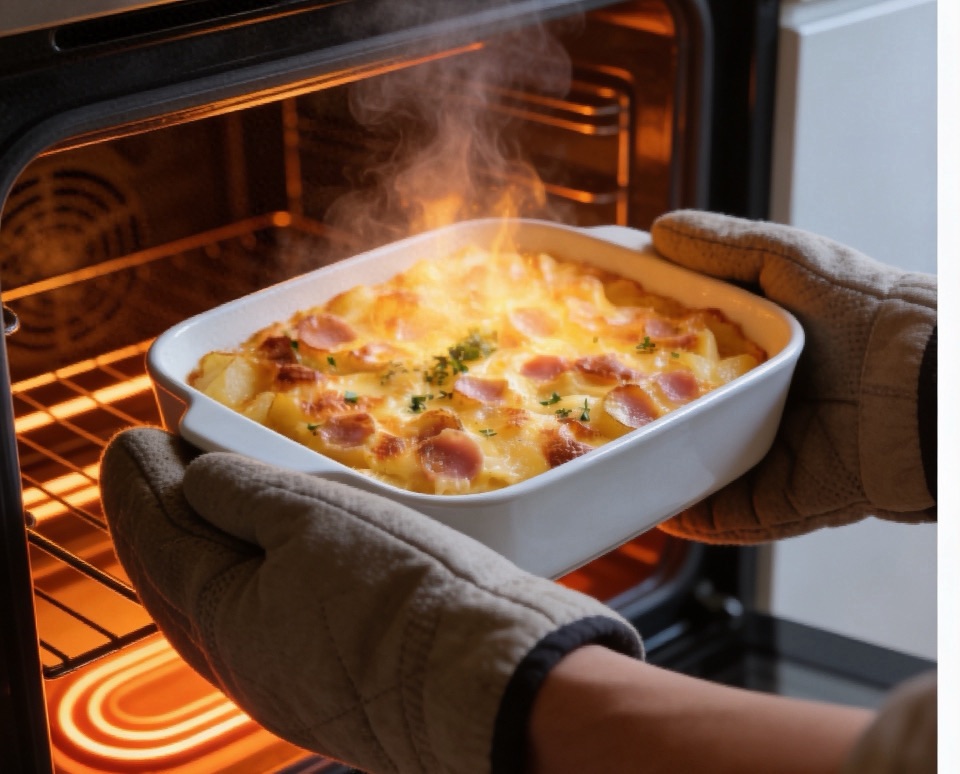
6. The Grand Finale: Scatter the grated Cheddar over the top. Return to the oven for a final 4–5 minutes until the cheese is bubbling, golden, and starting to brown at the edges.

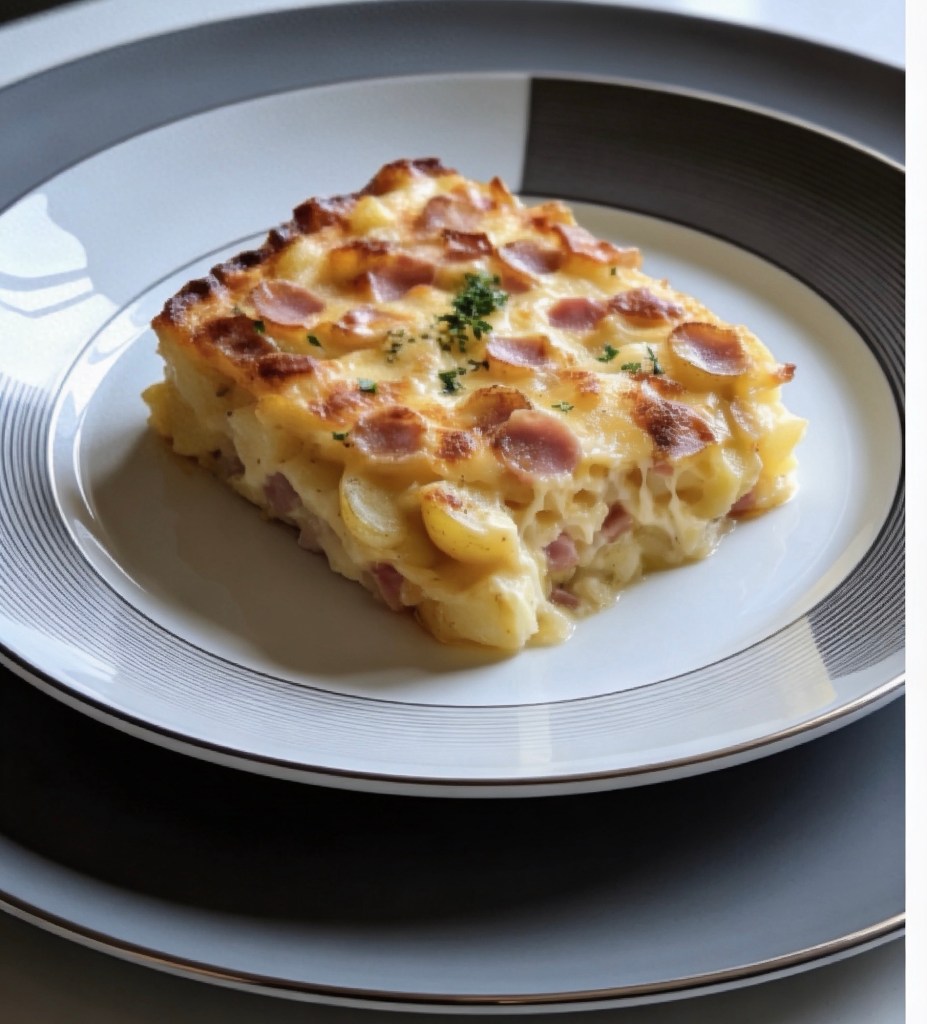
Serve it straight from the dish with a side of garlic bread or a simple rocket salad. Perfect!