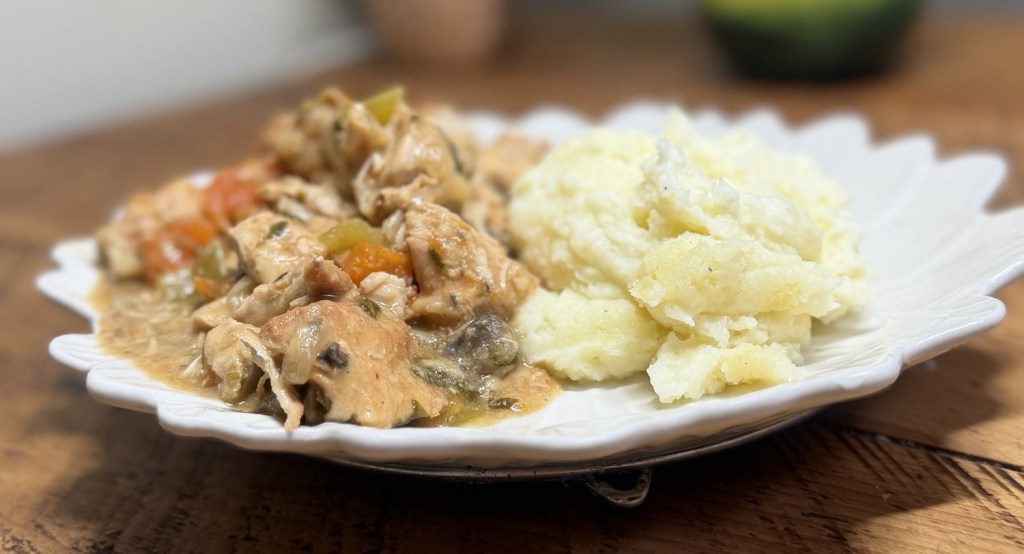
Some days you want a proper home‑cooked dinner… without standing over the hob for ages. This slow cooker chicken breast casserole is perfect for those days: you toss everything in, switch it on, and let it quietly get on with the job.
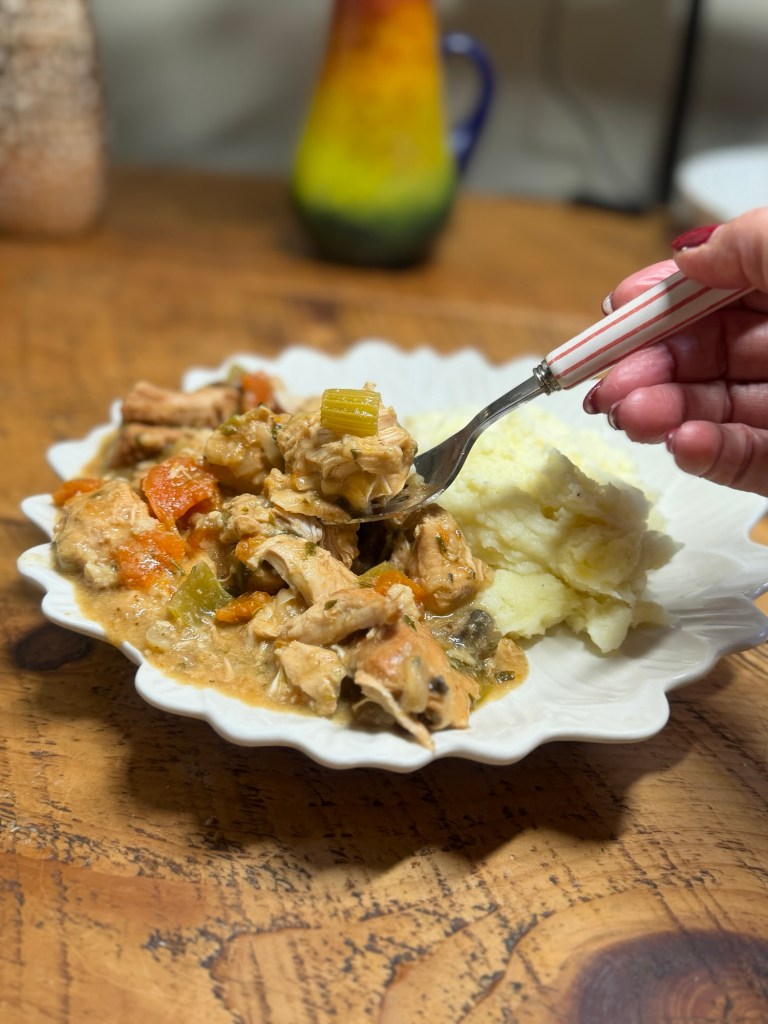
It uses simple ingredients, no wine, no faff, and you don’t even need to brown the chicken first. The chicken cooks gently in a savoury, herby sauce with soft vegetables – it’s the kind of meal everyone can tuck into, and it’s ideal for busy weeknights or lazy weekends.
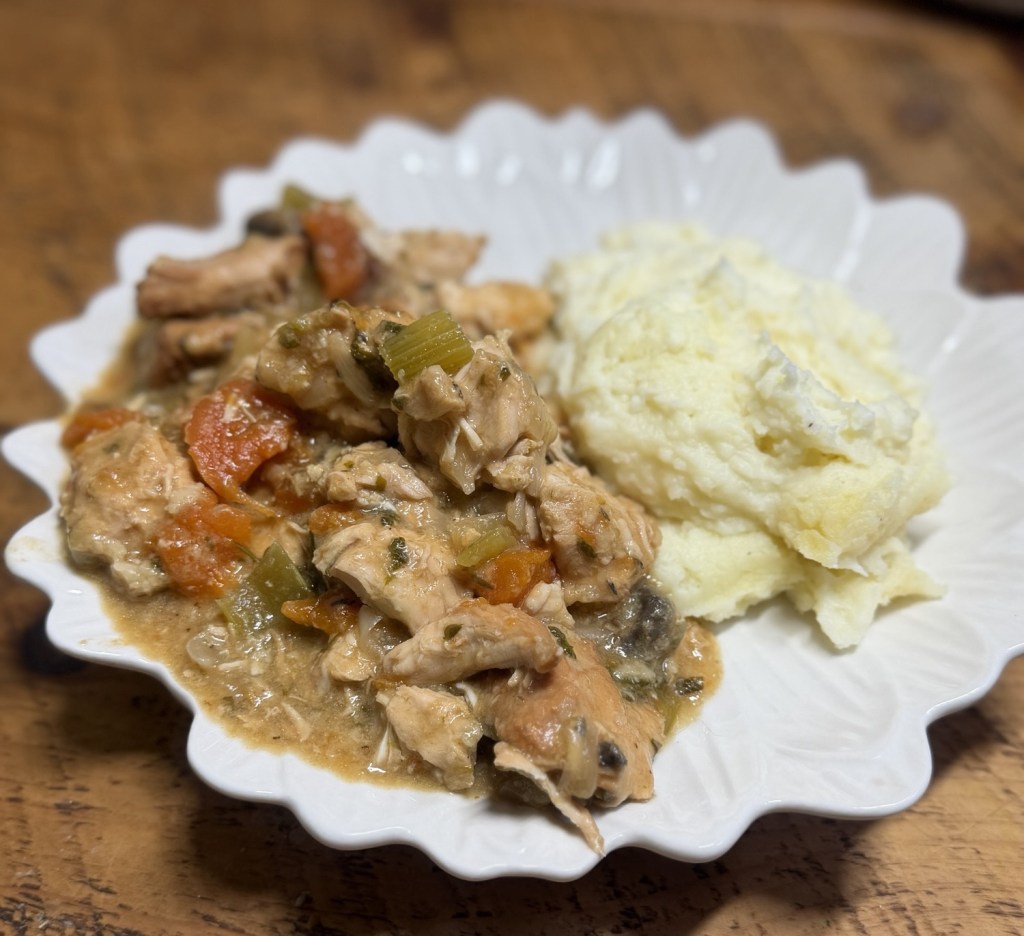
Serve it with mash, rice, crusty bread, or whatever you like for soaking up that lovely gravy.
Why you’ll love this easy chicken casserole
• No browning needed – you just coat the chicken in flour and straight into the slow cooker it goes.
• No wine – great if you don’t cook with alcohol or just don’t have any open.
• Simple ingredients – chicken breasts, basic veg, stock and a few store‑cupboard bits.
• Hands‑off cooking – once it’s in the pot, you can forget about it until dinner time.
Ingredients
For the chicken casserole (serves 4–5)
• 750 g boneless, skinless chicken breasts, cut into large chunks (3–4 pieces per breast)
• 2 tbsp plain flour
• 2 medium onions, chopped
• 3 medium carrots, sliced into chunky rounds
• 2–3 sticks celery, sliced
• 3–4 cloves garlic, crushed (or 1–2 tsp garlic granules)
• 200–250 g mushrooms, quartered (optional but adds extra flavour)
• 500 ml chicken stock (from a cube or pot, made with boiling water)
• 1–2 tbsp tomato purée or 1 tsp Dijon mustard (or a bit of both, if you like)
• 1 tsp dried thyme or mixed herbs
• Salt and black pepper, to taste
Optional to finish:
• Small splash of cream or 2 tbsp crème fraîche
Step‑by‑step method (no browning)
Get the veg in the pot
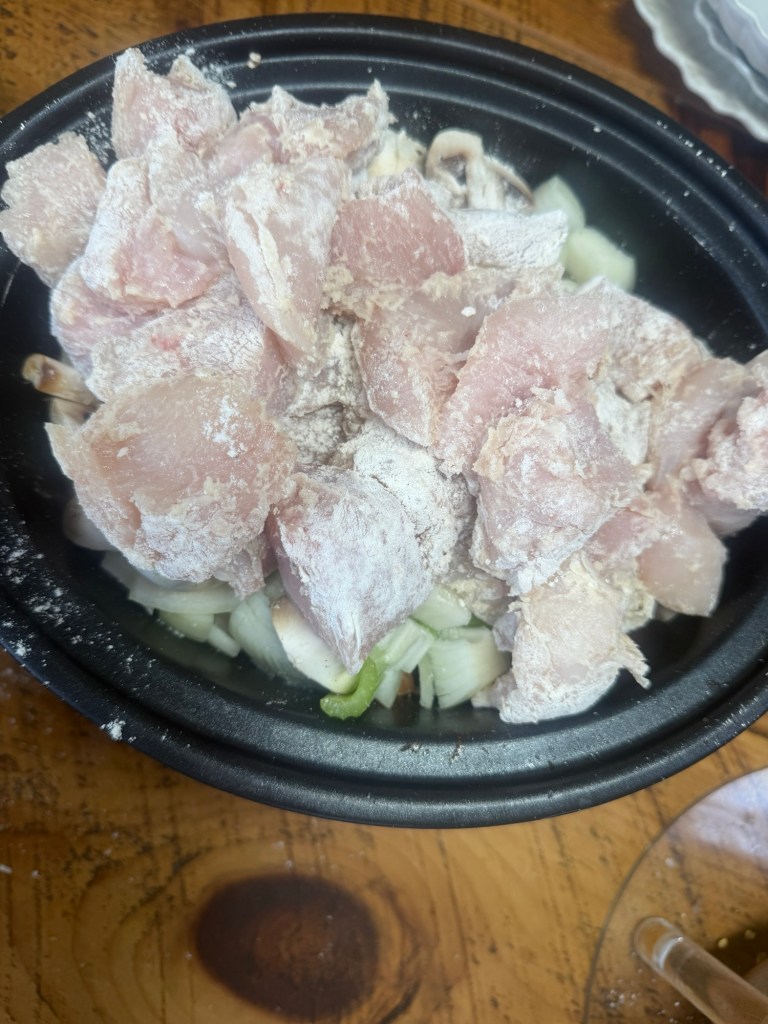
Pop the chopped onions, carrots, celery, garlic and mushrooms straight into the bottom of your slow cooker.
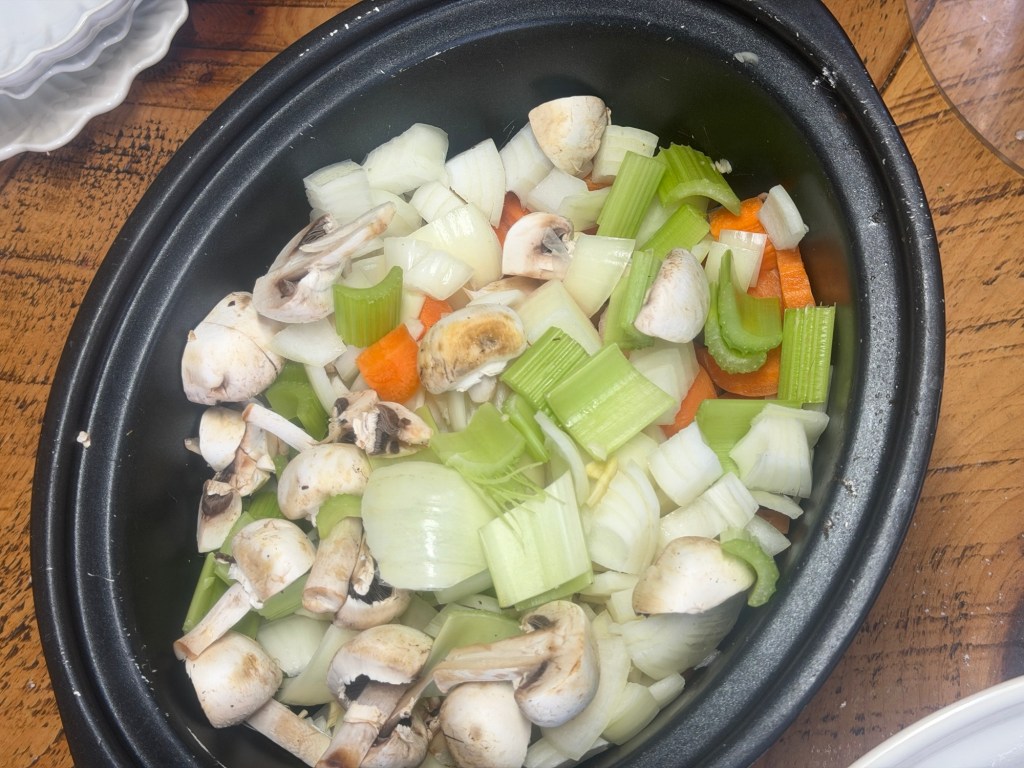
Spread them out into an even layer – they go on the bottom because they’re closer to the heat source and need more time to soften.
Coat the chicken in flour
Cut the chicken breasts into chunky pieces and put them into a bowl.
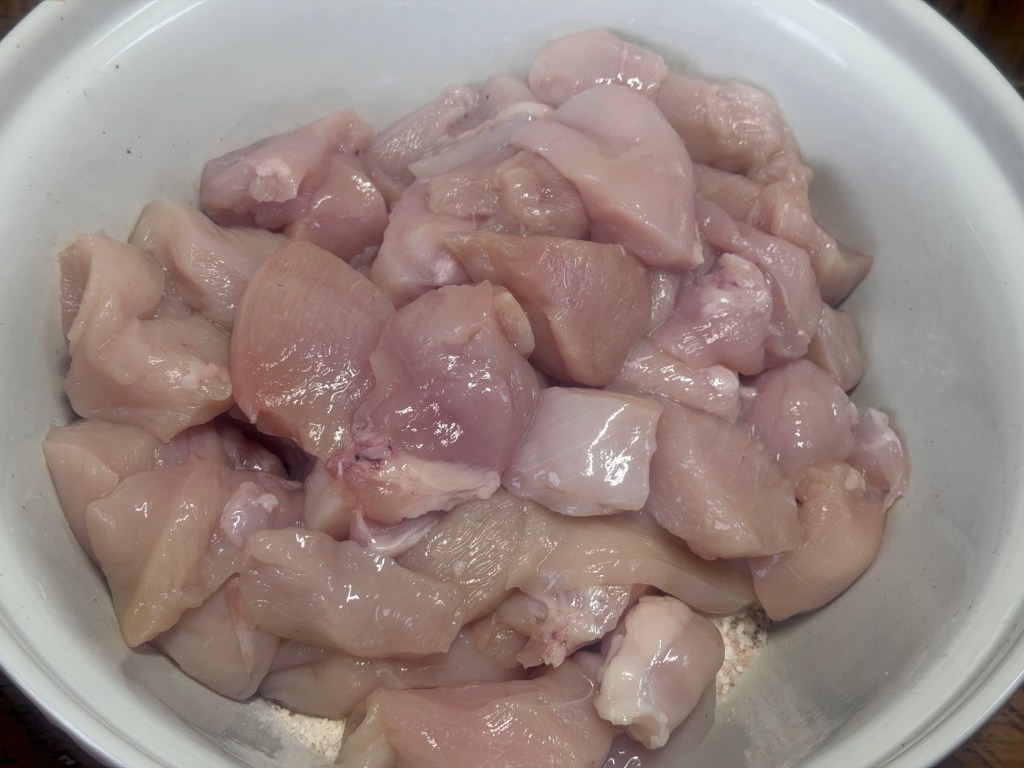
Sprinkle over the plain flour, a good pinch of salt and some black pepper. Toss everything together so the chicken is well coated. This flour will help thicken the sauce as it cooks, so you don’t end up with a watery casserole.

Once coated, place the chicken pieces on top of the vegetables in the slow cooker. No browning, no extra pans – straight in.
Mix the sauce
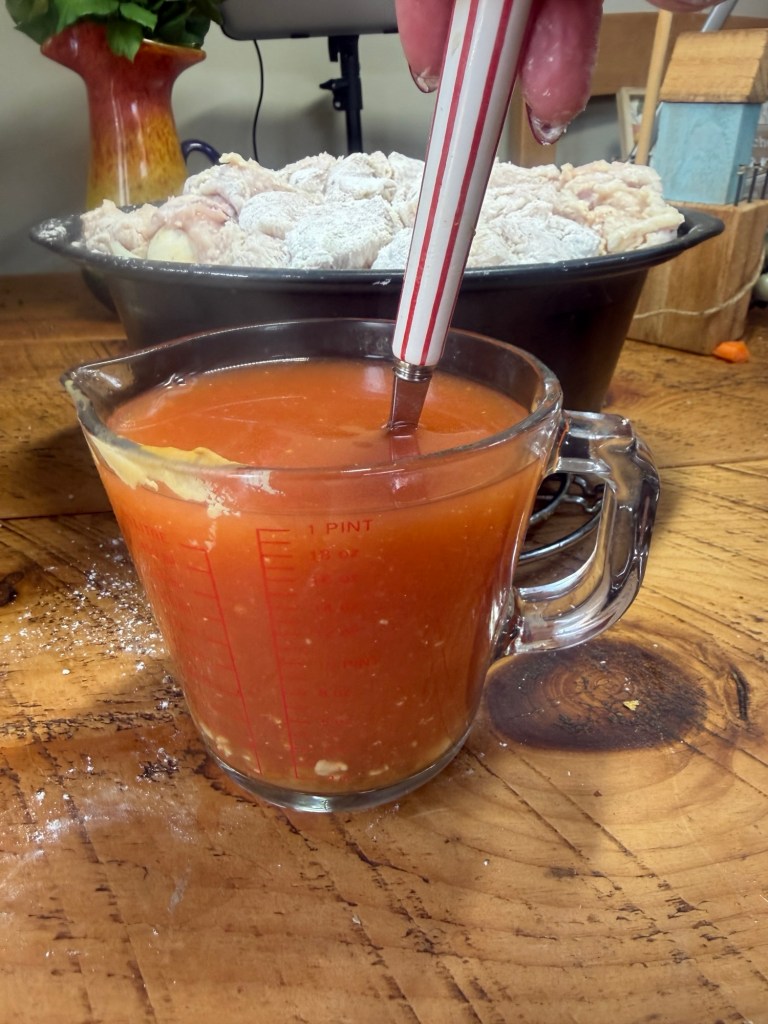
In a jug, whisk together:
• The chicken stock
• Tomato purée and/or Dijon mustard
• Dried thyme or mixed herbs
• Another pinch of salt and pepper
Give it a good stir until the tomato purée or mustard is completely mixed in.
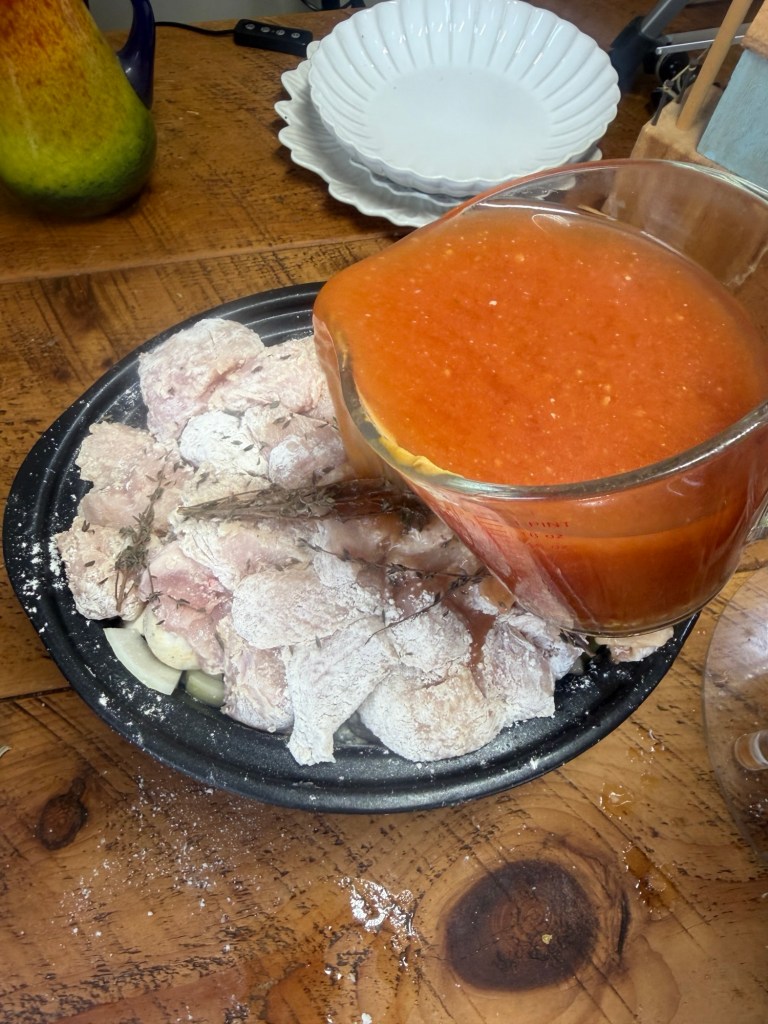
Pour this mixture into the slow cooker, around the chicken and vegetables. You don’t need to fully cover everything; more liquid will come out of the chicken and veg as it cooks.
Let the slow cooker do its thing
Put the lid on and cook:
• On LOW for about 4–6 hours, or
• On HIGH for about 2.5–3 hours

You’re aiming for:
• Chicken that is cooked through and tender
• Vegetables that are nice and soft
You can adjust slightly depending on how your slow cooker behaves, but mine was perfect after about 6 hours on low.
If the chicken ends up a bit too soft, don’t worry – you can gently shred it into the sauce with a couple of forks and it turns into a slightly chunkier, stew‑style dish.
Adjust the sauce at the end
Once the casserole has finished cooking, give everything a good stir and see how the sauce looks and tastes.
• If it’s thick enough for you, leave it as it is.
• If it’s a bit thin, you have two options:
• Often the flour on the chicken will have thickened it enough once you stir – so try that first.
• If you still want it thicker, mix 1–2 tsp cornflour with a splash of cold water, stir that into the hot sauce, then cook on HIGH for another 15–20 minutes until it thickens slightly.
For a richer finish, stir in a small splash of cream or a couple of tablespoons of crème fraîche and cook for another 5–10 minutes so it warms through. Taste and adjust the seasoning – add more salt, pepper, and a little squeeze of lemon juice if you’d like the flavour a bit brighter.
How to serve
This casserole is really flexible and works with loads of side dishes. You can serve it:
• Over mashed potatoes
• With rice, couscous, or quinoa
• With steamed greens (broccoli, green beans, peas)
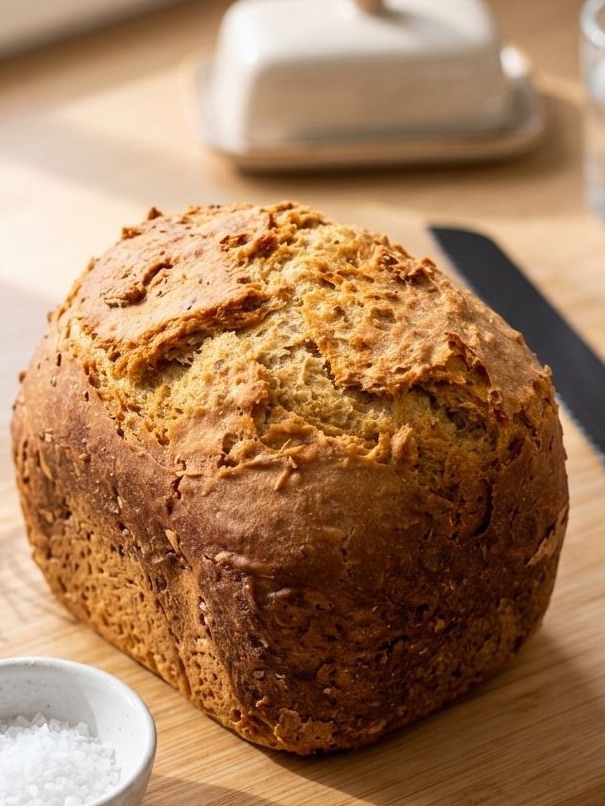
• Alongside crusty bread or a baguette for dipping in the sauce
It’s also a good one for cooking a slightly bigger batch, then enjoying the leftovers another day.
Leftovers and storing
• Fridge: Cool the casserole quickly, then store it in a sealed container in the fridge for up to 2 days. Reheat gently on the hob or in the microwave until piping hot all the way through.
• Freezer: You can freeze portions of the cooked casserole. Defrost in the fridge overnight and reheat thoroughly before serving.
Cook’s note
I cooked mine on low for around 6 hours in my slow cooker and it came out beautifully tender, with the vegetables soft and the sauce rich and full of flavour. It’s the kind of dish you can throw together earlier in the day, forget about, and then lift the lid to a proper home‑cooked dinner that feels like you’ve made an effort, even though the slow cooker has quietly done it all for you. However you choose to serve it – with mash, rice or a pile of greens – it’s a simple, dependable recipe you’ll find yourself coming back to whenever you want something cosy and fuss‑free.