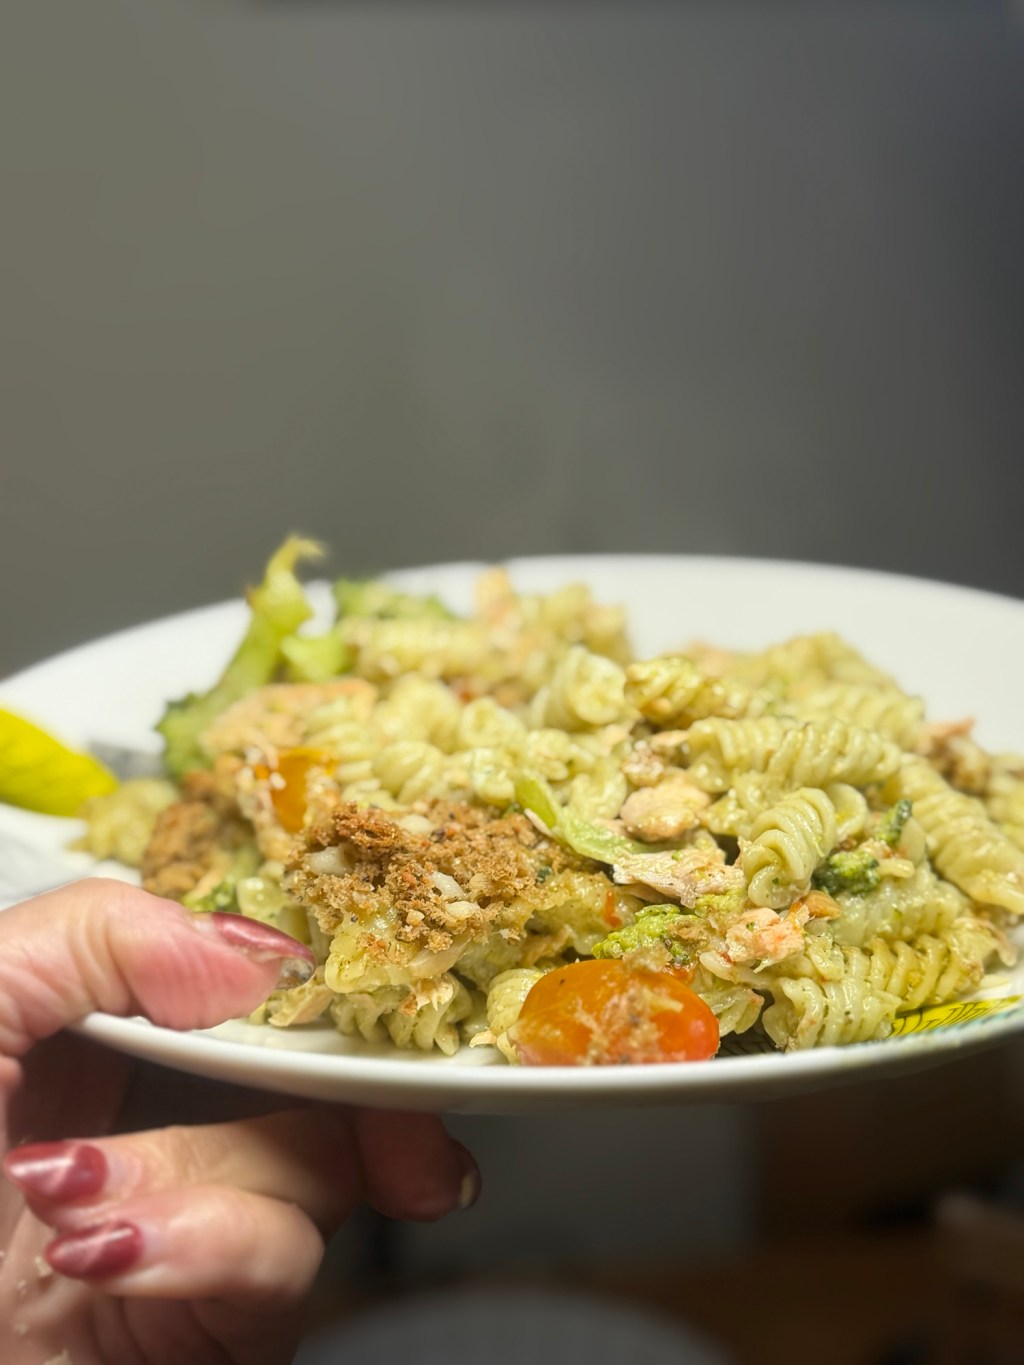
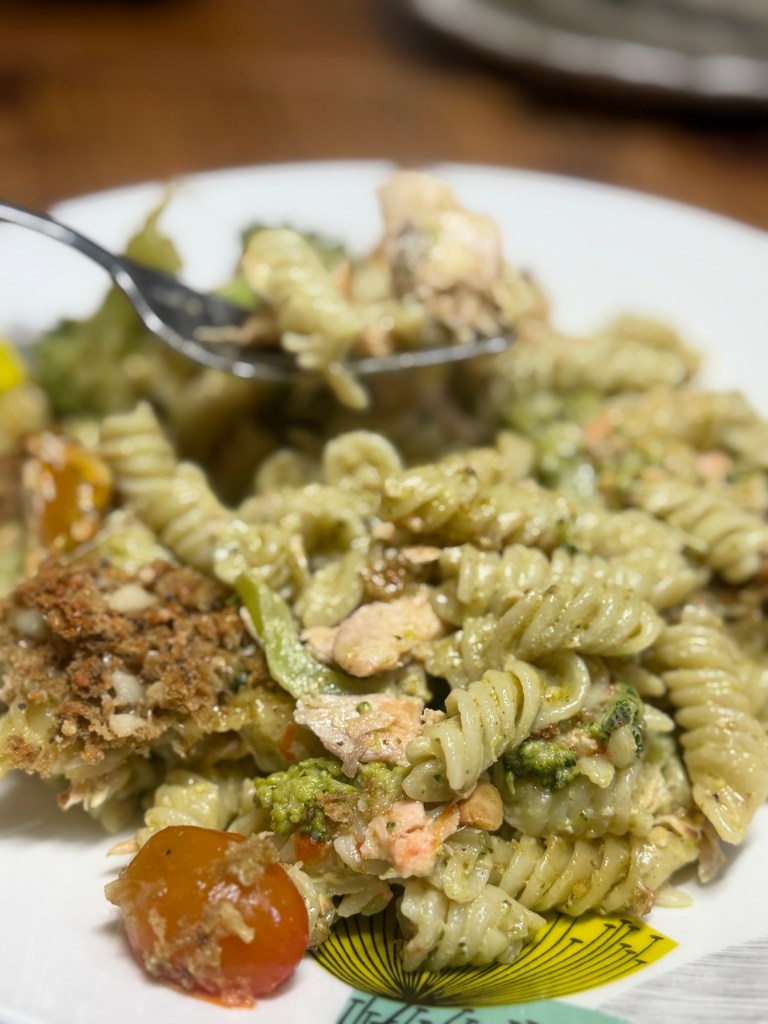
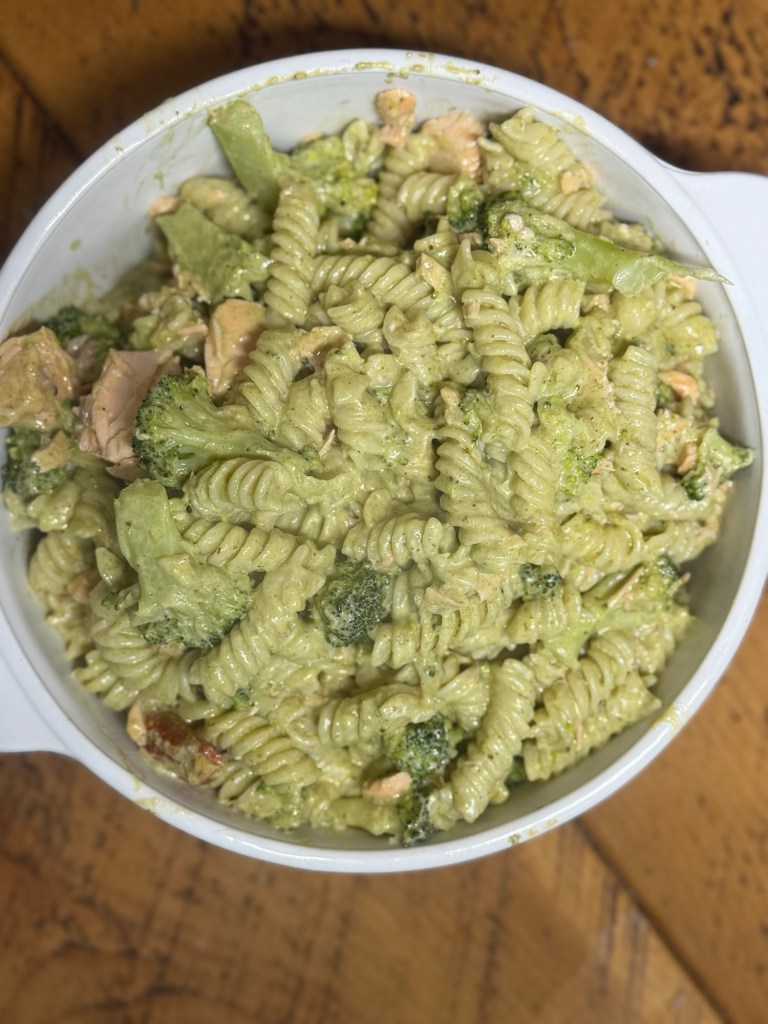
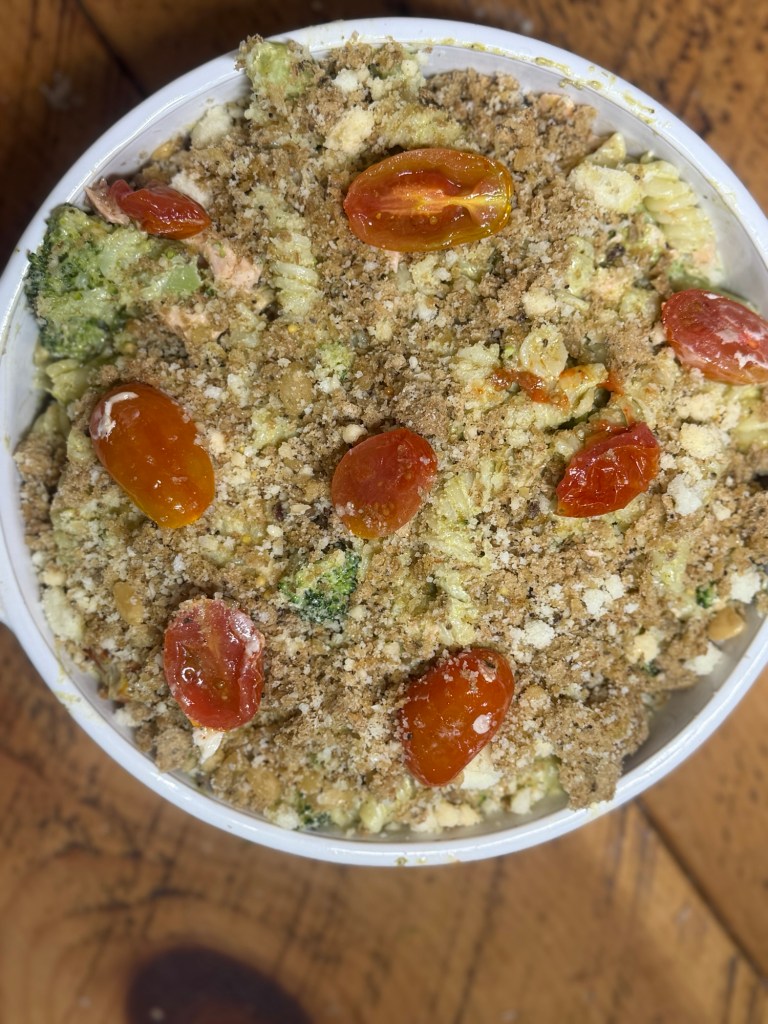
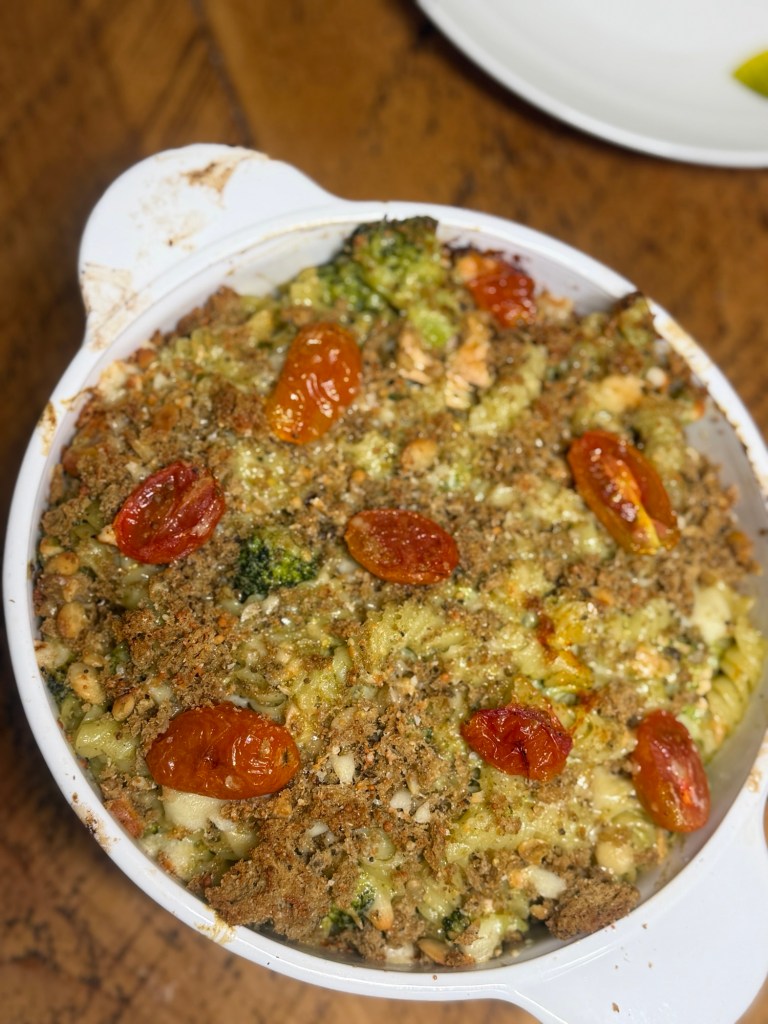
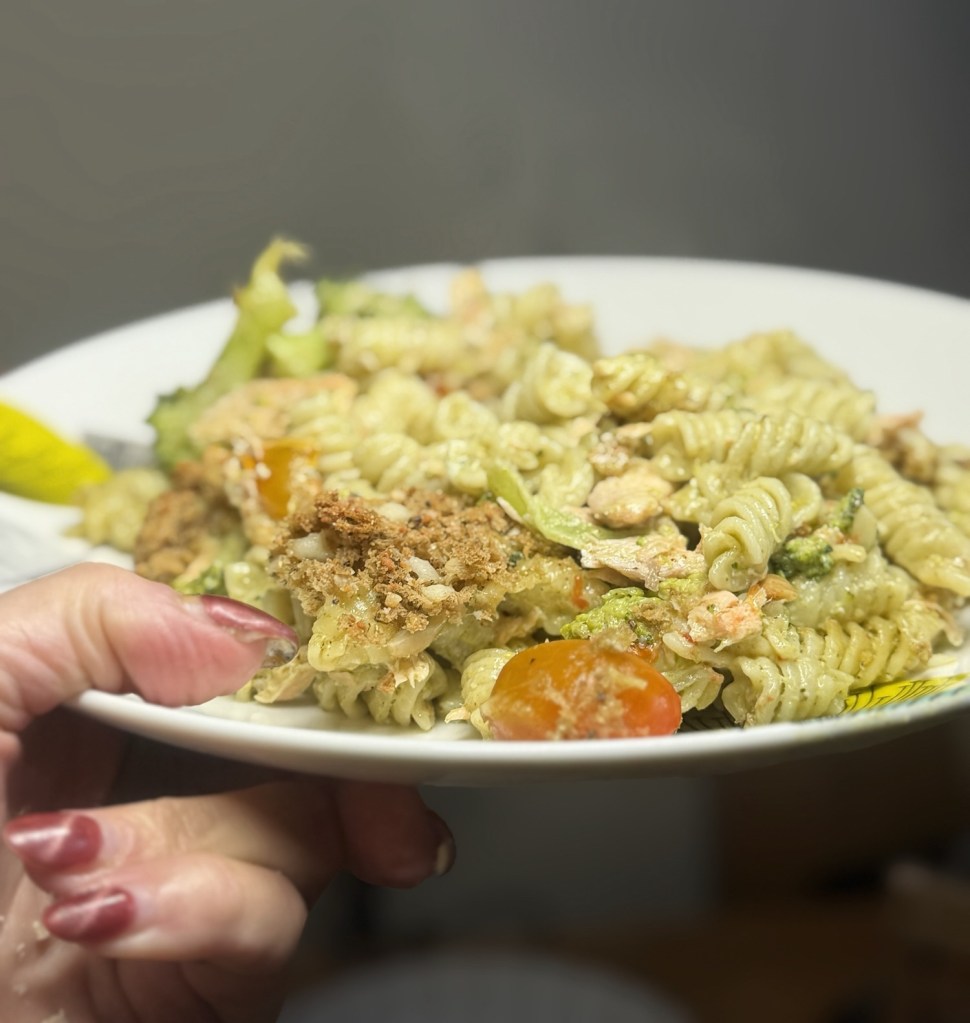
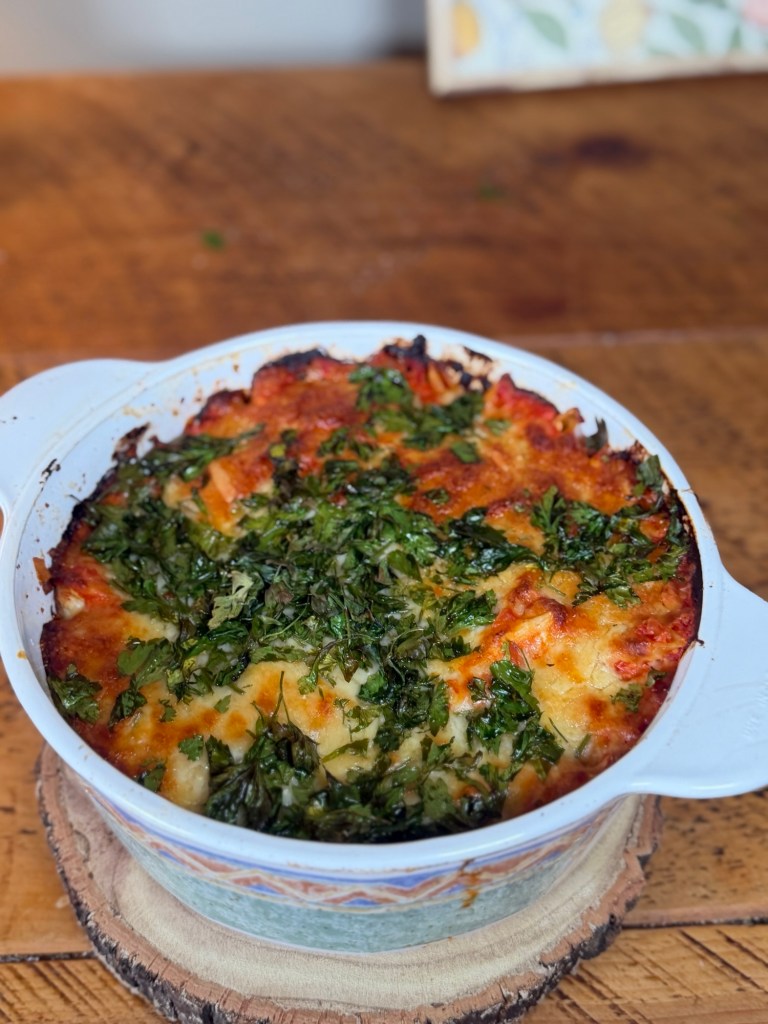
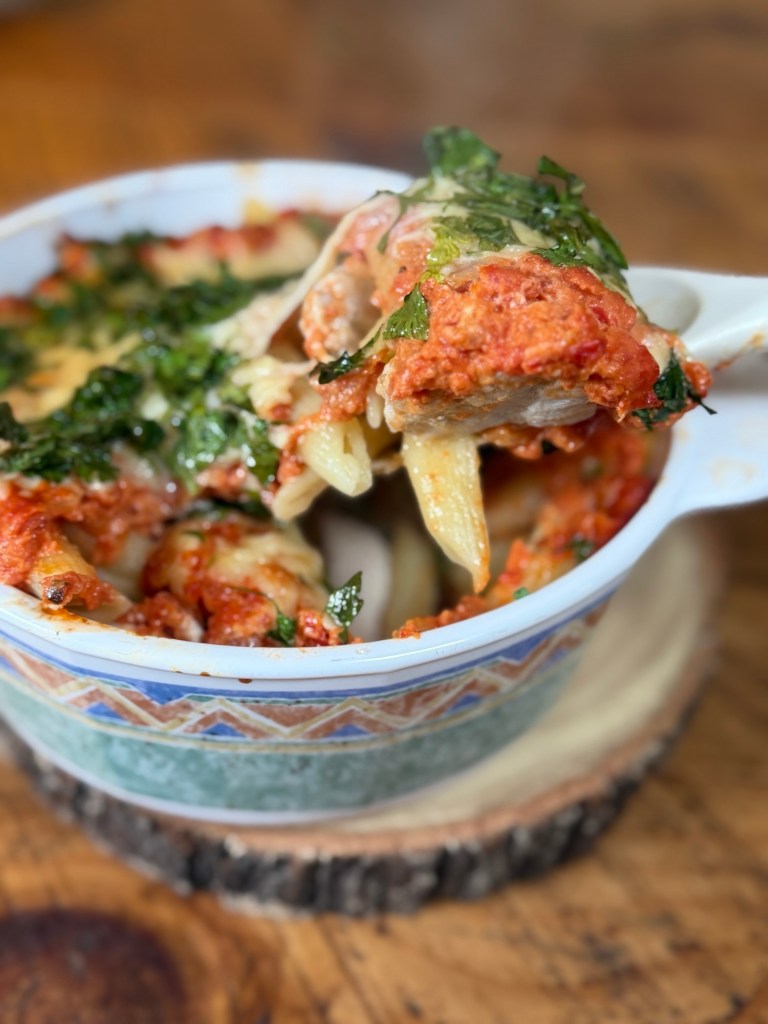
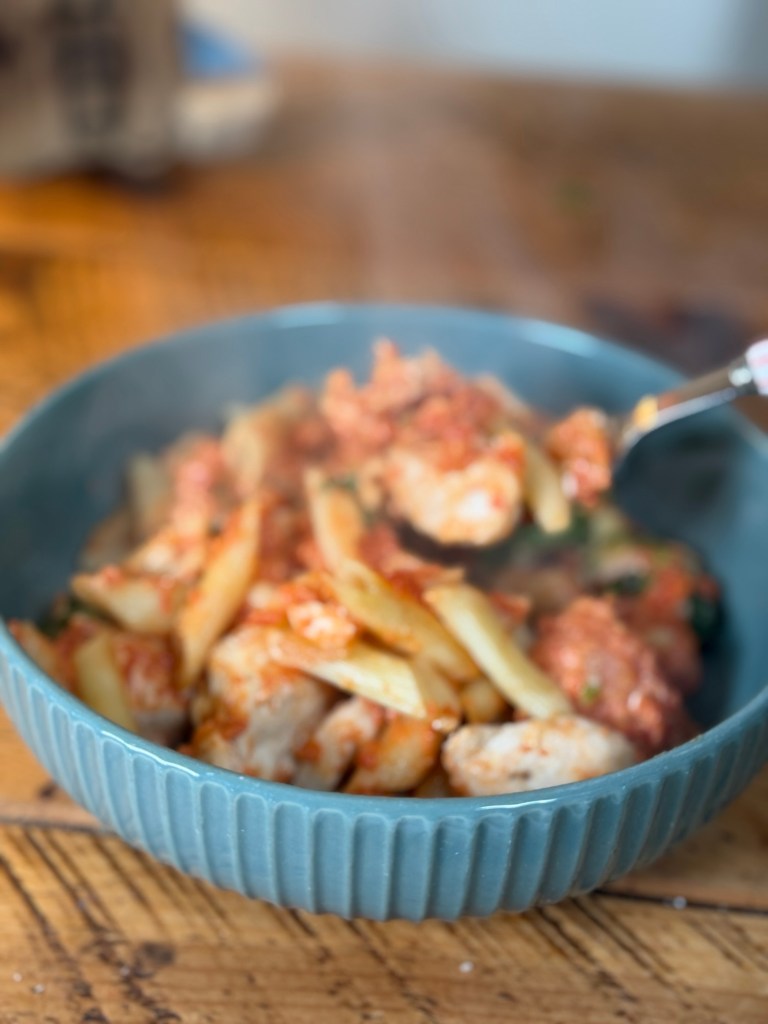
This is one of those dinners that just feels right at the end of a long day. It’s warm, creamy, full of flavour, and looks like you’ve made a real effort… even though it’s actually very simple to throw together.
This pesto salmon pasta bake has quickly become a favourite in our house. You’ve got flaky salmon, sweet roasted tomatoes, and a rich, creamy pesto sauce all wrapped up with pasta and topped with that golden, crispy finish. It’s the kind of meal that disappears quickly and gets requested again the next week.
What I love most is how versatile it is. It’s perfect for a relaxed evening at home, but it’s also lovely enough to put in the middle of the table if you’ve got people coming round. And if you like to get ahead, you can prep it earlier in the day and just pop it in the oven when you’re ready.
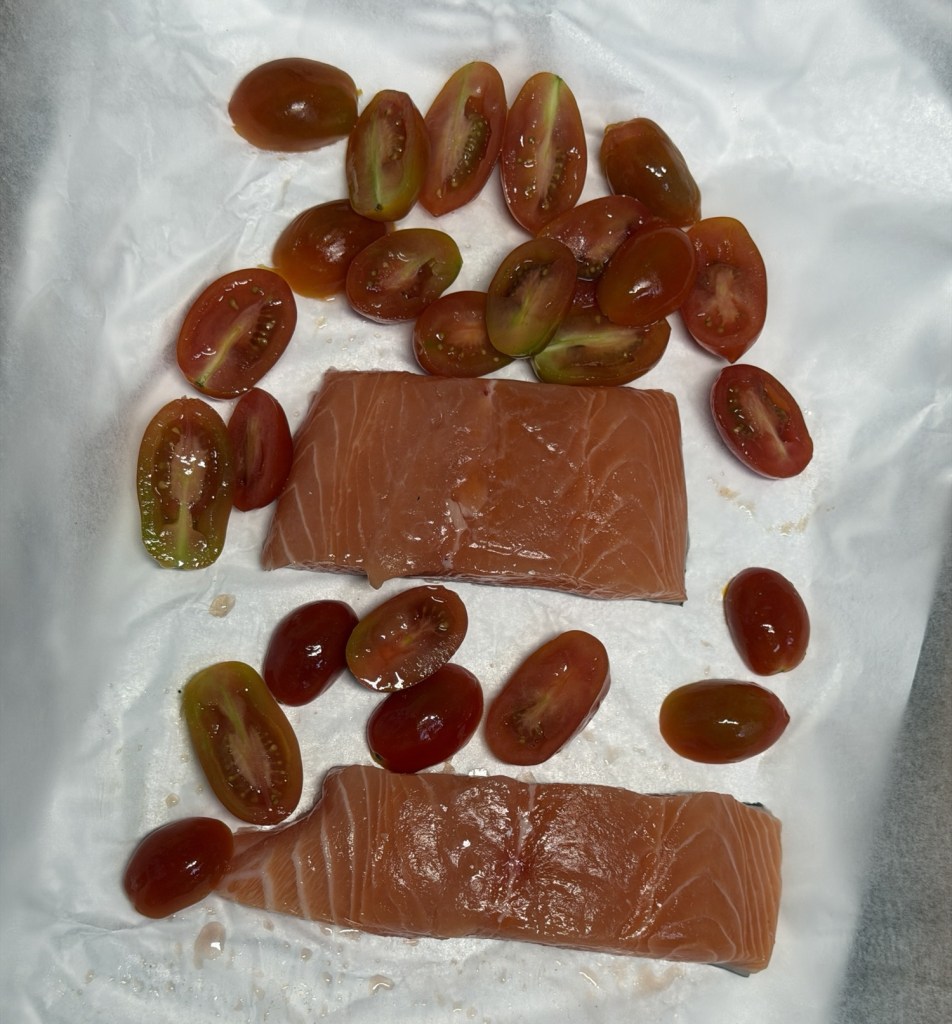
Ingredients • 150g cherry tomatoes, halved or sliced • 2 salmon fillets (about 260g) • 2 tbsp olive oil • 350g penne • 1 small broccoli (about 300g), cut into small florets • 150g pesto • 250g mascarpone • 50g breadcrumbs • 20g grated parmesan Method Start by preheating your oven to 160c . Arrange the cherry tomatoes and salmon fillets on a baking tray on foil season well, and drizzle over half of the olive oil.
Bake for around 15/20 minutes, until the salmon is cooked through and the tomatoes are soft and juicy. Set aside to cool slightly.
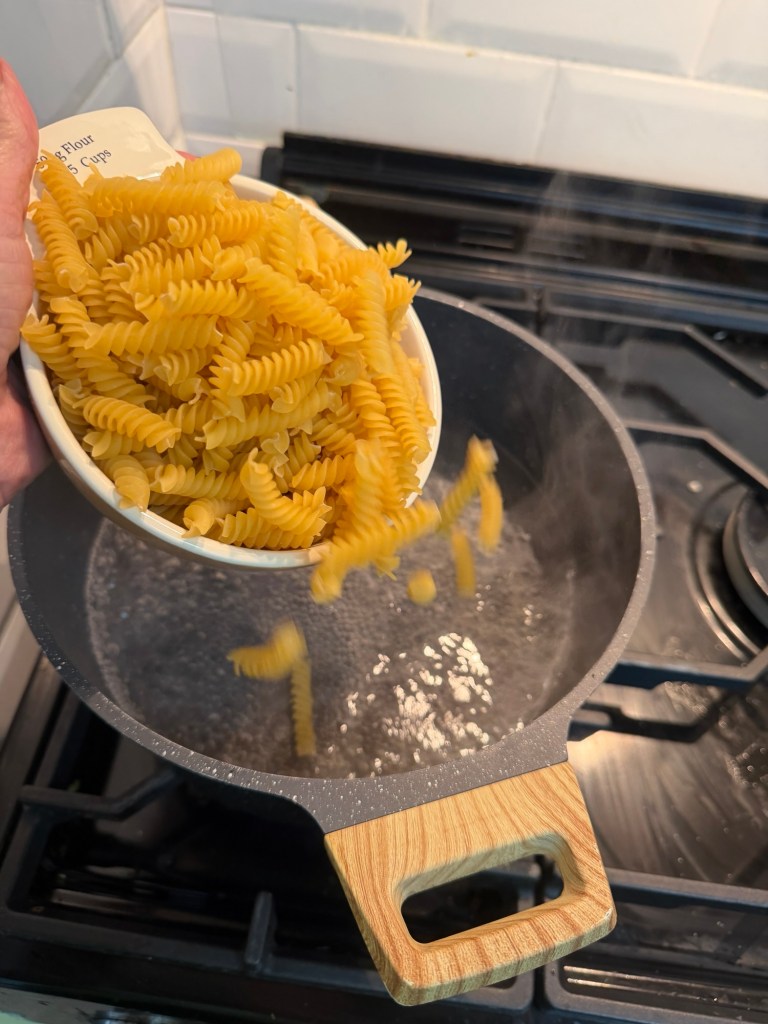
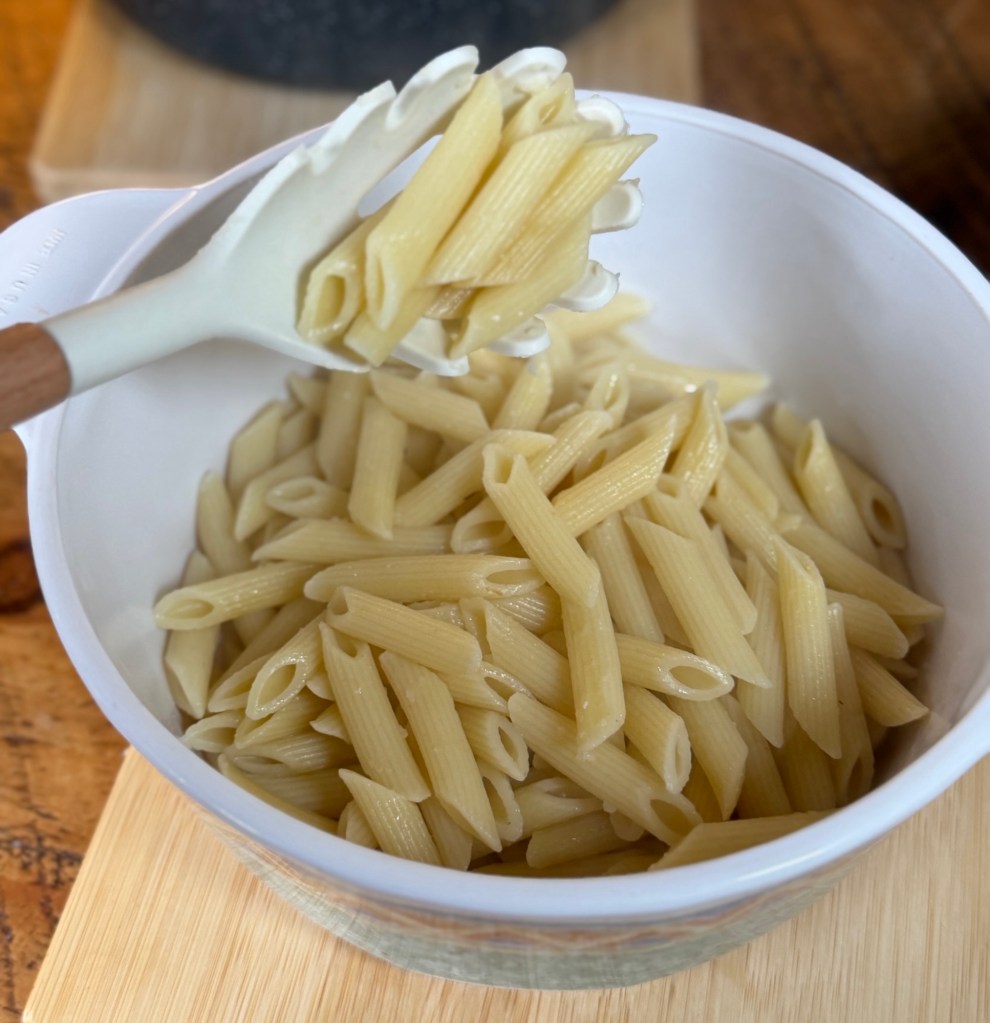
Meanwhile, cook the penne according to the packet instructions until al dente.
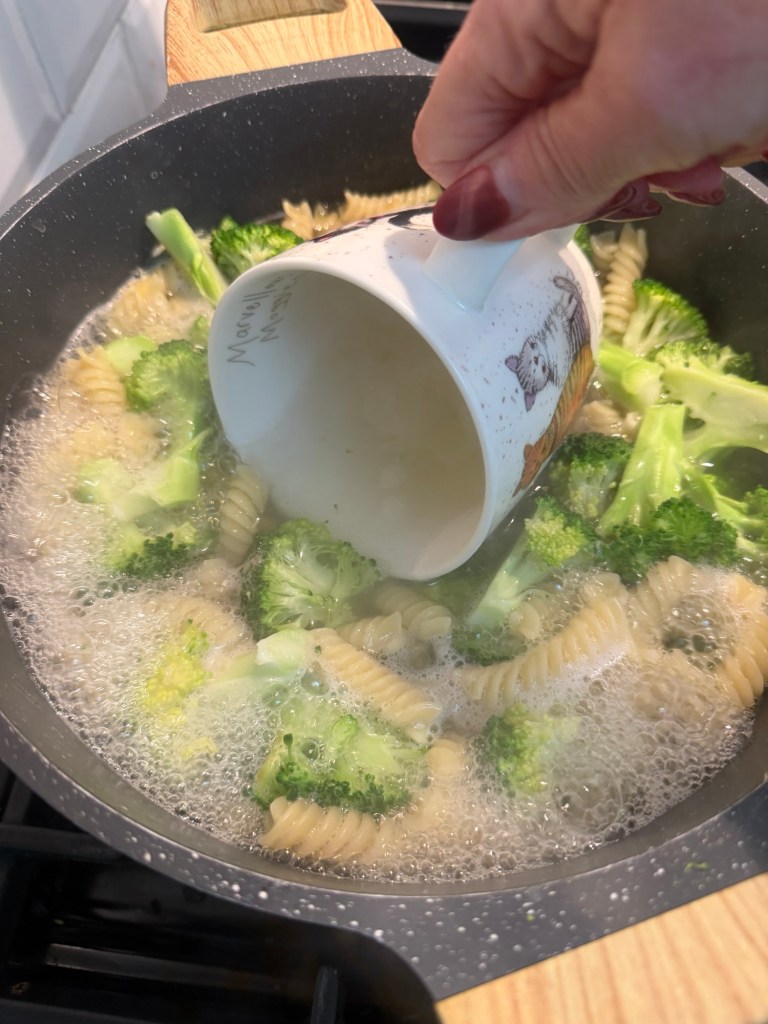
Add the broccoli for the final 2 minutes so it cooks through but still keeps a bit of texture.
Before draining, scoop out a large mug of the pasta water—this makes all the difference to your sauce.
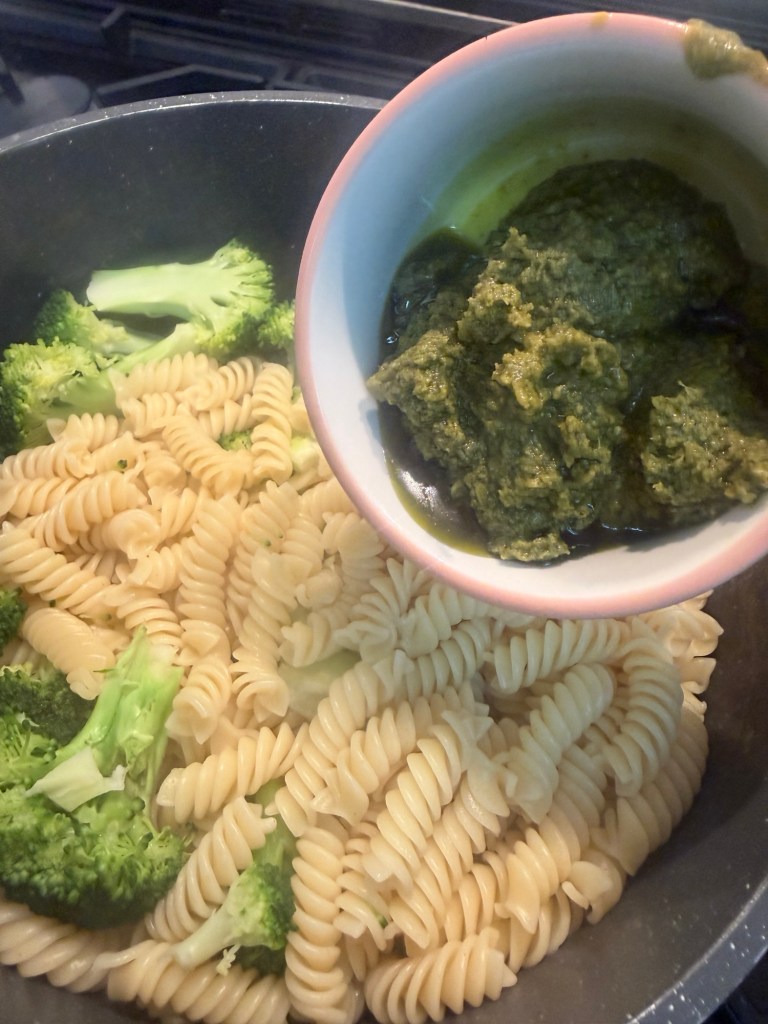
Return the pasta and broccoli to the pan, then stir in the pesto, mascarpone, and half of the roasted tomatoes.
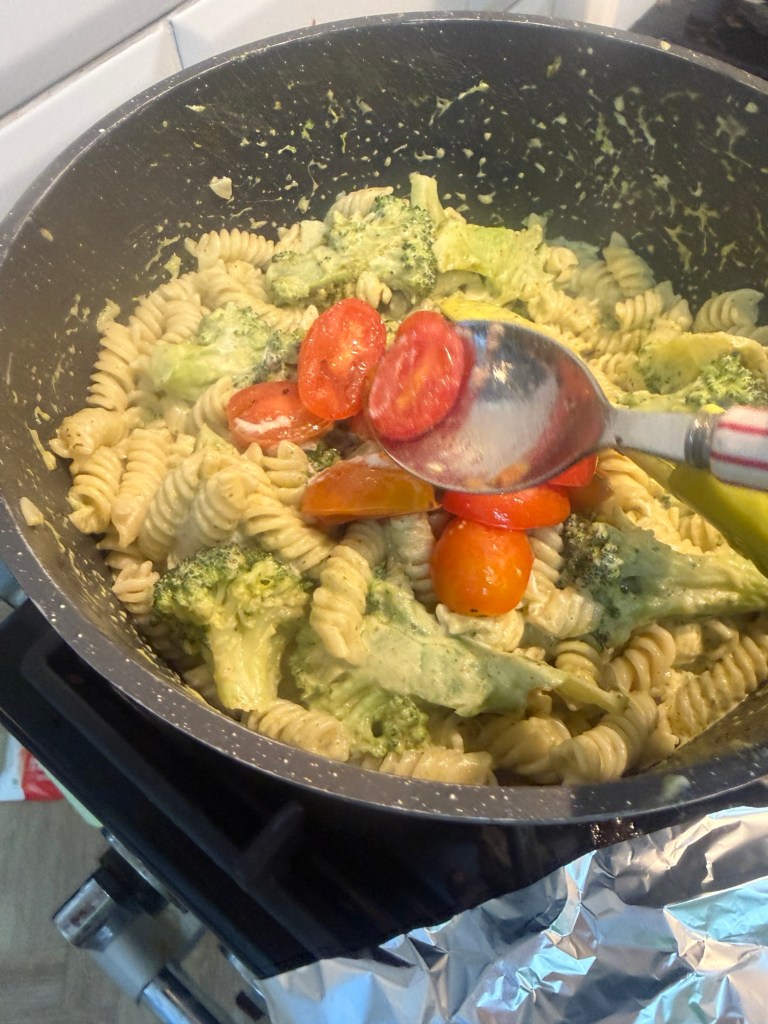
Add a splash of the reserved pasta water and mix until the sauce becomes smooth and creamy, similar to double cream.
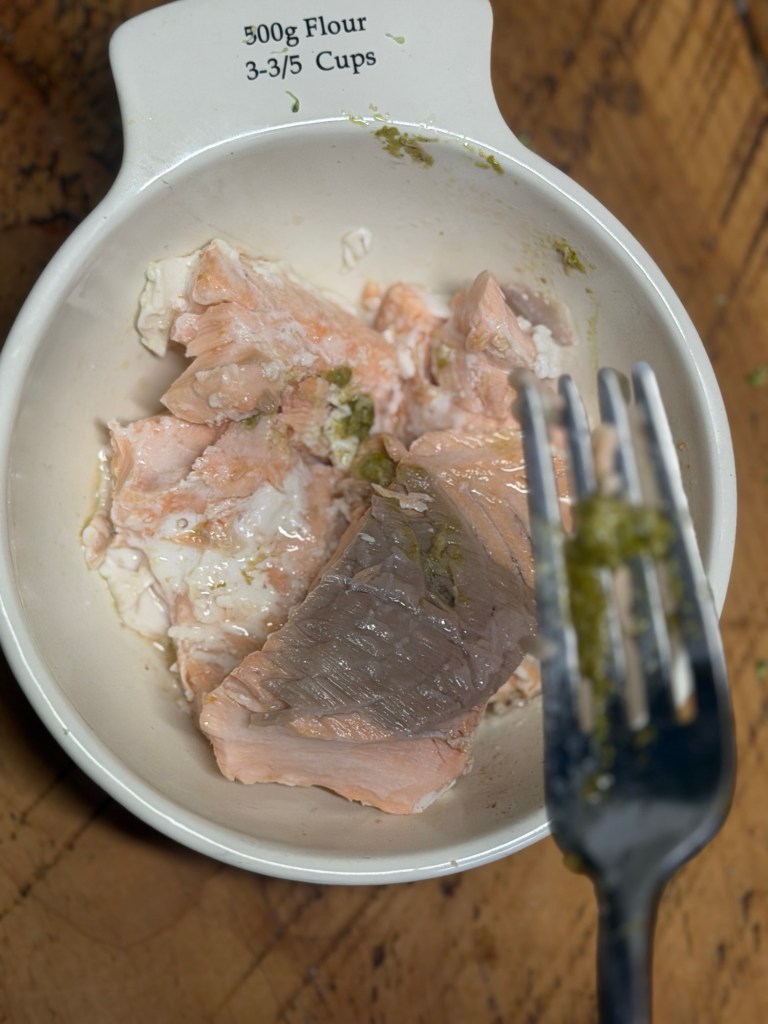
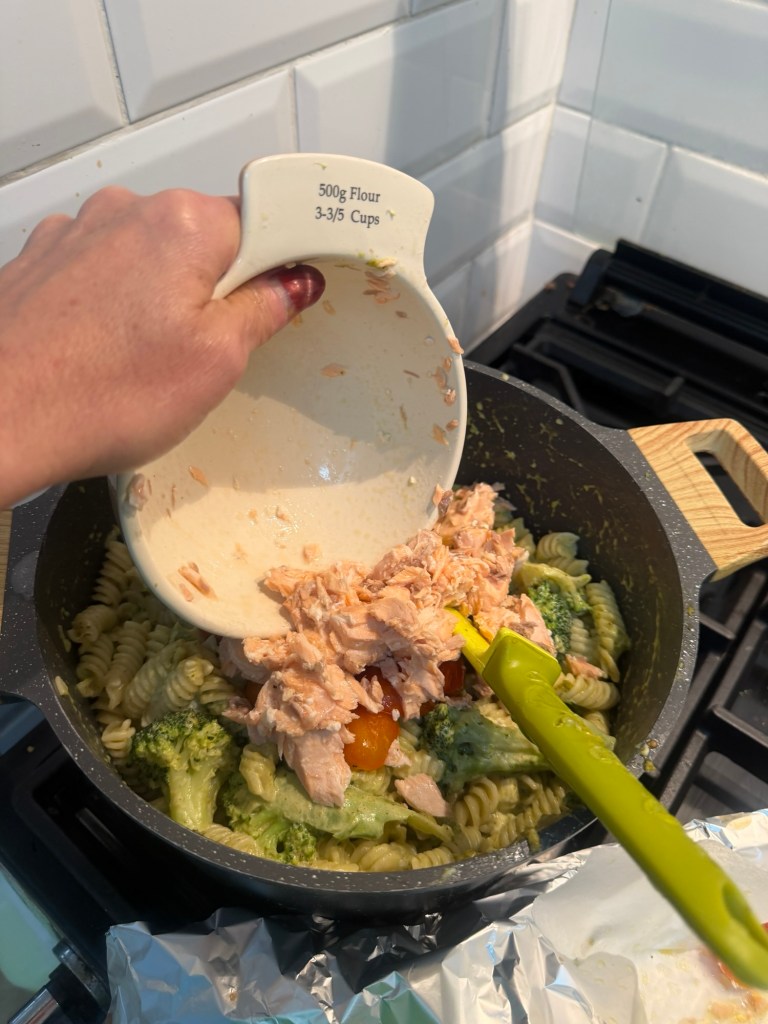
Flake in the salmon, removing the skin, and gently fold everything together so you keep those nice chunky pieces.
Transfer the mixture to a large baking dish.
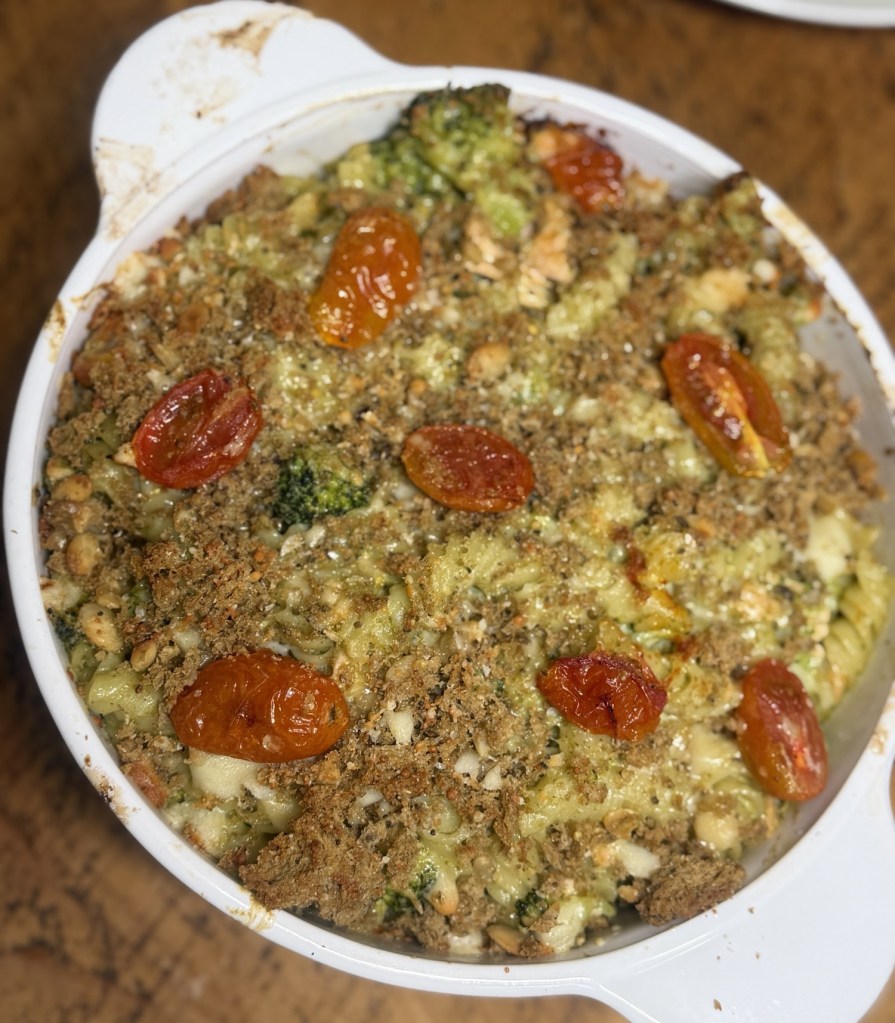
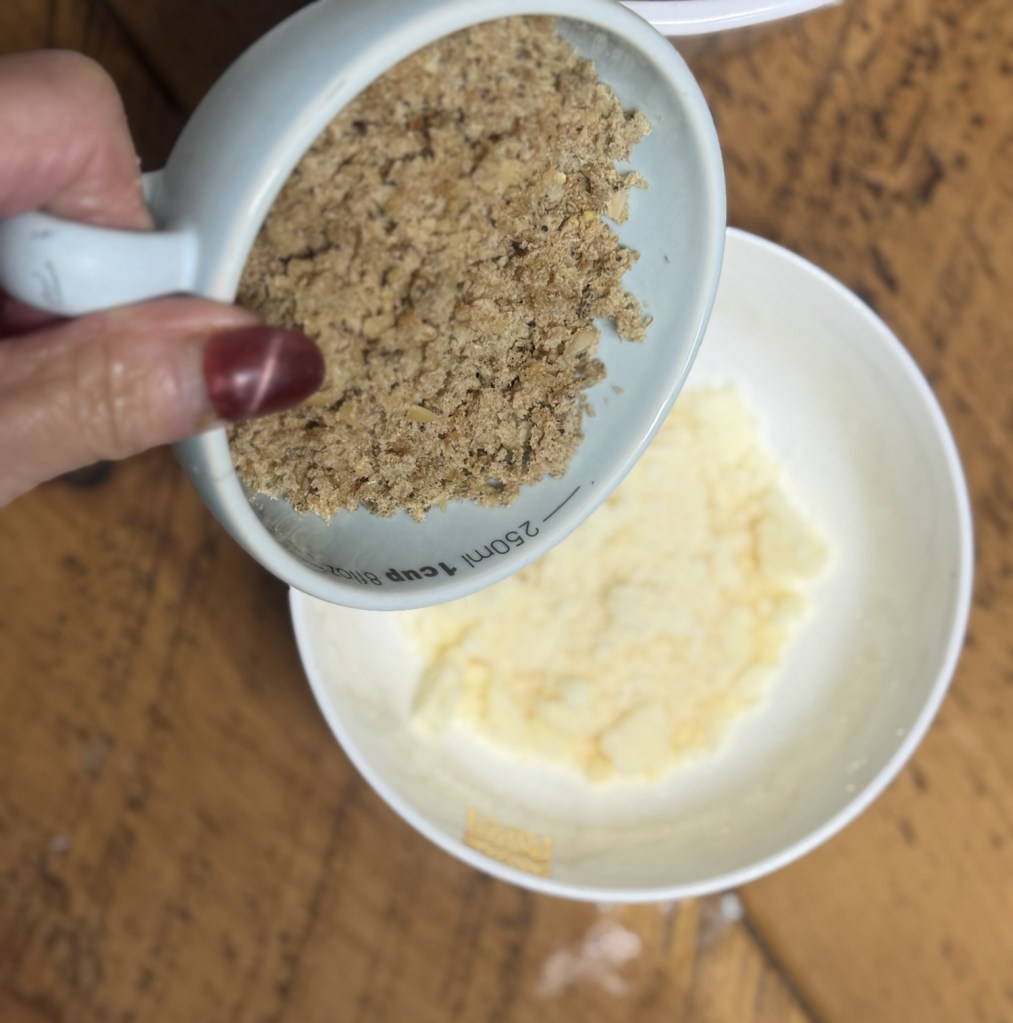
Mix the breadcrumbs, parmesan, and remaining olive oil together, then scatter over the top.
Finish by adding the rest of the tomatoes.
Bake in a preheated oven at 200°C (180°C fan) for 20 minutes, or 25 minutes if cooking from chilled, until the top is golden and crisp.
A Few Handy Tips • A little squeeze of lemon just before serving really brightens everything up. • You can easily swap the salmon for chicken or prawns if that’s what you have. • It reheats really well the next day, so it’s great for leftovers. Why You’ll Keep Coming Back to This It’s one of those reliable, no-fuss meals that still feels a bit special. Creamy, crispy, full of flavour—and easy enough to make any night of the week.
Let me know if you give this one a go—I always love hearing what you think, and any little tweaks you make along the way. Don’t forget to save it for later, because this is definitely one you’ll want to come back to.
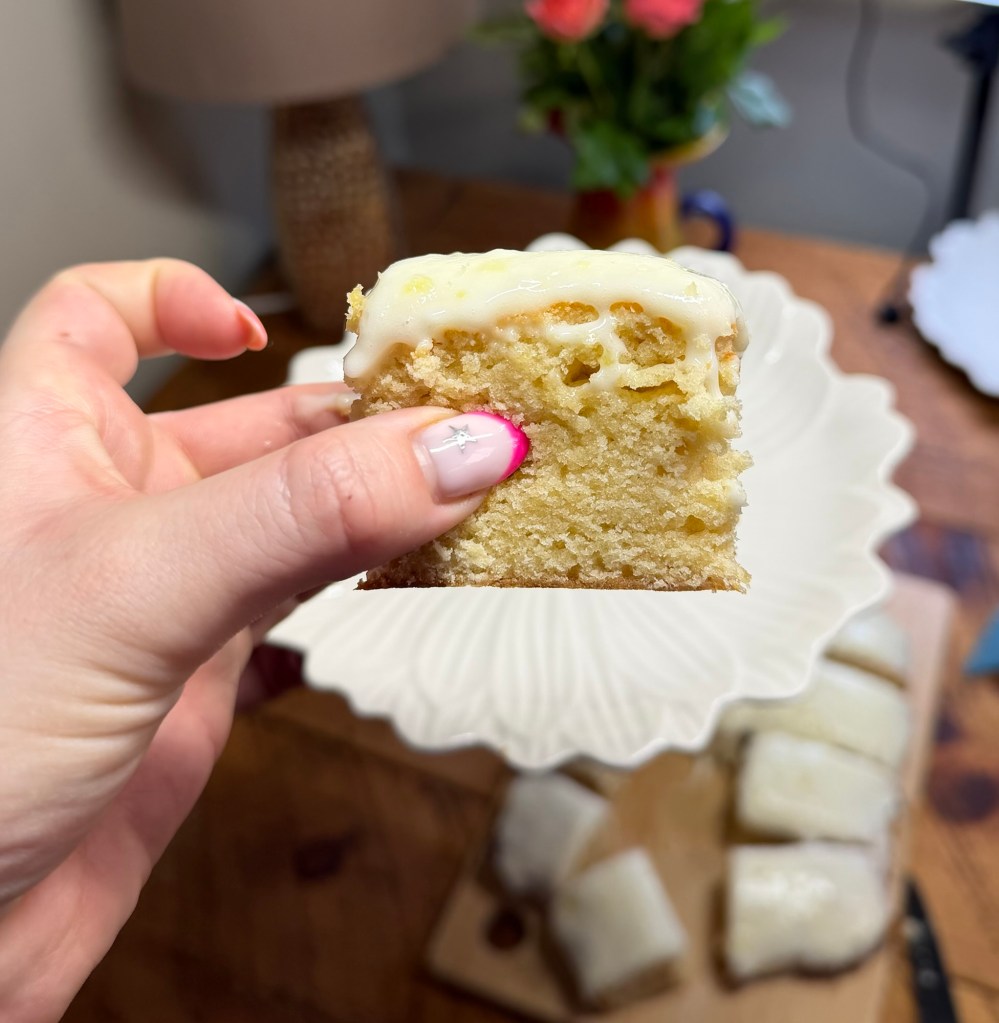
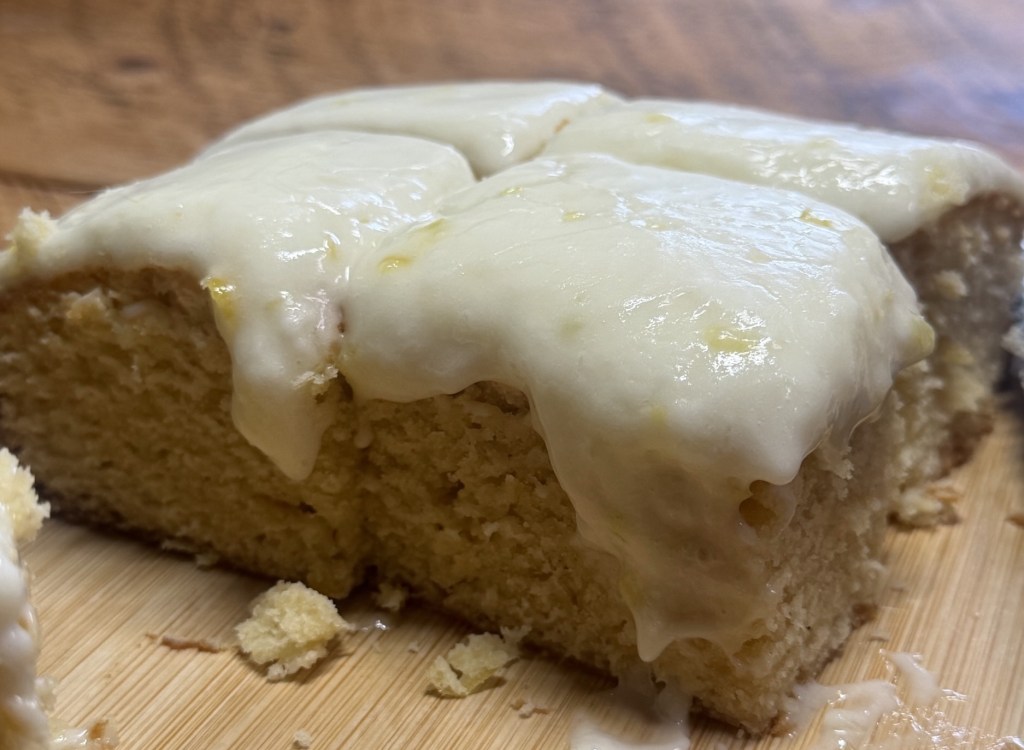
There’s something about lemon bakes that just feels like a little bit of sunshine in your kitchen… and these lemon brownies are exactly that ☀️🍋 If you’ve never had a lemon brownie before, think of them as the softer, fudgier cousin of a blondie — but with a bright, zesty twist.
They’re rich and buttery, packed with fresh lemon flavour, and balanced with just enough sweetness from melted white chocolate. And the real secret? Rubbing the lemon zest into the sugar first. It releases all those natural oils and gives you that deep, proper lemon flavour in every bite — not just a hint. Then we finish them with a tangy lemon cream cheese frosting that’s smooth, slightly sharp, and completely irresistible. Honestly, these are one of those bakes that disappear far too quickly. Perfect for spring, summer, or just when you fancy something a bit lighter than chocolate but still indulgent. 🍋 Lemon Brownies (UK Measurements) For the brownies: • 170g butter • 300g caster sugar • Zest of 3 lemons (approx. 3 tbsp) • ½ tbsp vanilla extract • 3 large eggs • 175g white chocolate chips (melted) • 3 tbsp fresh lemon juice • 280g plain flour • ¼ tsp salt For the lemon cream cheese topping: • 115g cream cheese (full fat works best) • 120g icing sugar • 1–3 tbsp fresh lemon juice (adjust to taste) • Zest of 1 lemon 👩🍳 Method
Preheat your oven to 180°C (160°C fan) and line a square baking tin (around 8×8 inch).
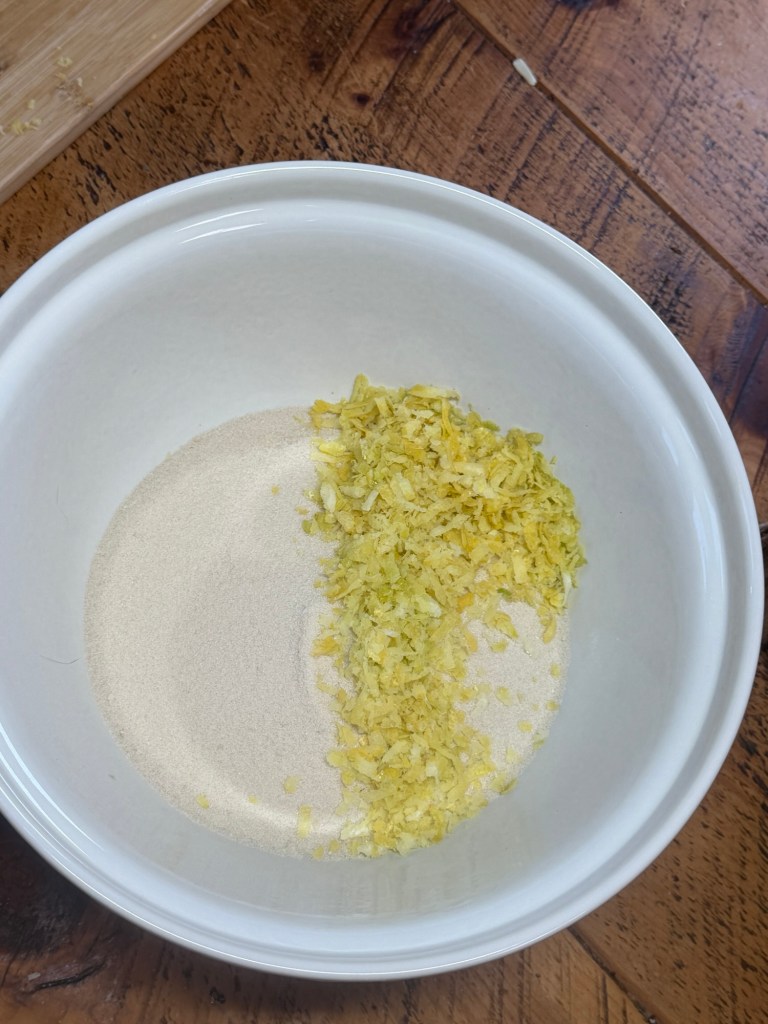
In a large bowl, add your sugar and lemon zest.
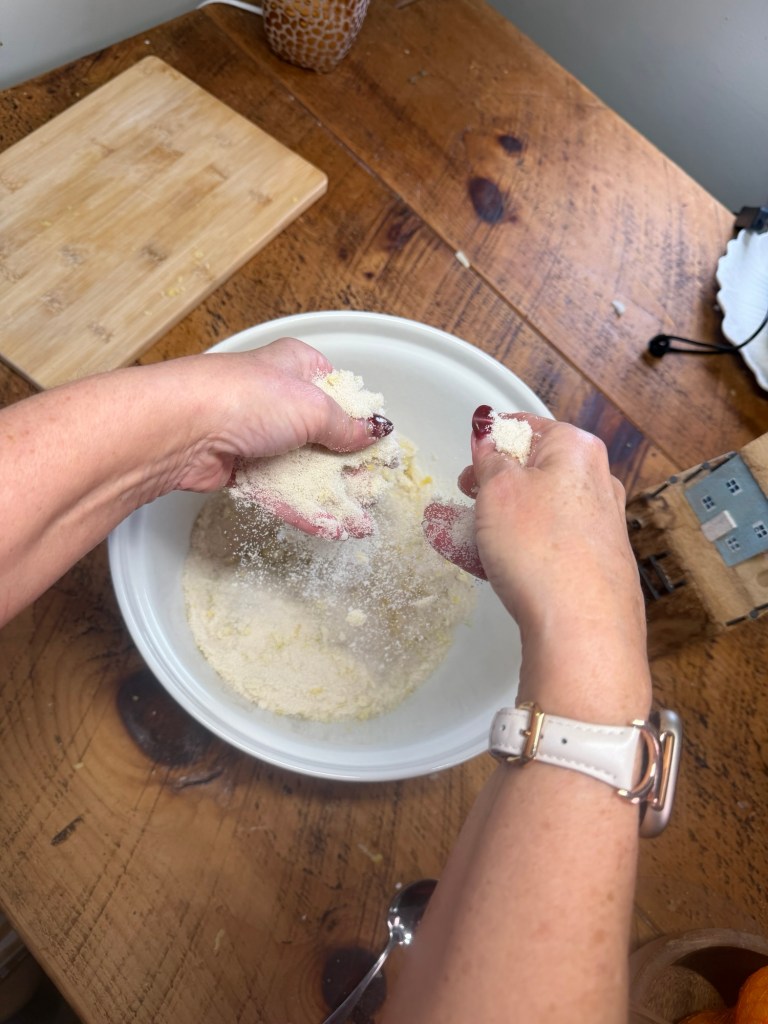
Use your fingers to rub them together until the sugar feels slightly damp and fragrant — this step makes all the difference.
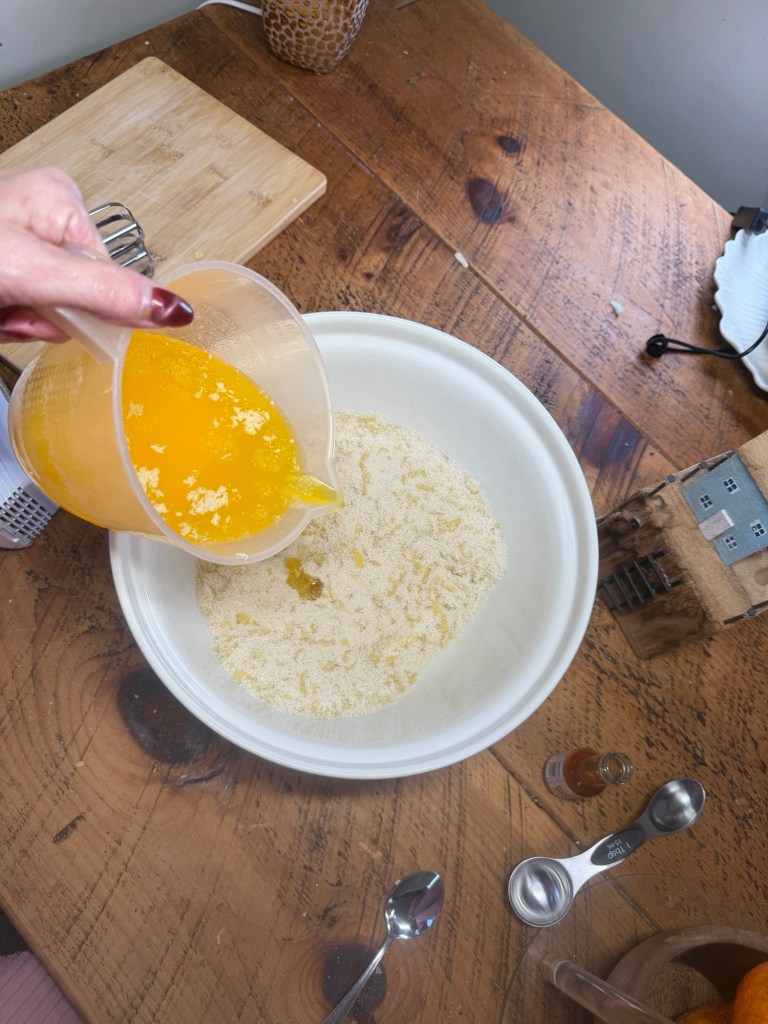
Melt the butter and stir it into the lemon sugar, then mix in the vanilla extract.
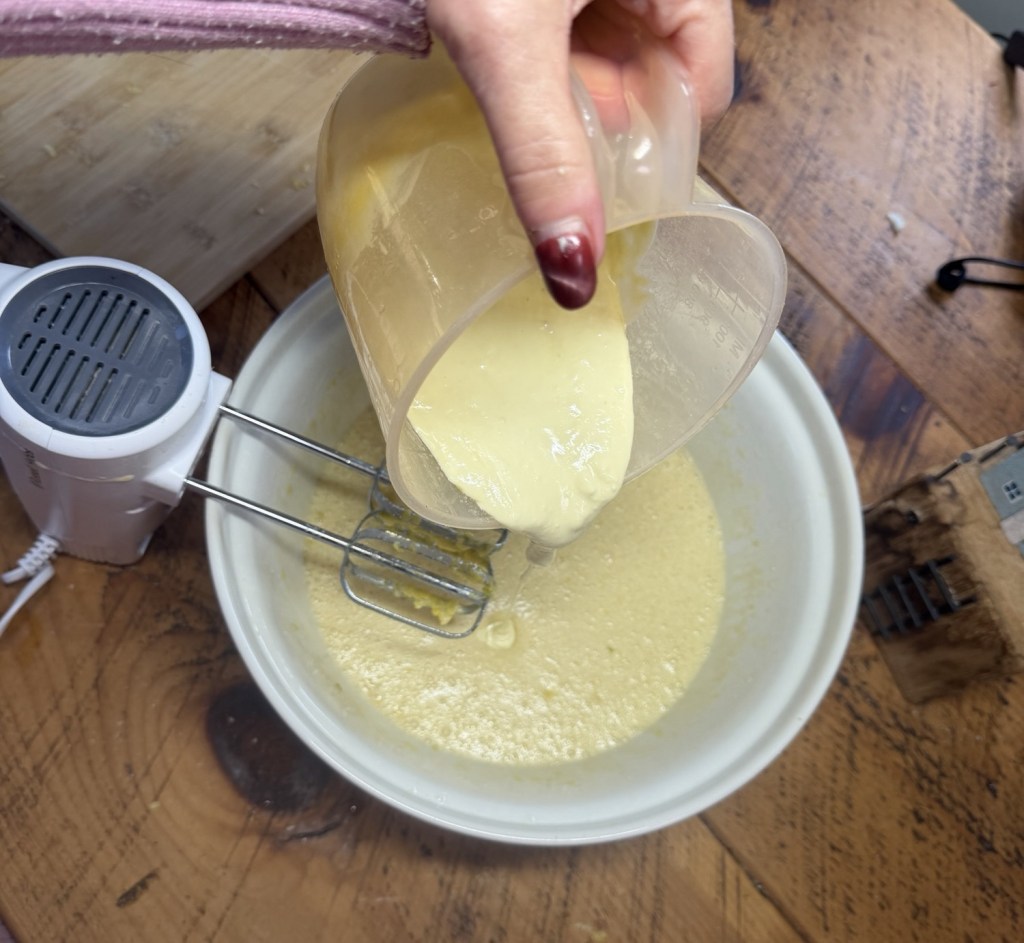
Add the eggs one at a time, mixing well after each until smooth and glossy.
Melt the white chocolate (microwave in short bursts or over a bain-marie), then stir it into the mixture along with the lemon juice.
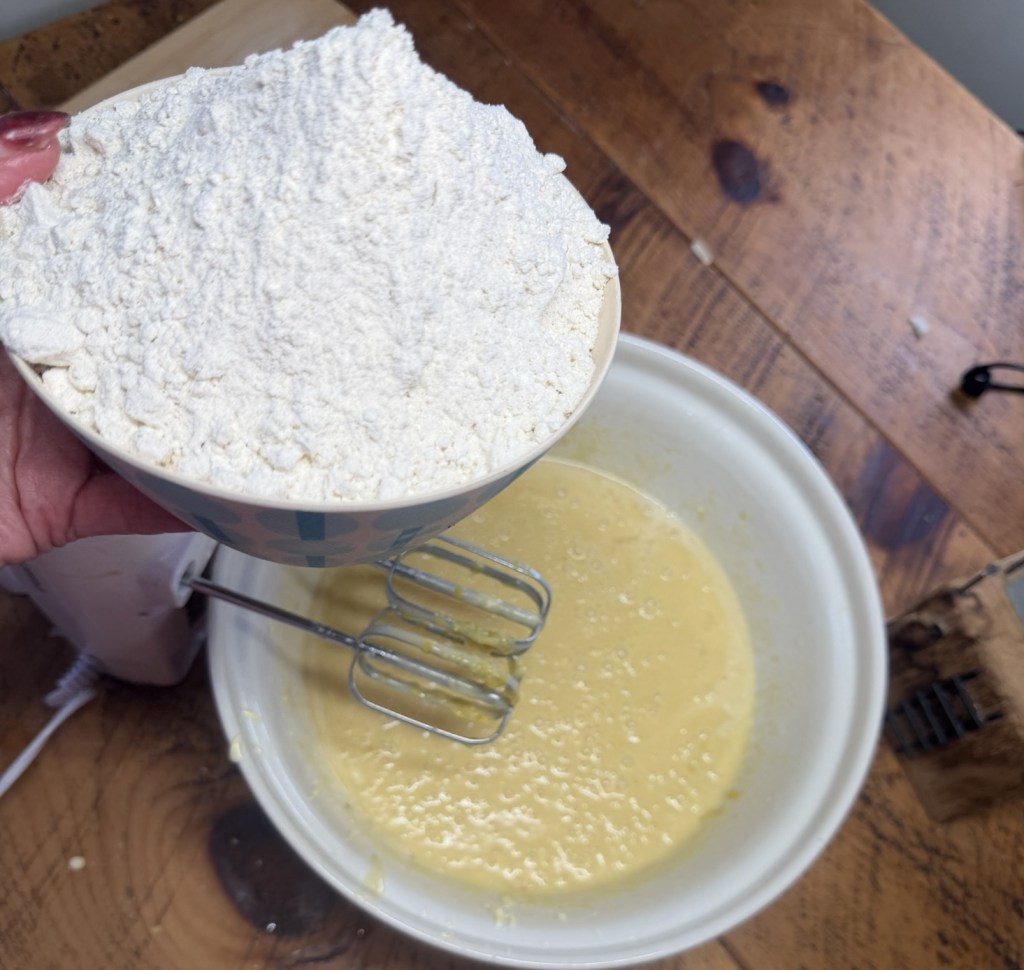
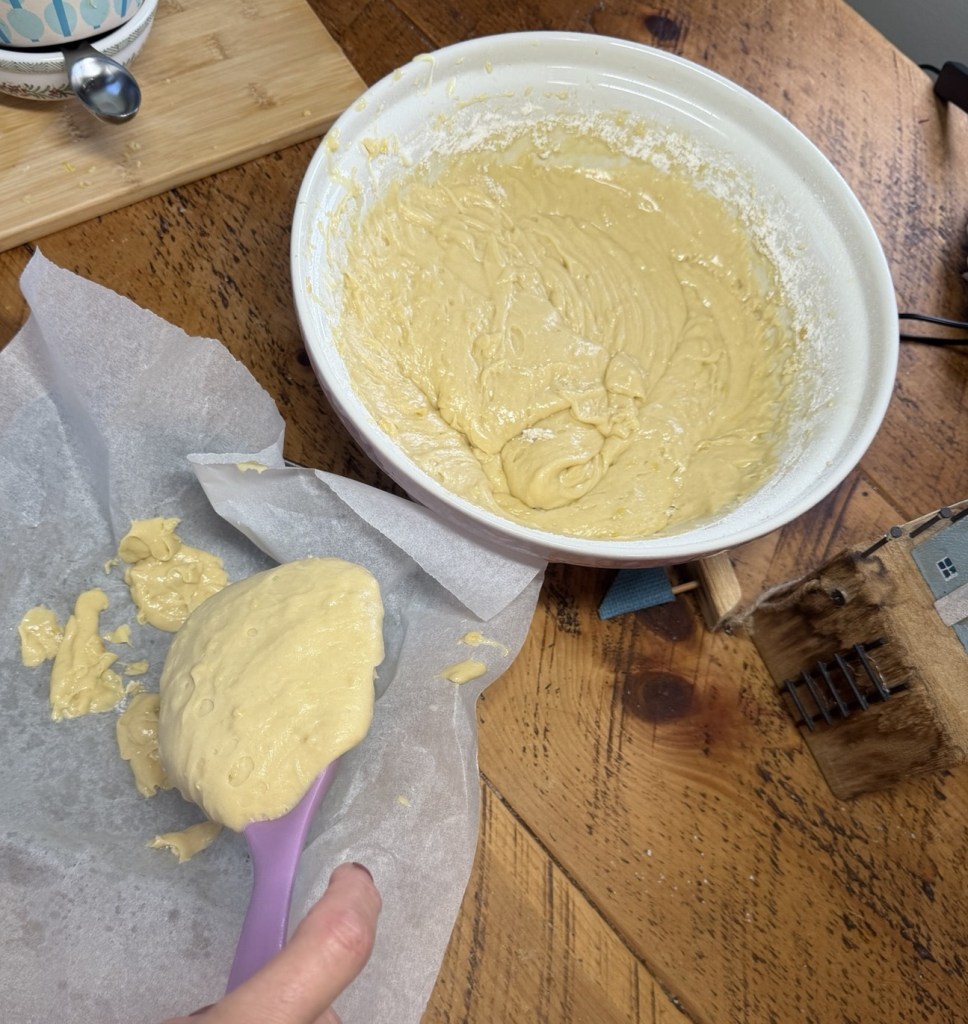
Gently fold in the flour and salt until just combined — don’t overmix or you’ll lose that soft texture.
Pour the batter into your prepared tin and smooth the top.
Bake for 25–30 minutes. The centre should be just set with a slight wobble — they’ll firm up as they cool.
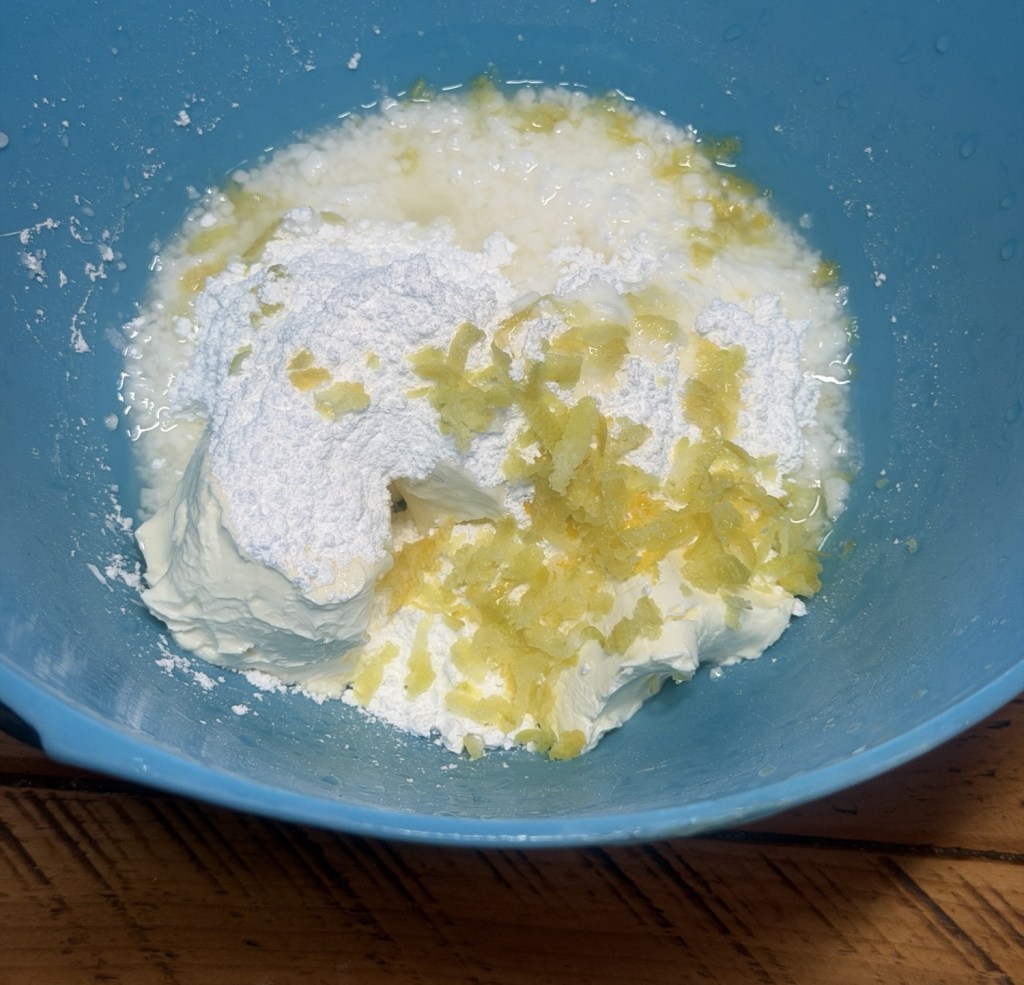
Leave to cool completely in the tin before adding the topping. 🍋 For the topping: Beat together the cream cheese, icing sugar, lemon zest, and enough lemon juice to create a smooth, spreadable frosting.
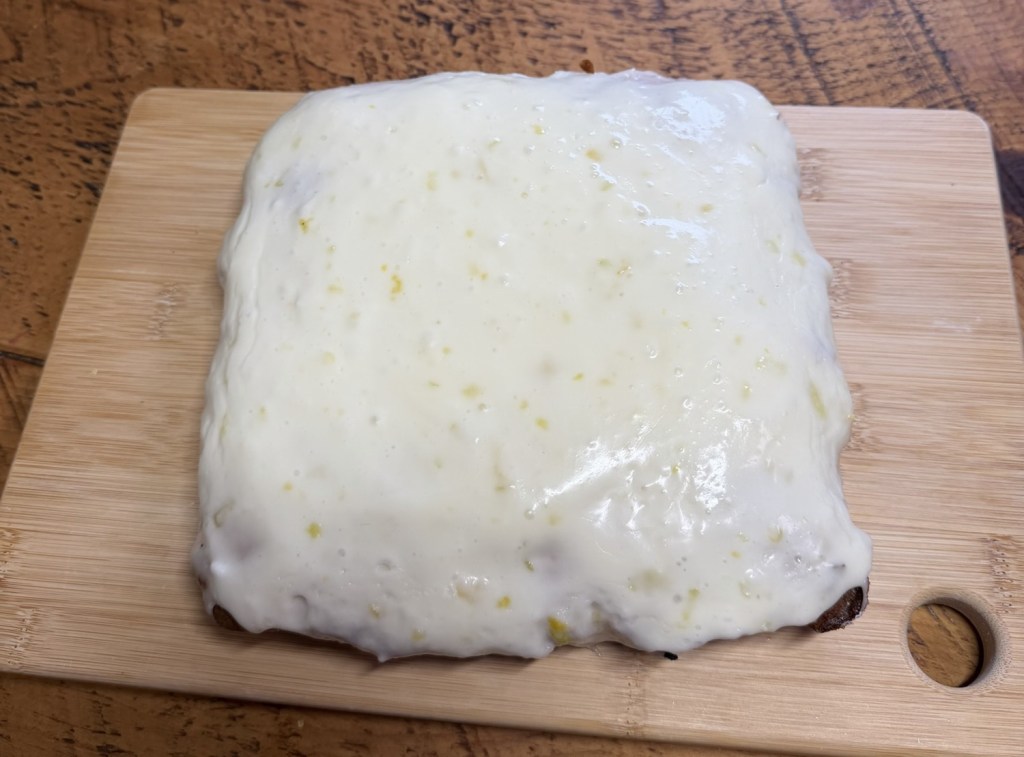
Spread over the cooled brownies, then slice into squares.
💡 Tips for best results: • Use unwaxed lemons if possible (or wash well before zesting) • Don’t skip the zest-sugar step — it’s the flavour boost
• Slightly underbake for that soft, fudgy texture • Chill before slicing if you want really clean edges These are soft, zingy, creamy on top, and honestly one of those recipes that feels a bit special without being complicated. Perfect with a cup of tea… or straight from the fridge if you’re anything like me.
There is something very comforting about knowing dinner is gently bubbling away while you get on with your day.
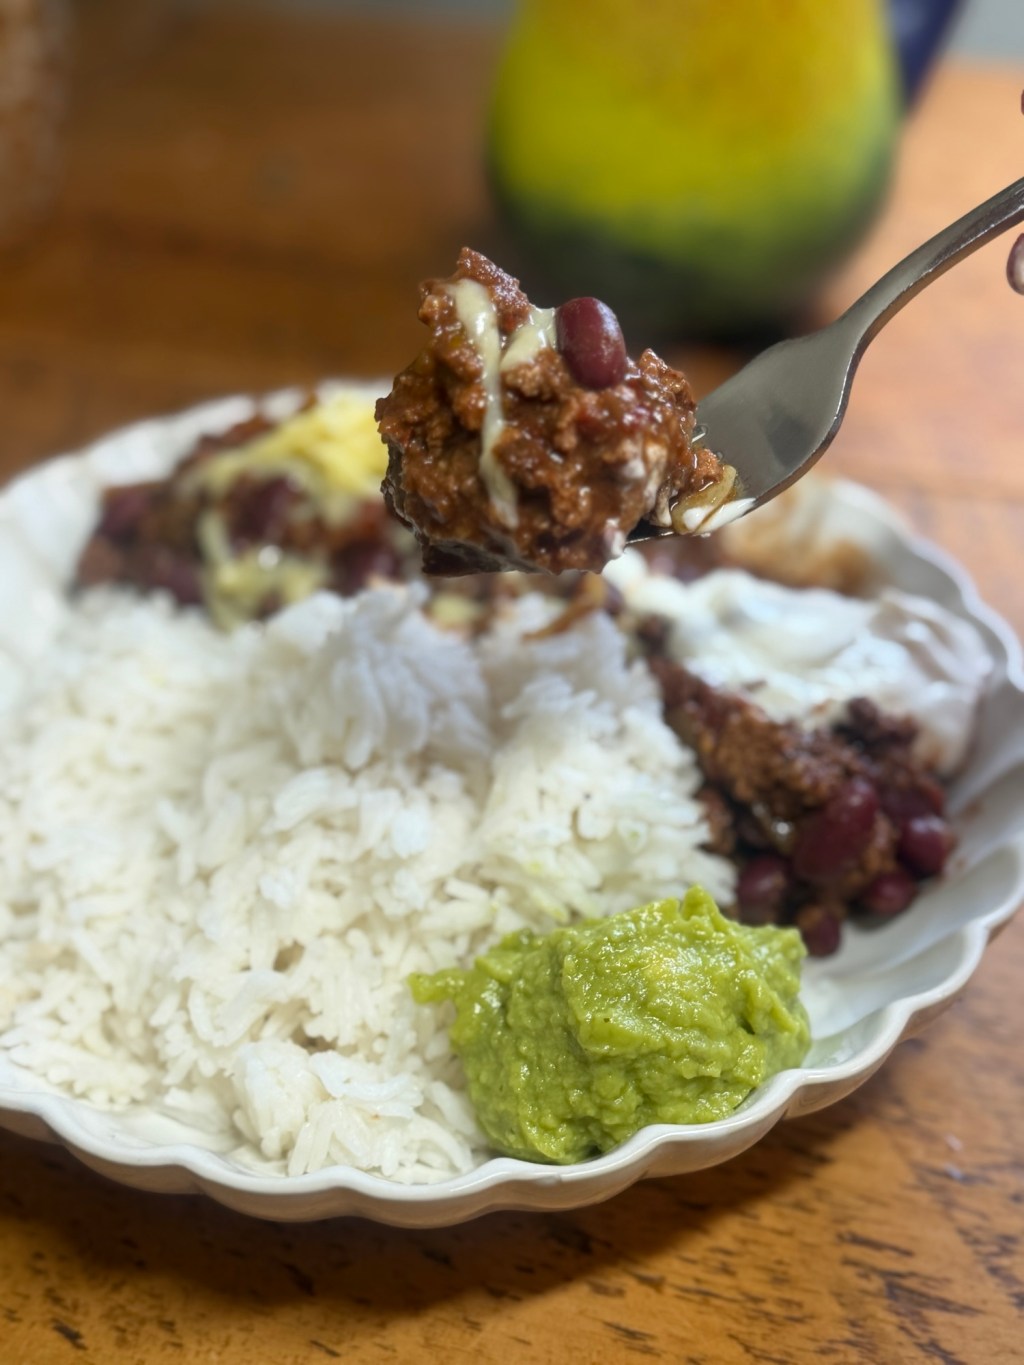
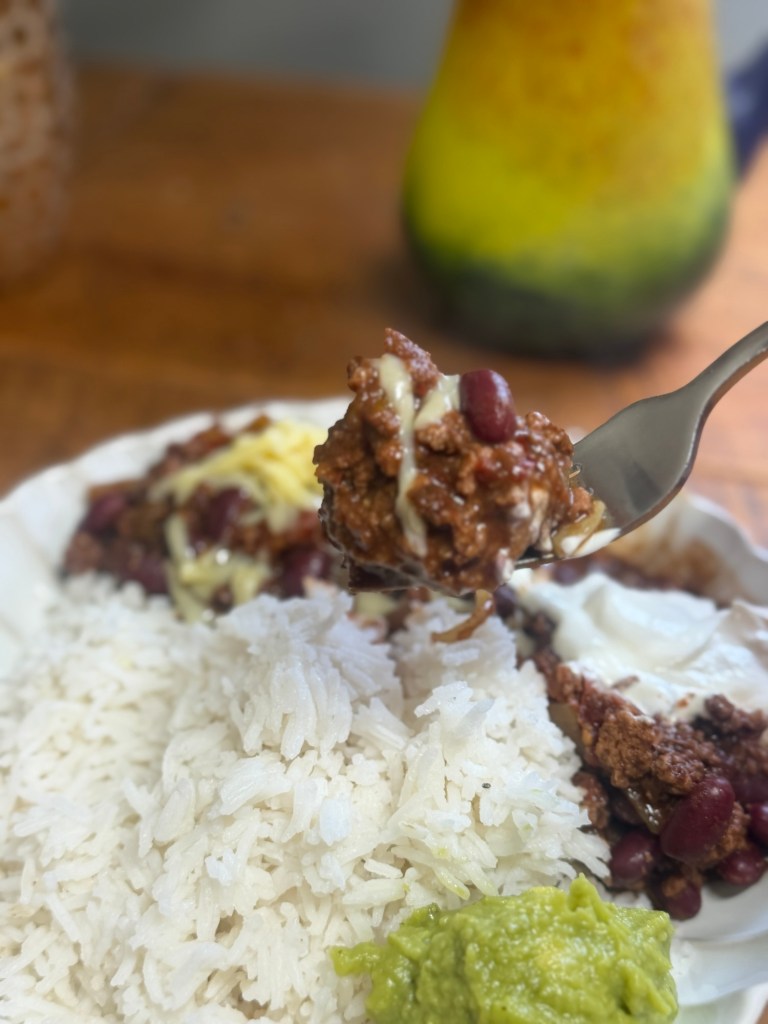
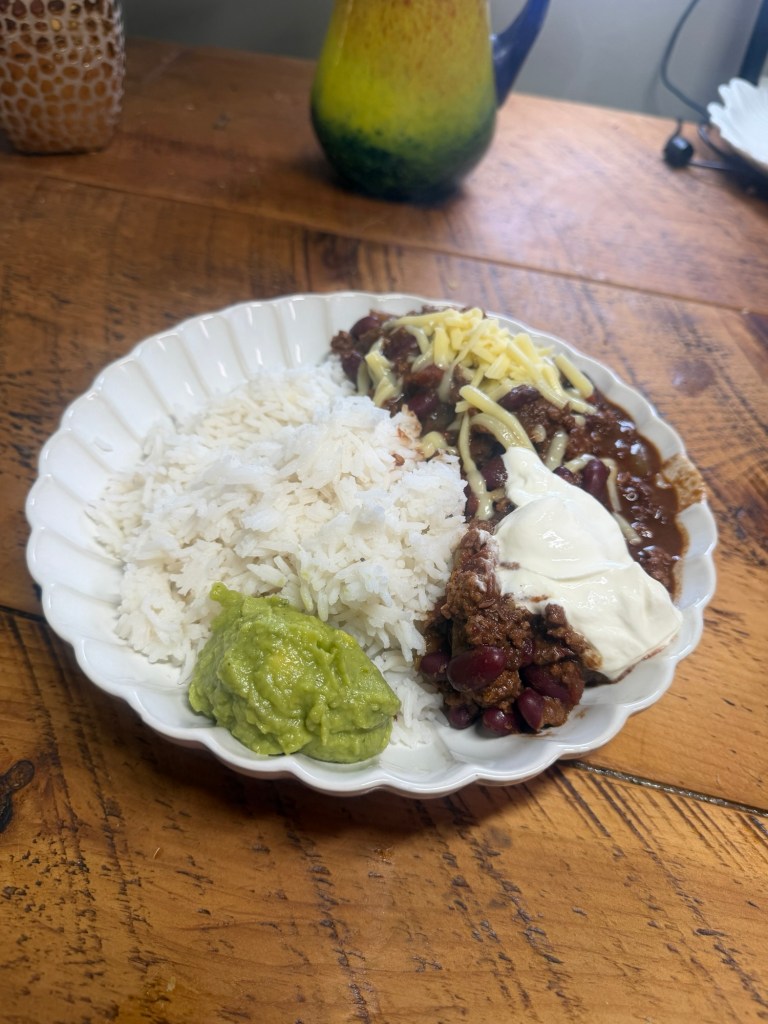
For me, this slow cooker chilli con carne is exactly that kind of recipe – a proper cosy bowl of food that basically cooks itself while you’re working, running errands, or just trying to keep on top of life.
I love this for “throw it in before you leave the house” days. You literally tip everything into the slow cooker, give it a stir, pop the lid on and walk away. By the time everyone’s asking what’s for tea, you’ve got a rich, gently spiced chilli ready to spoon over fluffy rice. Leftovers are even better the next day, so it’s great for meal prep too. I like it with rice and grated cheese – simple but so satisfying.
Why You’ll Love This Slow Cooker Chilli • True dump‑and‑go – no faffing with browning, just throw it all in and switch on. • Budget‑friendly – mostly tins and store‑cupboard spices, but tastes like you’ve been cooking it low and slow all day. • Versatile – serve with rice, on jacket potatoes, on nachos, or stash portions in the freezer.
• Family‑friendly spice – you control the heat, so it can be as mild or as fiery as you like.
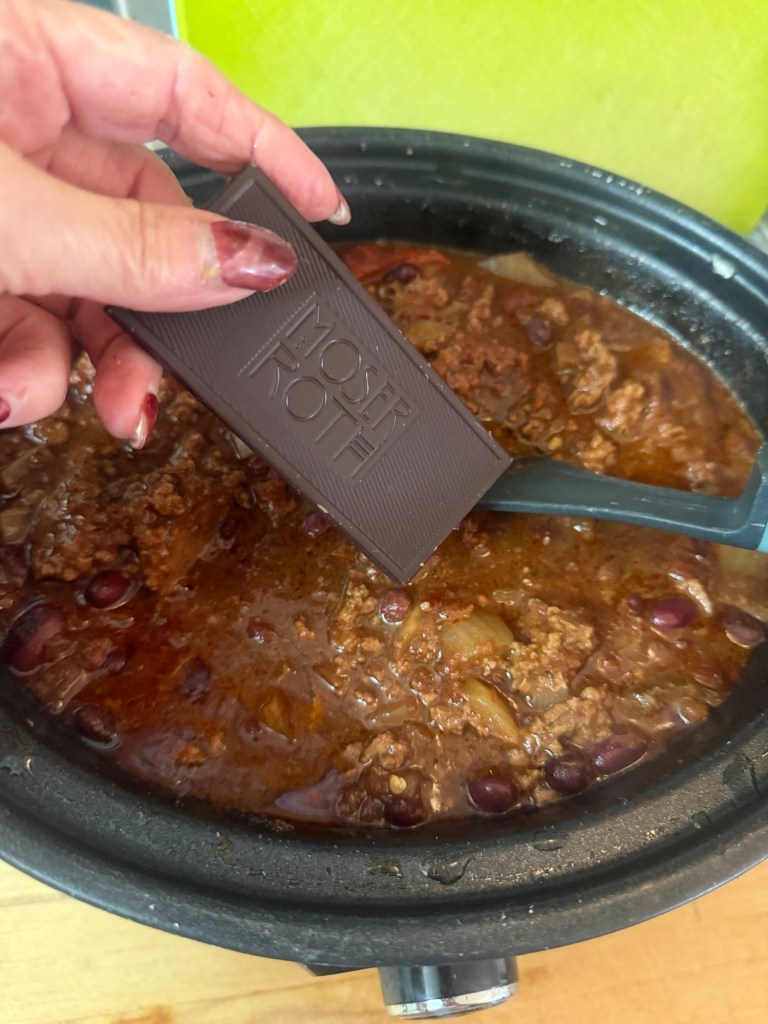
Ingredients Serves 4–6 • 500 g beef mince (ideally lean) • 1 large onion, finely chopped • 1 red pepper, diced • 2 garlic cloves, crushed (or 2 tsp garlic granules) • 400 g tin chopped tomatoes • 2 tbsp tomato purée • 400 g tin kidney beans, drained and rinsed • 1 beef stock cube dissolved in 150 ml boiling water • 1 tsp smoked paprika • 1–2 tsp chilli powder or chilli flakes (to taste) • 1 tsp dried oregano • ½ tsp sugar (to balance the tomatoes) • 1–2 tbsp Worcestershire sauce • Salt and black pepper, to taste Optional but lovely: • Around 25 g dark chocolate (70%) to stir in at the end for extra richness To serve: • Cooked rice (basmati or long‑grain work well) • Grated cheese (my favourite way to serve it) • Sour cream or yoghurt
• Fresh coriander, lime wedges, tortilla chips
Method (No Browning, Just Throw It In)
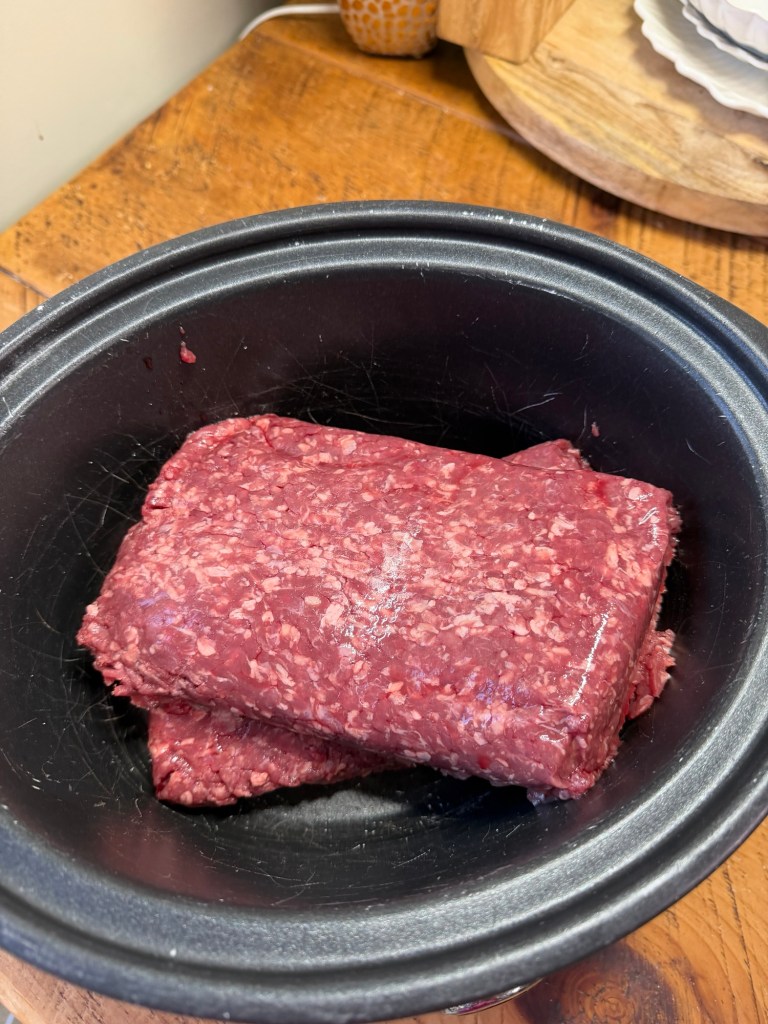
Add everything to the slow cooker Put the raw beef mince straight into the slow cooker and break it up a little with a spoon or fork.
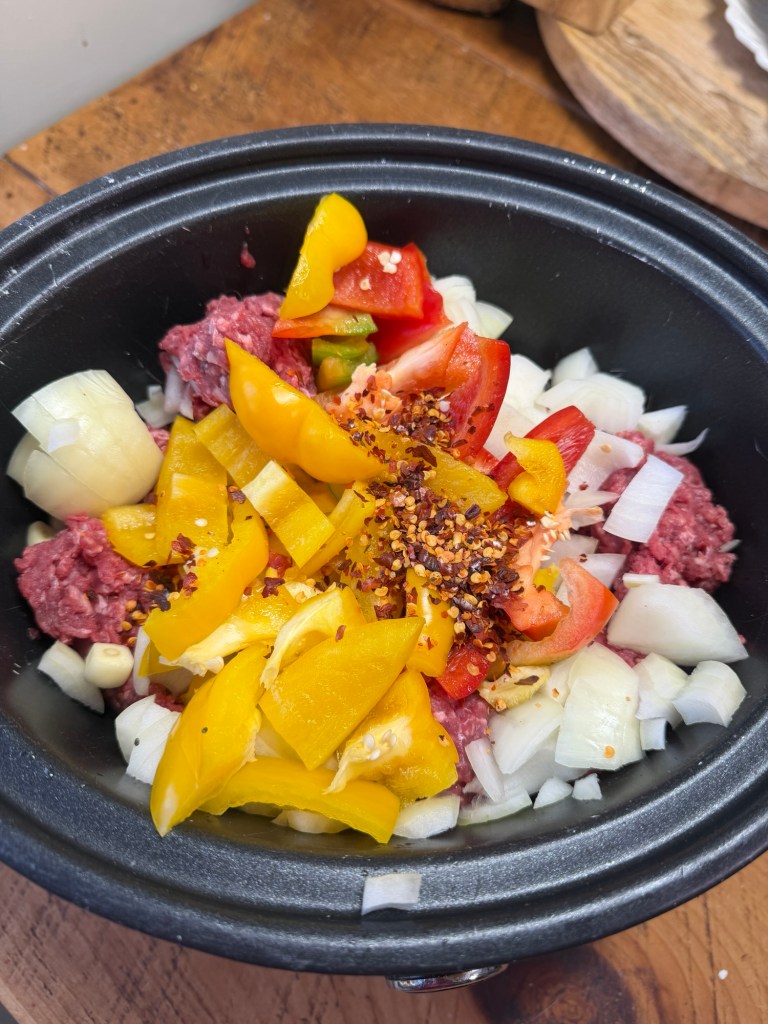
Add the onion, red pepper, garlic, chopped tomatoes, tomato purée, sugar, stock, smoked paprika, chilli powder, oregano, and a good pinch of salt and pepper.
Give everything a really thorough stir so the mince is broken up and coated in the sauce.
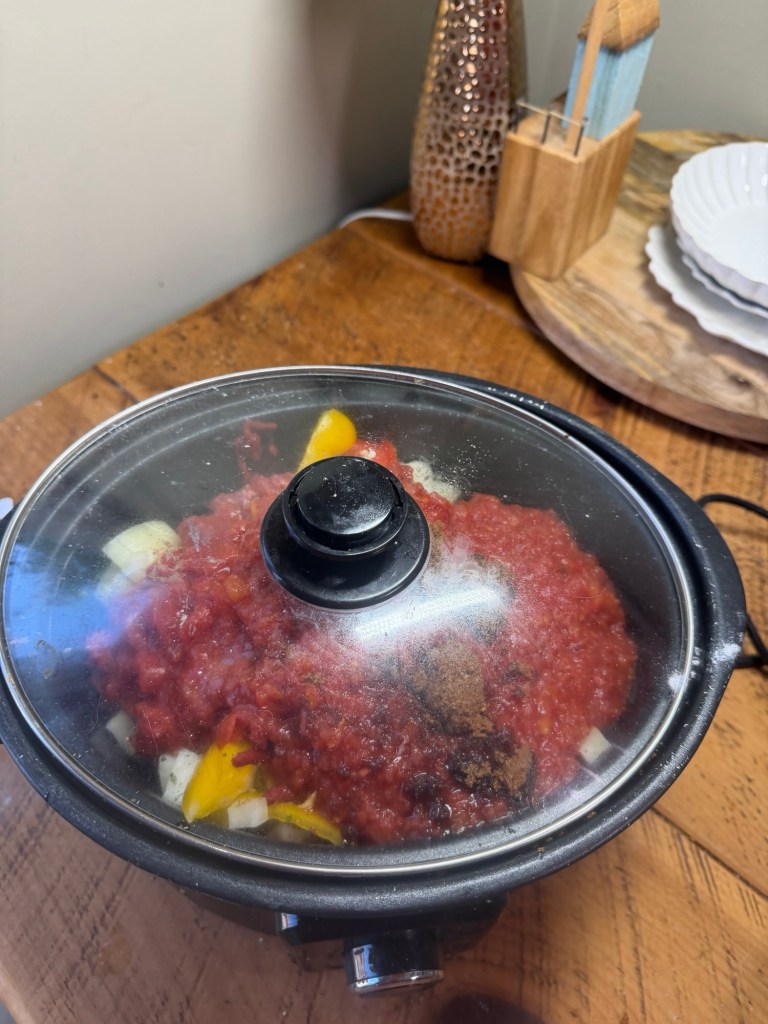
Let the slow cooker do the work Pop the lid on and cook: • On LOW for 6–8 hours • Or on HIGH for around 4 hours
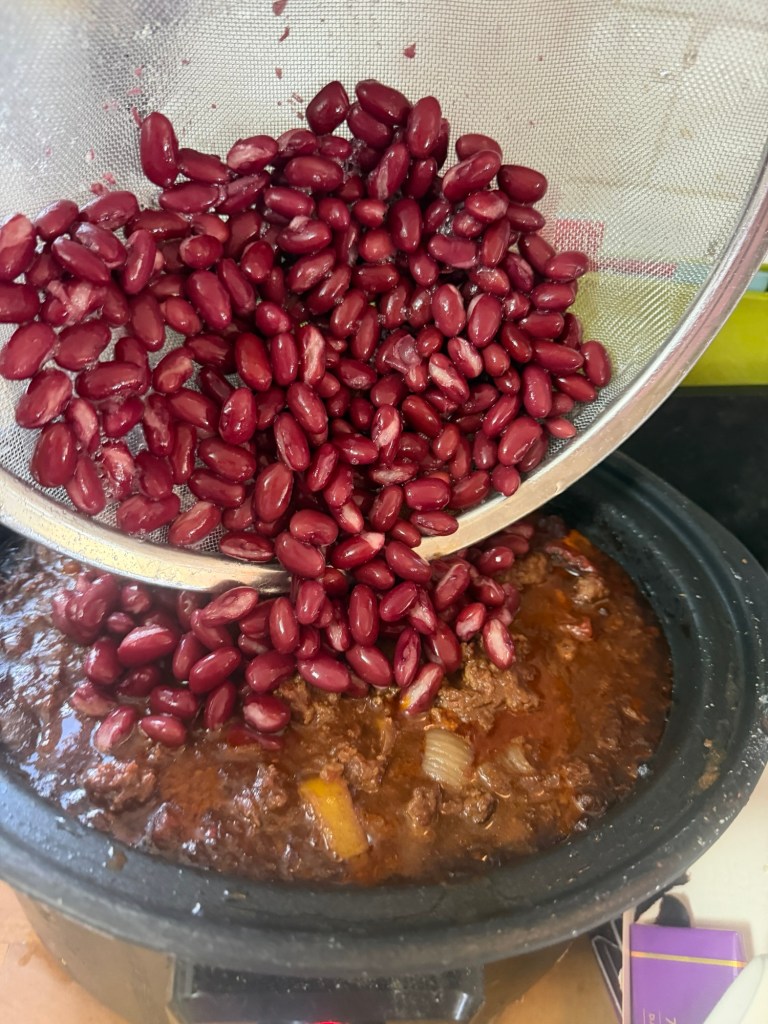
30 minutes before it’s ready add the drained and rinsed kidney beans
You’re looking for a thick, rich chilli with a glossy sauce. If it’s still a bit loose near the end, take the lid off and cook on high for another 20–30 minutes to reduce.
Finish and serve If you’re using dark chocolate, stir it in right at the end until melted and fully incorporated. Taste and adjust the seasoning – add more salt, pepper, or chilli if you like extra heat.
Serve generous spoonfuls over hot rice with a big handful of grated cheese on top, plus sour cream and any toppings you like. Leftovers keep well in the fridge for up to 3 days or can be frozen for future easy dinners.
Serving Ideas and Leftovers • Spoon over jacket potatoes with cheese and spring onions. • Use as a topping for nachos – add cheese, pop under the grill, then finish with salsa and sour cream. • Stuff into wraps or tacos with lettuce and grated cheese for a “chilli burrito” style dinner. • Freeze in individual portions for easy grab‑and‑reheat lunches.
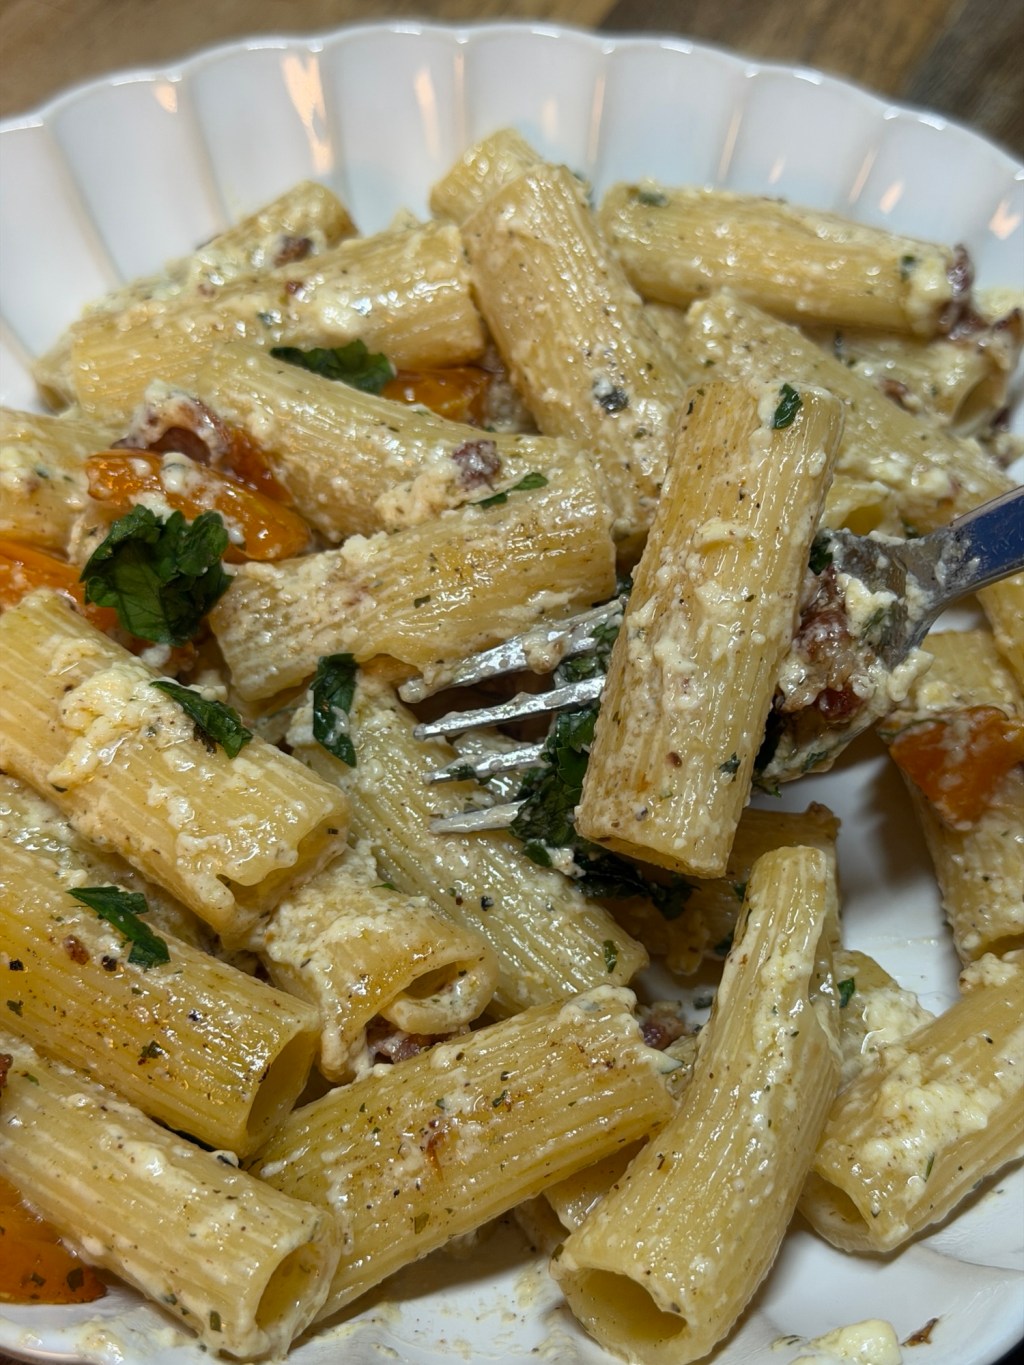
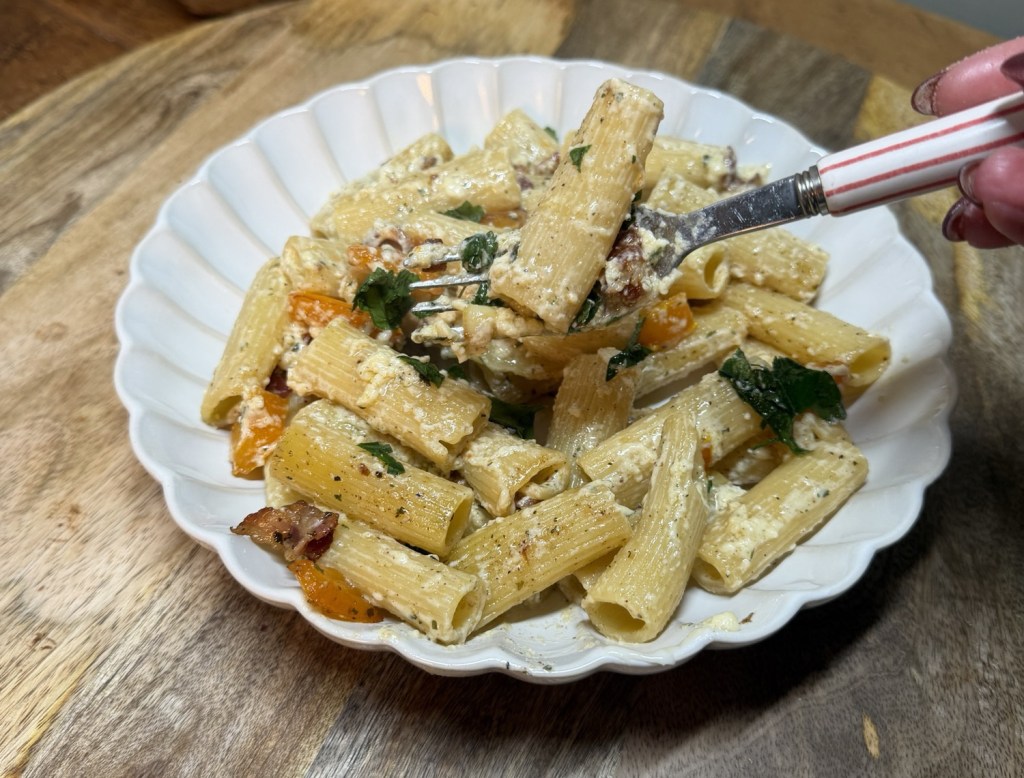
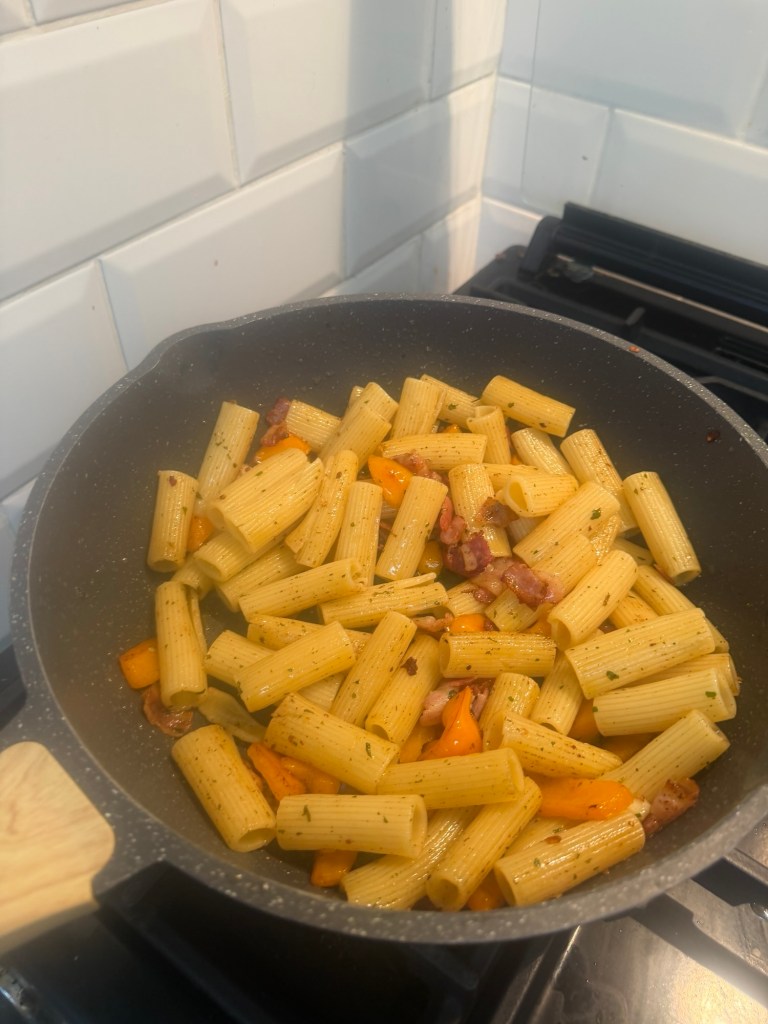
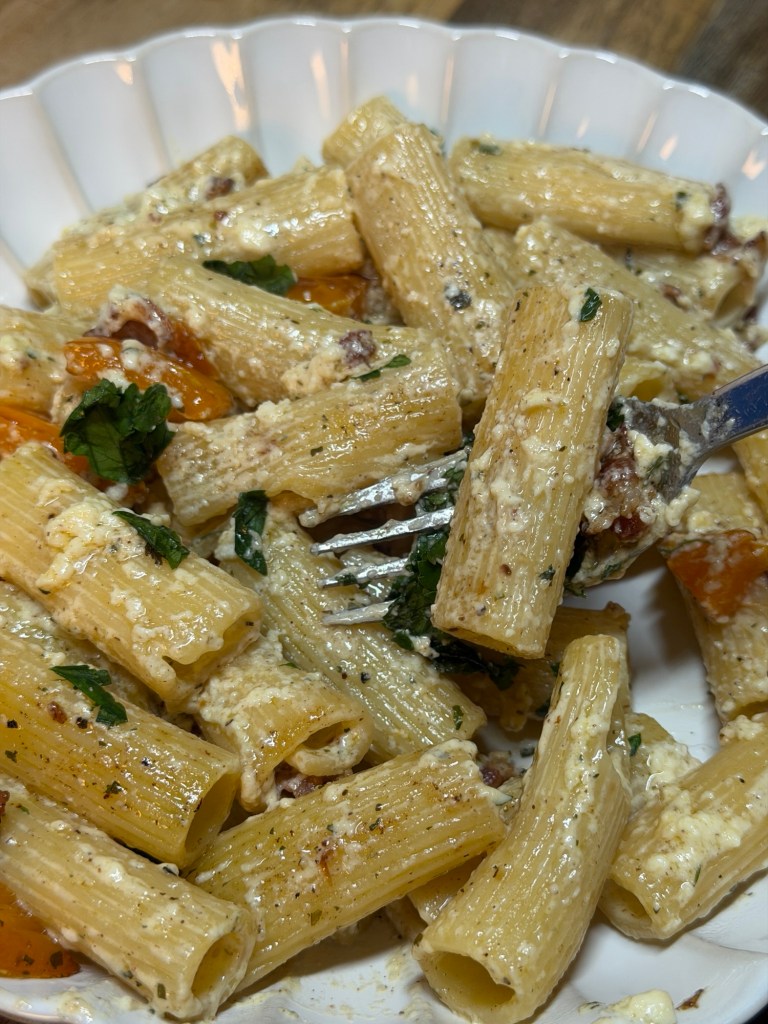
Tonight’s dinner started with one question: “What on earth can I make with pasta, mascarpone, soft goat’s cheese, eggs, streaky bacon and a lonely pepper?”
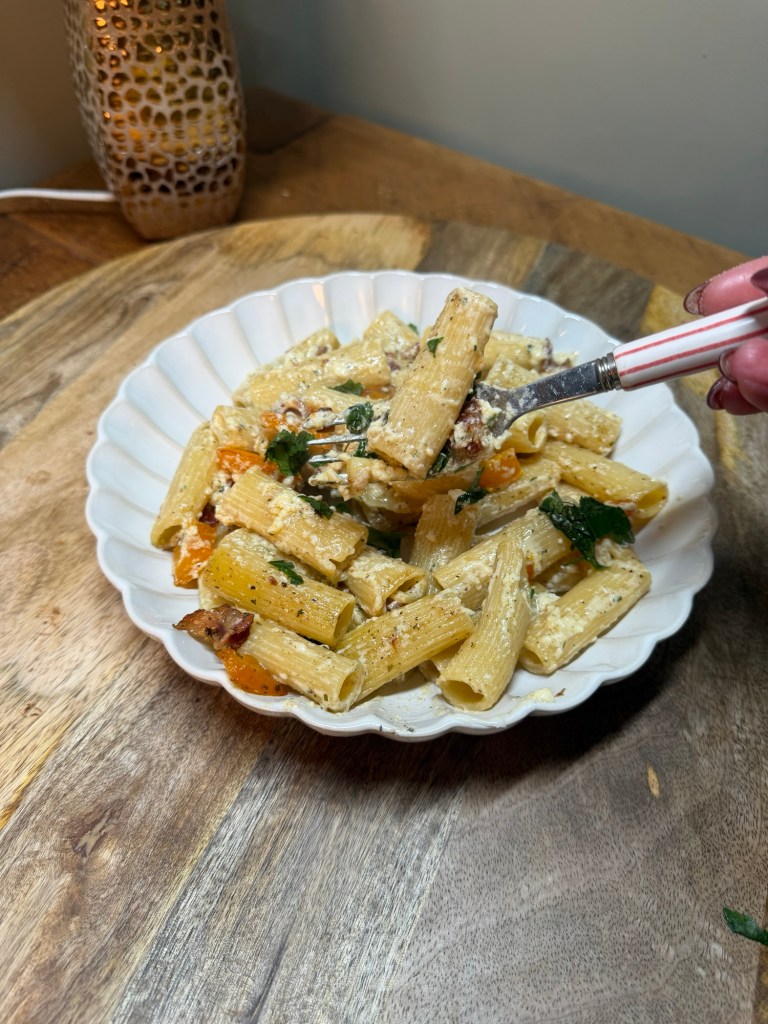
Spoiler: you can make the creamiest, boujiest mid‑week pasta that tastes like carbonara’s glam cousin who moved to Italy, discovered goat’s cheese and never looked back.
The Accidental “I Just Threw It Together” Pasta Let’s be honest: this is classic “kitchen clear‑out” cooking. You know the vibe – a few rashers of bacon, half a tub of mascarpone from that “I’ll definitely make a dessert” phase, a soft goat’s cheese you bought because it looked fancy, and one pepper slowly giving you side‑eye from the veg drawer. Instead of letting any of it go sad and shrivelled, we’re turning it into a silky, glossy pasta for two that looks like you planned it. You absolutely did not, but we’ll keep that between us. This dish is: • Creamy without being heavy • Salty and smoky from the bacon • Tangy and lush from the goat’s cheese • A little bit sweet from the peppers
• Ready in about 20 minutes if you can multitask like a pro (or just vaguely manage not to burn the bacon)
Ingredients for 2 Hungry People • 180–200 g dried pasta (any shape you fancy) • 4–5 slices streaky bacon, chopped • 1 pepper, sliced or diced • 3 heaped tbsp mascarpone • 40–50 g soft goat’s cheese • 1 egg • 1 small clove garlic, finely chopped (optional but lovely) • Salt and black pepper • A mug of pasta cooking water (liquid gold, don’t skip this)
• Optional: pinch of chilli flakes, squeeze of lemon, or a grating of Parmesan if you’re feeling extra
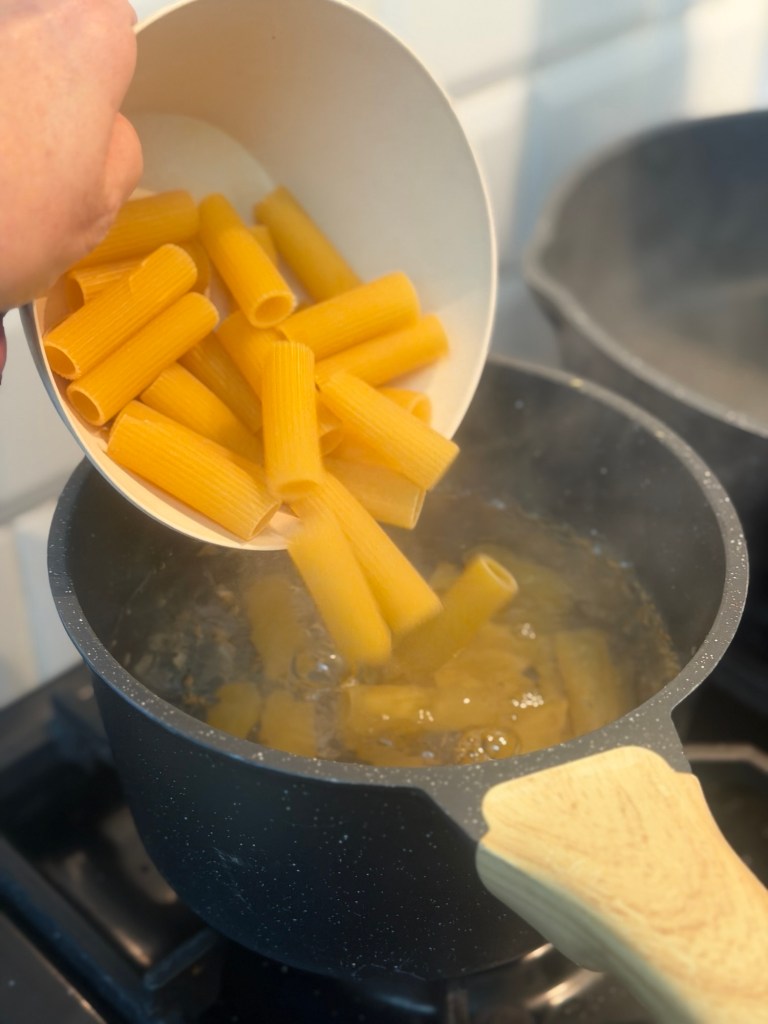
Step 1: Cook the Pasta (Yes, First) Yes, you cook the pasta first. No, we are not doing one‑pot chaos today. Bring a big pan of well‑salted water to the boil – it should taste like the sea, not a faintly disappointed puddle. Add your pasta and cook it until just al dente. Don’t walk away “just to check TikTok” unless you’ve set a timer.
Before you drain it, scoop out a mug of that starchy pasta water. This is the secret to sauces that cling rather than sulk at the bottom of the bowl. Then drain the pasta and keep it warm.
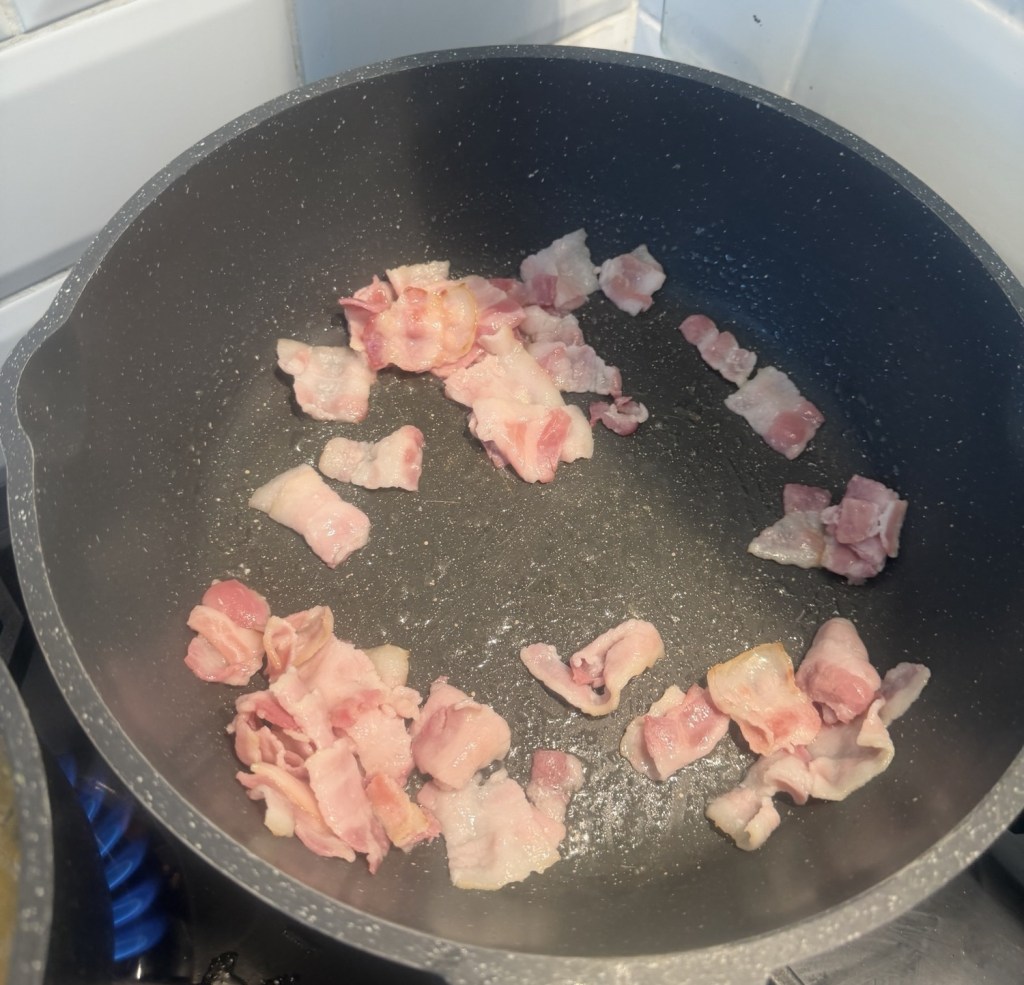
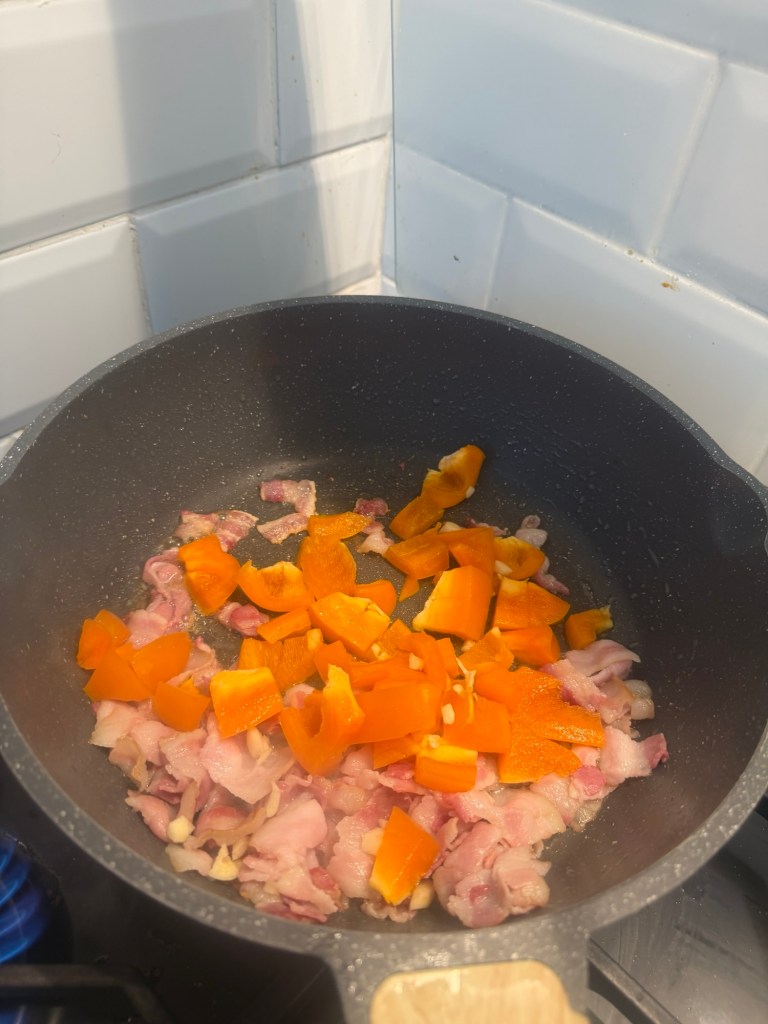
Step 2: Crispy Bacon, Sweet Peppers While the pasta is doing its thing, grab a large frying pan. • Add the chopped streaky bacon to a cold pan, then put it on medium heat. Starting it cold helps the fat render out slowly and makes everything extra crisp. • Fry until the bacon is golden and crisp. Try not to eat it all straight from the pan. (Good luck.) • Push the bacon to one side or lift it out onto a plate, leaving the glorious bacon fat in the pan. • Add your sliced/diced pepper (and garlic if you’re using it) to the pan. • Cook until the peppers are soft and slightly charred at the edges. Season lightly with salt and black pepper.
At this point your kitchen smells like you actually know what you’re doing.
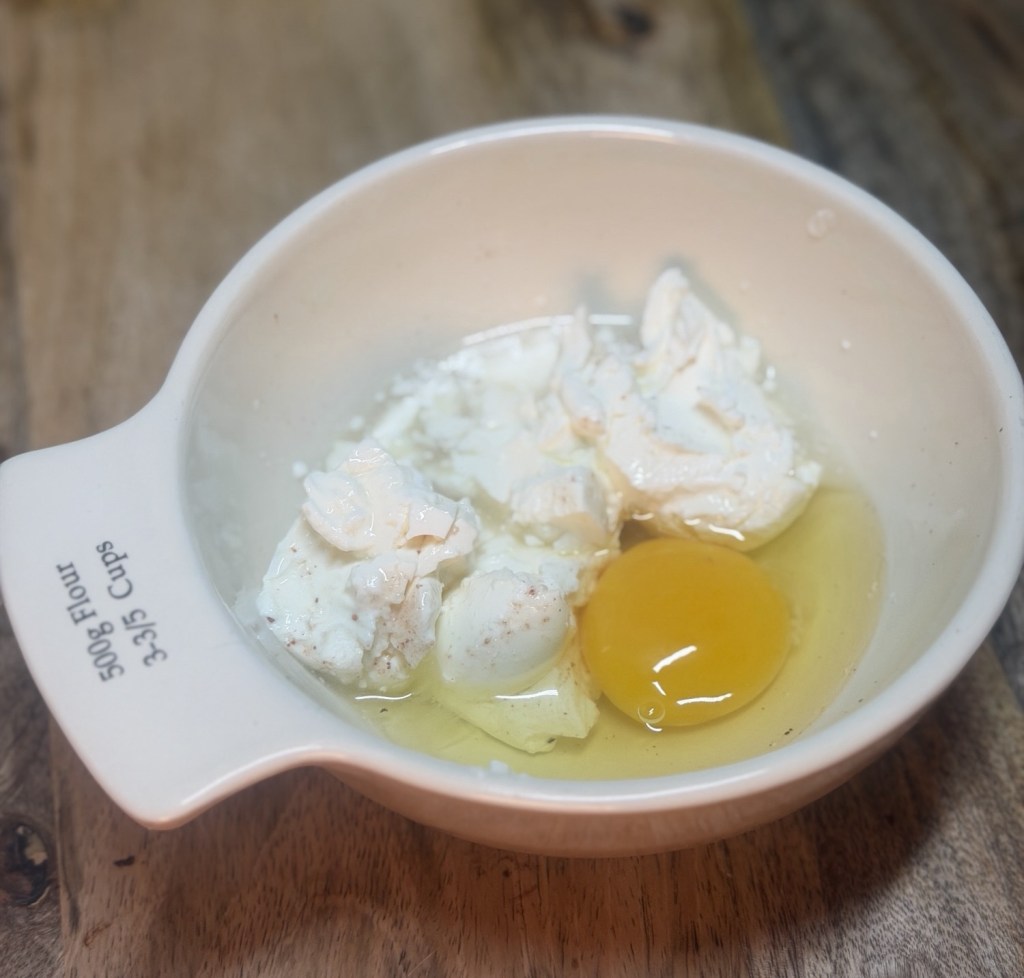
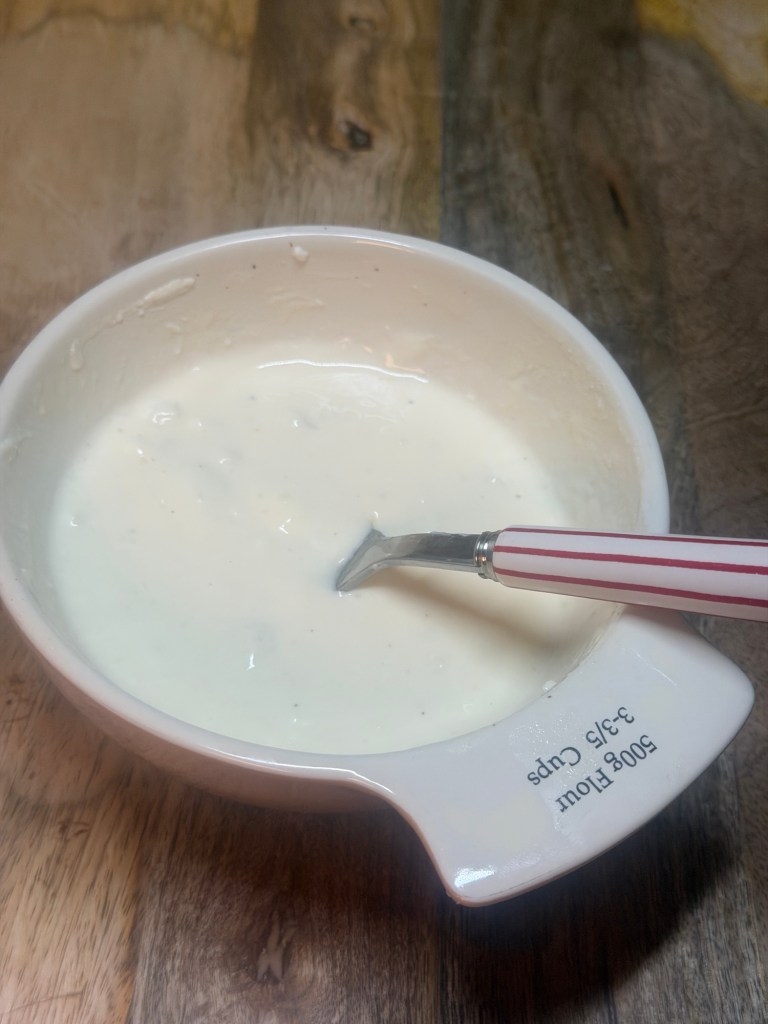
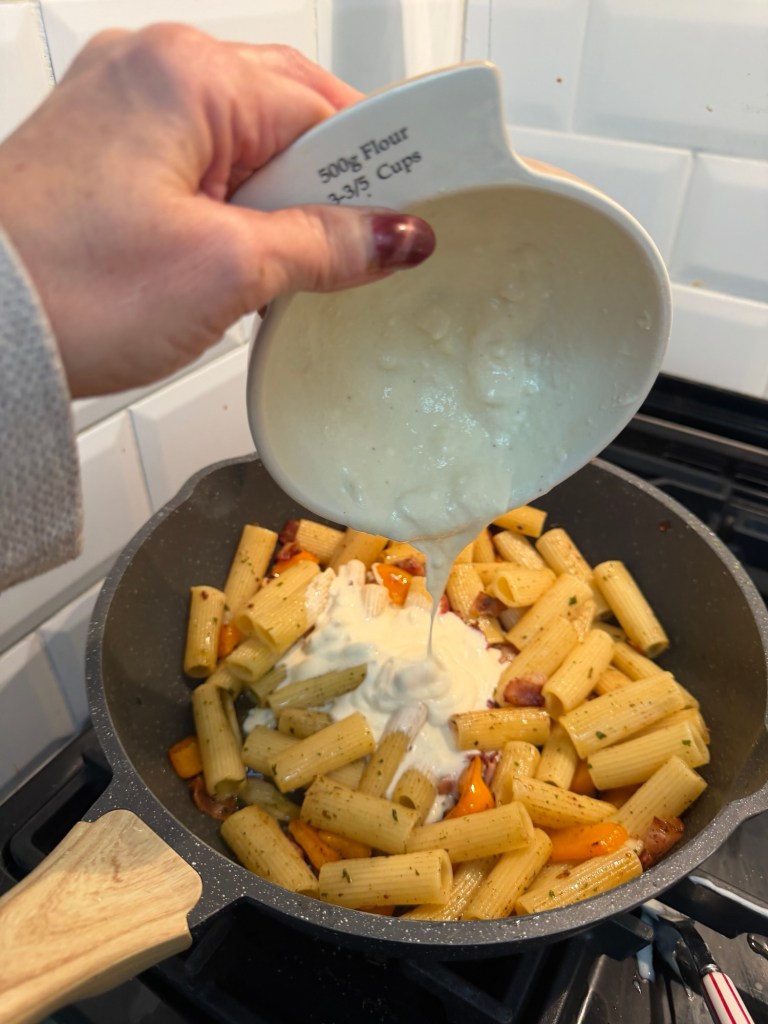
Step 3: The Silky Mascarpone & Goat’s Cheese Magic Now for the part that makes this feel restaurant‑level with almost zero effort. In a bowl, whisk together: • 3 heaped tbsp mascarpone • 1 egg • A splash or two of hot pasta water (start with 2 tbsp) • A pinch of salt • Plenty of black pepper You want a smooth, pourable mixture – not too thick, not too runny. Think “luxurious single cream”.
Now crumble or dollop in about half your soft goat’s cheese and stir it through. It doesn’t need to be perfectly smooth; a few streaks and tiny lumps are perfect. That tangy goat’s cheese cuts through the richness of the mascarpone and stops the whole thing feeling heavy.
Step 4: The Carbonara‑Style Moment (No Scrambled Eggs Allowed) This is where we channel carbonara energy without the stress. • Add your hot drained pasta into the pan with the peppers and bacon. Toss everything together so the pasta is well coated in the bacon fat and pepper juices.
• Turn the heat off under the pan. This is important. If it’s on, your egg mixture will scramble and you’ll have fancy breakfast pasta. • Pour over your mascarpone–egg–goat’s cheese mixture.
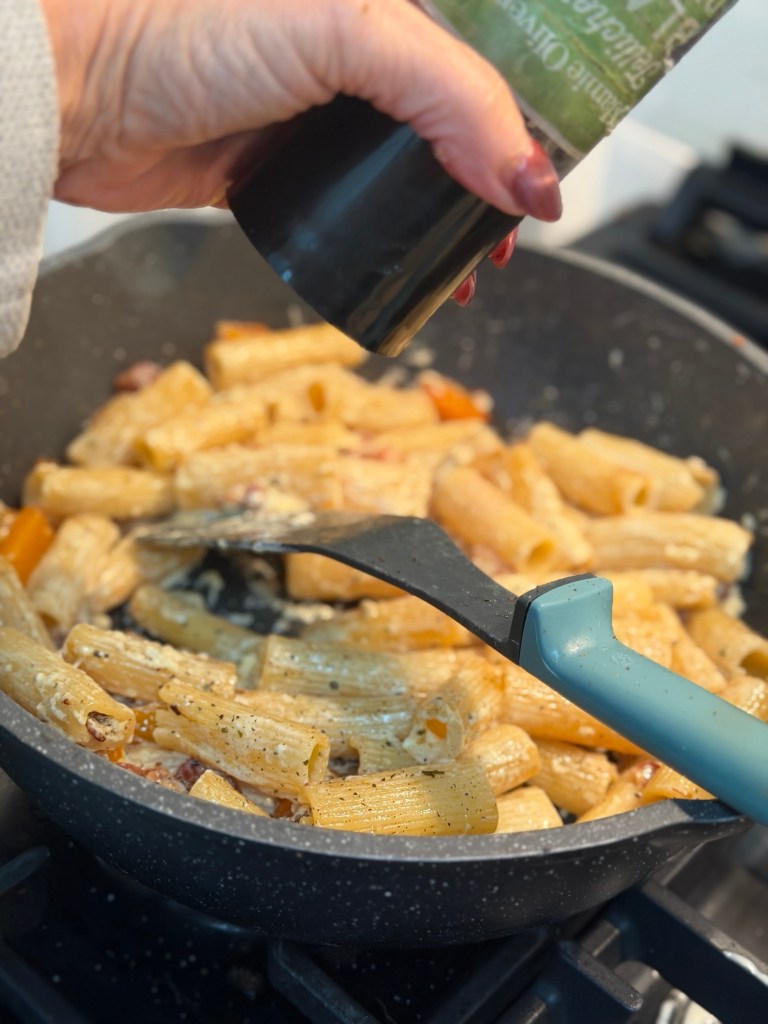
• Toss and stir vigorously, like you mean it. Add splashes of your reserved pasta water as needed until the sauce turns glossy and coats every piece of pasta.
The heat from the pasta and pan will gently cook the egg and melt the cheeses, giving you a beautifully creamy sauce instead of sad curds.
Step 5: Finishing Touches (a.k.a. The Show‑Off Bit) Now taste it. This is your “what does it need?” moment. You can: • Add more black pepper • Add a tiny pinch more salt if needed • Squeeze in a bit of lemon for brightness • Sprinkle over some chilli flakes if you like a little kick Finally, dollop or crumble the remaining soft goat’s cheese over the top. You’ll get gorgeous little creamy, tangy pockets as you eat – like little surprise flavour bombs.
Serve immediately in warm bowls, twirl it high for maximum drama, and pretend you haven’t just cooked this in 20 minutes using odds and ends from the fridge.
Make It Extra (Optional Little Twist) If you want to take it to the next level: • Tip the finished pasta into a small oven dish. • Add a few extra blobs of goat’s cheese on top. • Pop it under a hot grill for a couple of minutes until you get golden, slightly toasted spots of cheese.
Now it looks like a pasta bake that took an hour. You and I both know it absolutely did not.
Why This Works So Well This little recipe hits that sweet spot between comfort food and “I could serve this to guests and not be ashamed”: • The mascarpone makes the sauce ultra velvety without faffing with flour or roux. • The egg gives you that carbonara‑style silkiness and richness. • Soft goat’s cheese adds tang and personality so it’s not just “creamy for the sake of it”. • Bacon brings salt, smoke and crunch. • Peppers add sweetness and colour, stopping it from being a beige bowl of doom.
It’s the kind of meal you can throw together on a weeknight that still feels a bit special – like you’ve made an effort when you absolutely considered toast.
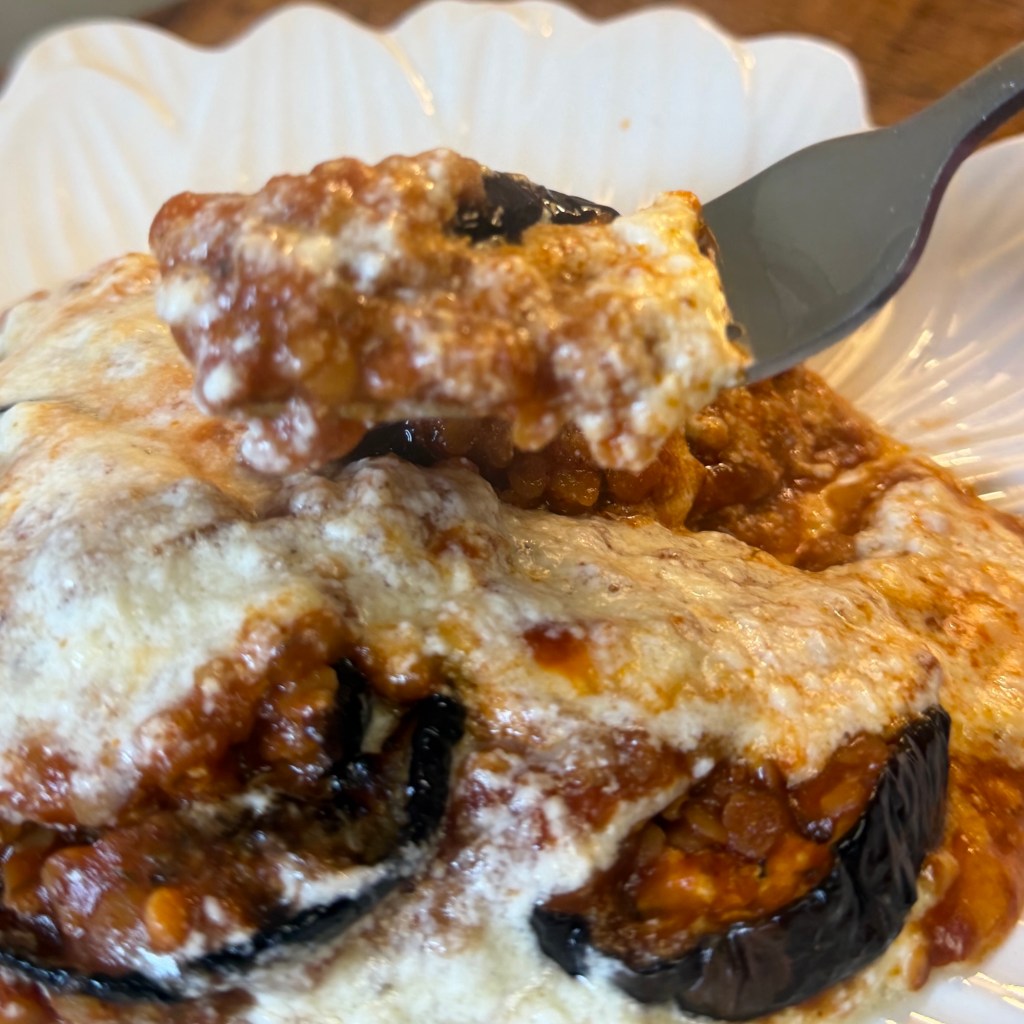
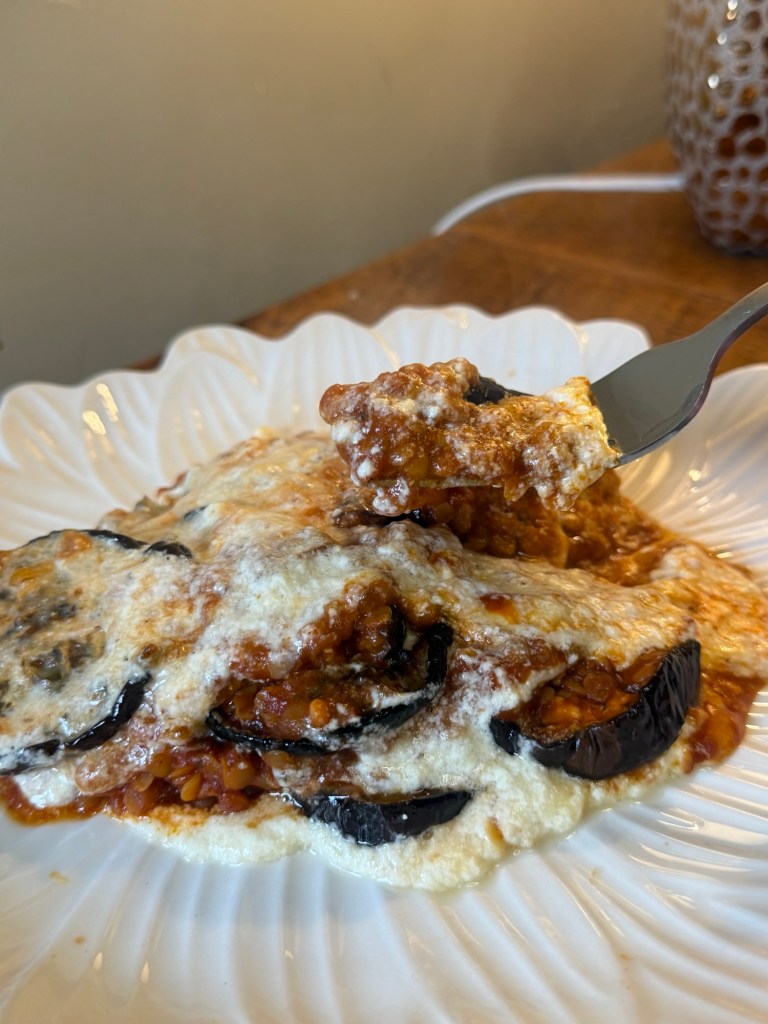
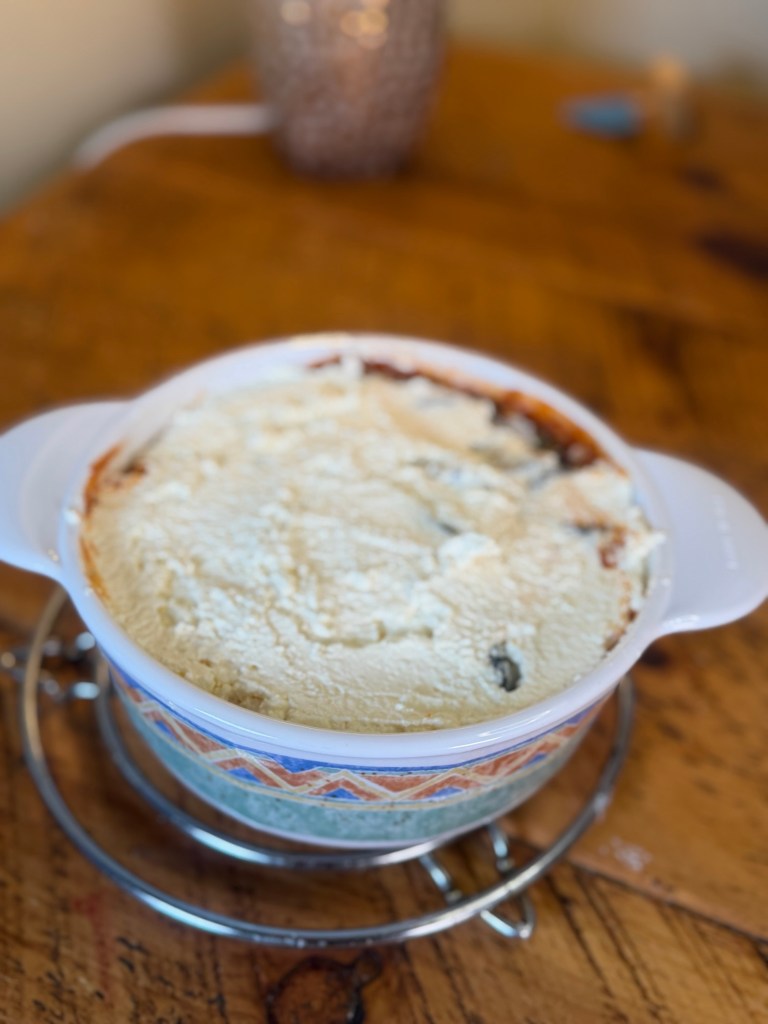
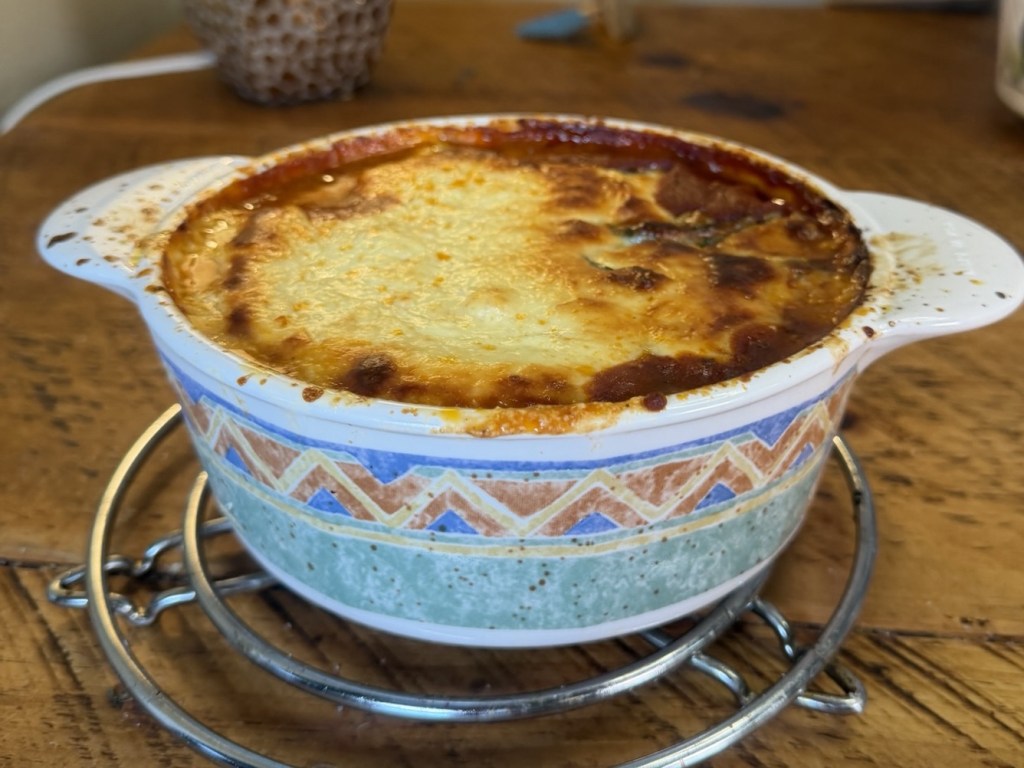
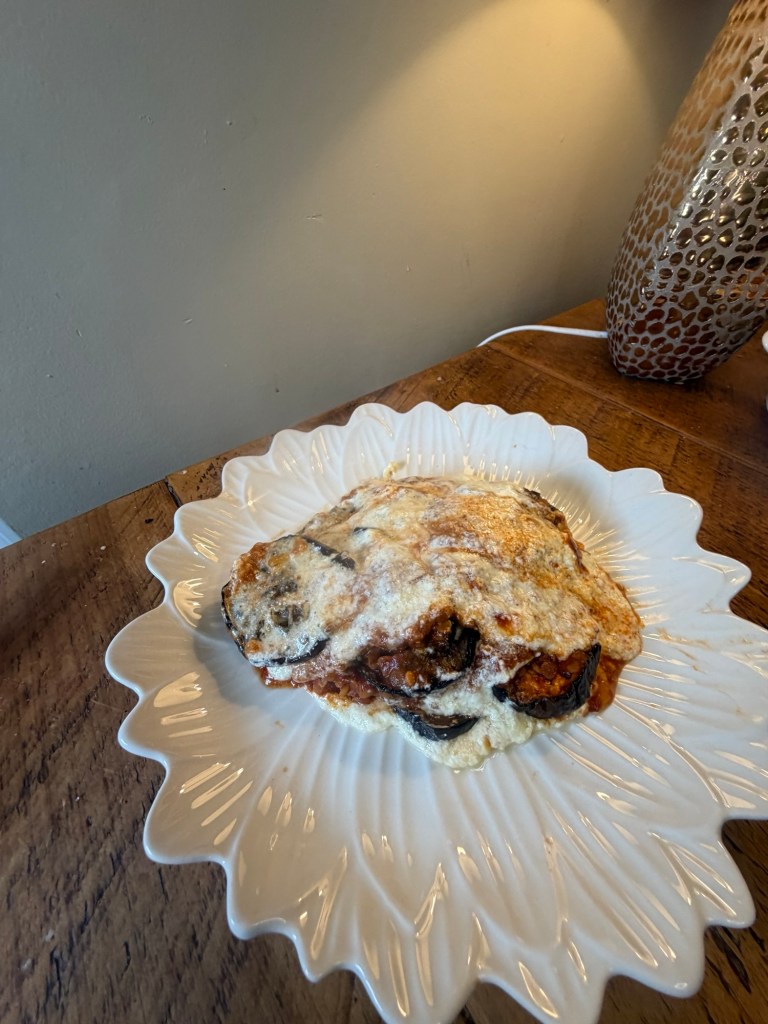
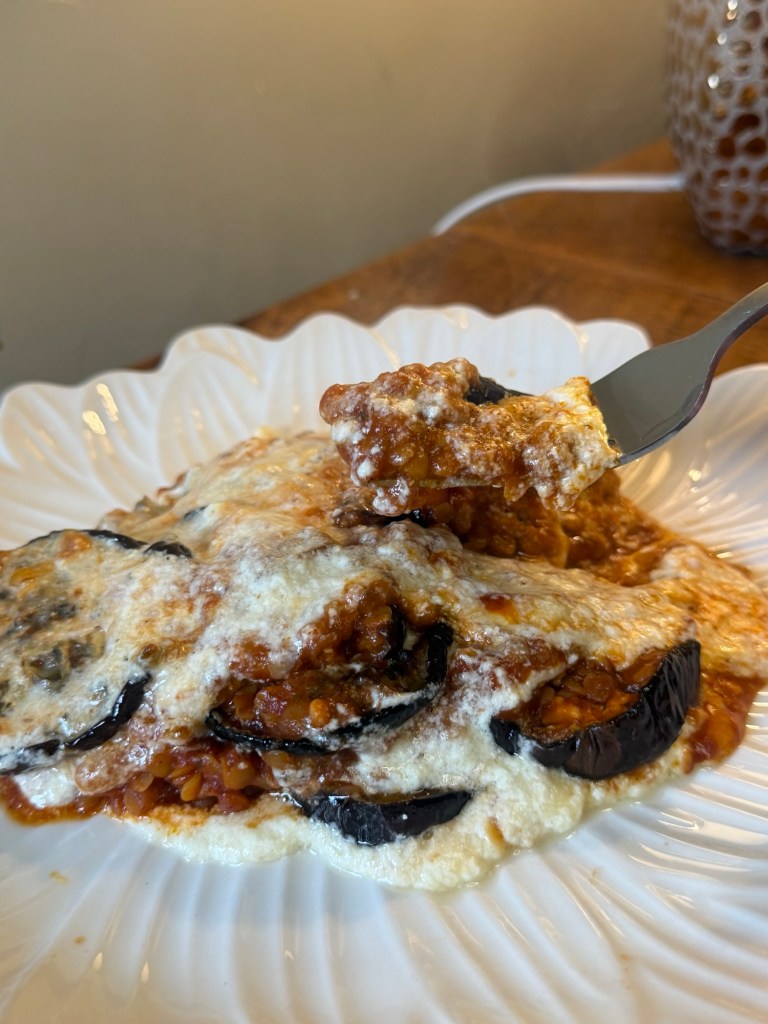
If you love proper comfort food but don’t want to faff around with loads of ingredients, this Easy Red Lentil Moussaka is for you. It’s rich, cosy, uses simple store‑cupboard bits, and still feels a bit “special” when it comes out of the oven. Think soft layers of aubergine, a gently spiced red lentil base, and a creamy, golden top – but all very doable on a weeknight. Below is everything you need: ingredients, method, and a few little tips so it comes out perfect first time.
Ingredients (serves 4) For the aubergine • 2 large aubergines, sliced into 1 cm rounds • 2 tbsp olive oil (for brushing) • Salt and pepper For the lentil layer • 2 tbsp olive oil • 4 garlic cloves, finely grated or crushed • 2 tsp dried oregano • 2 tsp ground cinnamon • 150 g dried red split lentils, rinsed • 2 tsp Worcestershire sauce (or a vegan alternative) • 20 g vegetable stock paste or 2 vegetable stock cubes • 2 × 400 g tins chopped tomatoes • 2 tsp sugar • 150 ml water – more if lentils look dry • Salt and pepper, to taste
Method
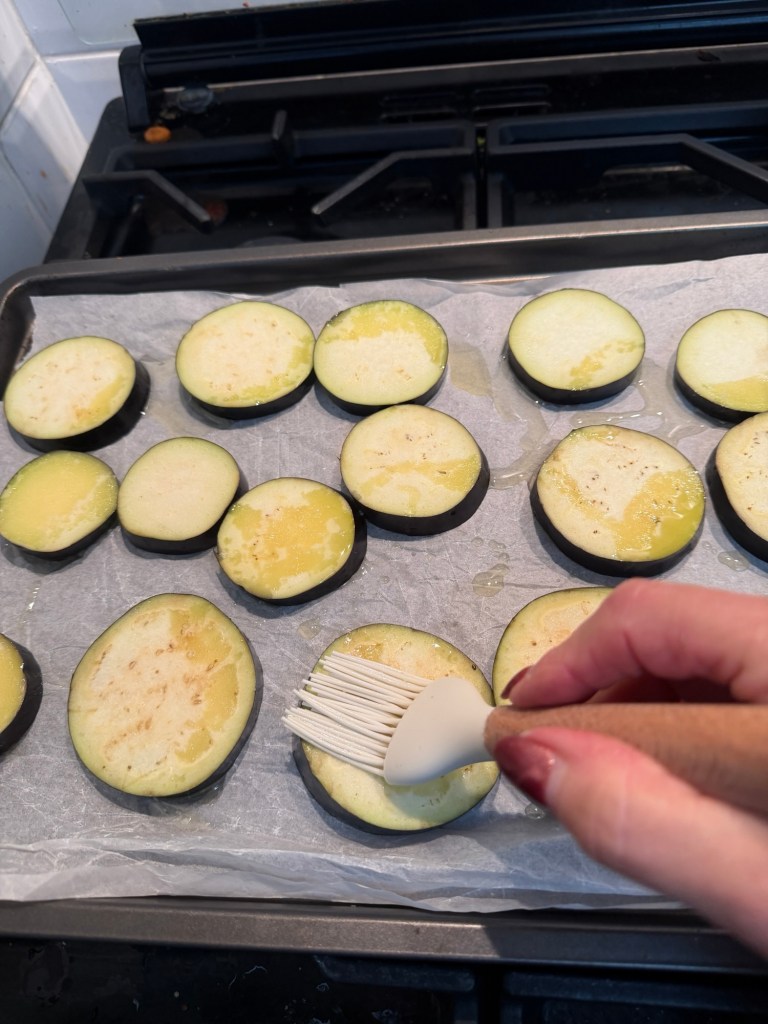
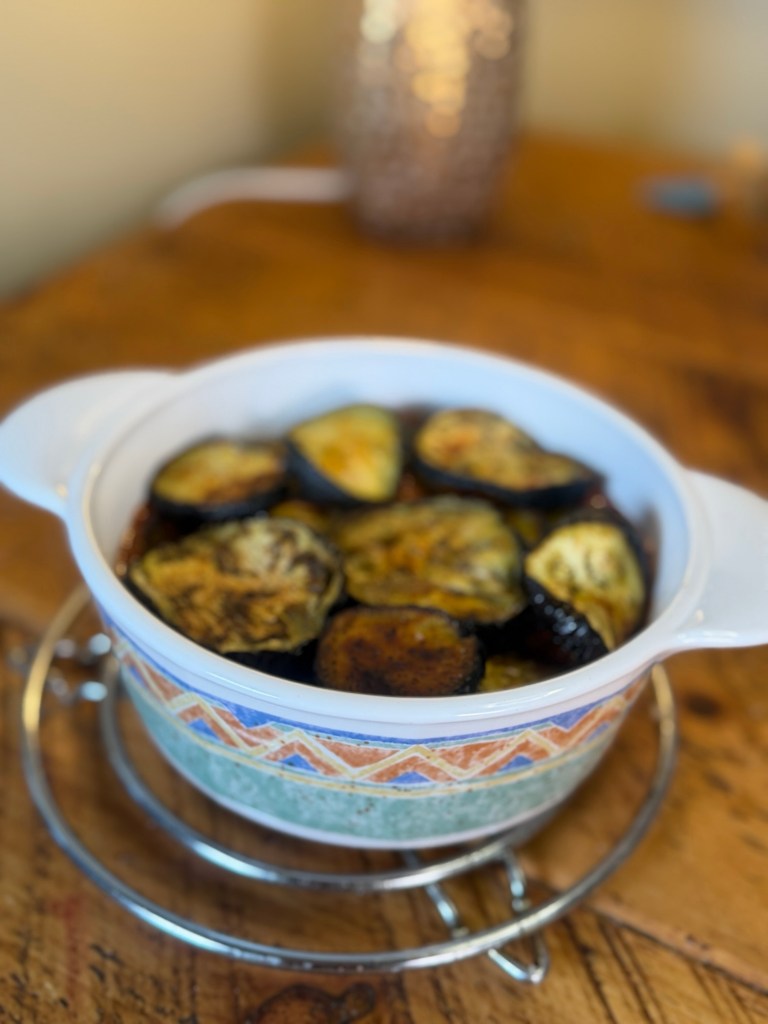
Get the aubergine going Preheat your oven to 220°C / 200°C fan / gas 7. Line one or two baking trays with baking paper if you want easier washing up. Lay the aubergine slices out in a single layer, brush (or drizzle and rub) with olive oil on both sides, and season with salt and pepper. Roast for about 20–25 minutes, turning halfway, until the slices are soft, lightly golden and just starting to catch at the edges. You want them cooked through because they won’t get much more time in the oven later.
Start the lentil base While the aubergine is roasting, heat 2 tbsp olive oil in a large pan over medium–high heat. Add the dried oregano, ground cinnamon and about half of your garlic. Cook for around 1 minute, stirring, just until everything smells fragrant – you don’t want the garlic to brown. This little step – toasting the herbs and spices – makes the whole dish taste warmer and more “slow‑cooked” than it really is.
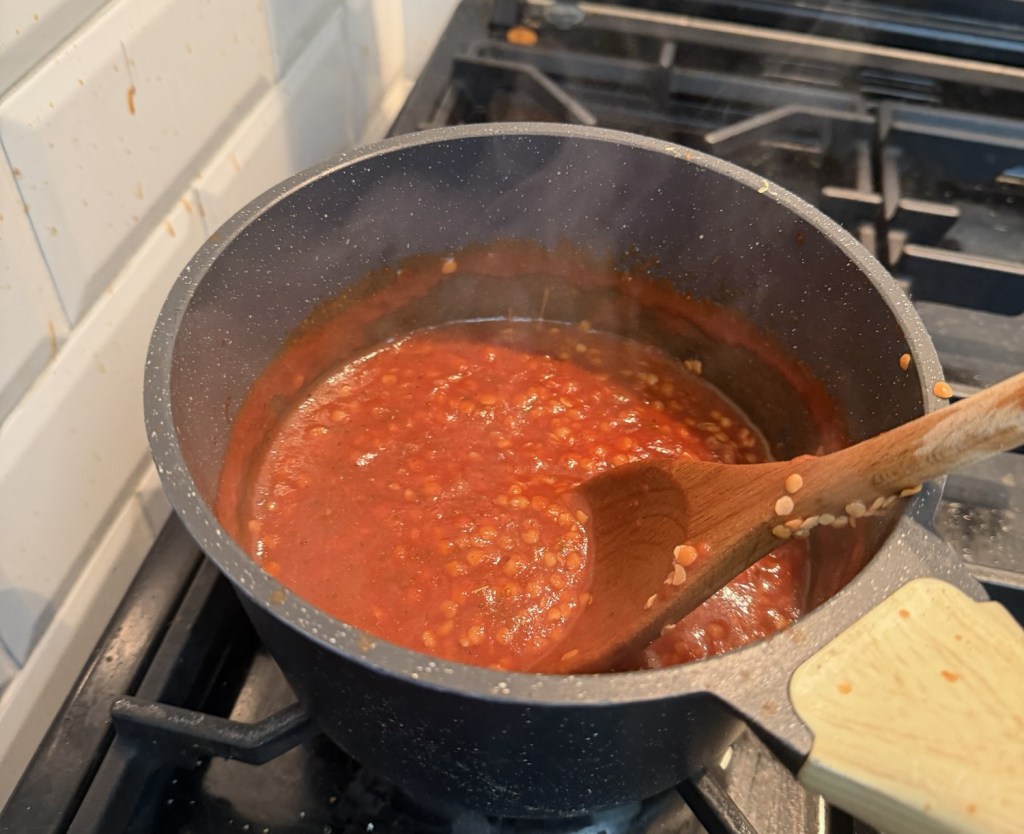
Add lentils and liquids Tip in the rinsed red lentils, Worcestershire sauce, stock paste or cubes, chopped tomatoes, sugar and the water. Give it all a good stir, scraping up anything that’s stuck to the bottom of the pan. Bring it up to the boil, then turn the heat down so it’s gently simmering. Leave it to bubble away for about 20–25 minutes, stirring occasionally. Red lentils break down and thicken as they cook; you’re aiming for a thick, spoonable sauce – not soupy, not dry. If it starts to look too thick before the lentils are soft, add a splash more water. If it’s still a bit runny at the end, just let it simmer with the lid off for a few extra minutes.
Season properly When the lentils are soft and the sauce is nice and thick, stir in the remaining garlic and season really well with salt and pepper. Taste it – this is your moment to get the flavour right. The lentils should taste rich, tomatoey and slightly warm from the cinnamon, not flat or bland. Turn off the heat and set aside for a moment while you sort the topping.
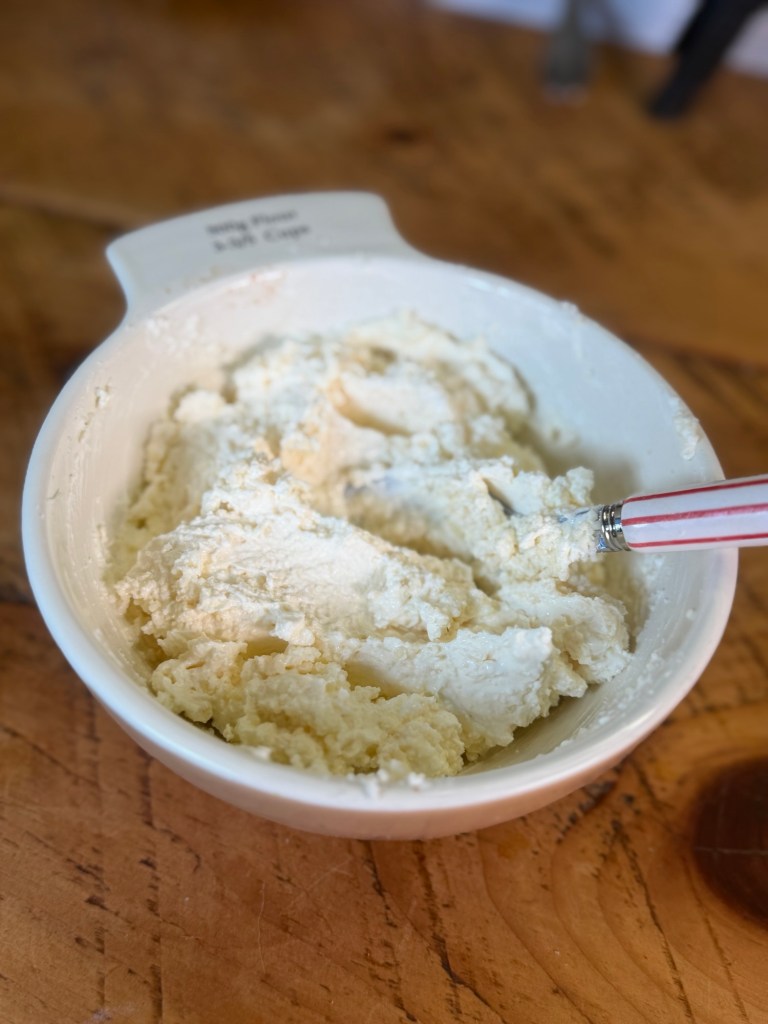
Mix the creamy topping In a small bowl, stir together the crème fraîche and most of the grated cheese, keeping a little cheese back for sprinkling on top. Add a good grind of black pepper. You don’t need to overthink this – just mix until it’s smooth and combined. If you prefer a slightly looser topping, you can add a tablespoon or two of water or milk to loosen it slightly.
Build your moussaka Tip the lentil mixture into a medium–large ovenproof dish and spread it out evenly. You want a reasonably thick layer, not too shallow. Lay the roasted aubergine slices over the lentils in a single layer, overlapping them slightly like roof tiles.
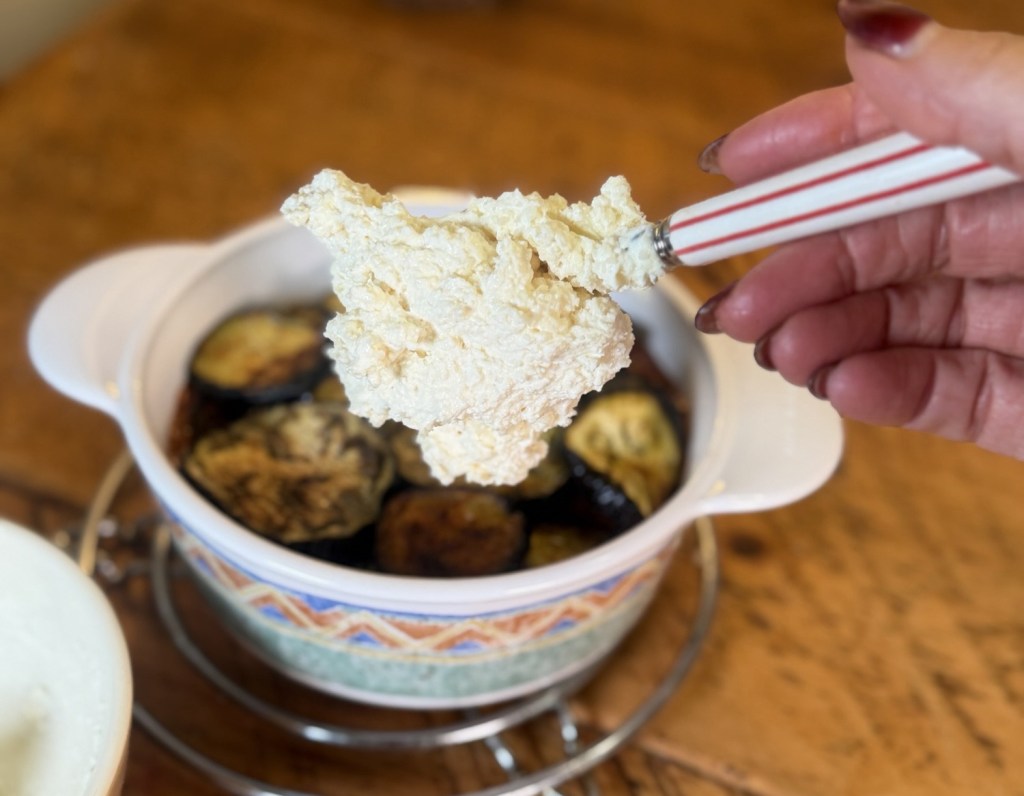
Spoon the crème fraîche and cheese mixture over the top and gently spread it right to the edges. Sprinkle over the remaining cheese.
You should now have three layers: lentils, aubergine, creamy top.
Bake until golden Pop the dish under a hot grill or back into the oven (still at 220°C / 200°C fan) for about 5–8 minutes, just until the top is bubbling and golden in patches.
Keep an eye on it – it can go from perfect to very dark quite quickly.
Once it looks lovely and golden, take it out and let it sit for 5–10 minutes. This resting time helps it firm up so it’s easier to scoop or slice.
Optional: quick garlic bread If you’re making the garlic bread, you can do this while the moussaka is having its little rest.
Mix the grated garlic with olive oil and a pinch of oregano or za’atar. Spread the mixture onto your ciabatta slices. Grill or bake for a few minutes until crisp and lightly golden at the edges. Serve on the side to mop up all the lentil sauce.
Little tips and swaps • Want it lighter? Use half crème fraîche and half fat‑free Greek yoghurt, or swap entirely to a thick yoghurt if you don’t mind a slightly tangier top. • Make it vegan: Use a plant‑based yoghurt instead of crème fraîche, a vegan cheese, and a vegan Worcestershire or a splash of soy sauce. • Spice it up: Add a pinch of chilli flakes when you add the cinnamon if you like a bit of warmth. • Prep‑ahead friendly: You can assemble the whole thing earlier in the day, keep it in the fridge, then bake until hot and golden when you’re ready to eat. Just give it a few extra minutes in the oven if it’s going in cold.
This dish really feels like “home” to me – simple ingredients, nothing fancy, but so much love in the layers. I love that you can make it on a normal weeknight and it still feels like a little moment of care, whether you’re cooking just for yourself or feeding a full table. If you do make it, I hope it becomes one of those recipes you come back to on the days you need something warm, comforting and uncomplicated – the kind of meal that quietly looks after you while you get on with life.
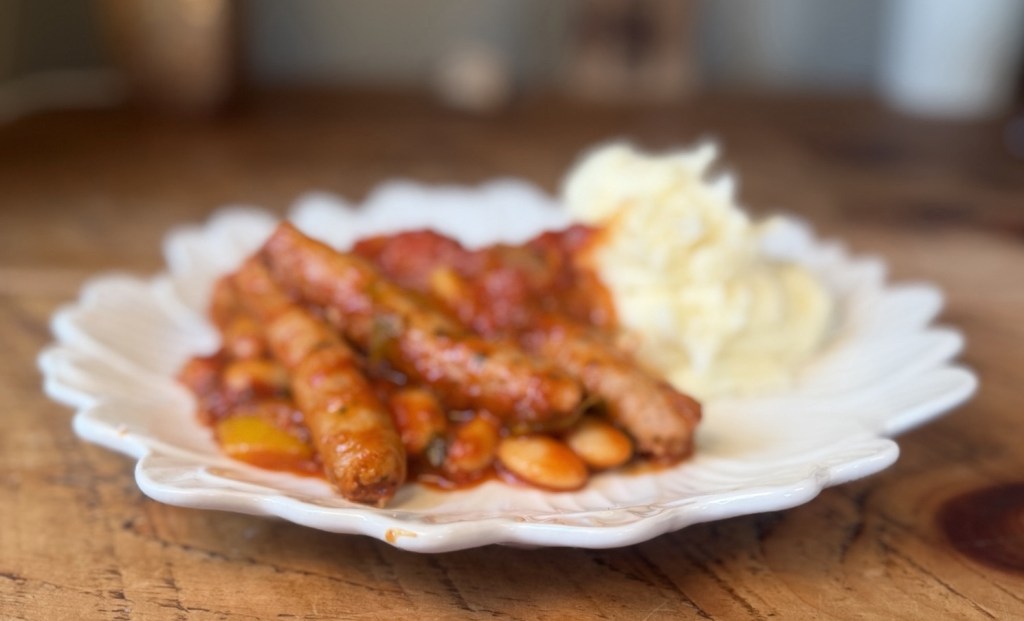
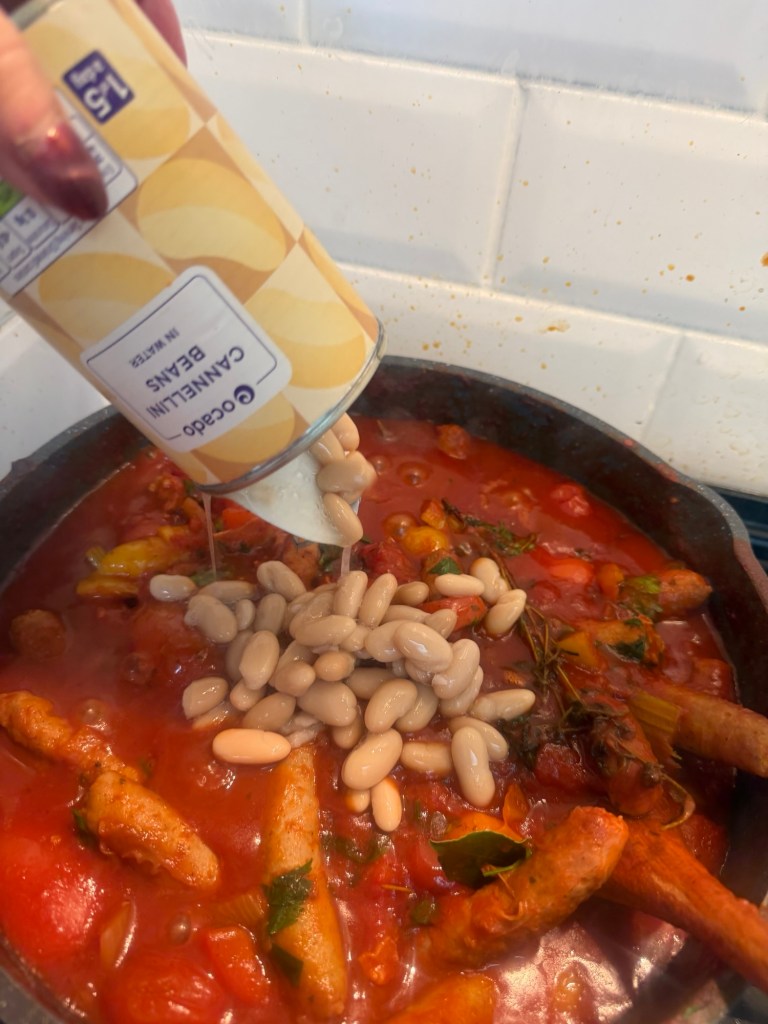
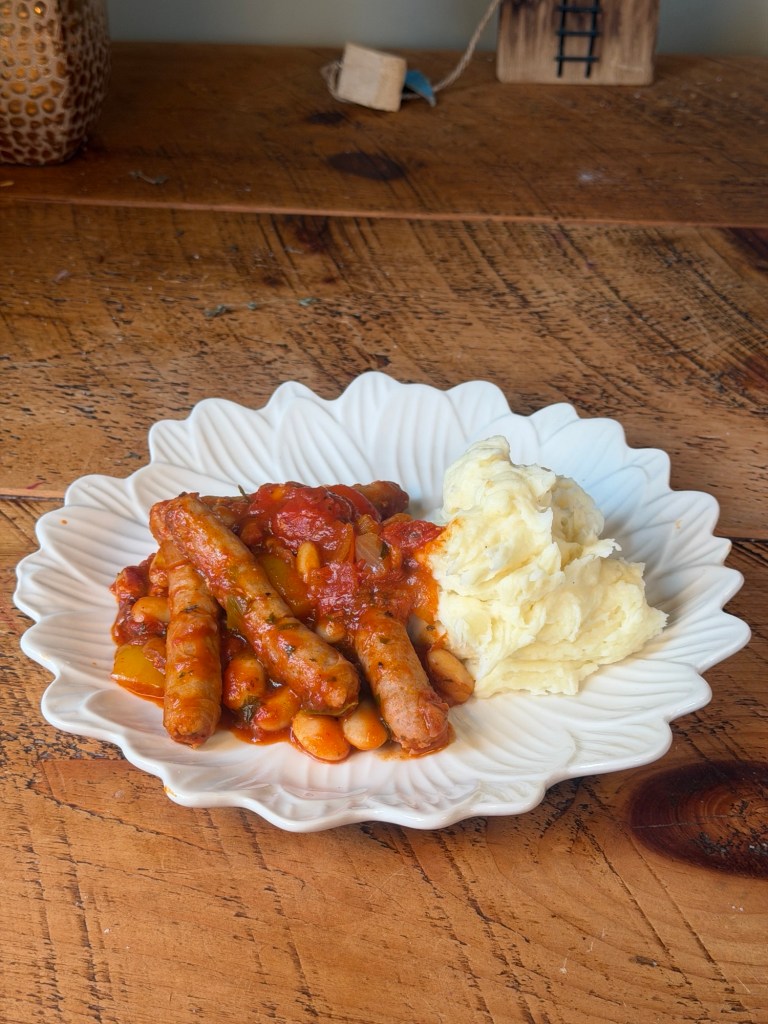
If there’s one dish that feels like a warm hug on a plate, it’s this sausage and bean casserole. It’s the kind of meal that looks after you, feeds leftovers into lunches, and makes the house smell like proper home cooking. I always make enough to feed a family of four with plenty left over for tomorrow’s lunch tucked neatly in the freezer.
What I Use
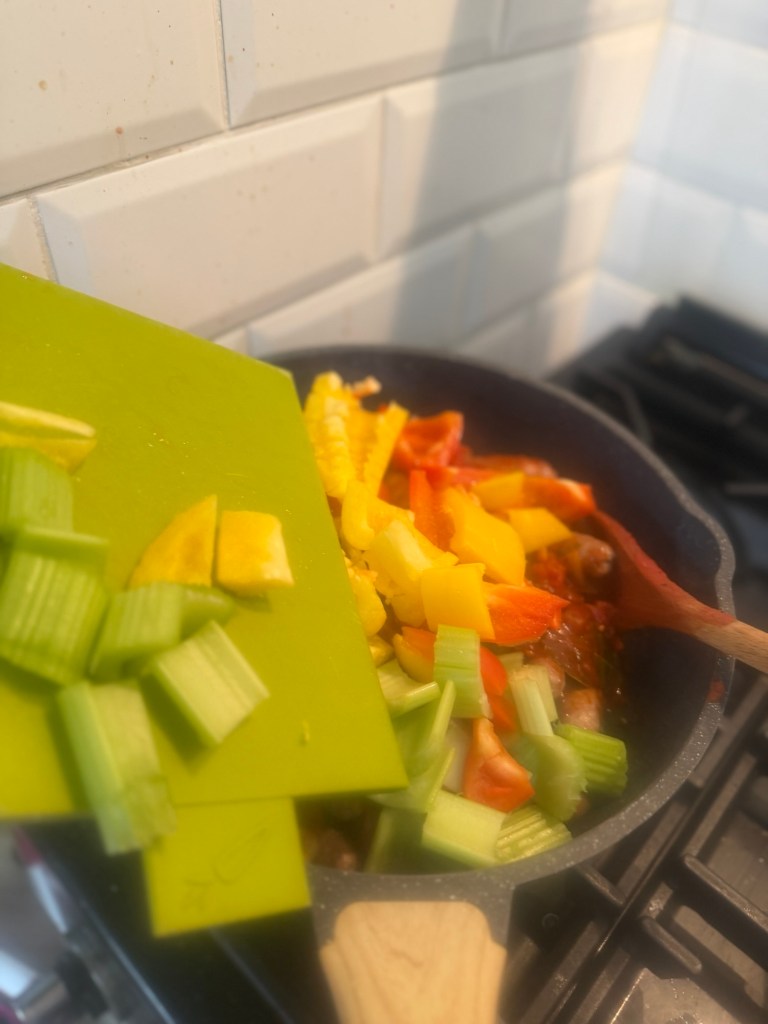
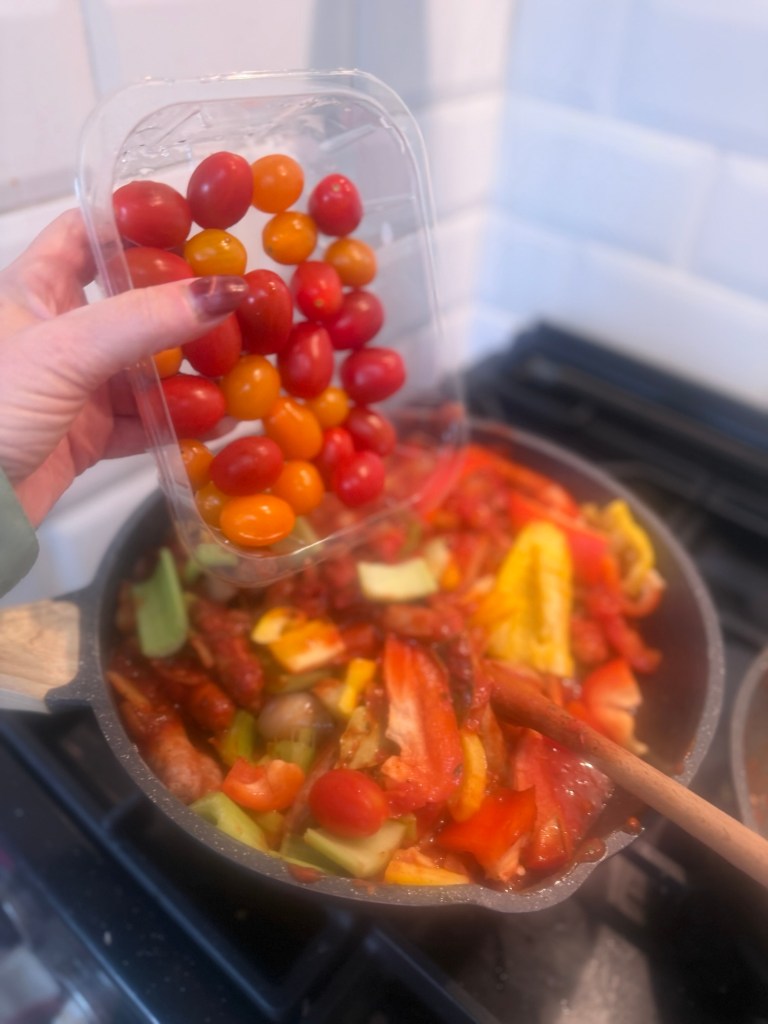
For me, getting the base ingredients right makes all the difference. I’ll usually grab: • Good quality pork sausages (I always go for Heck chipolatas because they’re 97% pork and packed with flavour, not additives). • Rashers of rindless streaky bacon for that savoury, salty hit. • A couple of onions, a good handful of garlic, and the soft bits from the fridge that need using. • A tin of chopped tomatoes plus a dollop of tomato purée for depth. • A tin of butter beans (or mixed beans) and some good chicken stock. • Fresh herbs, a pinch of chilli or smoked paprika, and those little extras that make it feel like yours. On this particular day, I had 1 red pepper and 2 sticks of celery, plus a big bunch of flat leaf parsley sitting in the fridge, all begging to be used. If there are any soft cherry tomatoes lurking at the back, I’ll chop them up and throw them in too—no waste, all flavour.
Ingredients
• 12 good pork sausages (I use Heck chipolatas, 97% pork) • 6 rashers rindless streaky bacon, chopped into small pieces • 2 onions, sliced or finely chopped • 1 red pepper, sliced or diced • 2 sticks of celery, finely chopped • 3–4 garlic cloves, finely chopped • 1 tbsp cooking oil (sunflower or olive) For the sauce: • 1 tbsp tomato purée • 1 × 400 g tin chopped tomatoes • 300 ml chicken stock (about ½ bottle) • 1 tbsp Worcestershire sauce • 1 tbsp dark brown sugar or muscovado sugar • ½–1 tsp chilli powder or 1 tsp smoked paprika (adjust to taste) • ¼ tsp dried marjoram • ¼ tsp dried basil • ¼ tsp dried oregano • ¼ tsp dried thyme • 2 bay leaves • A few fresh thyme sprigs (optional, but lovely if you have them) For the beans & finish: • 1 × 400 g tin butter beans or mixed beans, drained and rinsed • A big bunch of flat leaf parsley, chopped (plus a little extra to sprinkle on top) • Salt and freshly ground black pepper, to taste Optional but encouraged: • Any soft or slightly over‑ripe cherry tomatoes from the fridge, chopped (toss in with the sauce)
My Method (In My Kitchen)
Brown the meat I start by heating a little oil in a big frying pan or my cast‑iron casserole dish. The sausages go in first. I like to brown them all over so they get a little golden crust without drying out. Then they go into the casserole while I cook the bacon in the same pan until it’s crisp and golden. All that tasty bacon fat stays in the pan—that’s the start of flavour magic. Top tip: Always buy more sausages than you think you’ll need. It’s hard not to eat one here, one there as you’re cooking, and by the end you’ll still want plenty in the pot!
Soft veg base In a separate pan go the onions, I let them cook down slowly until they’re soft and starting to caramelise. When they’re ready, I add the garlic, stirring for just a minute so it doesn’t burn. If I have any soft cherry tomatoes, I’ll add them now too—they’ll break down into the sauce and give it a lovely natural sweetness.
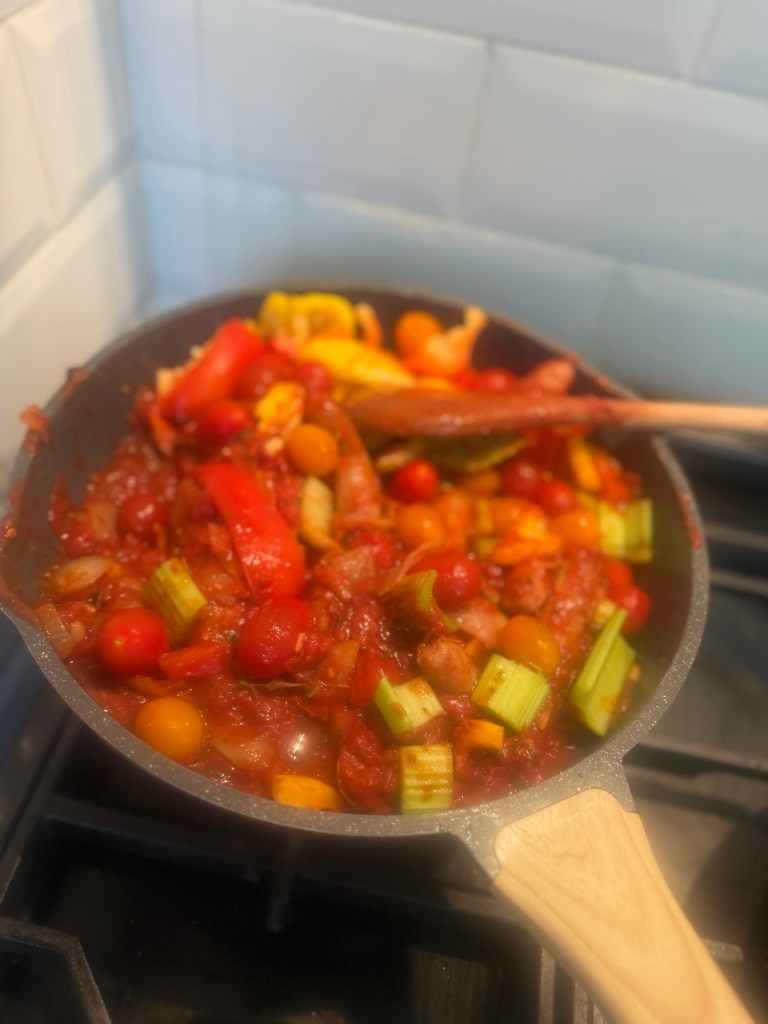
Build the sauce Next I stir in a bit of chilli powder or smoked paprika (enough so you can feel it but not so much it takes over), then the chopped tomatoes, a tablespoon of tomato purée, and enough chicken stock to just cover the bottom of the pan. A splash of Worcestershire sauce and a teaspoon of brown sugar help balance the acidity, and in go my dried herbs—usually a mix of marjoram, basil, oregano and thyme, plus bay leaves and a few sprigs of fresh thyme if I have them. Once it’s bubbling gently, I pour everything into the casserole with the sausages and bacon. Everything simmers together, the sausages soaking up all that rich, tomato‑y goodness. I put in the celery, tomatoes and chopped peppers then combine.
The gentle simmer I cover the pot loosely and let it simmer for about 20 minutes on a low heat. I’ll give it the occasional stir to stop anything catching, but otherwise it pretty much looks after itself. This is when the house really starts to smell amazing.
Add beans and finish
After the sauce has thickened slightly, I stir in the drained beans and let it all go for another 10 minutes until the sausages are cooked through and the casserole feels thick and comforting. If the sauce is a touch too thin, I’ll let it bubble uncovered for a few extra minutes; if it’s too thick, a splash of stock or water sorts it out.
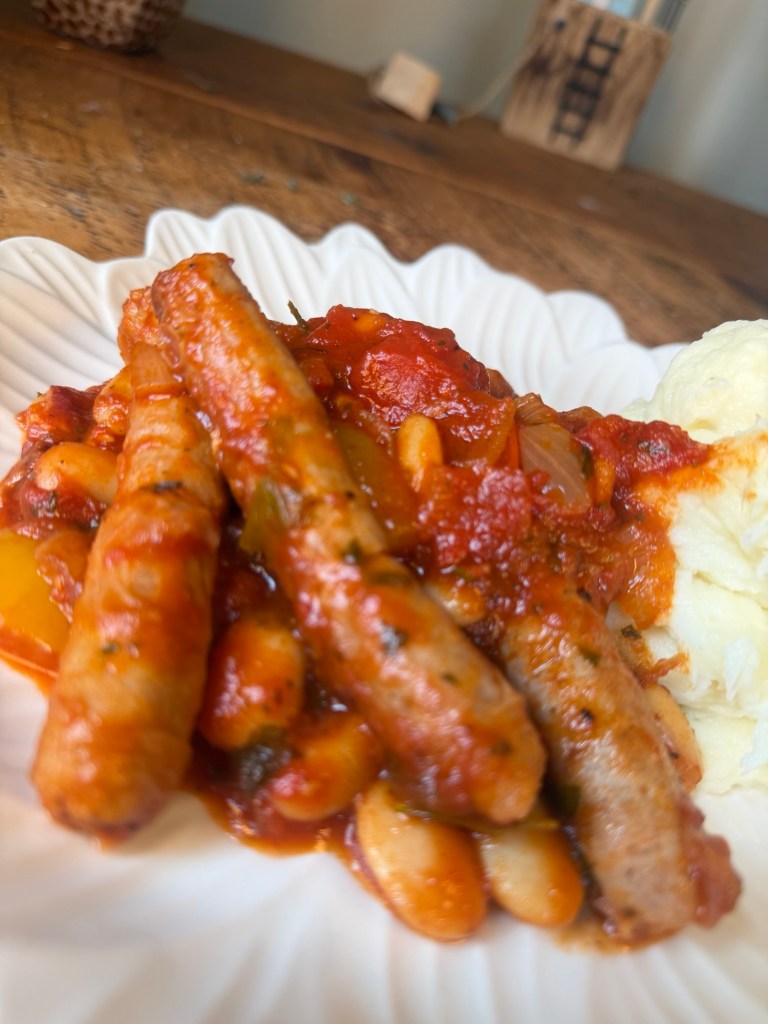
Right at the end, I pull out the bay leaves, tear in the flat leaf parsley, and give it one final stir. The result is a deep, hearty casserole with soft veg, tender beans, and juicy sausages coated in a rich, glossy sauce.
How I Serve It I live for this served with creamy mashed potato—it soaks up the sauce beautifully and makes it feel like proper comfort food. If you’re in a rush, a spoonful over rice or alongside crusty bread works just as well.
Leftovers heat up brilliantly and taste even better the next day, and the whole thing freezes really well in portion‑sized containers.
If you’re batching this into content‑ready dinners, freeze it flat in freezer‑safe containers so it thaws faster and stacks neatly in the freezer. It’s my go‑to “no‑stress” family meal that still looks and tastes like love on a plate.
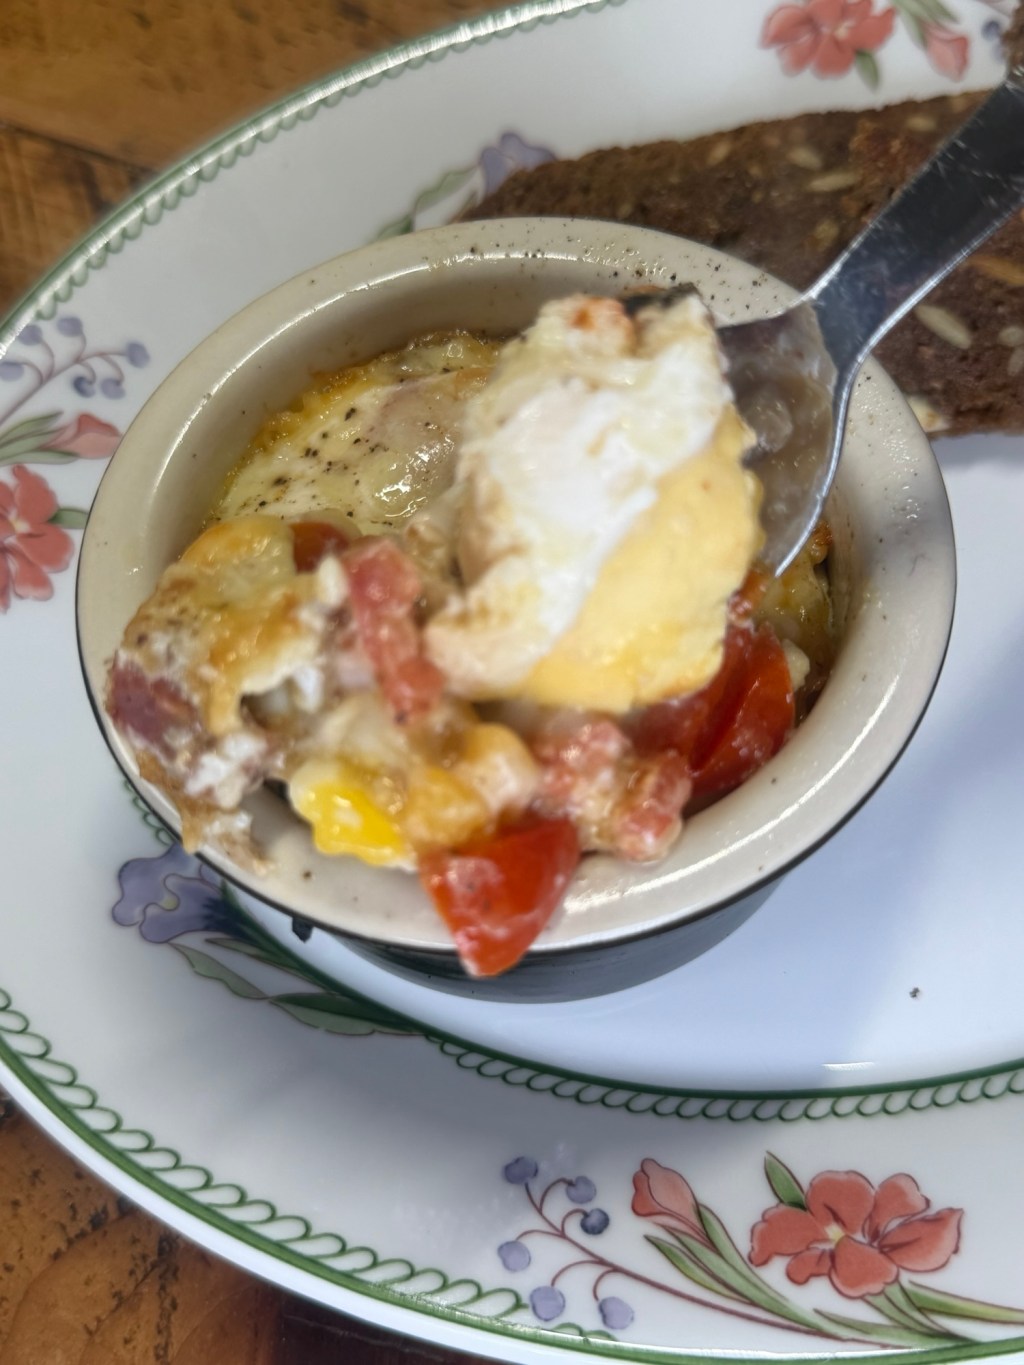
Café‑style brunch without leaving the house? Yes please. These baked eggs are my current obsession: a little ramekin filled with creamy egg, tangy crème fraîche, juicy cherry tomatoes and smoky chorizo, all finished with a blanket of melted cheddar.
It looks like something you’d order with a flat white in a trendy brunch spot, but it’s secretly a very low‑effort, “use what’s in the fridge” kind of recipe. I started with a simple baked eggs base and then threw in what I had on hand – and it turned into the kind of dish you immediately want to make again tomorrow. What makes these baked eggs special Here’s how my version differs from a plain baked egg: • I use crème fraîche instead of milk or cream for extra tang and richness. • Cherry tomatoes add juicy sweetness and stop things feeling heavy. • Chorizo brings smoke, spice and those gorgeous orange oils. • Everything is built directly in the ramekin – egg first, goodies on top. • A good sprinkle of cheddar melts into a golden, bubbly top. You still get that soft, just‑set egg from baking the ramekins in a water bath, but with way more flavour and texture going on.
Step‑by‑step: Café‑Style Baked Eggs with Chorizo and Cheddar
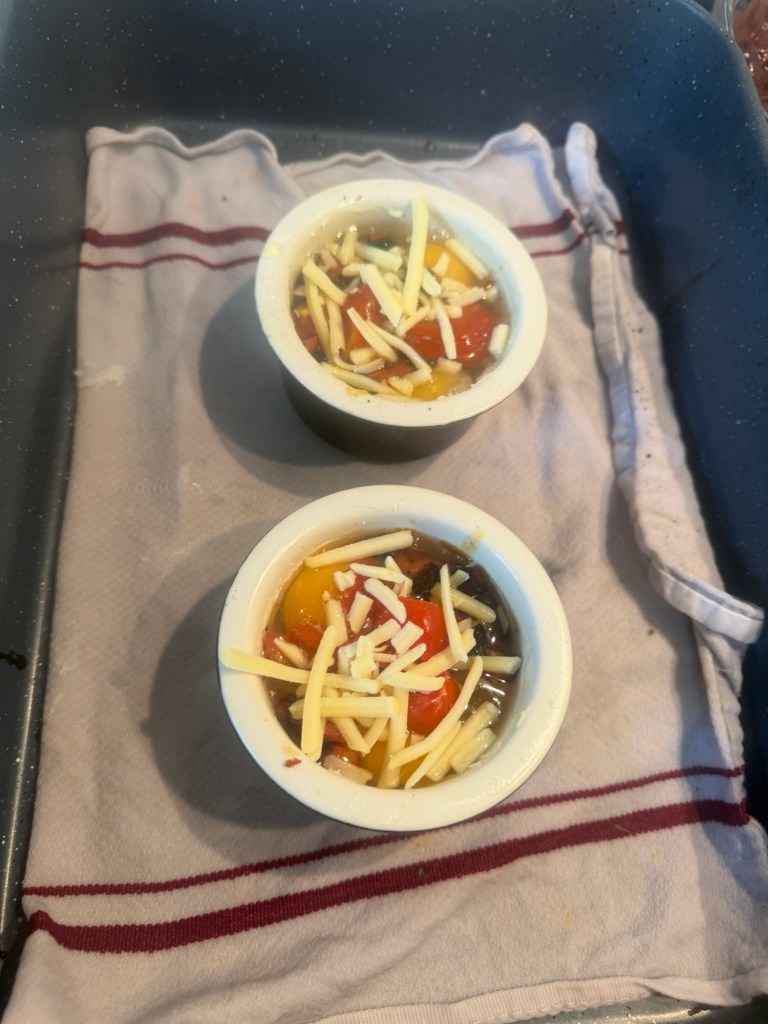
Heat the oven Preheat your oven to 180–190°C and put the kettle on to boil. Lay a clean tea towel in the bottom of a roasting tin to stop the ramekins sliding around.
Grease the ramekins Lightly butter your ramekins so the eggs don’t stick and the edges stay lovely and soft.
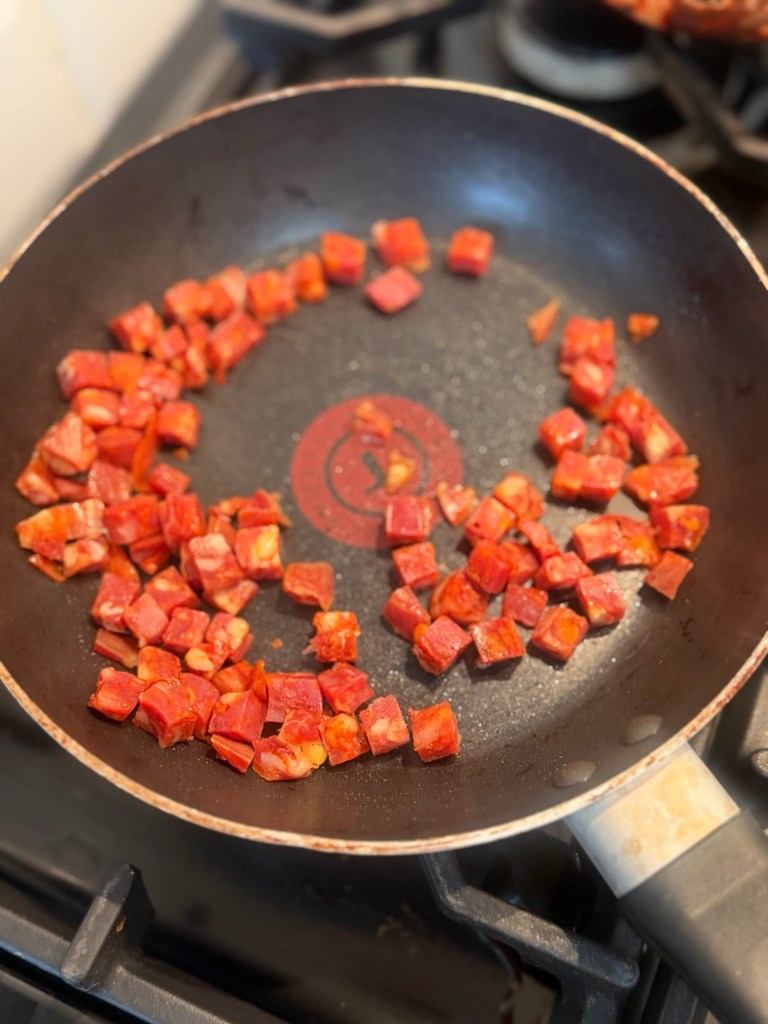
Fry the chorizo Add the diced chorizo to a dry frying pan over medium heat. Cook for a few minutes until it starts to crisp and releases its oil, then take it off the heat.
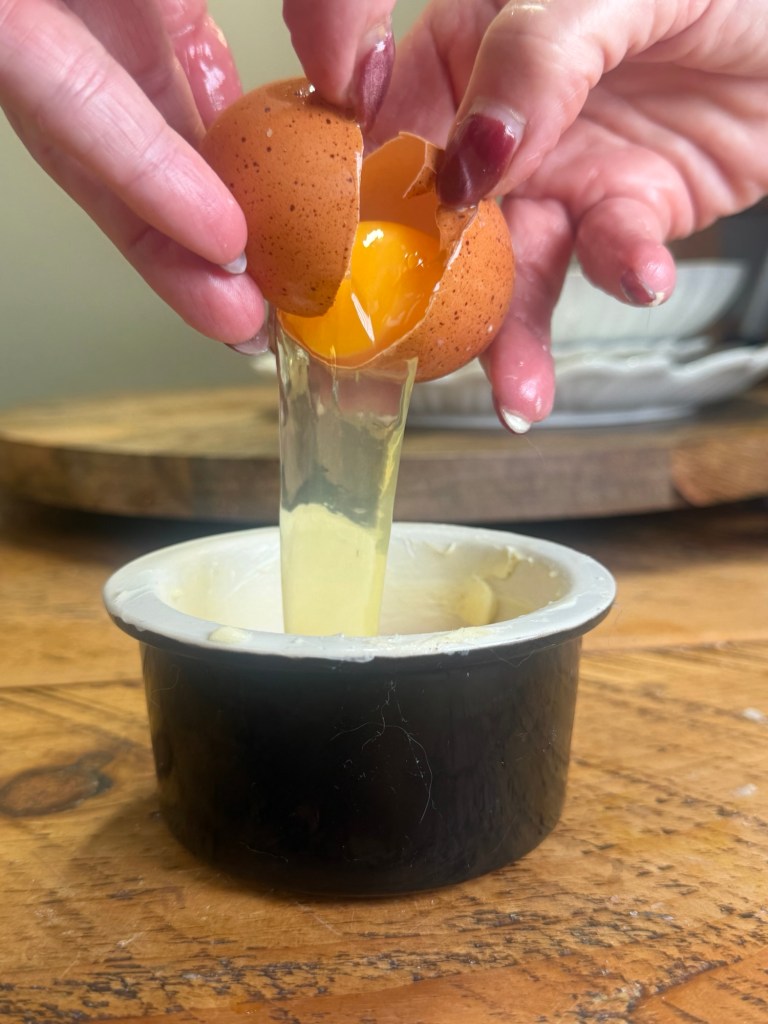
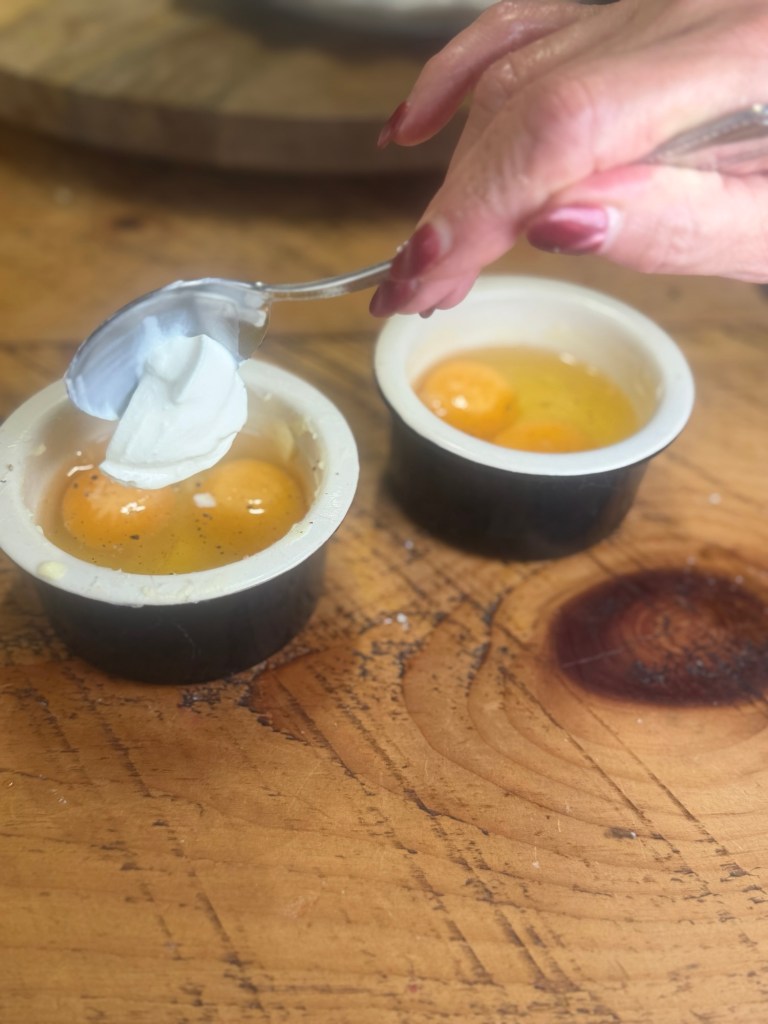
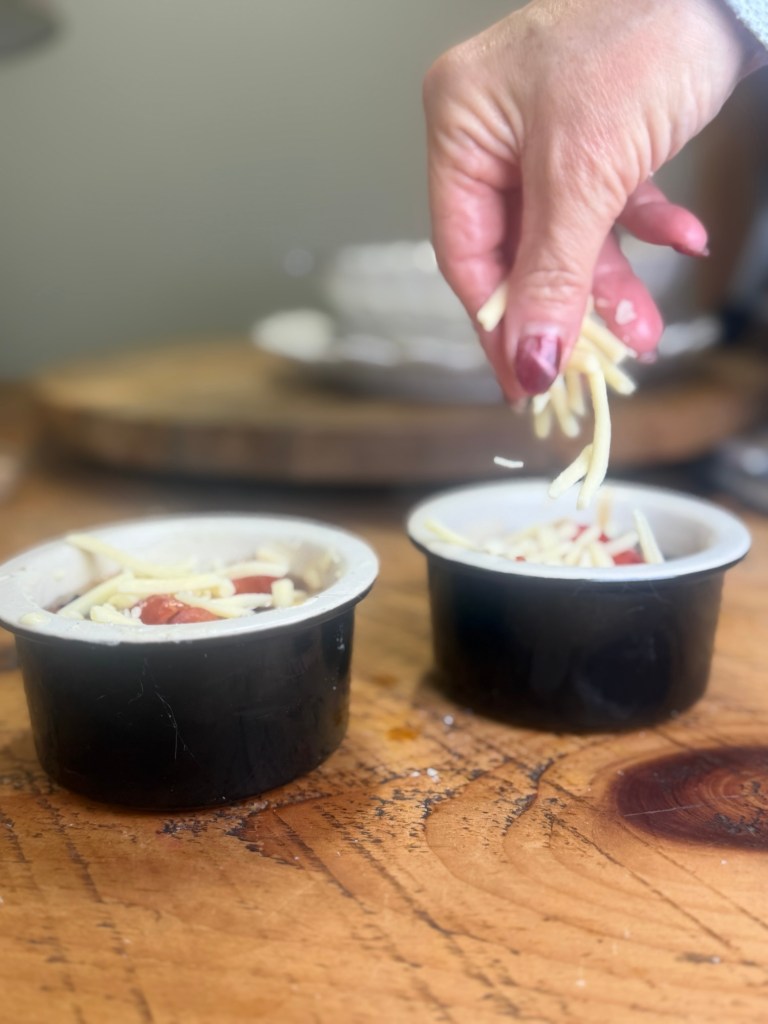
Start with the eggs and crème fraîche Crack one egg into each buttered ramekin. Add about 1 tablespoon of crème fraîche, dotting it around the yolk
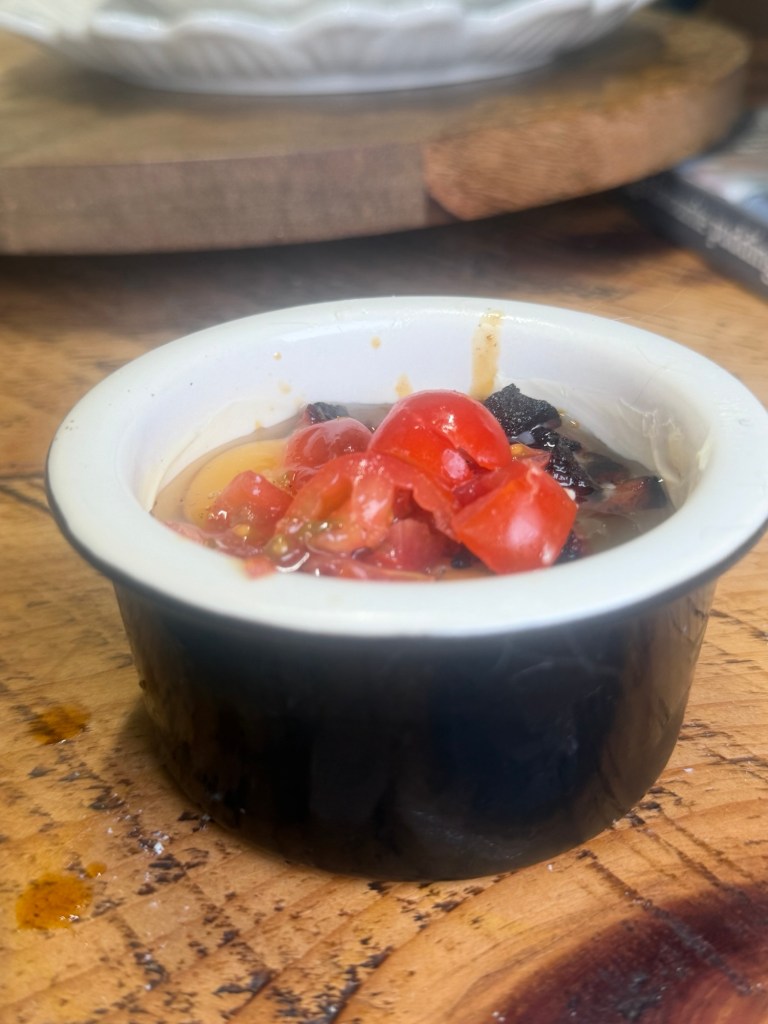
Tomatoes and chorizo on top Scatter the chopped cherry tomatoes over the egg, then spoon the fried chorizo on top, making sure you get some of that flavourful oil too.
Season and cheese Sprinkle with a little salt and plenty of black pepper. Finish with a generous handful of grated cheddar over everything.
Bake in a water bath Place the ramekins in the roasting tin. Carefully pour in the hot water until it comes about halfway up the sides of the ramekins.
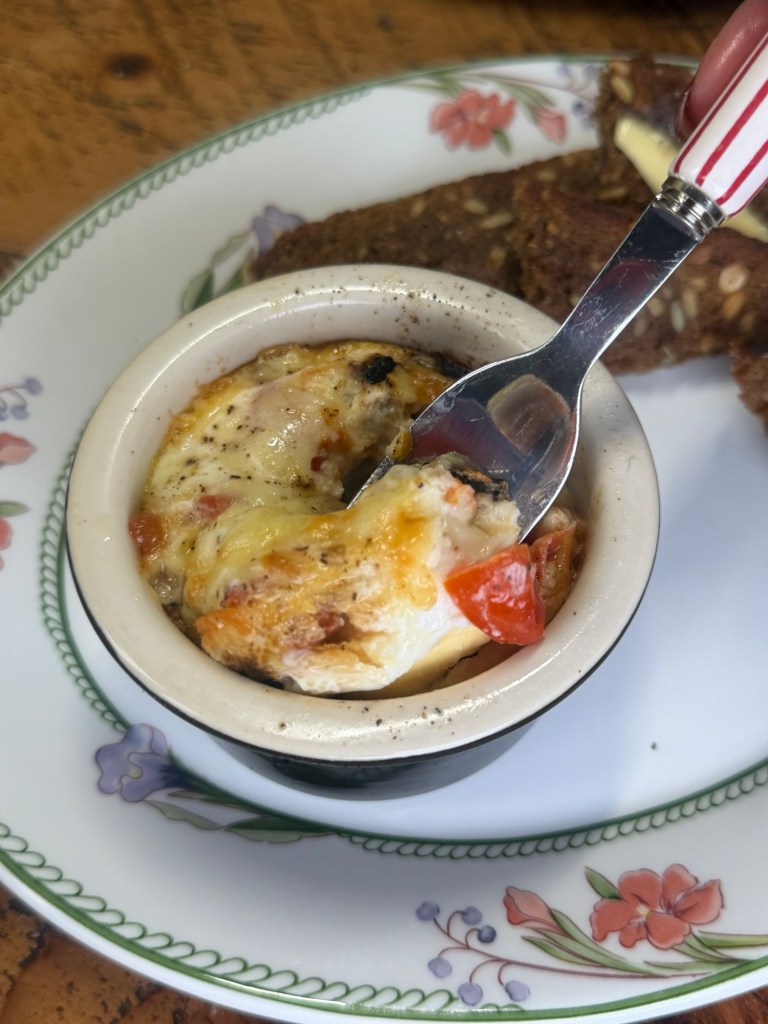
Transfer to the oven and bake for 10–15 minutes, depending on how runny you like your yolks.
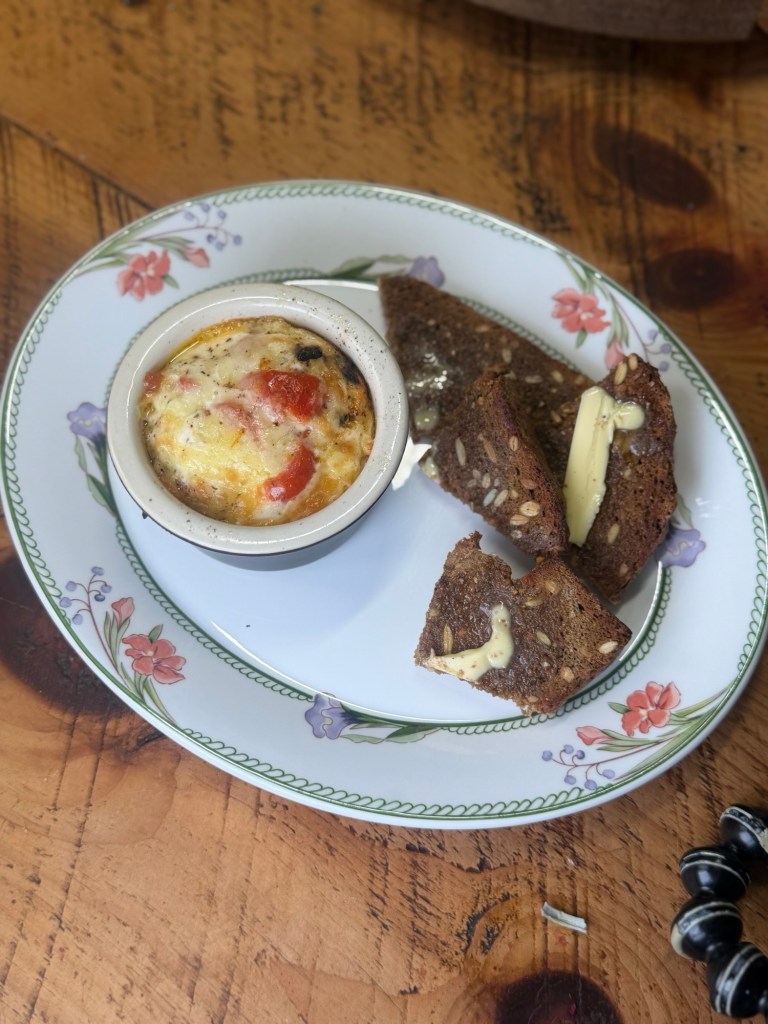
Serve and dunk When the whites are just set and the cheese is melted and golden, lift the ramekins out of the tray and dry the bottoms. Serve immediately with hot buttered toast or savoury muffins for dunking.
One ramekin per person is perfect for a light brunch or lazy lunch, but you can easily double up if you’re extra hungry.
Easy twists and swaps Once you’ve nailed this method, you can mix and match whatever you’ve got in the fridge: • Swap the chorizo for bacon, ham or smoked salmon. • Add spinach, mushrooms or leftover roasted veg for extra veg. • Use feta, goat’s cheese or Parmesan instead of cheddar. • Add chilli flakes or smoked paprika if you like more heat.
It’s one of those recipes that feels a bit fancy but is actually very forgiving – perfect for lazy Sundays, solo “treat yourself” breakfasts or a quick, impressive brunch when you’ve got people round.
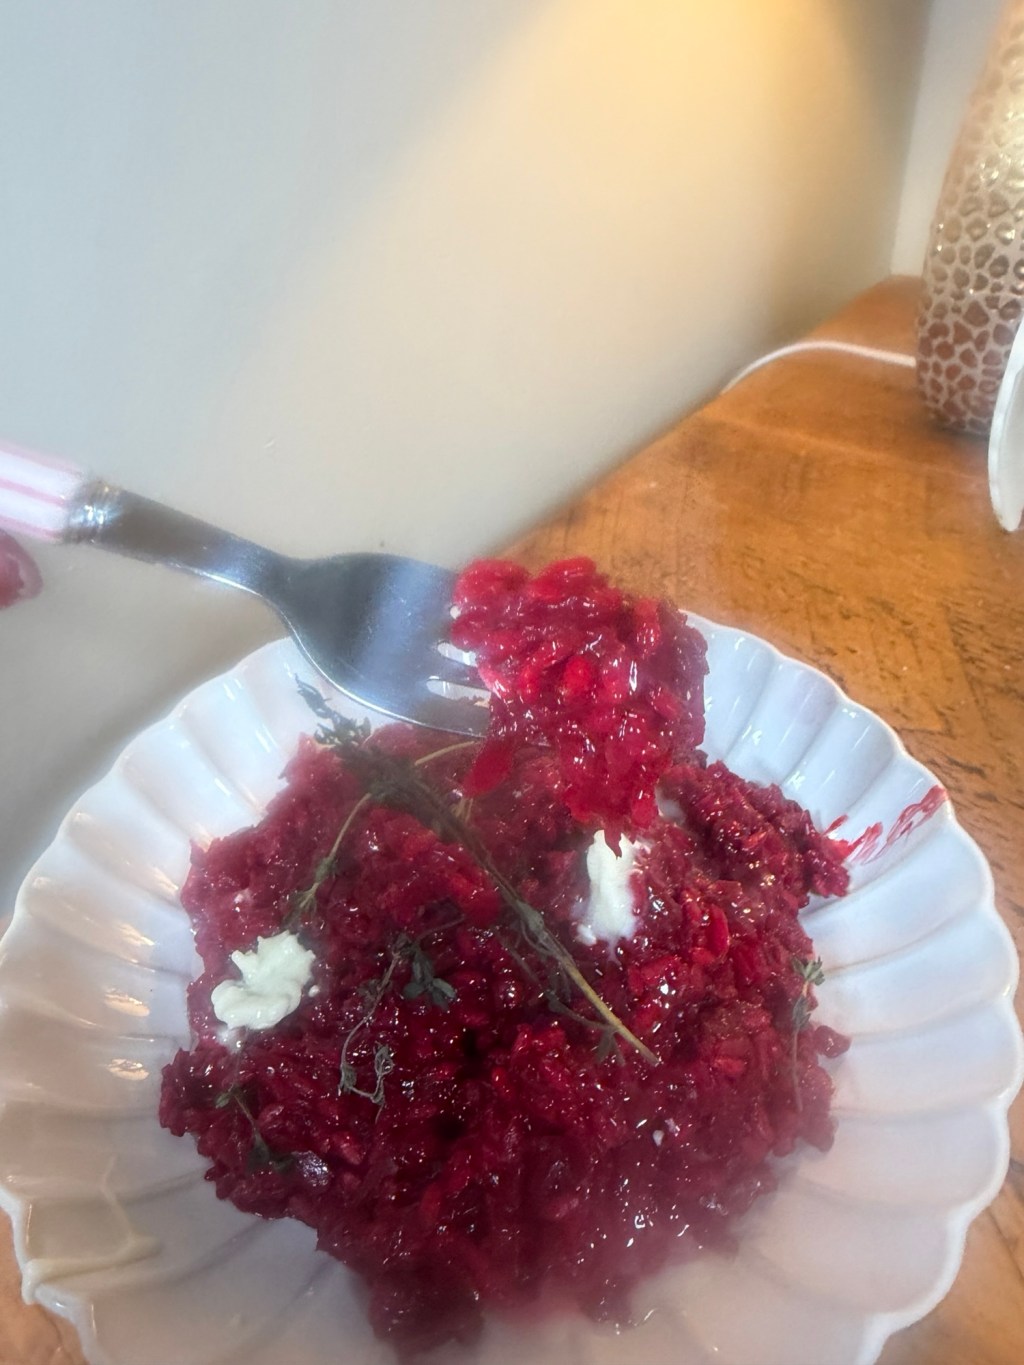
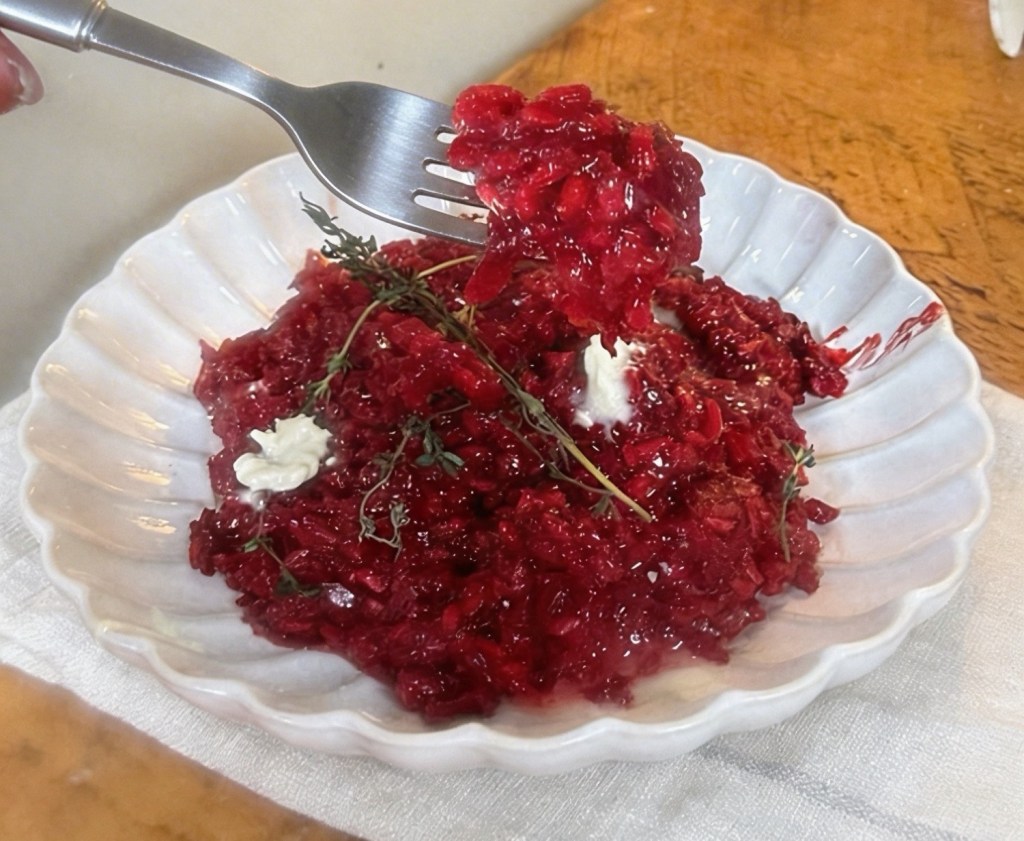
You know those dishes that instantly transport you back to a special place? For me, this gorgeous beet risotto does exactly that. The first time I tried it was on a freezing cold December day in Budapest, tucked away in a fabulous little restaurant down a side street.
I still remember the deep ruby colour, the velvety texture, and that perfect mix of earthy beetroot, creamy goat’s cheese and just a hint of truffle oil. Outside the wind was bitter, but inside it was all warmth, candlelight and that heavenly aroma. Ever since that night, it’s been a firm favourite in my kitchen — indulgent, comforting, and just that bit fancy without actually being hard to make.
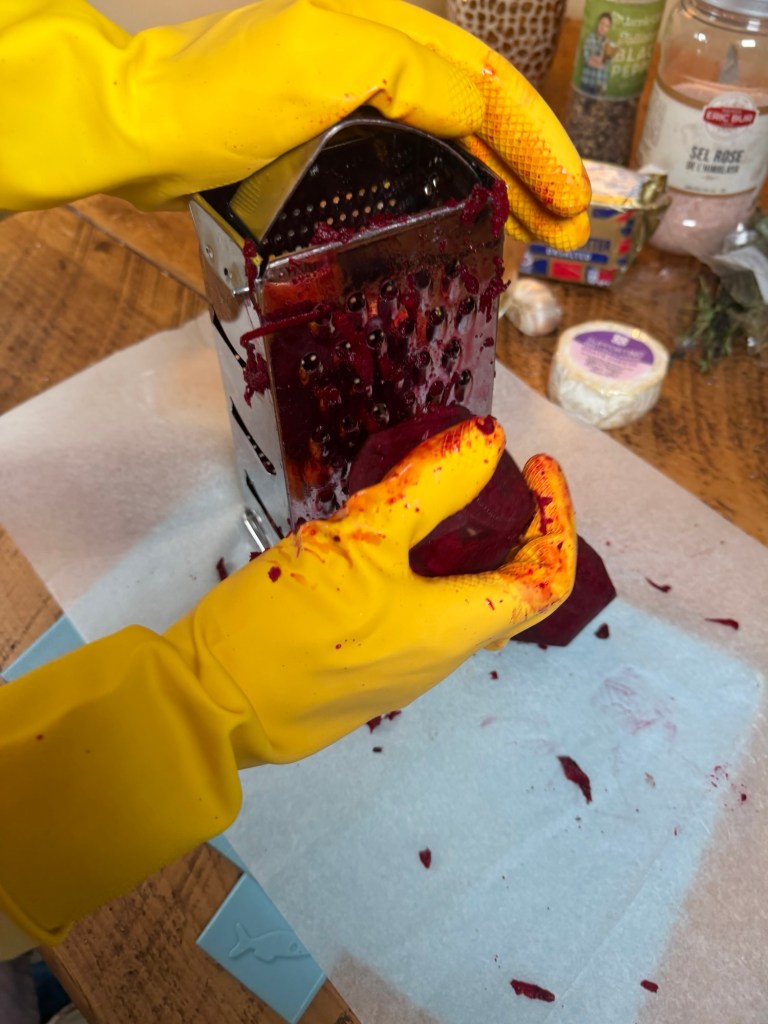
Quick beetroot tip Before we start — wear gloves! Either rubber or disposable plastic ones. Beetroot is a beautiful thing but it will stain absolutely everything — hands, chopping boards, worktops, you name it. I always pop a sheet of greaseproof paper over my chopping board before peeling or grating the beetroot, which completely saves it from turning pink. A bit of prep makes all the difference (and saves on scrubbing later!). What you’ll need • 2 medium raw beetroot, peeled and coarsely grated • 1 small onion, finely chopped • 1 ½ cups (around 300 g) Arborio risotto rice • 1 litre hot vegetable stock (keep it simmering on low) • 2 tablespoons olive oil • 1 tablespoon butter • 100 ml dry white wine (optional but lovely) • Salt and pepper to taste • 1 tablespoon runny honey • 75 g soft goat’s cheese (use the creamy kind – sliced neatly for topping) • A drizzle of truffle oil (or olive oil if you don’t have truffle) Method
Have your grated beetroot ready (gloves and greaseproof paper at the ready so you don’t stain everything)
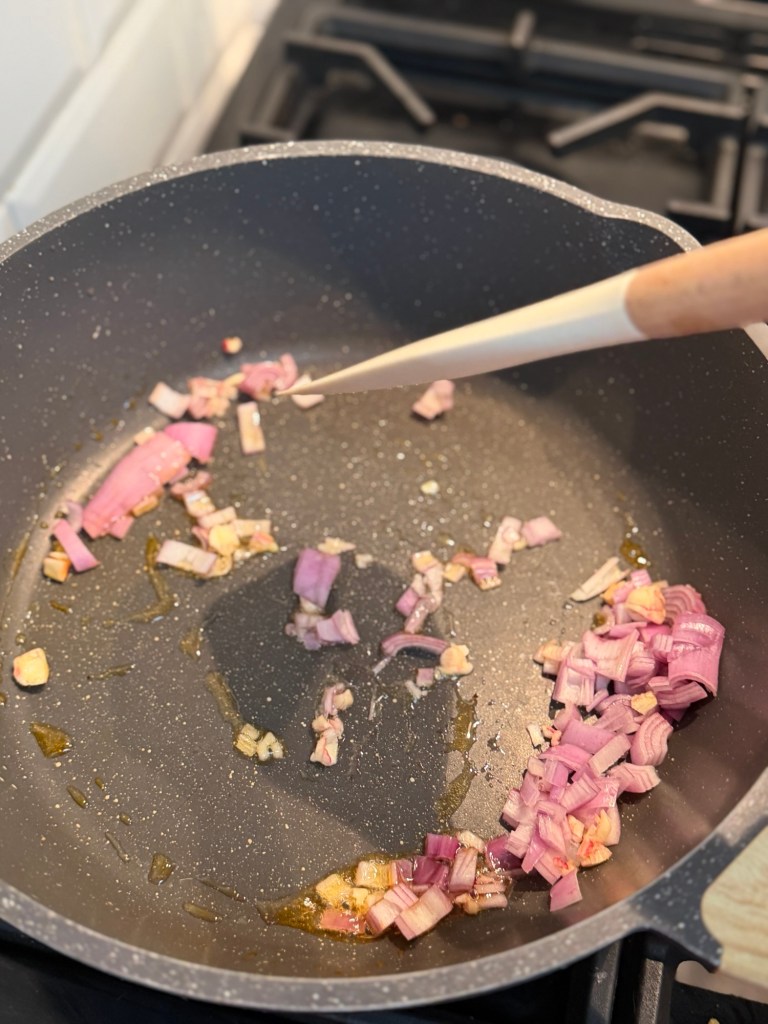
In a large pan, heat the olive oil over a medium heat. Add the chopped shallot and garlic and let it soften gently — you want it translucent, not browned
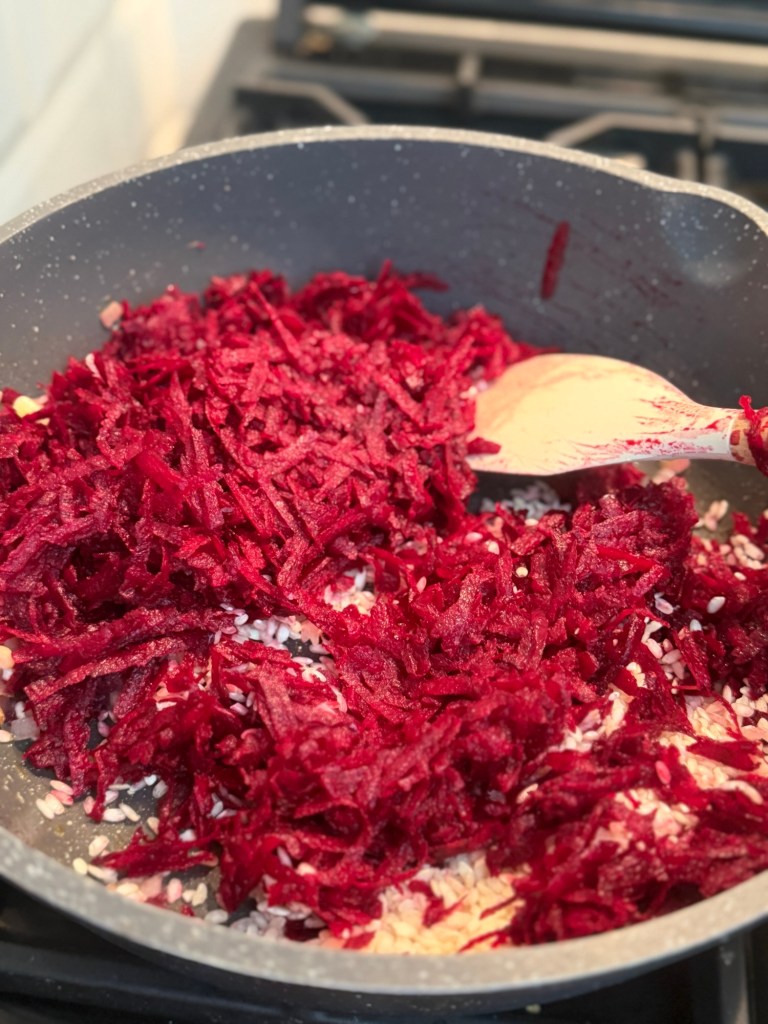
Tip in the Arborio rice and grated beetroot and stir for a minute or two so everything gets coated, glossy and lightly toasted. The rice will start to take on that gorgeous pink colour straight away
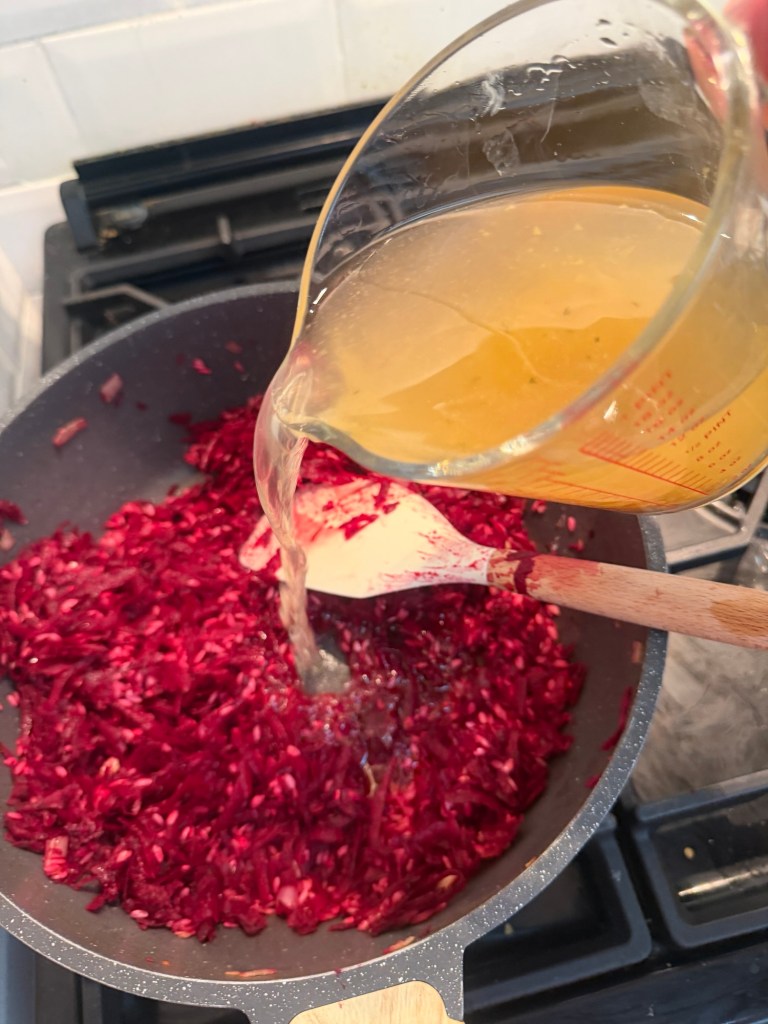
Pour in the white wine (if using) and stir until most of it’s absorbed. Then start adding your hot stock, one ladle at a time, stirring often and waiting until each bit has soaked in before adding more.
Keep going with the stock, stirring regularly, until the rice is tender but still has a tiny bite — about 20–25 minutes in total.
Season with salt and pepper, then stir through the honey for that touch of mellow sweetness that balances the earthy beetroot beautifully.
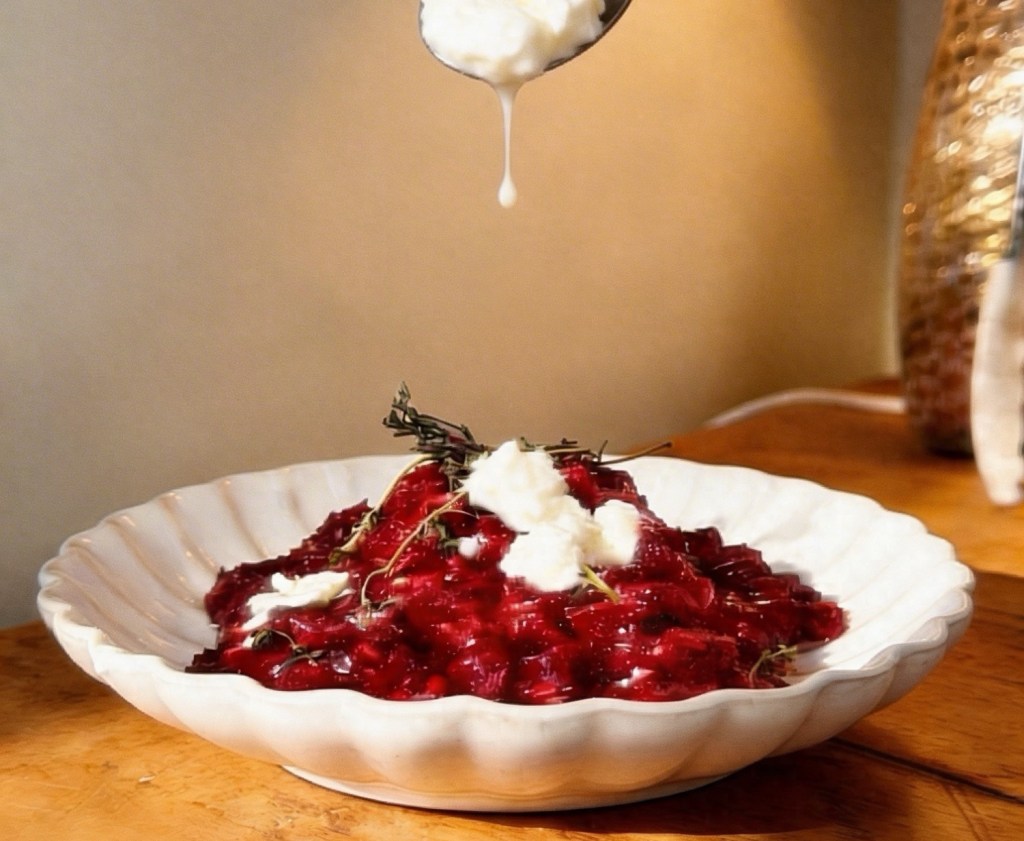
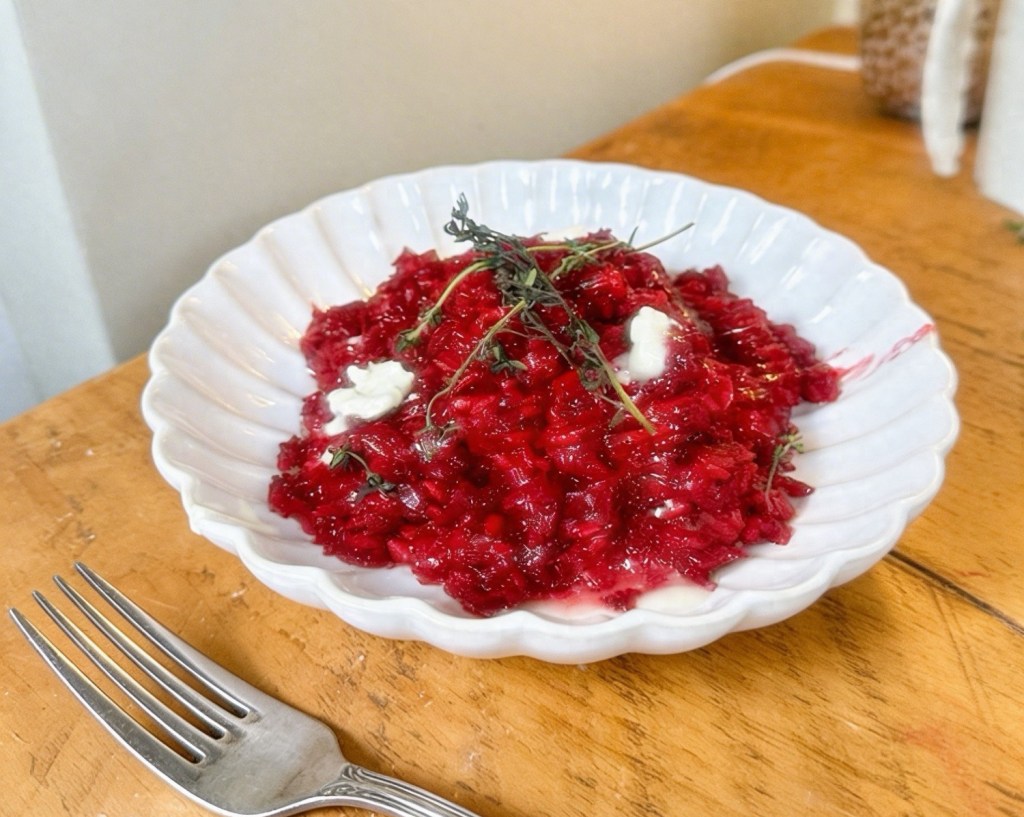
To serve, spoon the risotto into bowls, top with blobs of soft goat’s cheese, and finish with a drizzle of truffle oil and a little more honey
The heat from the risotto just melts the cheese so it goes soft and creamy — and that mix of colours, the pink beetroot with a swirl of white goat’s cheese on top, looks absolutely stunning on the plate. It’s cozy, comforting and a little bit indulgent — perfect for creating a taste of Budapest magic right at home.
Serving suggestions I love serving this on a chilly evening with something light and fresh on the side, just to balance all that creamy, cosy loveliness. A simple green salad with peppery rocket, a squeeze of lemon and a few toasted nuts works brilliantly with the earthy beetroot and tangy goat’s cheese. Warm crusty bread or a baguette is perfect for scooping up every last bit from the bowl — nothing goes to waste in this house.
If you fancy a glass of wine with it, a crisp sauvignon blanc or dry riesling works really well with the sweetness of the beetroot and the creaminess of the risotto. If you’re more of a red wine person, go for something light and elegant like a pinot noir or Beaujolais so it doesn’t overpower the dish. To be honest though, it’s one of those dishes that feels special even with just a chilled glass of fizzy water and a candle on the table — proper Budapest winter vibes at home.
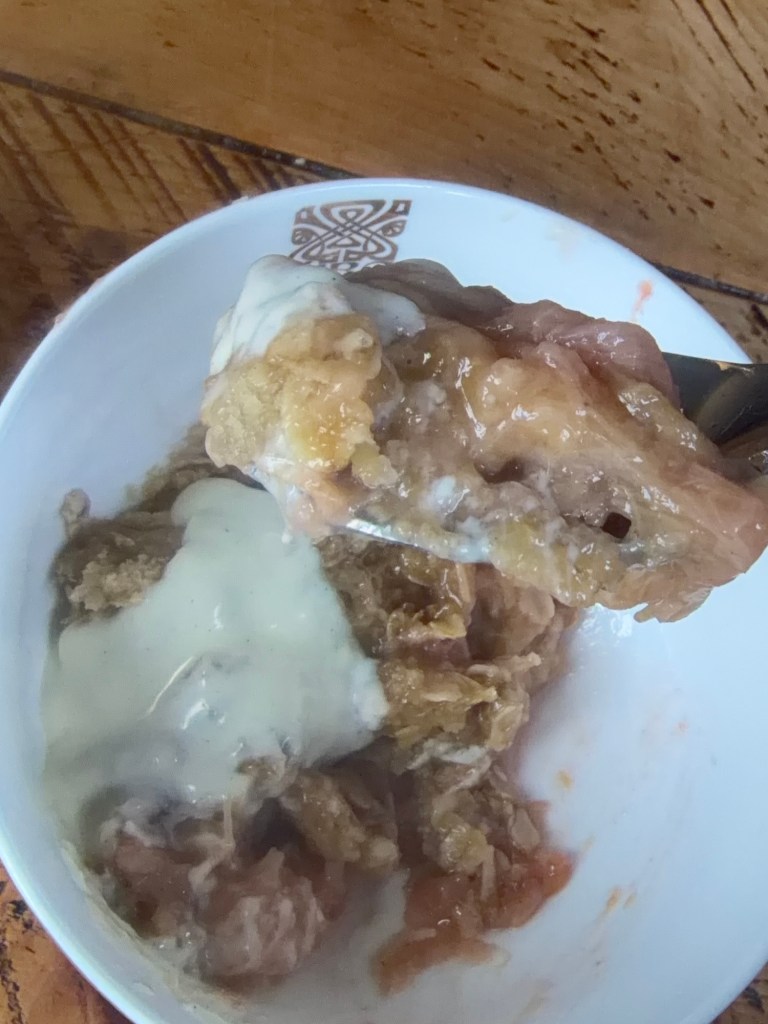
There’s something about a bubbling crumble coming out of the oven that makes everything feel a bit better, isn’t there? That mix of tangy fruit, buttery topping and hot custard or cream is proper comfort food – and this rhubarb & ginger crumble is exactly that. What I love most is that it’s low‑effort, high‑reward. You can get it on the go in minutes, leave the fruit to do its thing, then come back later to throw the crumble on top and bake. Ideal for a lazy weekend or when you’ve got friends round and don’t want to be chained to the cooker.
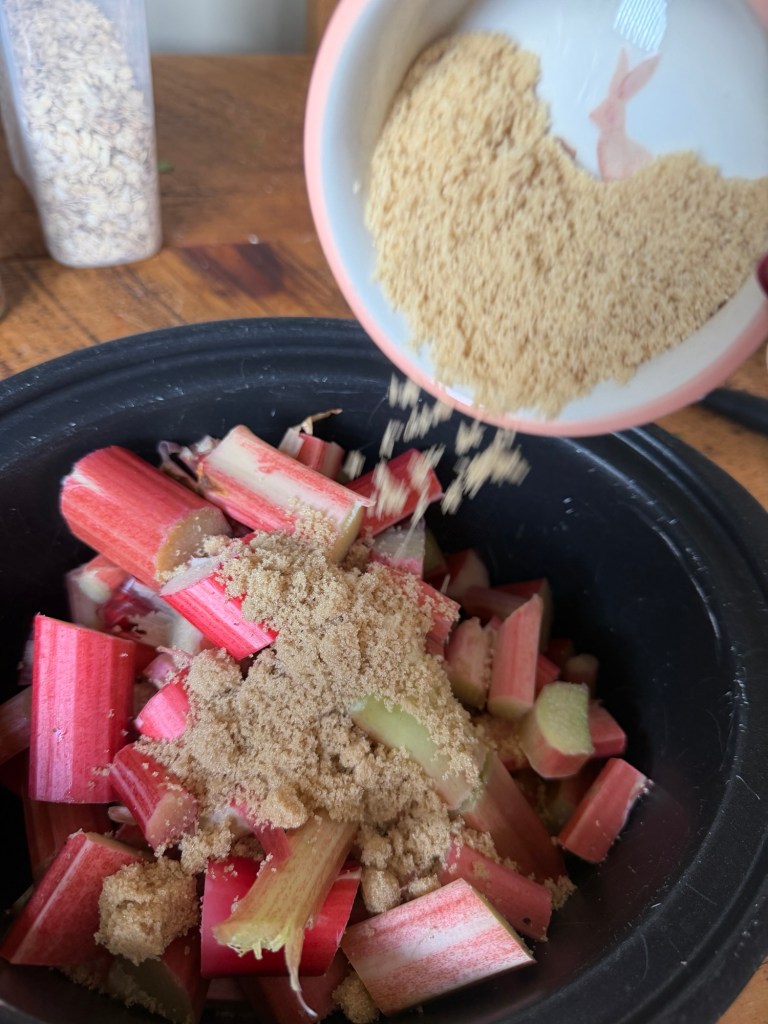
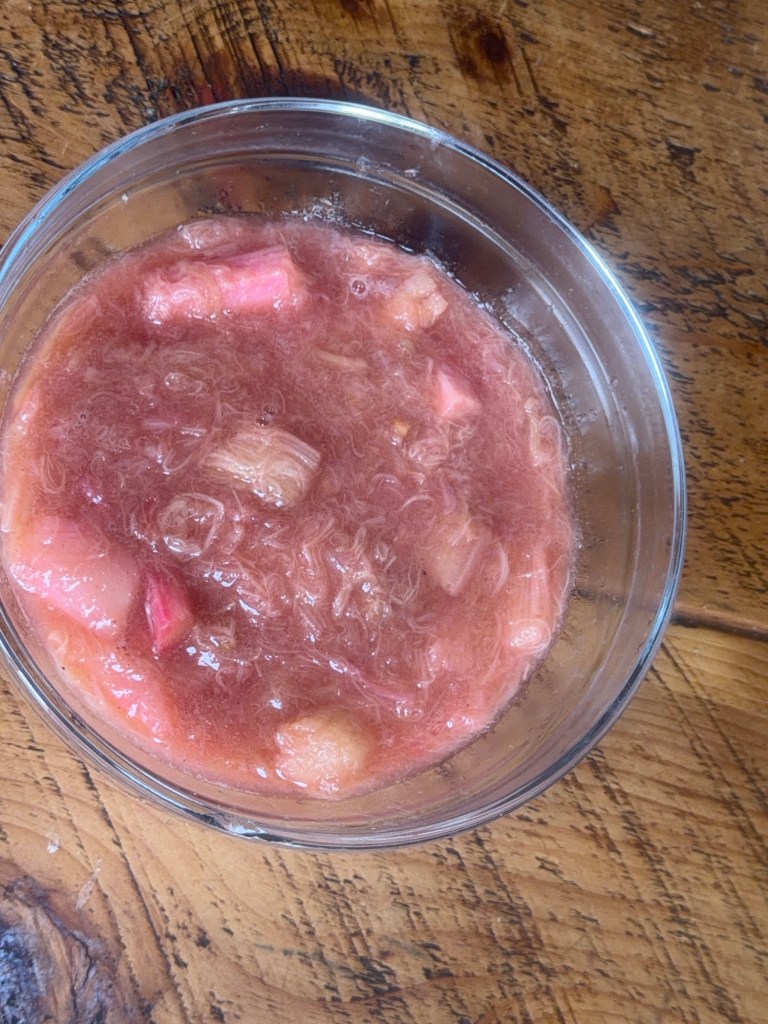
Slow‑Cooked Rhubarb Base I start with fresh rhubarb, trimmed and chopped into chunky pieces. The colour always looks so pretty – all those pink and green stalks – and it smells amazing even before it hits the heat.
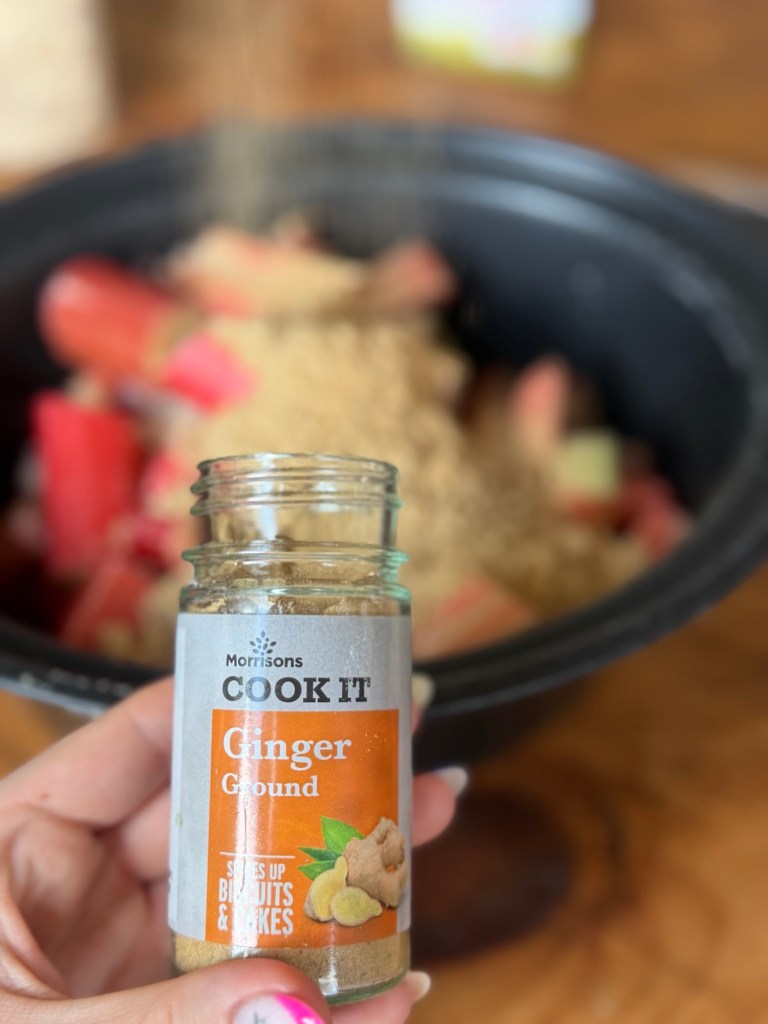
Instead of putting raw rhubarb straight under the crumble, I cook it first. I pop it into the slow cooker with a generous handful of light brown sugar and a good teaspoon or two of ground ginger.
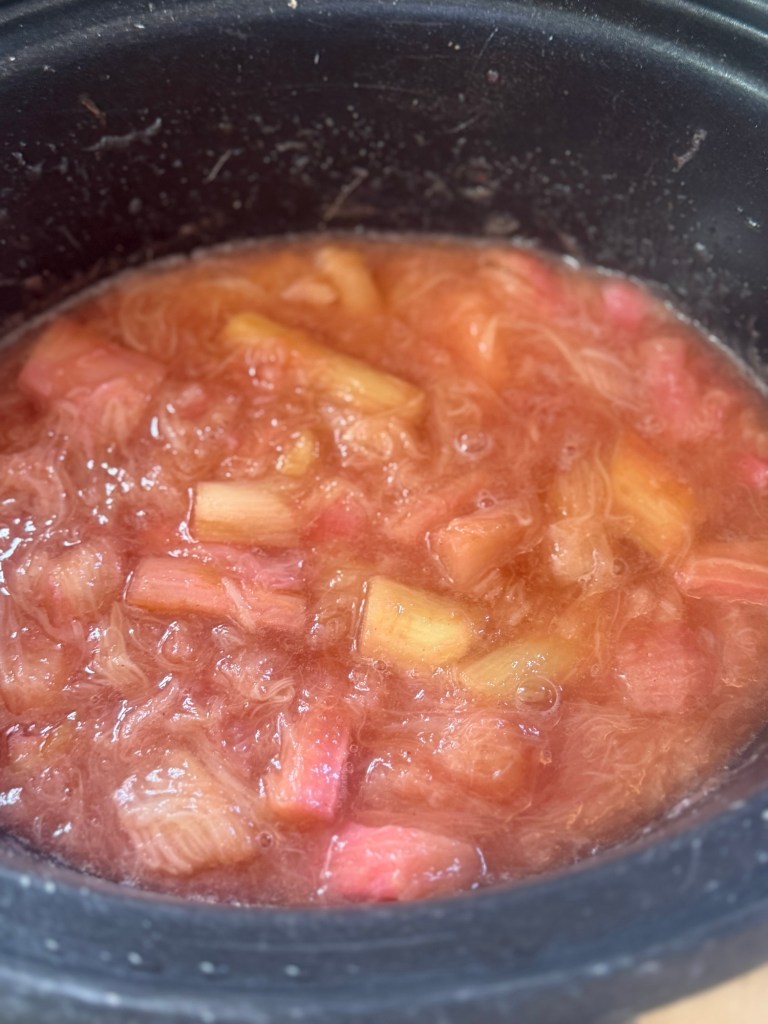
The slow cooker does all the work, gently softening the rhubarb until it collapses into a soft, jammy puddle with a few chunks still hanging on.
If you don’t have a slow cooker – or you just fancy crumble a bit quicker – you can do exactly the same thing on the hob in a saucepan. Add the rhubarb, sugar and ginger, plus a splash of water or orange juice, then simmer on a low heat, lid on, stirring now and then, until the fruit is tender and swimming in a pink syrup.
Once it’s cooked, taste the fruit. If you like it sweeter, stir in a little more sugar. If you love that sharp rhubarb kick, leave it as it is. Then spoon the fruit into an ovenproof dish, ready for its crumble blanket.
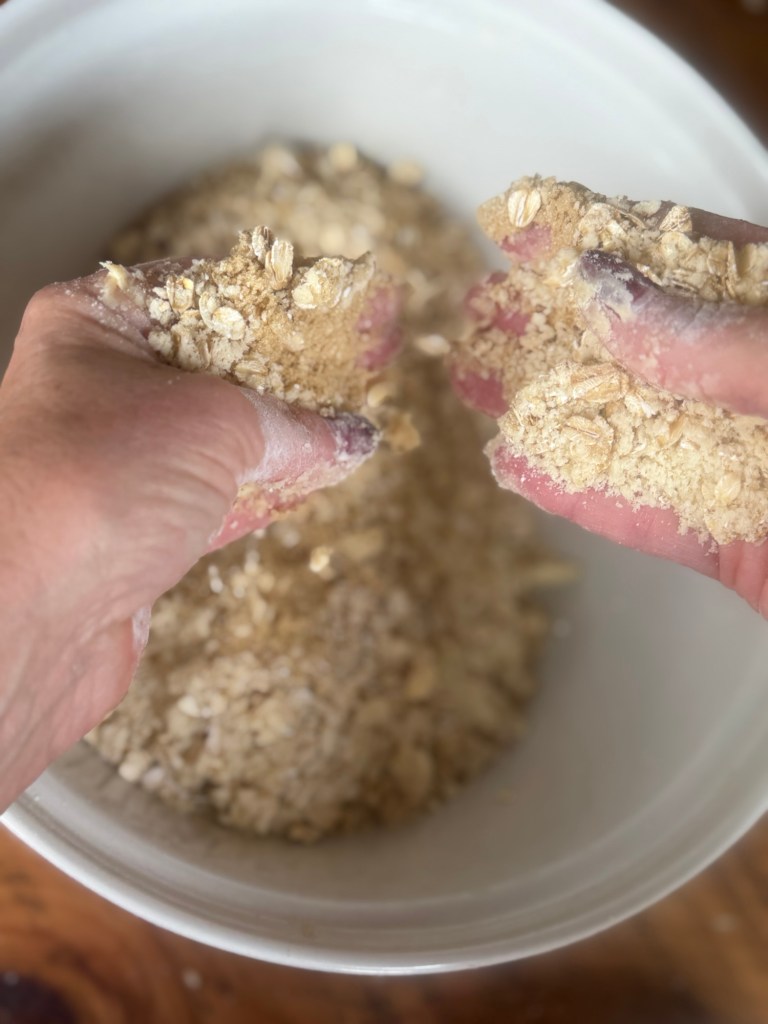
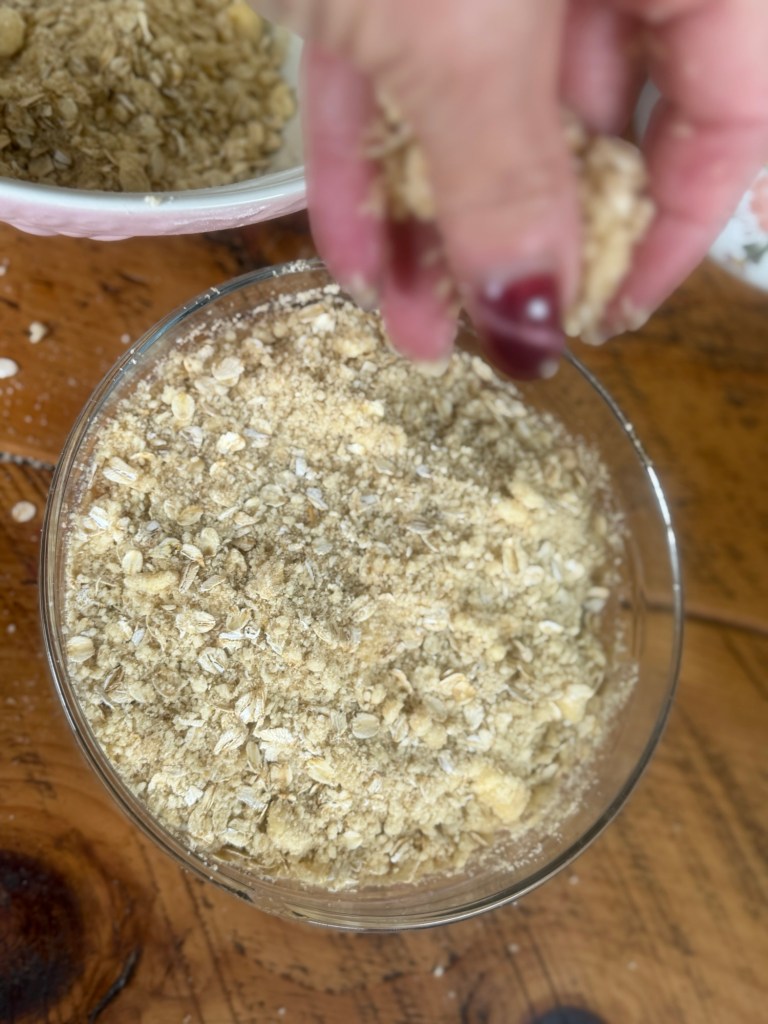
Half Oats / Half Flour (Extra Crunchy) My current favourite topping is half oats and half flour. I mix plain flour and porridge oats in equal amounts, rub in cold butter, then stir through light brown sugar and a pinch of salt. The oats go beautifully toasty in the oven and give you those nubbly, crunchy bits that everyone digs for.
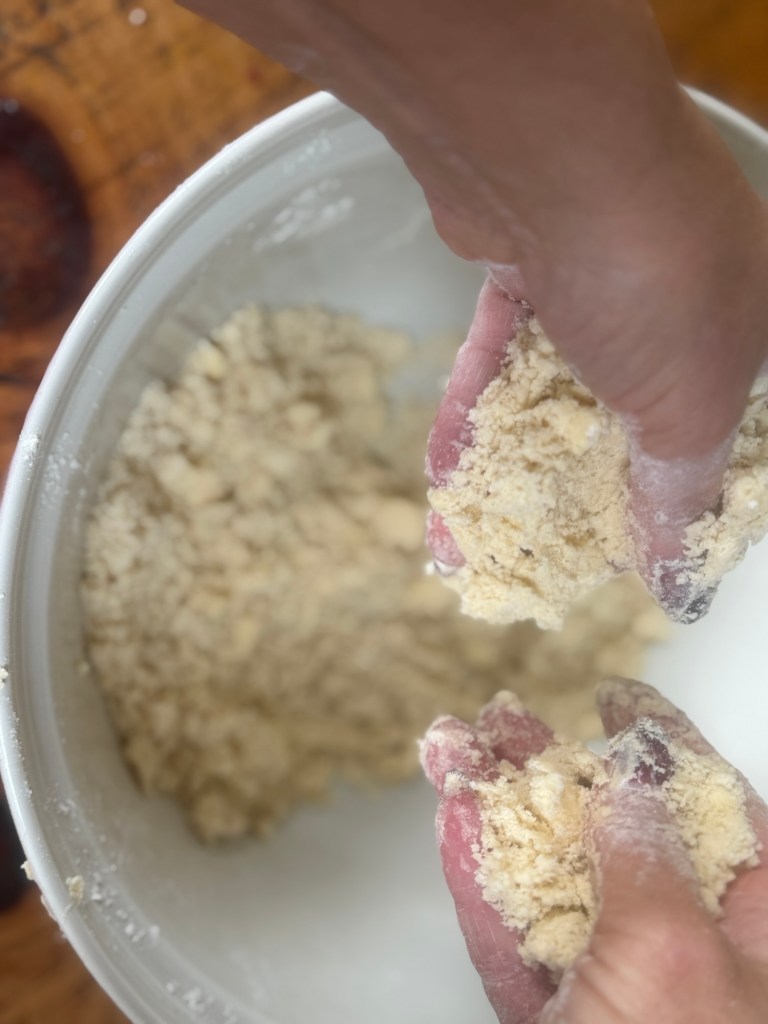
It’s the version I use most often: hearty, rustic and brilliant for breakfast leftovers with yoghurt the next day. Not that it always lasts that long. All‑Flour Crumble (Classic & Shortbready) If you’re after a more traditional, shortbread‑style topping, you can absolutely go full flour. Just swap the oats for more plain flour. The method is the same – rub in the butter, add the sugar and a pinch of salt – but the texture is a bit more fine and buttery, less chunky. This version is perfect if you like a smooth, sandy crumble or you’re serving it with very cold ice cream and want that hot‑and‑cold, crisp‑and‑creamy combination. Other Topping Ideas If you like playing around, here are a few more options: • Add a handful of chopped almonds, hazelnuts or pecans to the topping for extra crunch. • Stir in cinnamon, mixed spice or cardamom along with the ginger for a warmer, wintery flavour. • Swap some of the flour or oats for desiccated coconut – lovely with tropical fruits. • For a gluten‑free version, use gluten‑free flour and certified GF oats, or go for a nut‑based topping with ground almonds and chopped nuts. Whatever version you go for, the rule is the same: don’t rub it too fine. You want some bigger clumps in there so the top bakes up crunchy and interesting, not sandy and flat.
Baking & Serving Once your fruit is in the dish and your chosen crumble is piled on top, bake at 200°C / 180°C fan / Gas 6 until the topping is deep golden and you can see the fruit bubbling up around the edges. It usually takes around 25–35 minutes, depending on your oven and the size of the dish. The hardest part is letting it sit for five to ten minutes before you dive in – it thickens slightly as it cools and you’re less likely to scorch your mouth in the first greedy spoonful.
Serve it with proper custard, vanilla ice cream, pouring cream or even Greek yoghurt if you’re pretending to be sensible. Leftover crumble, cold from the fridge, is a totally legitimate breakfast in my book, 😂😂😂!
Alternative Fruit Ideas The beauty of this recipe is that once you’ve nailed the basic method, you can swap the fruit around depending on what you’ve got. A few ideas: • Apple & ginger: replace some or all of the rhubarb with cooking apples. Keep the ginger, or switch to cinnamon for a more classic flavour. • Rhubarb & strawberry: perfect later in the season – cook the rhubarb as usual, then stir in fresh strawberries right before the crumble goes on so they stay juicy. • Mixed berry crumble: use frozen mixed berries – no need to thaw, just mix with sugar and a spoonful of flour to catch the juices. Ginger, vanilla or lemon zest all work well here. • Pear & ginger or pear & chocolate: sliced pears with ginger are lovely, or you can fold a few dark chocolate chips through the fruit after cooking for something richer. • Peach, apricot or plum crumble: great in late summer – stone the fruit, slice, and treat exactly the same way. A little almond extract in the topping is beautiful with stone fruits. You can also mix and match – rhubarb and apple, rhubarb and raspberry, whatever needs using up in the fruit bowl or freezer.
Why This Crumble Works So Well Pre‑cooking the fruit means no hard rhubarb hiding under the crumble and loads of syrupy flavour. Brown sugar and ginger give you that deep, caramel warmth instead of just straight sweetness. The half‑oats, half‑flour version is brilliant when you want extra texture, while the all‑flour version keeps things classic and buttery. Once you know the base, you can adapt it to pretty much any fruit and make it your own – which is exactly what a good crumble recipe should do.
Summary: soft, slow‑cooked rhubarb, a warm hit of ginger, your choice of crunchy oaty topping or classic flour‑only crumble, and endless fruit and flavour variations. Simple, cosy and guaranteed to make the kitchen smell incredible.
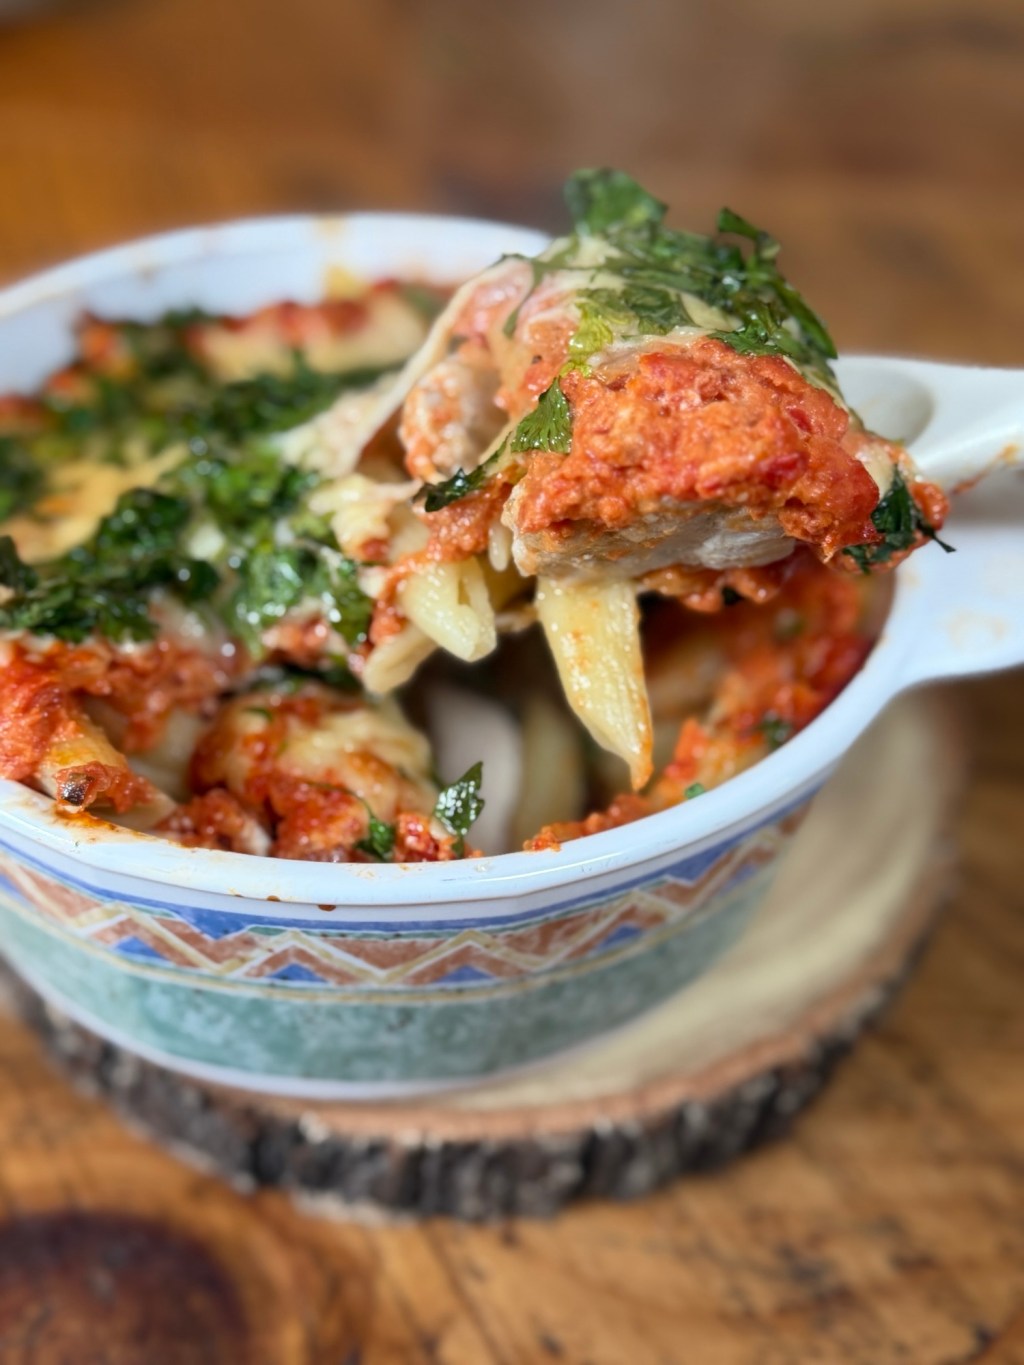
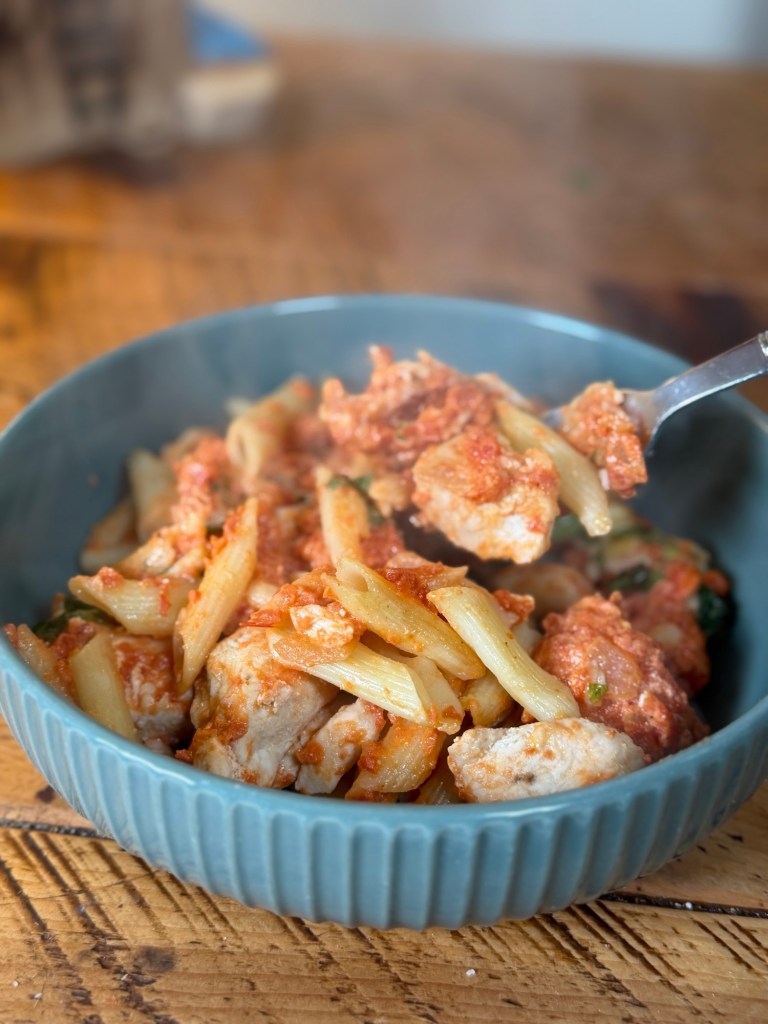
If there was ever a guaranteed crowd‑pleaser, this creamy chicken pasta bake is it. Think tender strips of chicken, al dente pasta, a rich tomato and mascarpone sauce, and a golden, bubbling cheese crust on top. It’s the kind of dish you put in the middle of the table and everyone just helps themselves – perfect for busy weeknights, Sunday evenings on the sofa, or when you’ve got friends coming over and you want something easy but impressive. I’m using UK measurements and completely standard supermarket ingredients, so you can grab everything in one quick shop. No faff, no fancy equipment – just a big pan, a frying pan, and an oven dish.
What You’ll Need (Serves 4 Generously)
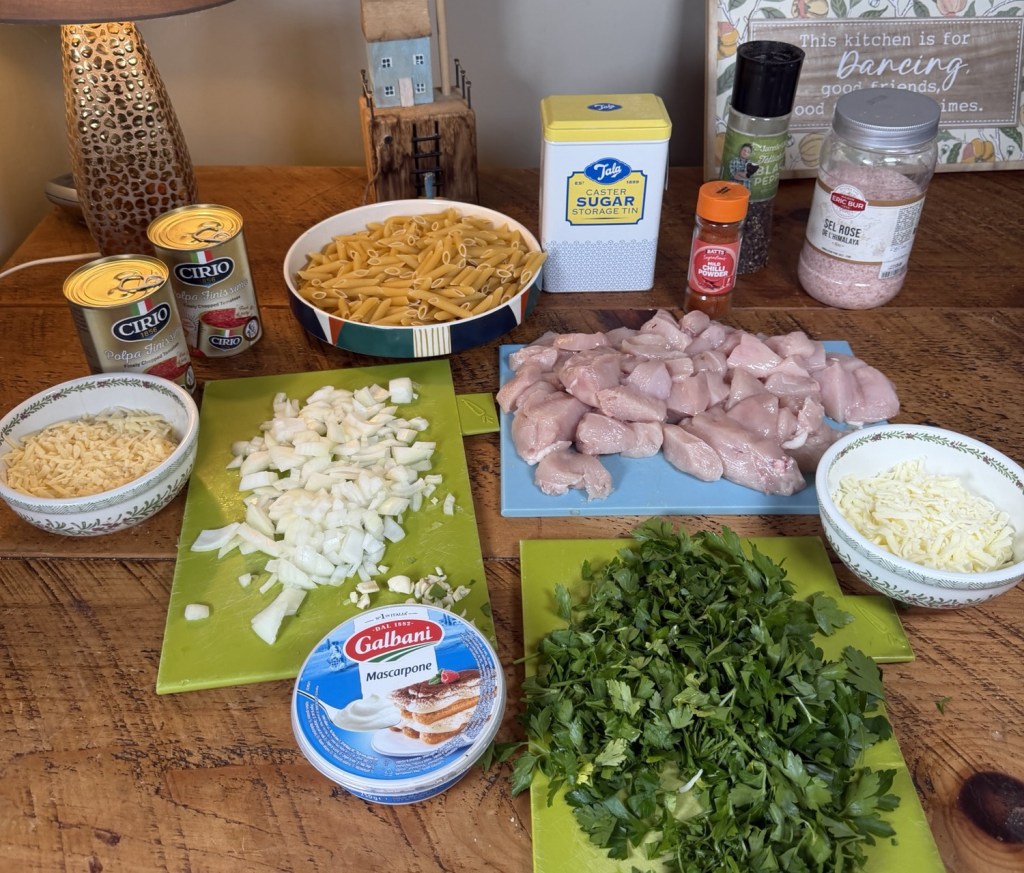
• 4 tbsp olive oil • 1 medium onion, finely chopped • 2 garlic cloves, crushed or very finely chopped • ¼ tsp dried chilli flakes (use less if you’re spice‑shy, more if you like a kick) • 2 × 400g tins chopped tomatoes • 1 tsp caster sugar (helps balance the tomatoes) • Salt & freshly ground black pepper, to taste • 6 tbsp mascarpone cheese (roughly 90g, but no need to be exact) Protein, pasta & cheese • 4 skinless chicken breasts, sliced into thin strips • 300g penne pasta (or another short pasta like rigatoni or fusilli) • 70g mature cheddar, grated • 50g mozzarella, grated or torn Fresh bits • ½ small bunch fresh parsley, finely chopped (leaves only)
Prep Before You Start
A tiny bit of organisation makes this recipe very stress‑free:
Pre‑chop and measure • Dice the onion. • Crush or finely chop the garlic. • Slice the chicken breasts into even strips – this helps them cook quickly and stay juicy. • Grate the cheddar and mozzarella if you’re not using ready‑grated. • Finely chop the parsley.
Preheat your oven • Set it to 220°C / 200°C fan / gas 7 so it’s properly hot when we’re ready to bake.
Pre‑chop and measure • You’ll want a large frying pan for the sauce, another non‑stick pan for the chicken, a big saucepan for pasta and a medium ovenproof dish (roughly 2L capacity – anything that would hold a standard lasagne).
Step 1 – Slow‑Cooked Tomato & Mascarpone Sauce
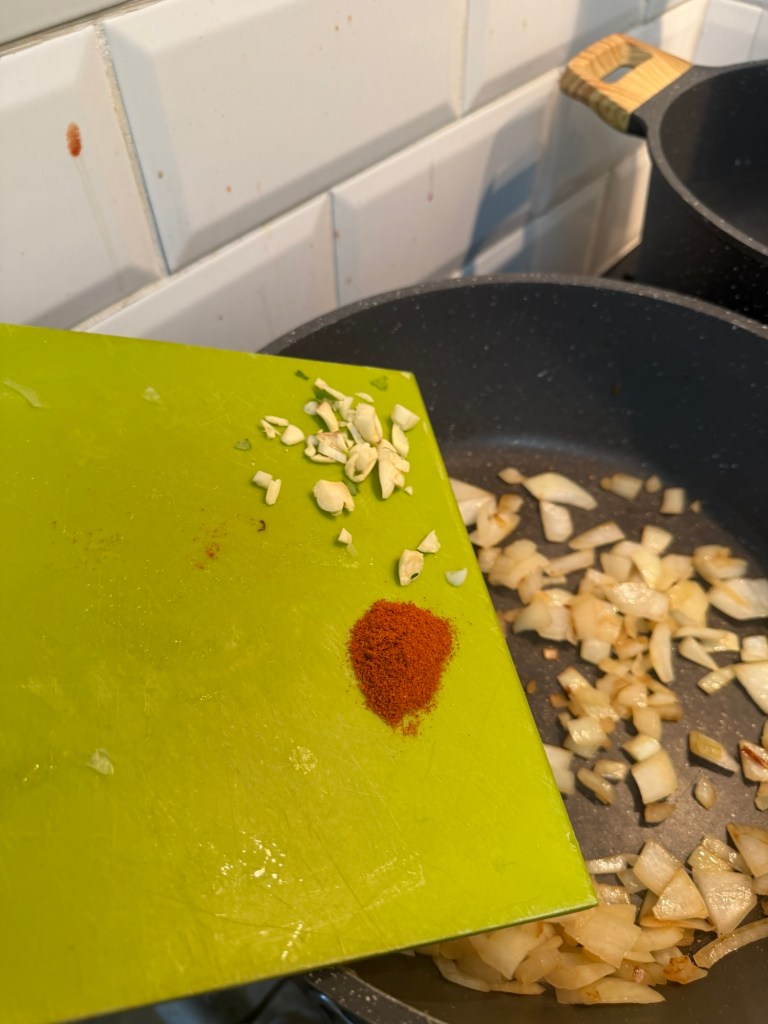
Gently cook the onion • Add 2 tbsp olive oil to a large frying pan over medium heat. • Tip in the chopped onion and a pinch of salt. • Cook for 10–12 minutes, stirring occasionally, until the onion is soft, translucent and just starting to turn golden at the edges.
Add garlic & chilli • Stir in the garlic and ¼ tsp chilli flakes. • Fry for about 1 minute until fragrant, keeping the heat gentle so nothing burns.
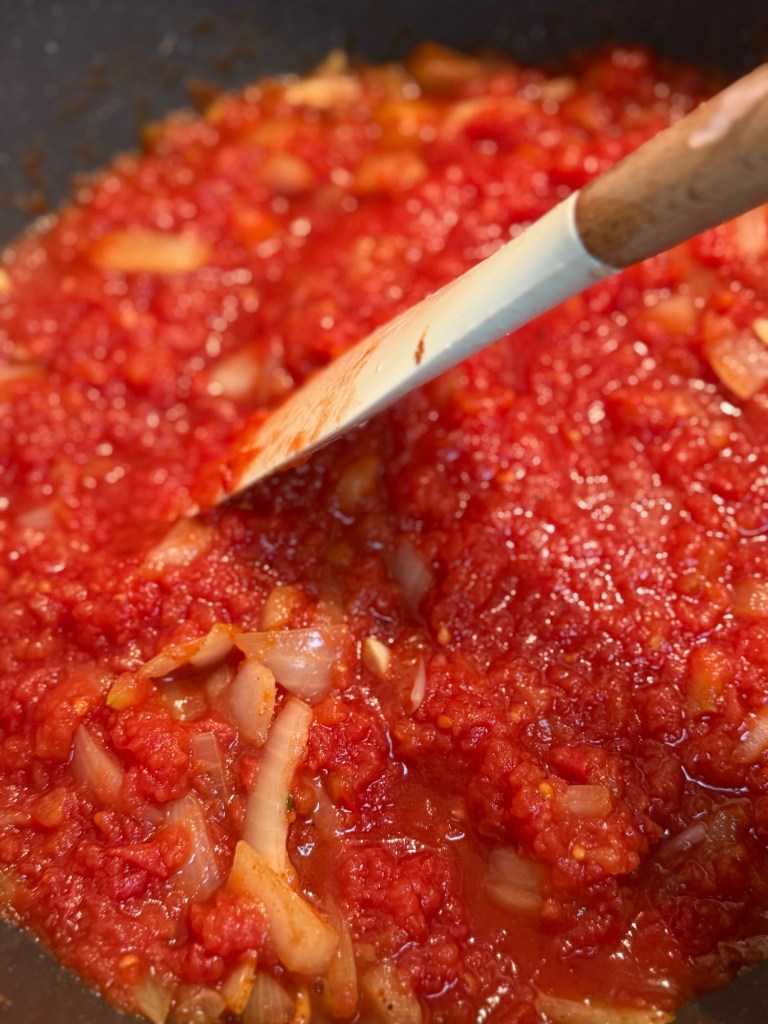
Tomatoes & seasoning • Pour in the 2 tins of chopped tomatoes. • Add 1 tsp caster sugar, a good pinch of salt and a few grinds of black pepper. • Stir everything together and bring it to a gentle simmer.
Reduce the sauce • Let the sauce simmer uncovered for about 20 minutes, stirring now and then, until it has thickened and reduced a little. It should look glossy and rich, not watery.
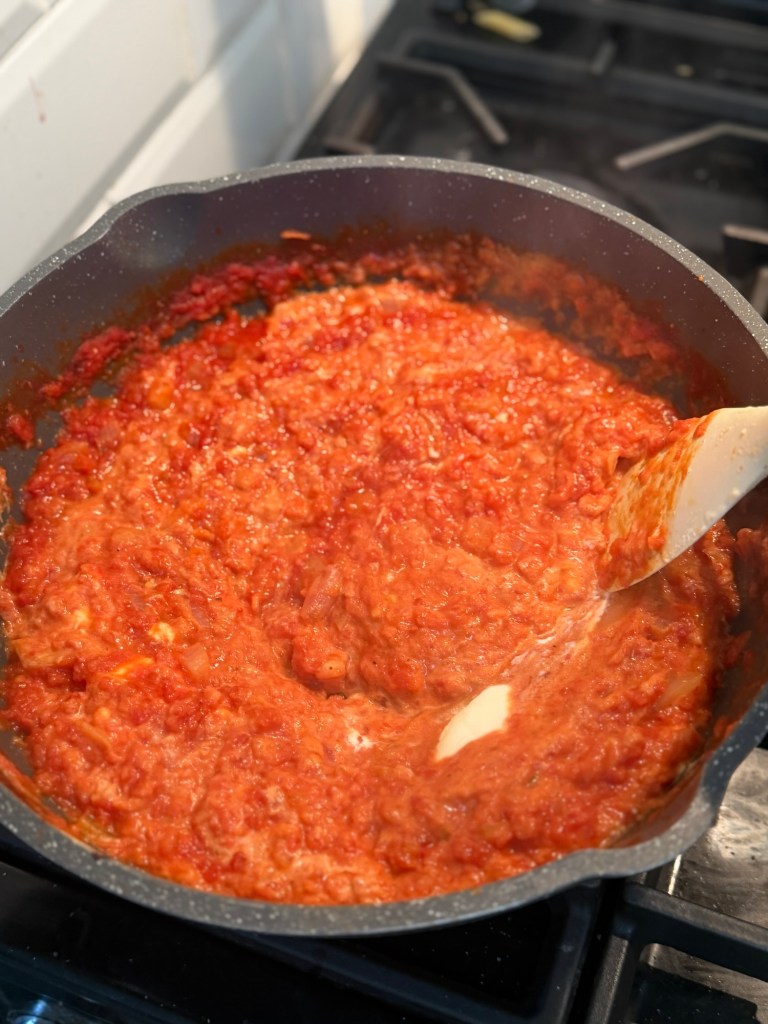
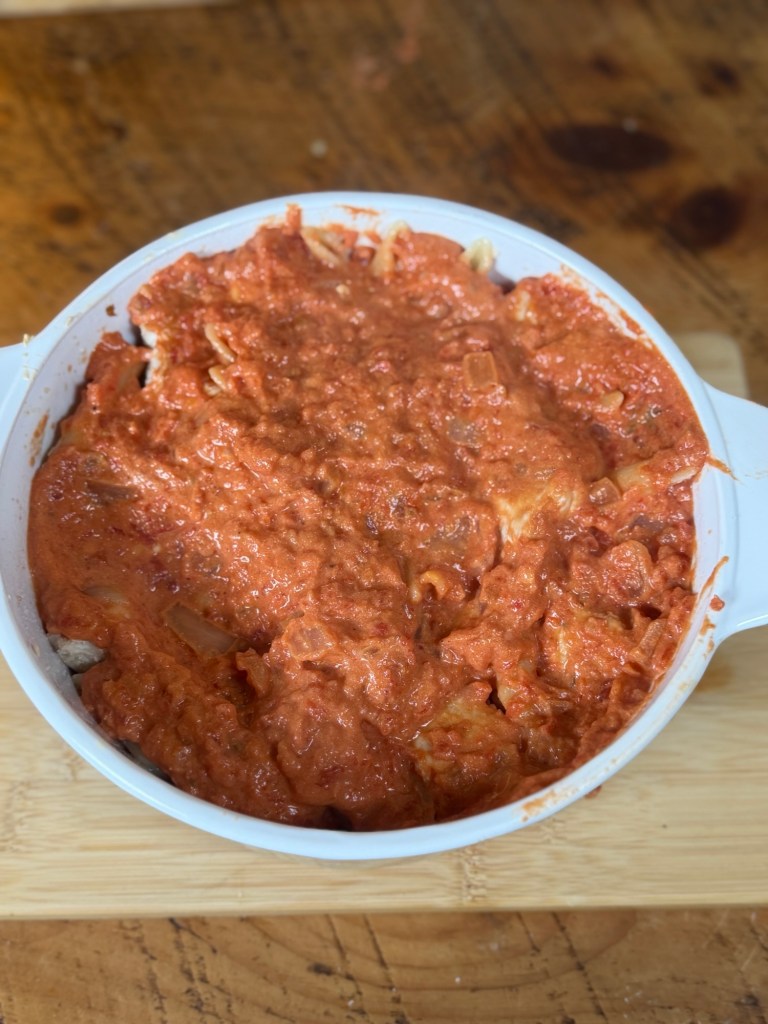
Stir in the mascarpone • Turn the heat down low and spoon in the mascarpone. • Stir until it melts into the tomatoes and the sauce turns creamy and orange‑pink. • Taste and adjust the seasoning – add more salt, pepper or a pinch more sugar if needed.
Step 2 – Juicy Pan‑Fried Chicken
Heat the pan • Add 1 tbsp olive oil to a non‑stick frying pan over medium‑high heat.
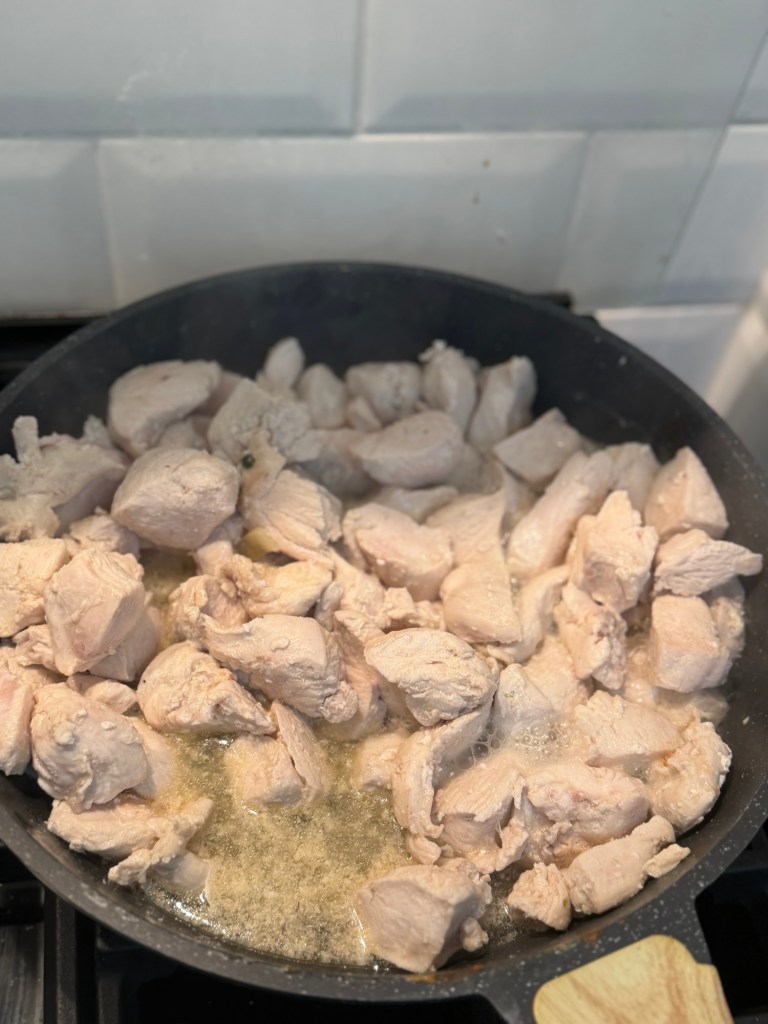
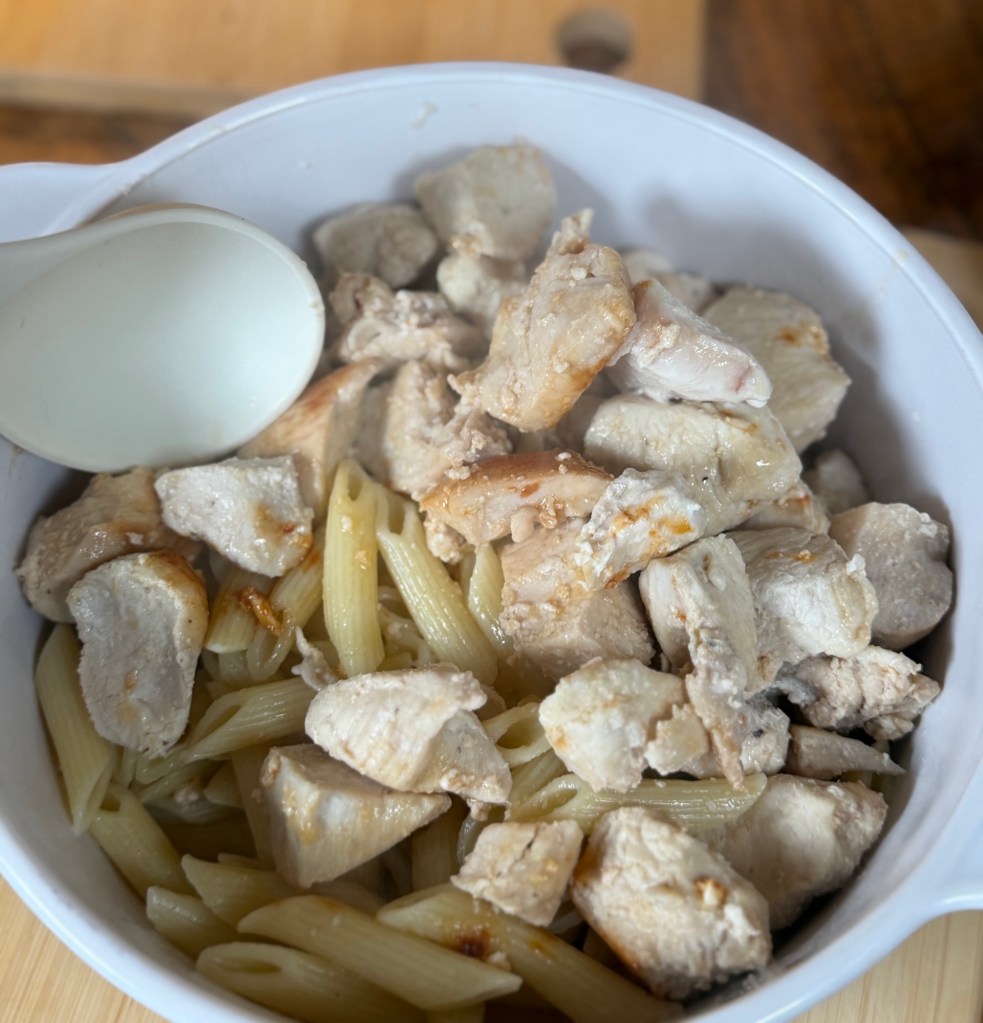
Season & fry • Season the chicken strips with salt and pepper. • Fry them in the hot pan for 5–7 minutes, turning occasionally, until they’re lightly golden on the outside and cooked through in the middle.
Rest briefly • Once cooked, take the chicken off the heat. • Scrape any tasty juices from the pan into the sauce for extra flavour.
Step 3 – Perfect Pasta
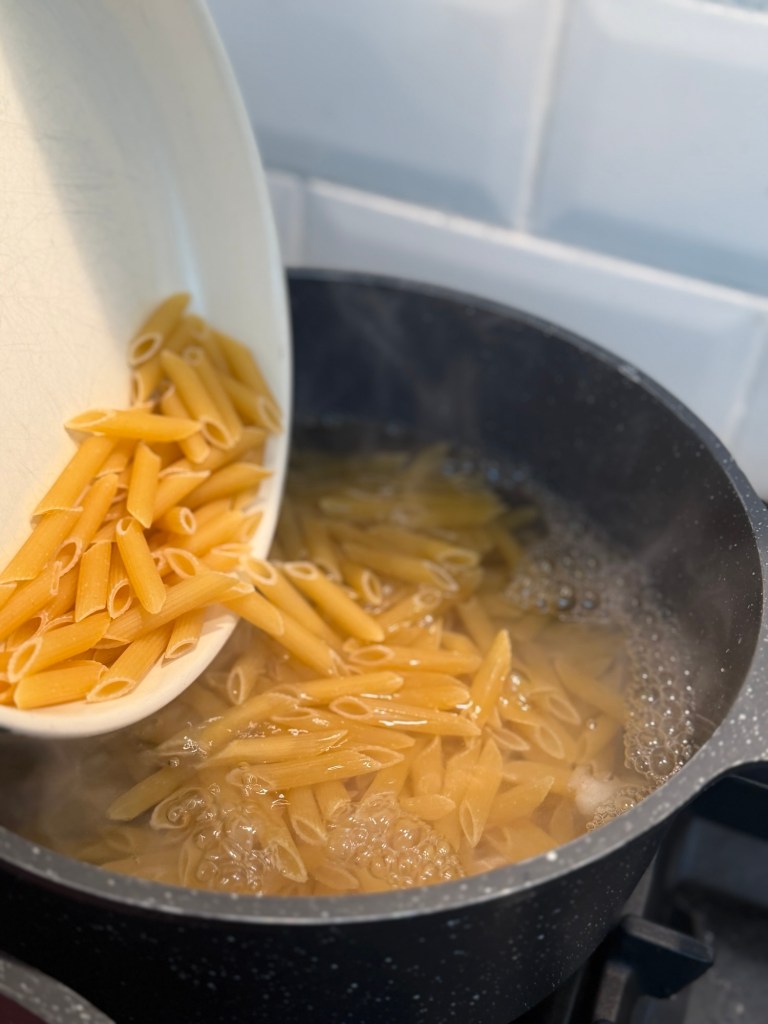
Boil the pasta • Fill a large saucepan with water, bring to the boil and add a good handful of salt. • Add the 300g penne and cook according to the packet instructions, but stop when it’s just al dente – usually about a minute less than the packet says.
Drain & coat • Drain the pasta in a colander. • Toss with the remaining 1 tbsp olive oil so it doesn’t stick together while you assemble everything.
Step 4 – Bring It All Together
Layer in the oven dish • Tip the drained pasta into your ovenproof dish. • Add the cooked chicken and any resting juices. • Pour over the creamy tomato mascarpone sauce.
Mix well • Gently stir everything together so the pasta and chicken are evenly coated in the sauce and there are no dry patches.
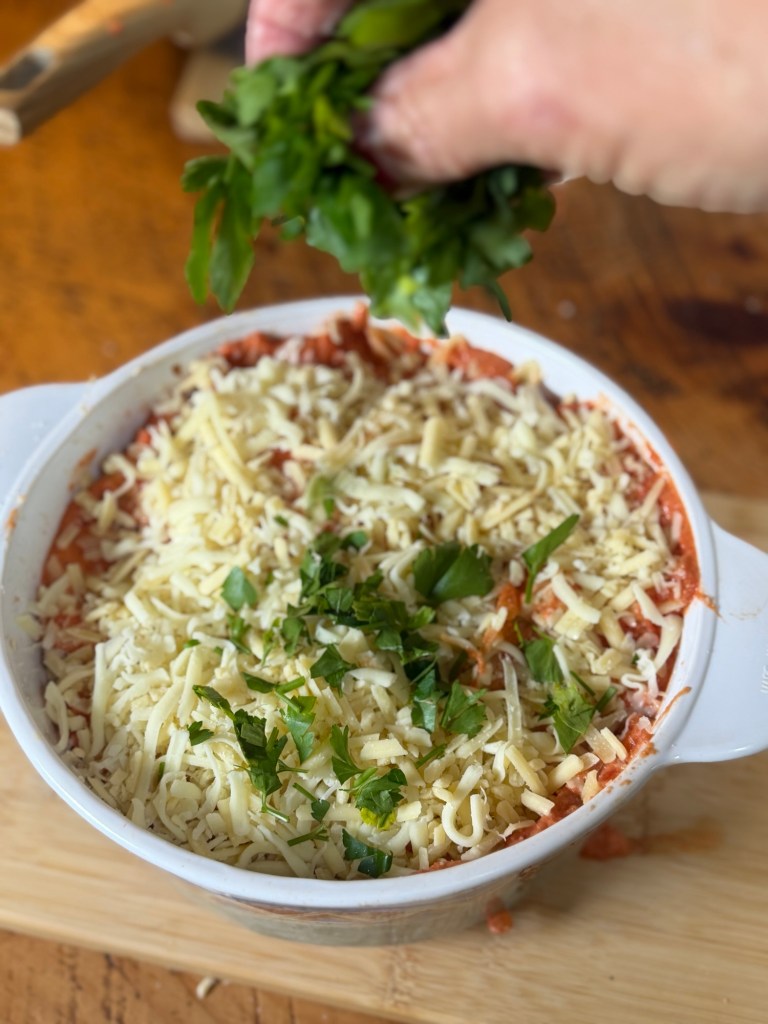
Cheese & herbs • Sprinkle over the grated cheddar in an even layer. • Follow with the mozzarella. • Finish with the chopped parsley scattered across the top. At this point you can cover and chill the dish if you want to make it ahead – it will sit happily in the fridge for up to a day. Just bring it out while the oven heats and add an extra 5–10 minutes to the baking time.
Step 5 – Bake Until Golden & Bubbling
Into the oven • Place the dish on the middle shelf of your preheated oven. • Bake for about 20 minutes, or until the top is deep golden, the cheese is bubbling, and you can see the sauce just starting to peek round the edges.
Rest before serving • Take the pasta bake out of the oven and leave it to sit for 5 minutes. • This helps it set slightly, so it’s easier to scoop out neat portions (and saves your mouth from molten cheese burns).
Serve • Spoon generous helpings into warm bowls. • Add a little extra parsley on top if you like and serve with a green salad, garlic bread, or just a glass of whatever you fancy.
Variations & Swaps • More veg – Stir a couple of handfuls of spinach into the sauce at the end, or throw some peas or sweetcorn into the pasta water for the last few minutes. Different cheeses – Swap mozzarella for Gruyère or Emmental; go for extra‑mature cheddar if you like a strong flavour.
• Leftovers –
Use leftover roast chicken instead of fresh; shred and stir into the sauce. Leftover portions reheat well with a splash of water or milk to loosen the sauce. • Meat‑free – Skip the chicken and add roasted veg (courgettes, peppers, red onion) or a tin of cannellini beans for extra protein.
Once you’ve made this creamy chicken pasta bake once, I honestly think it’ll sneak its way into your regular weeknight rotation. It’s one of those recipes that looks like you’ve made a real effort, but in reality you’ve mostly just stirred a few pans and let the oven do all the hard work – my favourite kind of cooking. What I love most is how forgiving it is. Running late? It’ll sit happily in the oven on a low heat. Got odds and ends of veg lurking in the fridge? Chuck them in. Cooking for extra people? Just scale everything up and grab a bigger dish. Nobody ever complains when there’s too much pasta, do they? It’s also a brilliant option for busy days when you want to get ahead. You can build the whole thing earlier in the day, park it in the fridge, then just bake it when you’re ready to eat. Future you will be very smug when all that’s left to do is turn the oven on and pour yourself a drink.
If you do give this a go, I’d absolutely love to see it – tag me in your photos or videos and let me know how you got on. Did you add extra chilli? More cheese? Garlic bread on the side? (Strongly encouraged.) Don’t forget to save or pin this recipe so you’ve got it handy for the next time you need a proper cosy, comforting dinner without any drama.